Create a Scheduled Report via the UI
You create and schedule reports The report contains all the dimensions and metrics information that you need to see. by using the Broadsign Ads graphical user interface.
These reports can be downloaded by using the API, as described in Retrieve a Report via the API.
To schedule a report:
- In Broadsign Ads, access the Reports section.
- Click New Report on the top right of the scheduled Reports list.
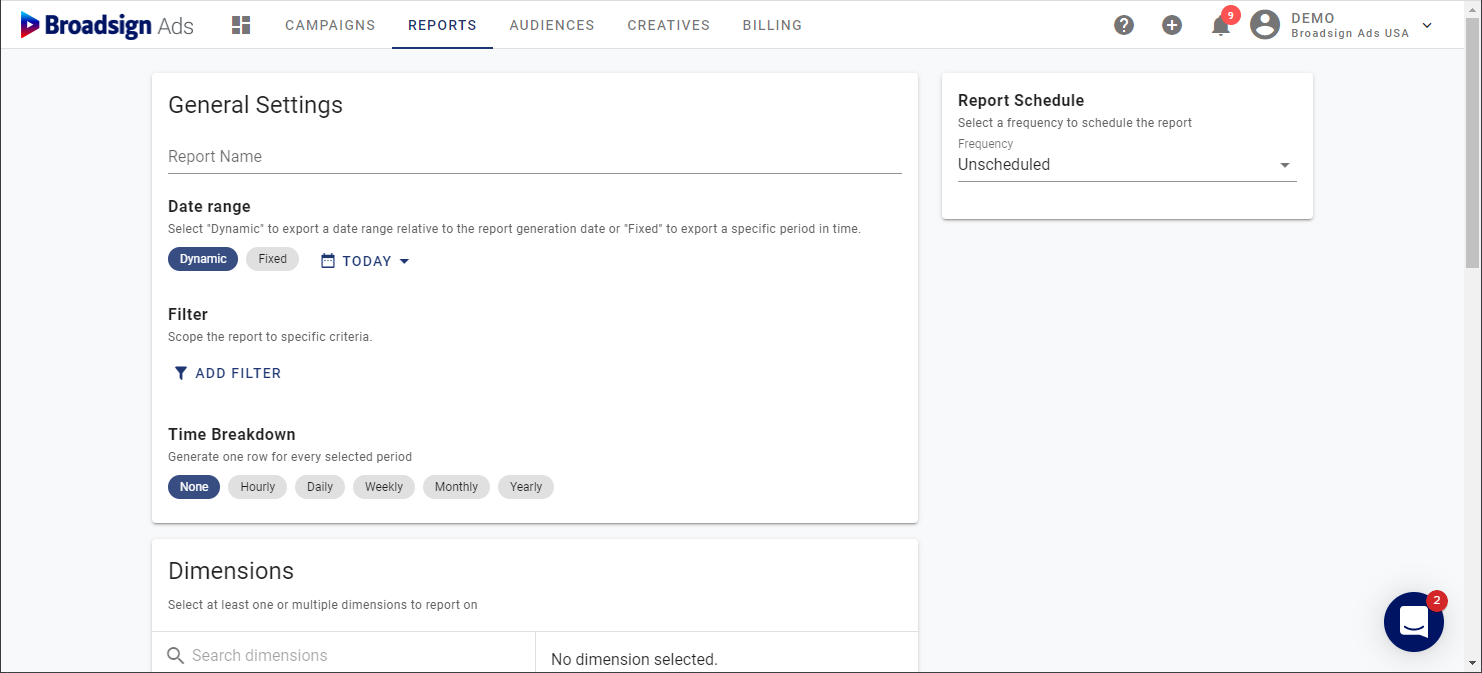
- Enter the proper information in the General Settings section.
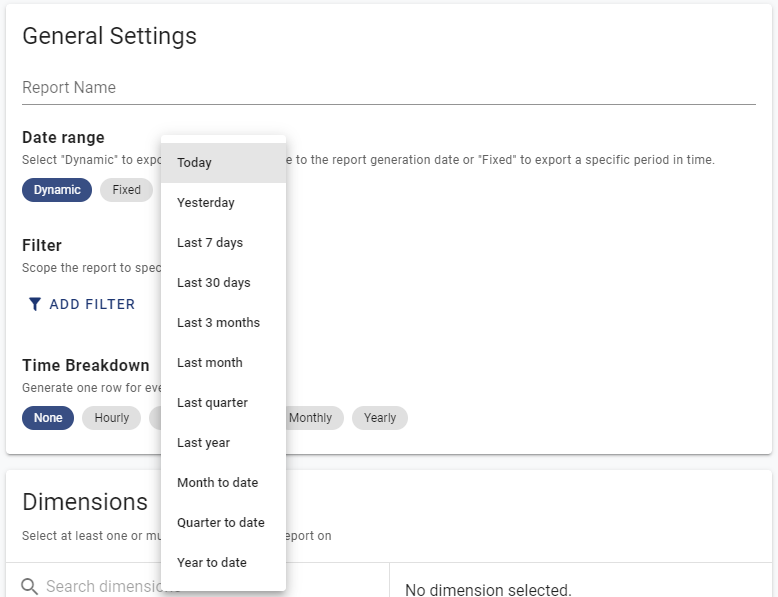
- Today
- Yesterday
- Last 7 days
- Last 30 days
- Last 3 months
- Last month
- Last quarter
- Last year
- Month to date
- Quarter to date
- Year to date
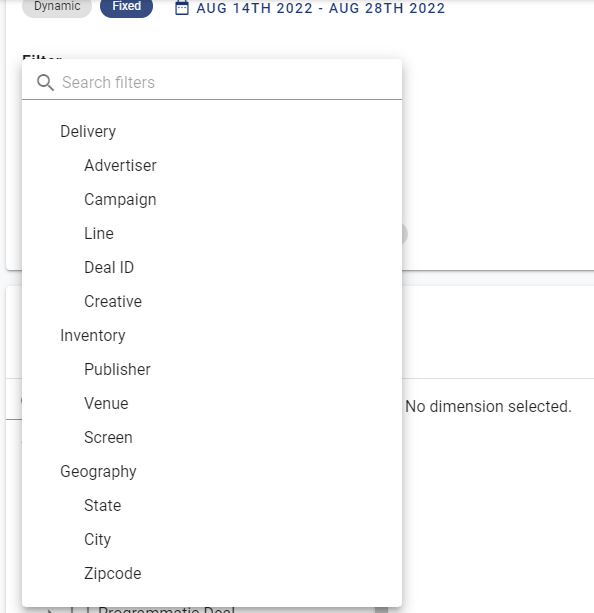
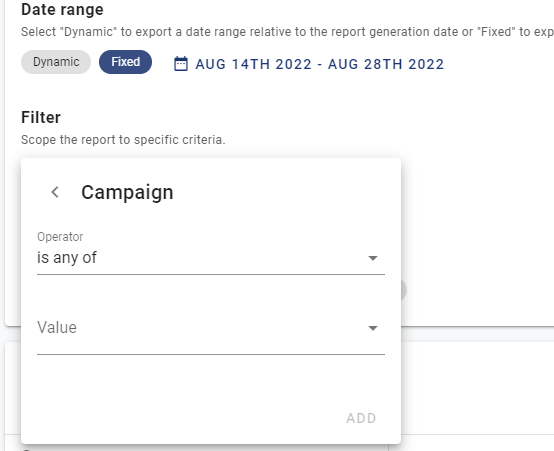
- If applicable, create a filter to add only specific data in your report:
- Click the Add Filter button under Filter and the list of metrics is displayed.
- Select one of the metrics.
- Enter the information to filter.
- Select a Time Breakdown.
- In the Dimensions section, select the Dimensions that will appear as columns in your report.
- In the Metrics section, select the Metrics that will appear as columns in your report.
- Select when to generate the report in the Report Schedule section.
- If you have selected the Daily or Weekly frequency, you can enter a list of recipients for the report in the Delivery section. This is optional.
- Once everything is correct, click Create Report.
If you already have scheduled a report, it will be listed here.

The page to create reports is displayed.
| Field Name | Description |
|---|---|
| Report Name | Name of the report. It must be something meaningful. |
| Date Range |
You have the choice of using a Dynamic date range or Fixed start and end dates. When clicking Dynamic, you can select one of the following date ranges:
When clicking Fixed, pick your own start and end dates in the calendar.
|
You can also use the search box to look for a specific metric.
Operator: Choose between is any of and is none of.
Value: Enter the value to filter.
You have the choice between None, Hourly, Daily, Weekly, Monthly, and Yearly.
This will generate one row in the report for every selected period.

Tip: You must select at least one dimension.
Tip: You must select at least one metric.
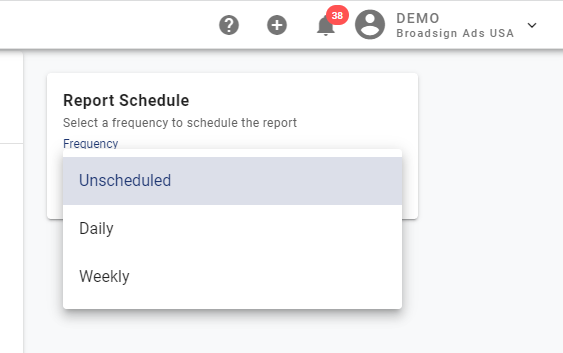
You have the following choices:
| Frequency | Description |
|---|---|
| Unscheduled |
The report will not be generated and the Schedule column of the reports list will be empty. |
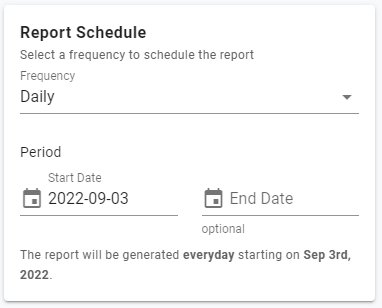
| Daily |
Select a date at which to create the report. Optionally, you can set an end date at which to stop creating the report. Leaving the end date empty creates an ongoing report.
|
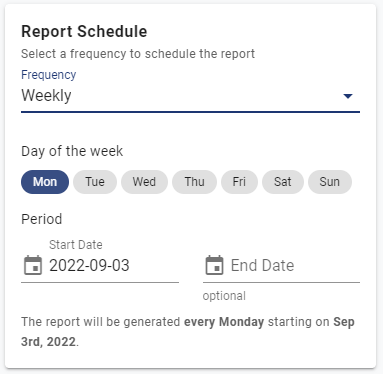
| Weekly |
Select the day of the week for the report to be generated. You can select more than one day. Select a date at which to create the report. Optionally, you can set an end date at which to stop creating the report. Leaving the end date empty creates an ongoing report.
The Schedule column of the reports list will show the days selected. |
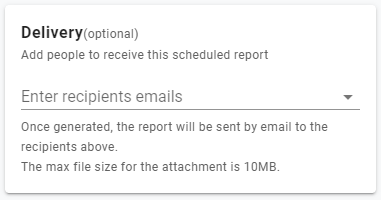
Once the report is generated, it will be sent to all the recipients listed. Separate each email with a comma.
Note: The maximum report file size that can be sent as attachment is 10 MB.
This saves the report in the list of reports.
