The Map View inventory displays two primary types of screens or faces:
Targeted Screens or Faces
- The map shows one pin for each screen or face location.
- The system hides screens or faces that do not meet the targeting criteria.
Selected Screens or Faces
- Pin Color – The pin turns blue when you select the screen or face; otherwise, it remains gray.
- Clusters – Map clusters indicate the total number of selected screens or faces within that area.
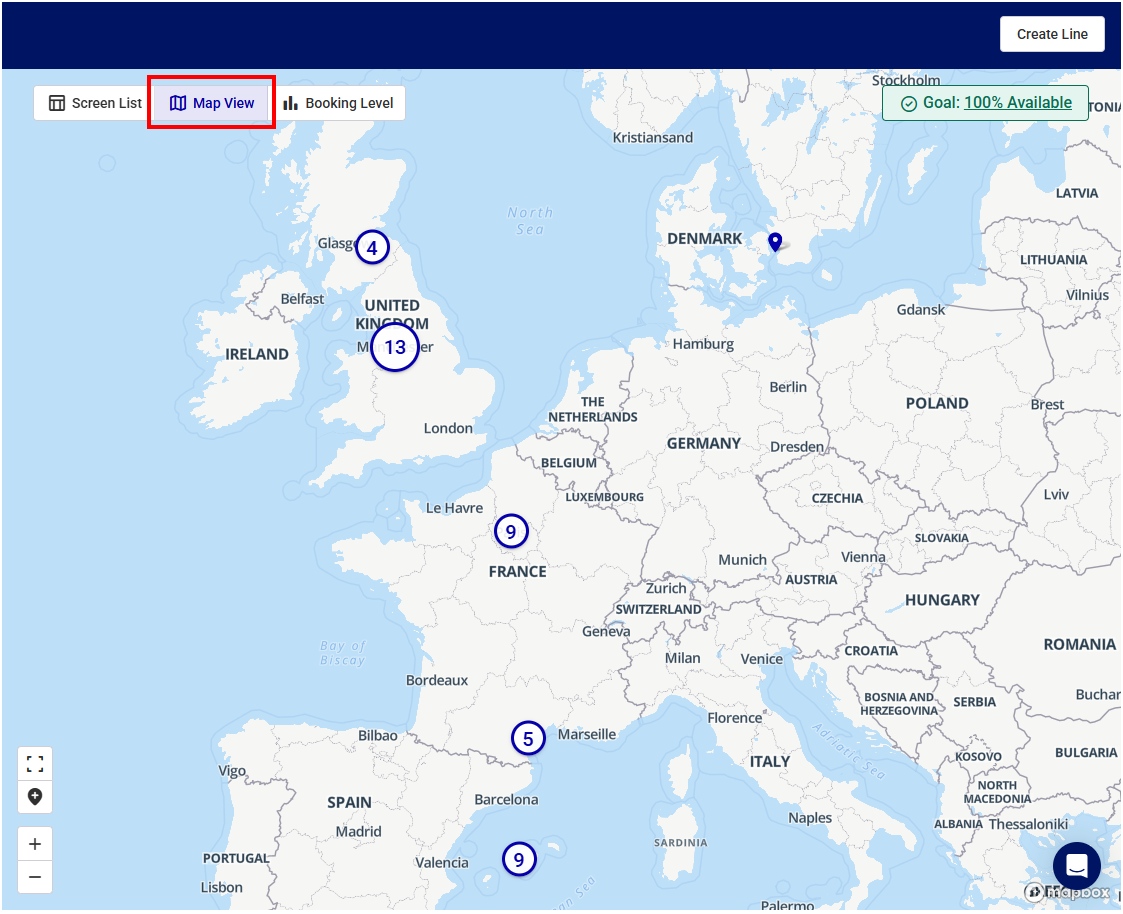
Viewing inventory in Map View works best with fewer screens or faces. This means that the list you narrow down will be shorter.
Note: If you apply filters to your screens or faces while in Map View, and then select Screen List or Face List, the same filters apply. In other words, those screens and faces that appear in Map View will also appear in Screen List or Face List.
Note: Guaranteed Campaigns integrates with Mapbox APIs and uses its UI controls.
| Component | Description |
|---|---|

|
Use the Zoom In or Zoom Out control to change the zoom level of the map. |

|
Use the Enter Fullscreen or Exit Fullscreen control to toggle the map view from regular view or fullscreen view. |

|
Use the Add a Pin control to target a geographic area for your campaign (see Add a Pin). |

|
Use the Download Map Image control to save the map display as an image file (see Save the Map View Image). |

|
Use the Map Settings control to define whether you want to group nearby screens in clusters or display individual pins. |
|
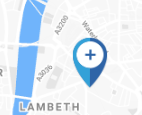
Shows an unselected screen or face from your filtered inventory list. |
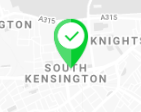
|
Shows a selected screen or face from your filtered inventory list. See Select or Deselect a Screen or Face in Map View. |
|
Shows a cluster of selected screens or faces at or near the same location.
|
|
Shows a cluster of unselected screens or faces at or near the same location.
|
|
Shows a cluster of screens or faces at or near the same location.
|

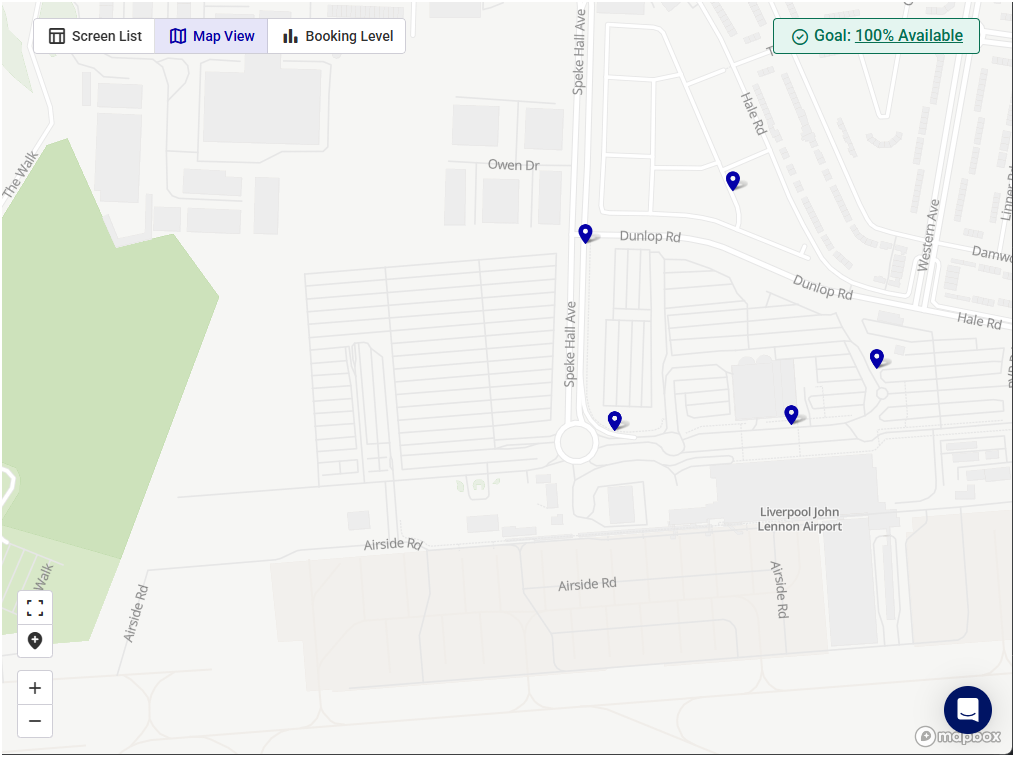
You can select or deselect an individual screen or face in Map View.
To select or deselect a screen or face:
Guaranteed Campaigns
- In Map View, zoom in on an individual screen or face.
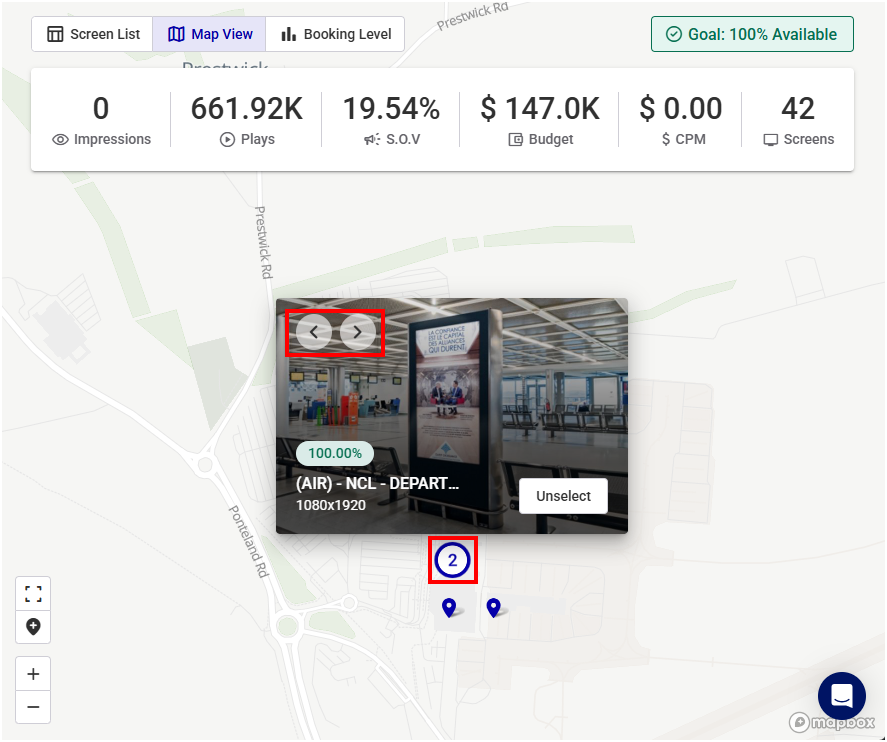
- Click the icon for the screen or face to open its information card.
- Availability
- Name
- Size (digital screen)
- Format (static face)
- Click the Select or Unselect button.
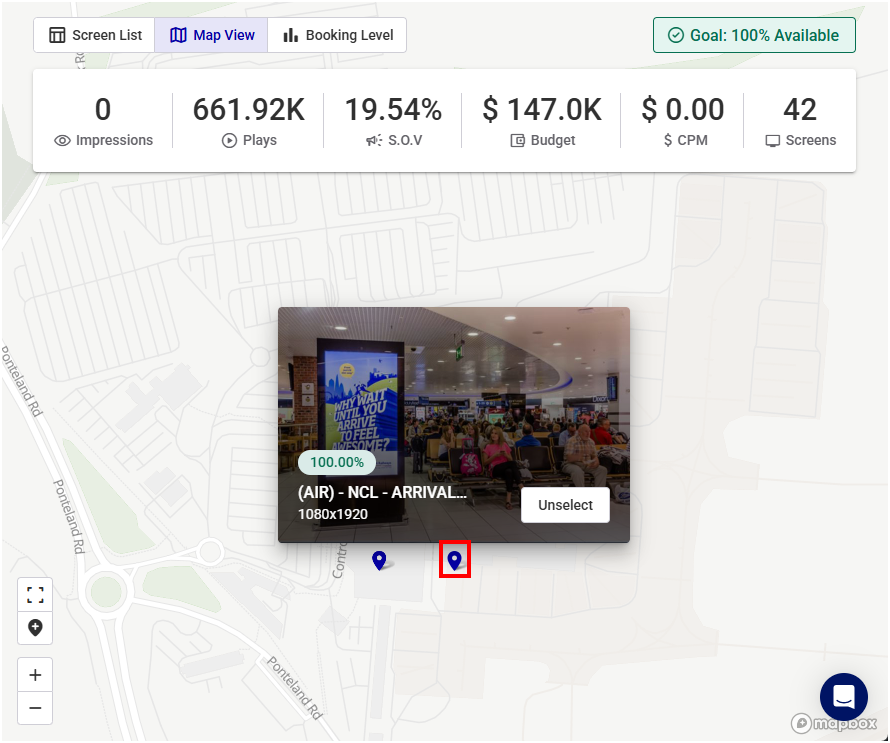
The card lists the following screen or face information:
The card also displays an information picture if one is available. You can define this picture in the Inventory Screen Image Count parameter (see Digital Inventory Information and Static Inventory Information).
You can also click a cluster to select or deselect individual screens and faces. Once you select a cluster, navigate through the individual screens or faces by clicking the left and right arrows located in the top-left corner.
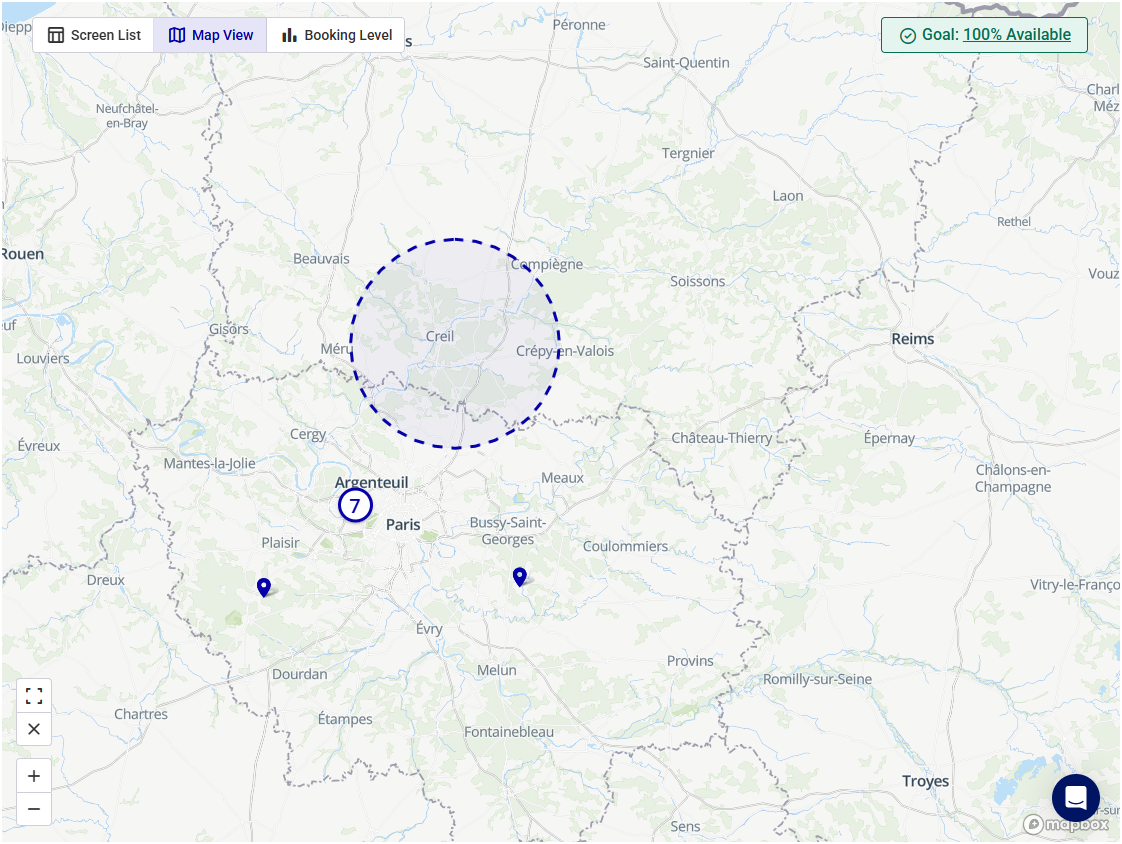
You can manually add a pin to target a geographic area for your campaign. All screens or faces within the pin area radius will run your campaign.
To add a pin:
Guaranteed Campaigns
- In Map View, click the
 control.
 - Move your cursor on the map to the approximate location where you want to add the pin.
- Click on the map where you want to add the pin.
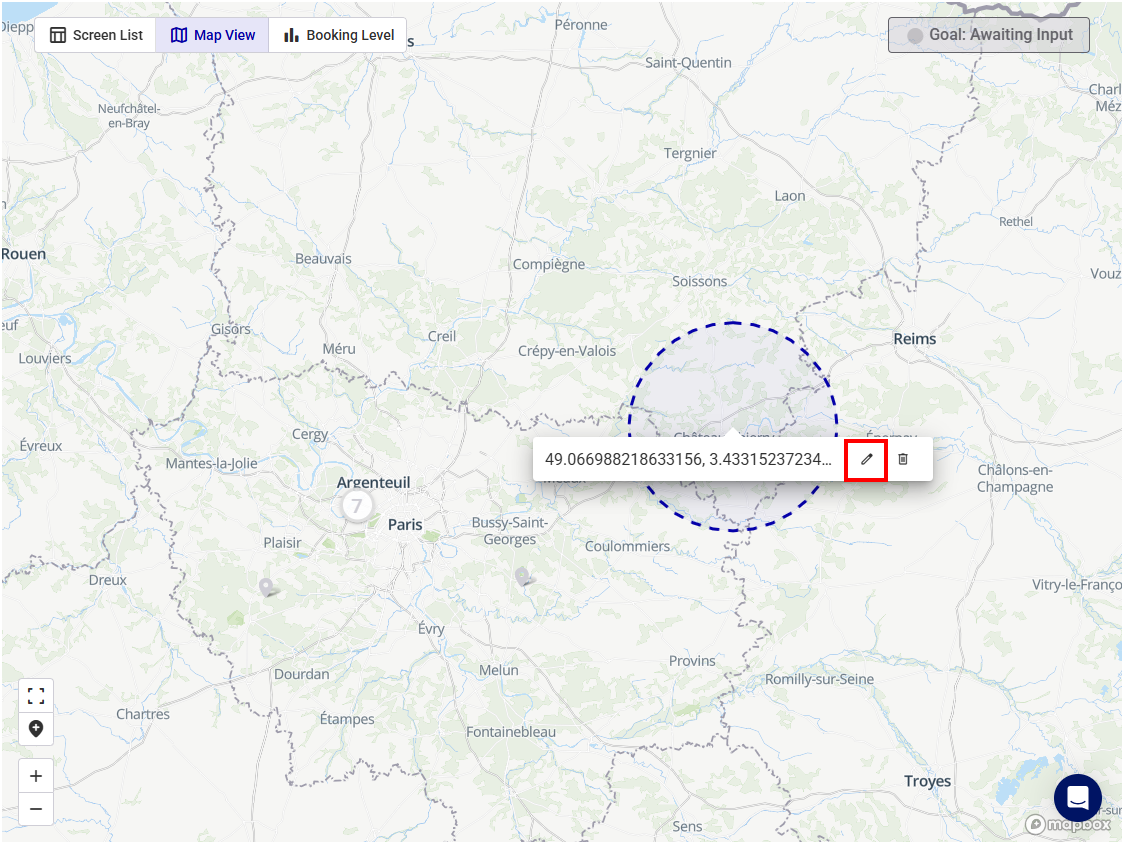
- Edit the coordinates by clicking the Edit button.
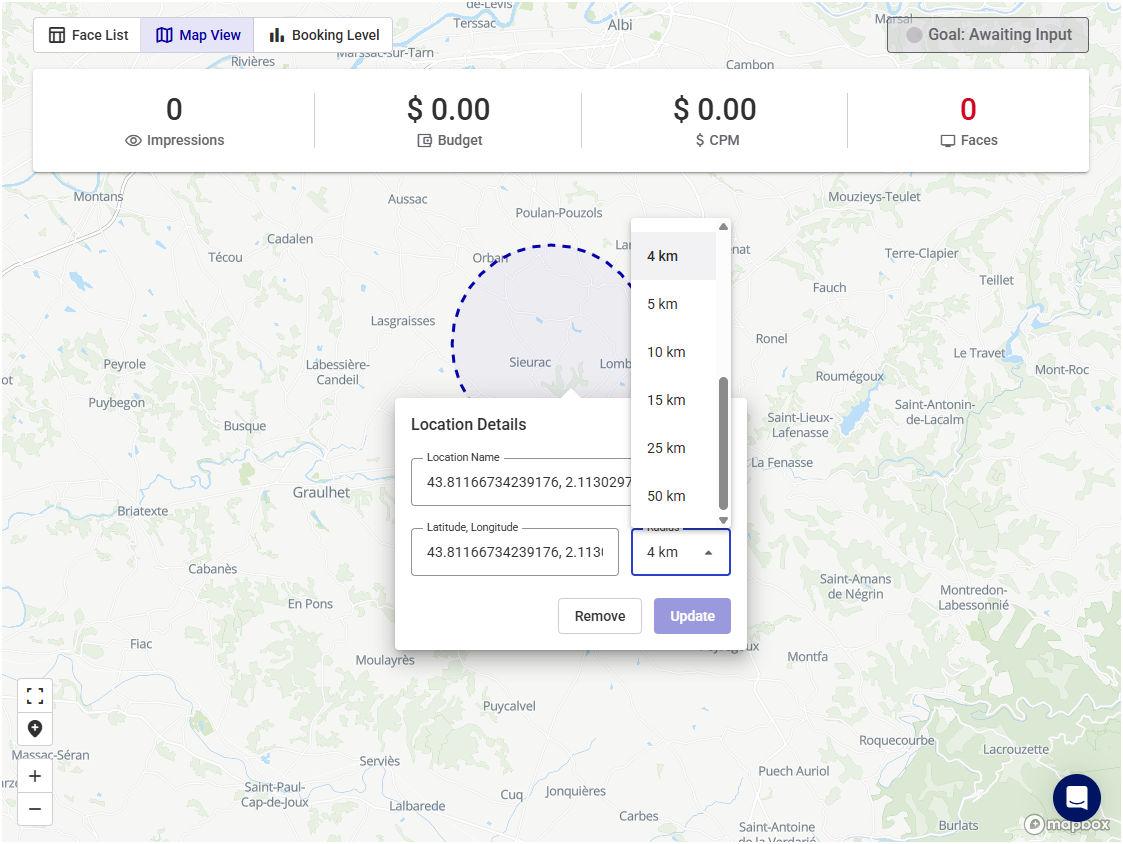
- Change the Radius around the pin by clicking the Edit button.
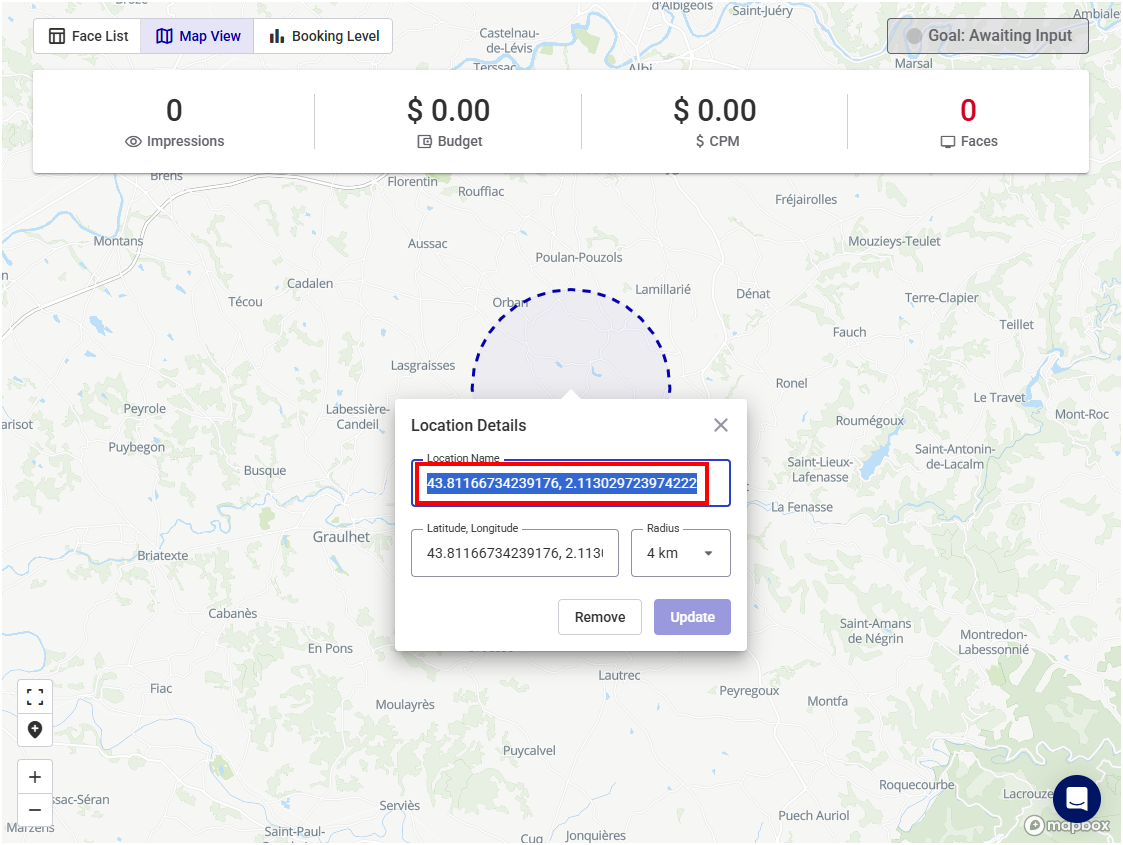
- Rename the pin by clicking the Edit button, and then the latitude/longitude coordinates.
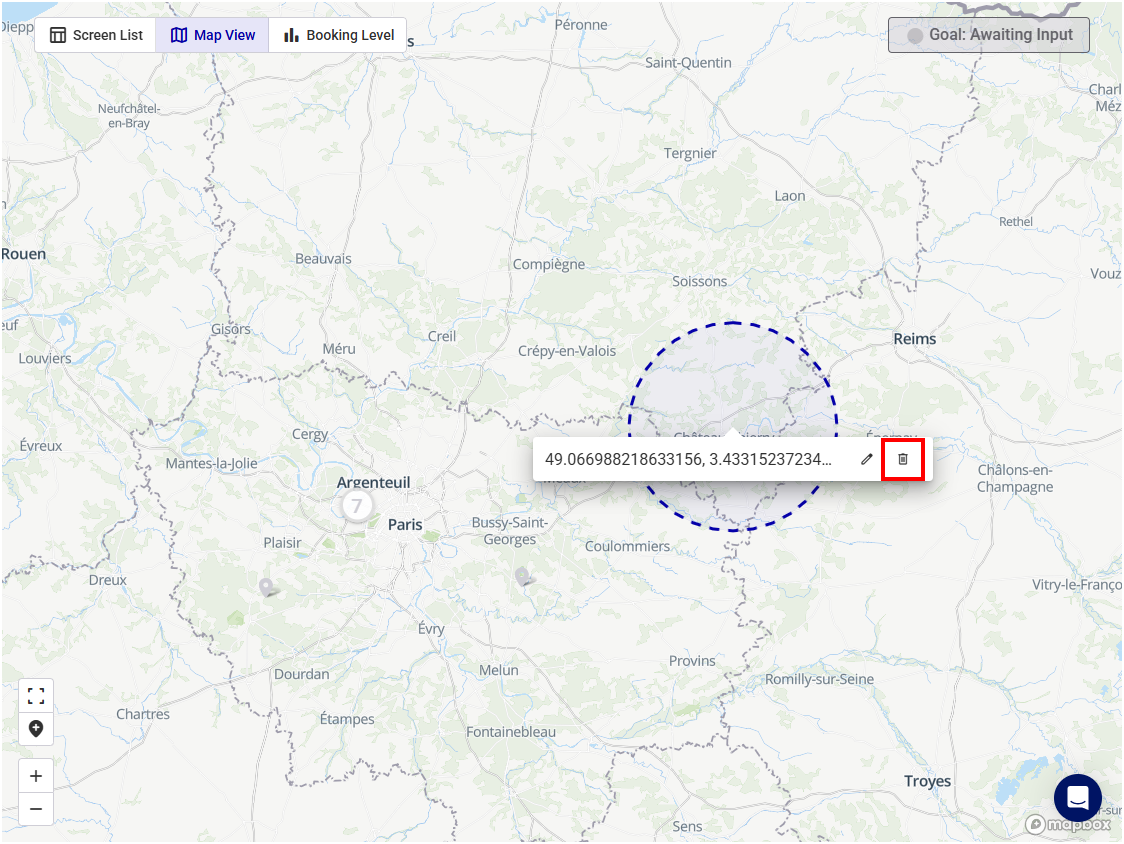
- Remove the pin by clicking the Remove button.
A blue dashed circle is displayed, representing the area where you will add the pin.
The latitude and longitude coordinates of the pin are displayed.
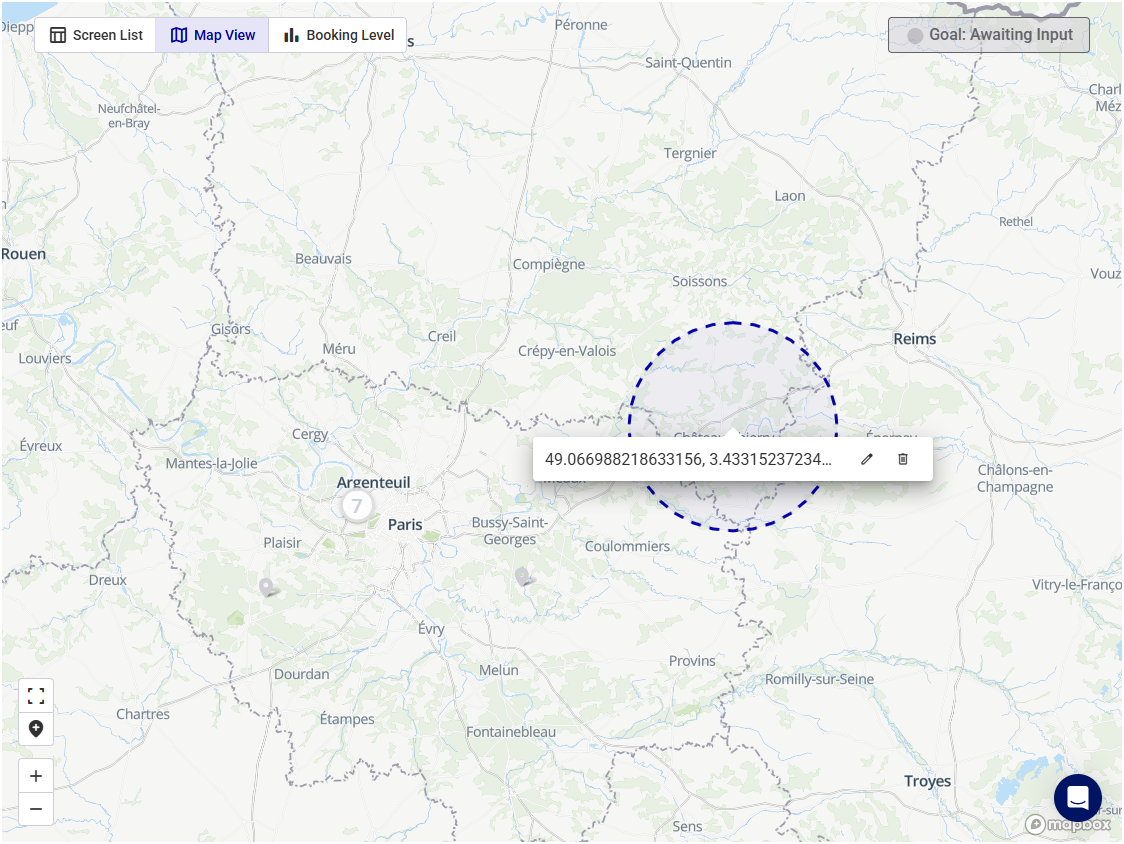
You can:
When done, the location is added under the Geolocation targeting filter.

You can save the map display as an image file for use in business proposals or other external documents.
To save the map view image:
- Click the
 control.
 - Right-click anywhere on the map display.
- Select your browser's Save Image As (or equivalent) feature to save the image file to your device.
You can also:
