To add a booking line:
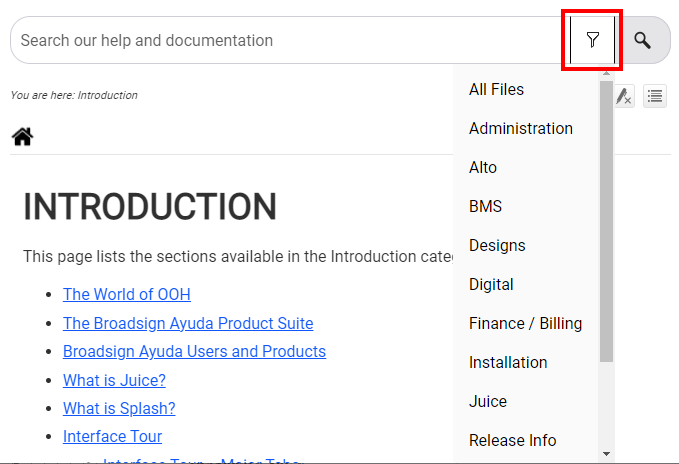
- From within Splash, click the Scheduling tab.
- Locate the needed campaign and open it.
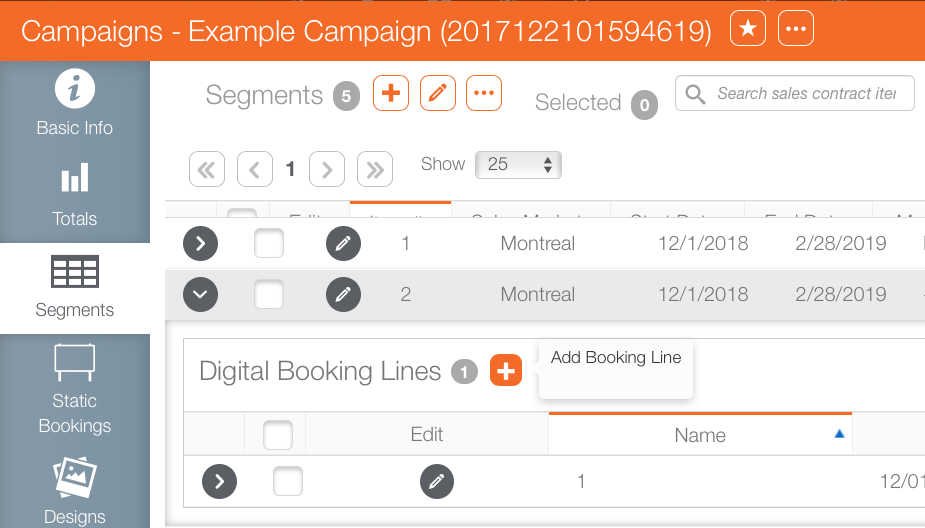
- Within the campaign record, click the Segments tab in the navigation bar on the left.
- Locate the digital pack or digital face that requires a booking line.
- Click the
 button.
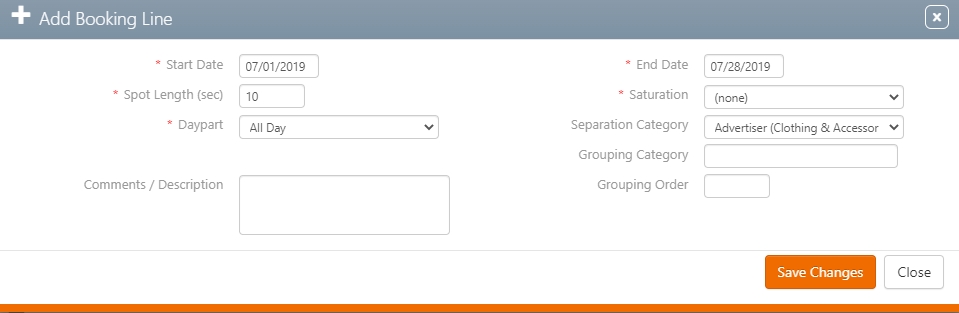
 - Define the following mandatory information:
- Start Date - End Date – This constrains when the booking line is in effect.
- Spot Length – The default length of all spots within the booking line.
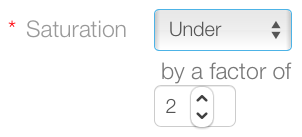
- Saturation – The frequency of the spot in the face’s loop. The default is none, which is to say that the spot is expected to run with an average frequency of once per loop. Selecting Over or Under will increase or decrease the frequency by the factor entered in the field below. This is expressed in whole numbers:
- Selecting Under and entering the value two will result in the spot running every second loop.
- Selecting Over and entering two will make the spot appear twice per loop.
- Daypart – The time of day that this spot should run. Typical examples are 24/7, morning and afternoon rush hour, midday, evenings. Dayparts are configured by your company’s Broadsign Ayuda administrator.
- Click Save Changes.
![]()
It may be necessary to use the  buttons to reveal the item.
This presents the Add a Booking Line dialogue box.
Why ‘may’? It depends upon the compound triggers that have been entered in the categories, media bundle and other factors.
Tip: Depending on the selected Media Group, you can modify the Saturation and Spot Length values through the System Administration Connector.
Note: Once saved, the spot length and saturation information in the booking line becomes locked. This is necessary to enable the scheduling system to make its calculations. Changing the spot length or saturation can only be done by creating a new booking line.
This creates the booking line and returns you to the segments records in the campaign. Your newly created booking line now appears in the segment.