Cloud Extender
Cloud Extenders are used when Players do not have access to the internet. They reduce the amount of content downloaded from the internet by acting as a local proxy server to the connected Players.
Cloud Extenders can also be configured as a chain, and Players can connect at any level:

You will need the following to install a Cloud Extender:
- .NET Framework 4.0 or higher
- Internet access (for Cloud Extenders connecting directly to the cloud; over the HTTPS protocol)
- Sectigo RSA Domain Validation Secure Server CA SSL Certificate (Imported into Internet Explorer)
- TCP Port 8185 must be open (or firewall disabled)
- RAM requirement depends on the number of Players and Cloud Extenders that will be connected
- Hard Disk space requirement depends on the volume of media content to be scheduled
- Use a standardized Windows or Linux image configured for your hardware
- A PC running Windows 10 or higher, Ubuntu 16.04 LTS or higher
It is recommended that each hardware Player is configured using a predefined standardized Windows/Linux image to avoid issues.
As the Broadsign Ayuda Cloud Extender does not rely on a specific platform resource, Broadsign Ayuda does not recommend a specific hardware device. The following is a general hardware guideline for a Cloud Extender to support up to 100 Players checking-in no more frequently than every 5 minutes:
- CPU: Intel Atom Processor (1.8 GHz+)
- RAM: 4 GB
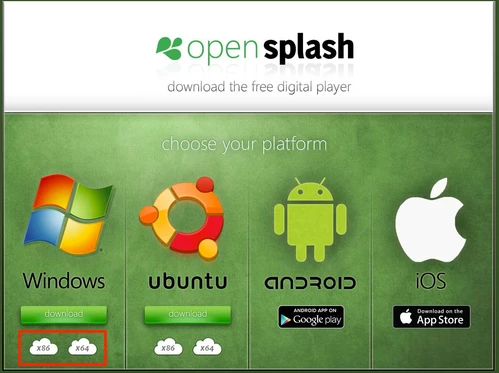
- Download the Splash Windows Cloud Extender package from the Splash Matrix.
- Extract/Decompress the downloaded Splash Cloud Extender.zip package.
- In the extracted/decompressed folder, run the
Setup.exeprogram. - Complete the installation wizard.
- Configure the Splash Cloud Extender executable file to Run As Administrator (C:\Program Files\Ayuda Media Systems\Splash Cloud Extender\bin\VERSION NUMBER\cloudextender.exe).
- Add a shortcut in the Start-Up folder to C:\Program Files\Ayuda Media Systems\Splash Cloud Extender\bootstrap.exe.
- Take note of the systems’ MAC address. It will be used as the default identifier for the Cloud Extender in Splash.
- Restart Windows.
Warning: 64-bit and 32-bit versions exist, so select the appropriate version for the selected hardware. The Splash Matrix address and login information is provided separately.
Tip: For Windows 7: In the Program Compatibility Assistant pop-up window, click This program installed correctly.
The Splash Cloud Extender should now automatically start on boot up.
When the Splash Cloud Extender starts, the screen will display an empty GUI until Players or other Cloud Extenders are configured to be connected:

There are two ways of running the Cloud Extender on Linux:
- Console mode, where the service runs in the background, without a UI.
- Desktop mode, where there is a X Windows session launched.
The Desktop mode can be run from both Ubuntu Server and Ubuntu Desktop versions, whereas the Console mode should be run from the Ubuntu Server version.
Minimum Requirements
-
Supported Linux Distributions – Broadsign Ayuda supports the following Ubuntu 64-bit (AMD 64) versions:
- Ubuntu 16.04 LTS
- Ubuntu 18.04 LTS
- Ubuntu 20.04 LTS
- Ubuntu 22.04 LTS
- Ubuntu 24.04 LTS
Contact Broadsign Services if you need installation scripts for more recent Ubuntu versions. Using later LTS versions can require additional manual steps and configuration as there could be differences in how the operating system loads from one version to another.
- Mono – The Player runs on Mono for Linux. Mono is an open-source project that allows Microsoft .Net applications to run on other platforms.
- Curl – Used for third-party Ad Server communication.
Note: Using non-LTS versions is not supported and should be used as a last resort in the event that your hardware is too recent and that there are no up-to-date drivers for the target LTS version.
Install Mono
Note: The installation of Mono is included in the Cloud Extender Install Script. The following shows how to install them, but you can skip them and run the install script only.
We support and recommend 5.10 and 5.20 for Ubuntu 16.04 and 18.04. For Ubuntu 20.04, we support mono 6.8.
- Add mono key to authenticate with Mono:
- Add the Mono Personal Package Archive (PPA) to the update manager:
- Update sources:
- Install mono:
sudo apt-key adv --keyserver hkp://keyserver.ubuntu.com:80 --recv-keys 3FA7E0328081BFF6A14DA29AA6A19B38D3D831EFFor Ubuntu 16.04:
echo "deb https://download.mono-project.com/repo/ubuntu stable-xenial/snapshots/5.10 main" | sudo tee /etc/apt/sources.list.d/mono-official-stable.listFor Ubuntu 18.04:
echo "deb https://download.mono-project.com/repo/ubuntu stable-bionic/snapshots/5.20 main" | sudo tee /etc/apt/sources.list.d/mono-official-stable.listFor Ubuntu 20.04:
echo "deb https://download.mono-project.com/repo/ubuntu stable-bionic/snapshots/6.8 main" | sudo tee /etc/apt/sources.list.d/mono-official-stable.listsudo apt updatesudo apt install mono-completeThe most up-to-date installation instruction of mono are available at http://www.mono-project.com/download/stable/#download-link. In the case there is a disparity between these instructions and the instructions on the Mono Project documentation, the latter prevails.
Miscellaneous Dependencies
Miscellaneous dependencies have no extra configuration. You just need to install them:
sudo apt-get install sqlite3 curlCloud Extender Install Script
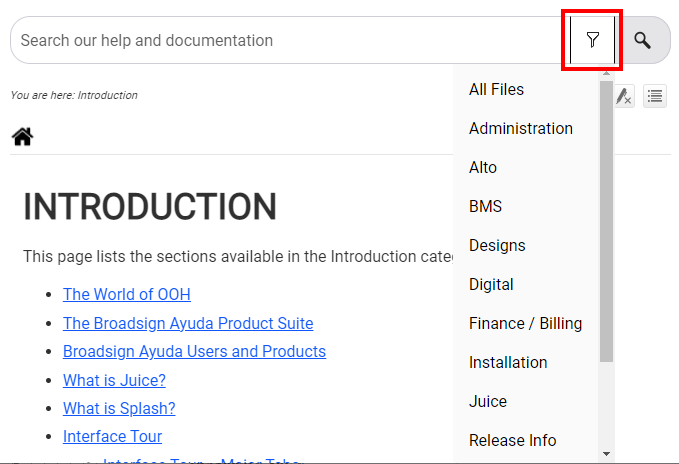
You must download the Splash Cloud Extender installation script from your instance’s Open Splash web page. It will be the same address that you are using for Splash but with a custom suffix.
- Download cloud: https://[yourinstancehere].ayudacloud.com/opensplash.
- Preview cloud: https://[yourinstancehere].ayudapreview.com/opensplash.
- Enter the credentials and then click the Linux download button.
- Make the script executable by using
chmod +xon the file: - Check where you have installed Mono by typing:
- Run the script with elevated permissions using sudo:
- There will be a prompt to ask if you want to install the Cloud Extender in Console mode. This makes the Cloud Extender run as a background service instead of using a X Windows session. It is ideal when you have no monitor installed and want to use less resources on your machine.
- There will be a prompt to ask if you want to install the prerequisites. You can skip this step if you are reinstalling the Cloud Extender or if you have installed the prerequisites already.
- Enter your Splash username and password when prompted. Once entered the installation will continue.
- If you use a parent Cloud Extender, enter the IP address of your Cloud Extender when prompted. Otherwise, press Enter to skip.
- Reboot the PC by running
sudo Reboot.

The file install.sh should download momentarily.
chmod +x install.shwhich monoYou should see the folder of the mono installation: the default would look like /usr/bin/mono. Note the path to the folder that contains the bin folder where mono is located. In this example, the folder is /usr.
sudo ./install.sh --mono-path /usrIf the installation does not continue and the script exits, the credentials you entered were incorrect. Start the script again with the sudo ./install.sh command.
The reset of the script should have finished. Take note of any errors you see in the terminal and send them to your contact at Broadsign Ayuda.
The Cloud Extender should start automatically.
The first time the Splash Player starts with an internet connection, it automatically registers itself on the Broadsign Ayuda Cloud.
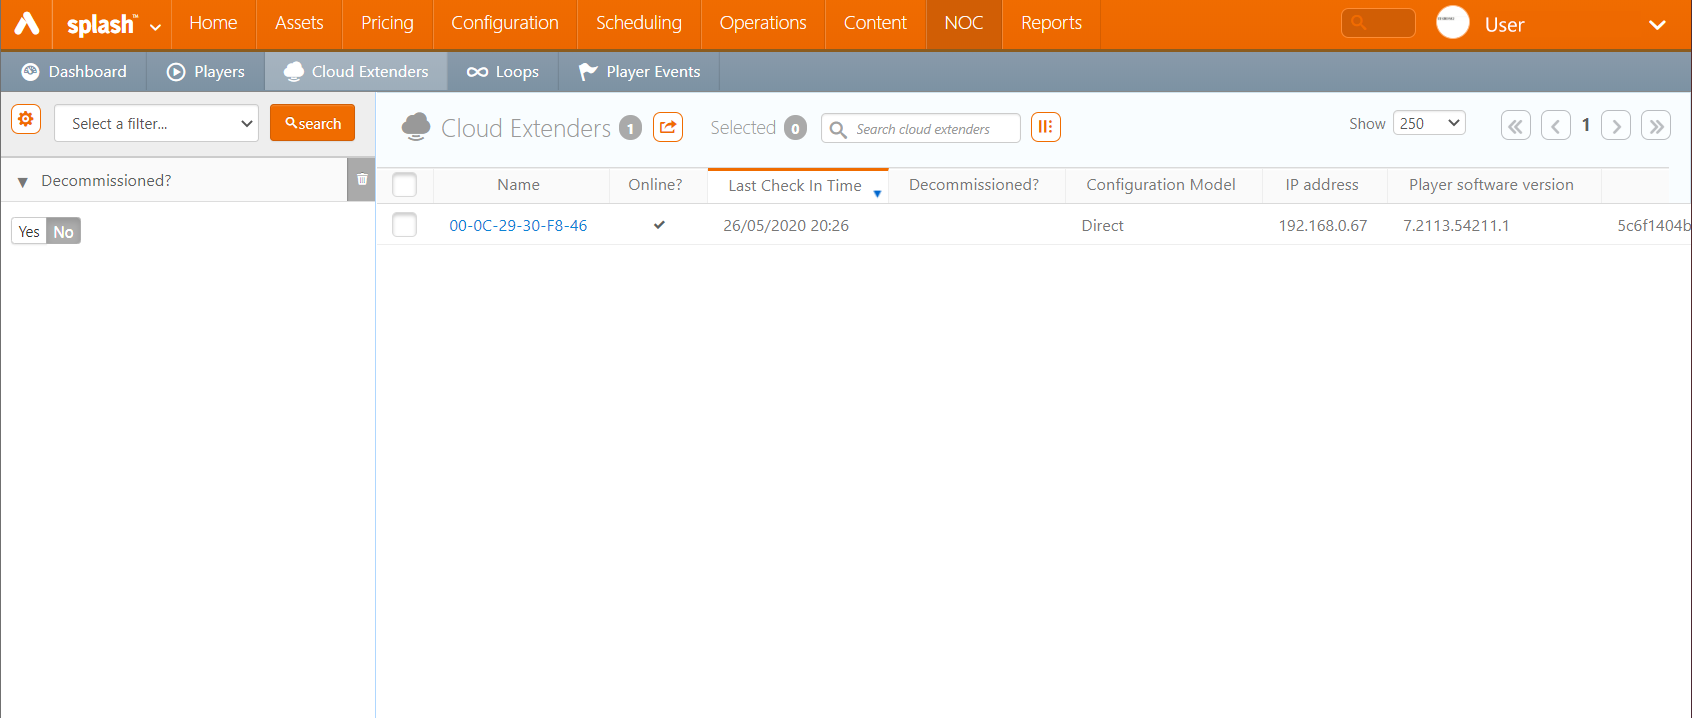
- Log in to Splash and click the Assets menu item, and then the Cloud Extenders tile.
- In the “Cloud Extenders” view, click Search and review the list to find the Cloud Extender’s MAC address.

Warning: The Splash Matrix address and login information have been provided separately.
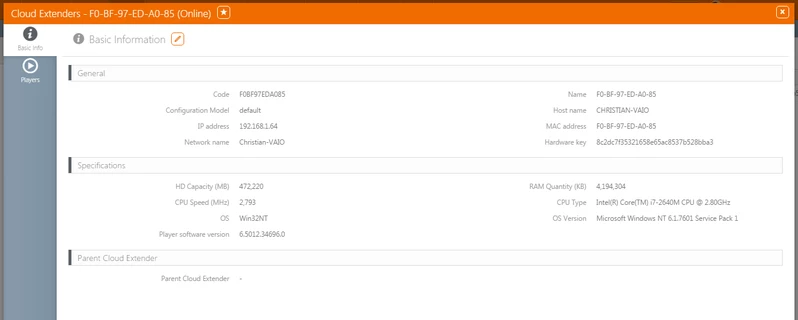
If the Splash Cloud Extender is running and was able to contact the Splash Cloud, it should appear in the list:
- In the Cloud Extenders list, click the “Name” of the Cloud Extender to access its details.
- Click the
 button to edit any details, such as the “Name”.
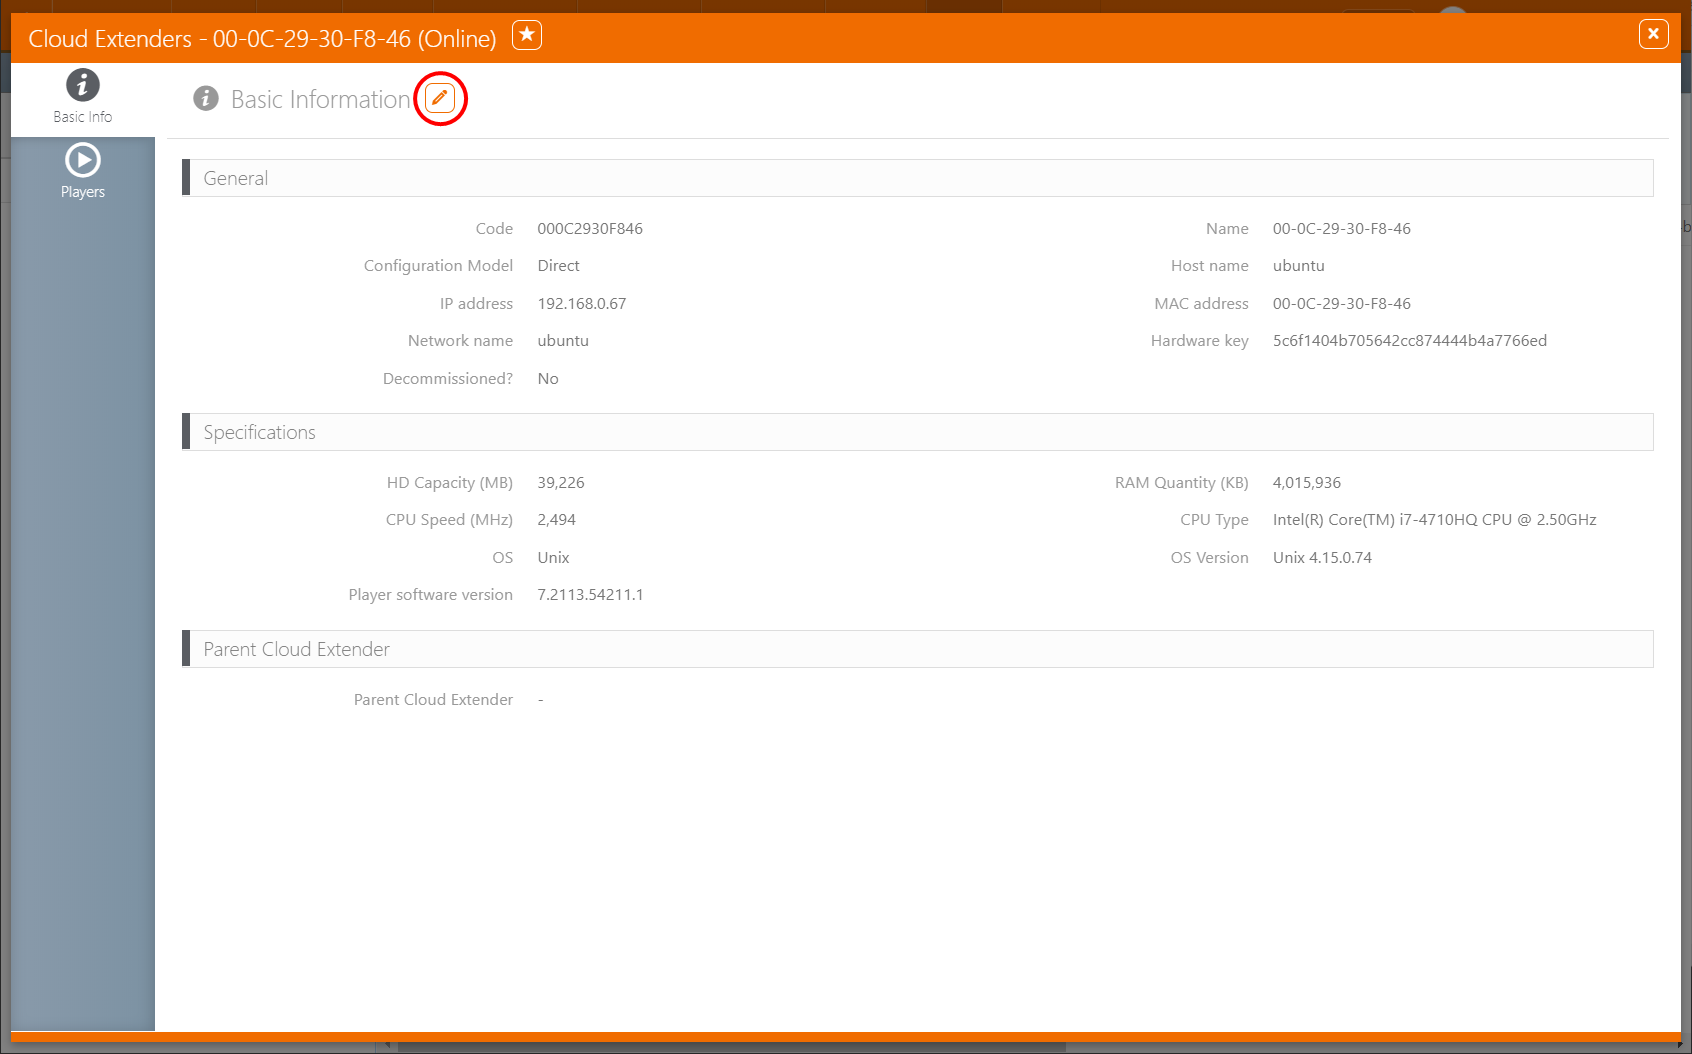
To set up Cloud Extenders in a chain, specify the “Parent Cloud Extender” on this page.
Once Players have been connected to this Cloud Extender, you will see them listed when you click the Players tab on the left.
The feature can be run and re-run as often as needed. Selecting many faces and avails at once will assign the new faces randomly to the booked faces.
The number of faces and avails swapped must be equal.
To connect Players to your Cloud Extender:
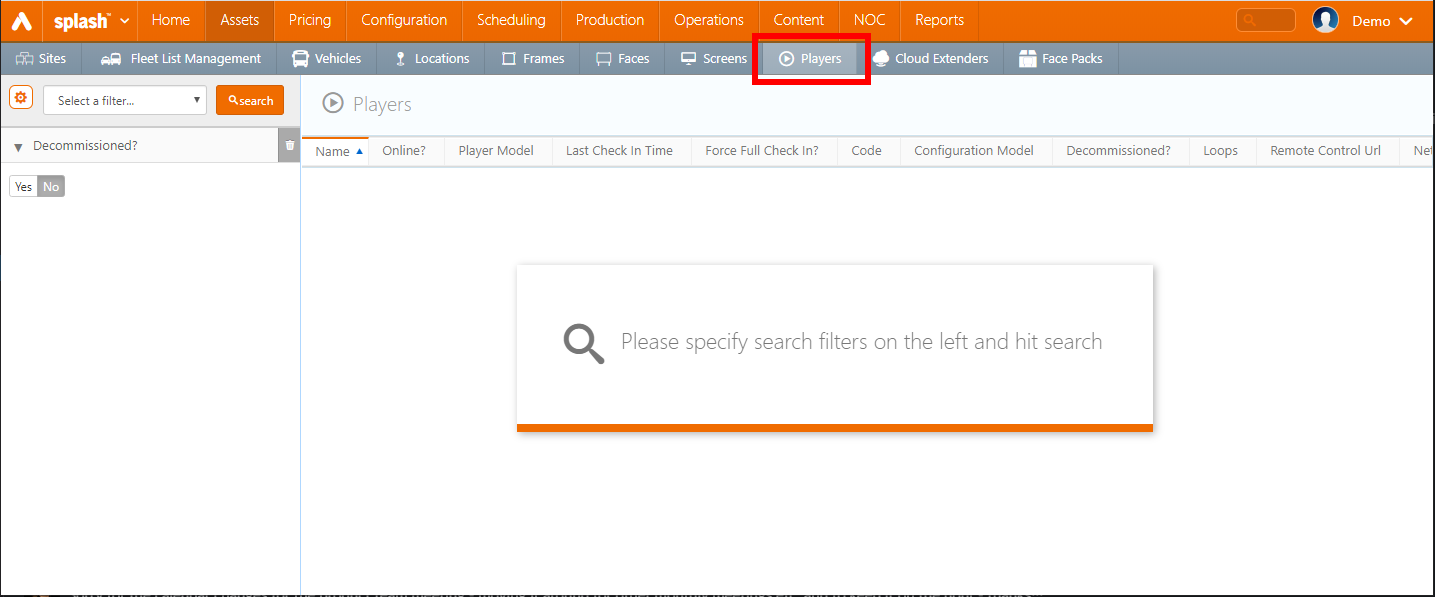
- Log in to Splash and click the Assets menu item, and then the Players tile.
- Click Search.
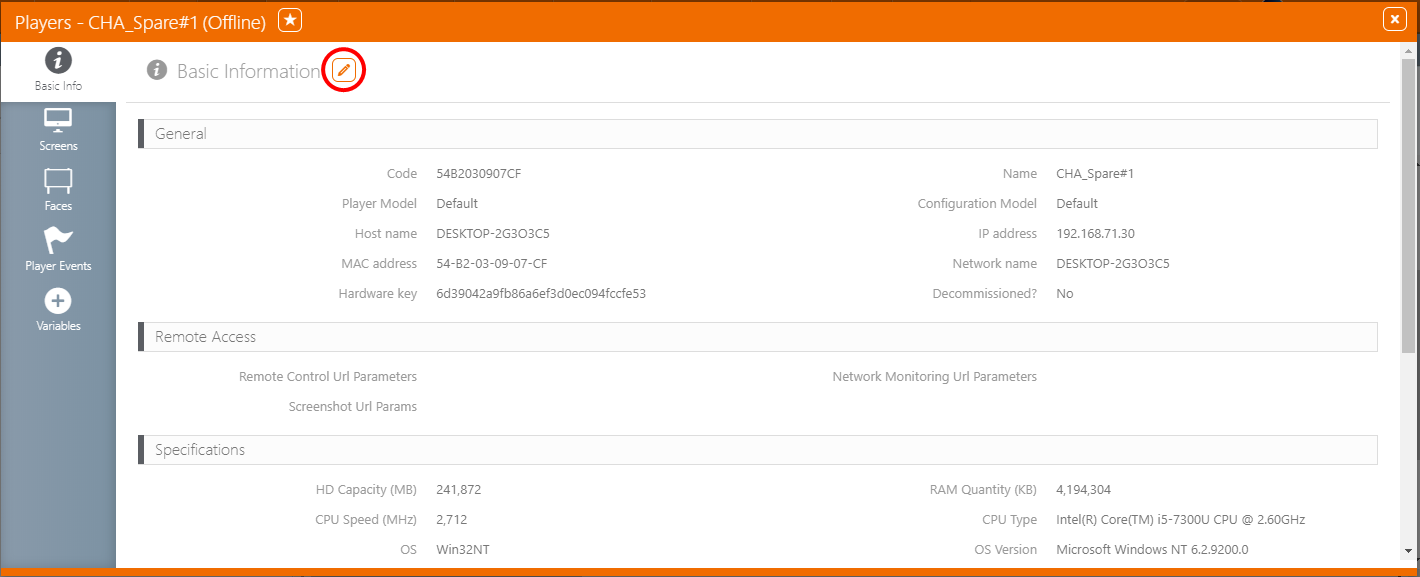
- Click the “Name” of the Player you wish to connect to the Cloud Extender to access its details.
- Click the button to edit the details.
- Specify the “Cloud Extender” to connect to, then click Save Changes.

Now in the Cloud Extender UI, when the Player has checked in and connected to the Cloud Extender, you will see it listed:

To view or edit the Cloud Extender Configuration, or to add a new Configuration:
- Log in to Splash and click the Configuration menu item, and then the Cloud Extender Configurations tile.
- Click Search.
- Click the “Name” of the Configuration you wish to view or edit to access its details.
- Click the button to edit the details.
- Player to cloud communication (check-in)
- Programmatic calls (curl, HttpWebRequest)
- Dynamic content
- File download
- Player event
- CEF (javascript, url files)


The important settings are:
| Parameter | Description |
| Check In | |
| Check-in interval | The interval at which the Cloud Extender will check in to the Cloud. This is independent of player check ins. Set to 120 seconds by default. |
| Network | |
| Use Web Proxy | Route HTTP traffic through a Web Proxy. |
| Web Proxy Host |
Web proxy host address so that you can route HTTP traffic through a Web Proxy. The traffic that can go through the proxy is: |
| Web Proxy Port | Web proxy port. |
| Forward And Store | |
| F&S content update interval | Set to 120 seconds by default. |
| Allow this cloud extender to connect directly to F&S servers | This setting allows the Cloud Extender to access FTP server locations directly to access Forward and Store content, rather than the Splash server having to download it first. Disable this setting if your Cloud Extender reports to a cloud extender. Set to “No” by default. |
| Use Fluent Ftp | Use the next generation FTP client. |
| Ftp Proxy Host | Sets the Proxy host to allow FTP traffic through a web proxy. |
| Ftp Proxy Port | Sets the Proxy host to allow FTP traffic through a web proxy. |
| Ftp Proxy Username | Sets the Proxy username to allow FTP traffic through a web proxy. |
| Ftp Proxy Password | Sets the Proxy username’s password to allow FTP traffic through a web proxy. |
| Use out of process Ftp downloader |
Enables a secondary process, independent from the Splash Player itself, that will communicate to the FTP servers on behalf of the Player. Enable if the Linux player experiences reliability issues, or to use the FTP protocol for Forward and Store. |
| Logging | |
| Custom log4net Configuration (XML) |
Warning: This is an advanced feature! Always try on a test configuration before making changes on a Cloud Extender Configuration Model assigned to a large amount of cloud extenders. This configuration field allows administrators to enter a custom log4net XML configuration directly from the interface. The XML editor provides syntax highlighting, line numbers, and auto-formatting, making it easy to read and edit XML without errors. XML compliance is required. The XML validation is implemented when saving: the system checks the XML against a predefined schema and rejects invalid configurations with a clear error message. For more information on the syntax to use, see the Apache configuration for Appenders. The following is an example of valid custom log4net configuration: Copy
|
You can add multiple Cloud Extender Configurations, and specify them for each Cloud Extender, by updating the Configuration Model field: