Scheduling Content Within Alto
To schedule content in Alto:
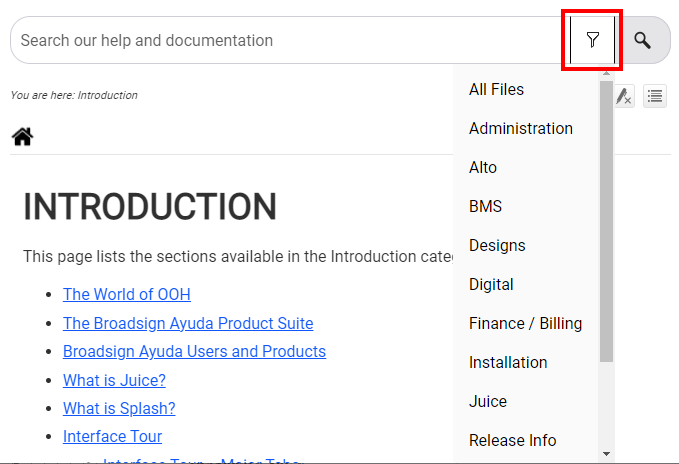
- Log in and click the Scheduling tile.
- Click the campaign to be scheduled.
The screen refreshes to show a list of campaigns. Scheduled campaigns that have yet to run have an Upcoming notice beneath their names.

This opens the campaign record window. It shows all of the segments and what bundles have been assigned to each screen.
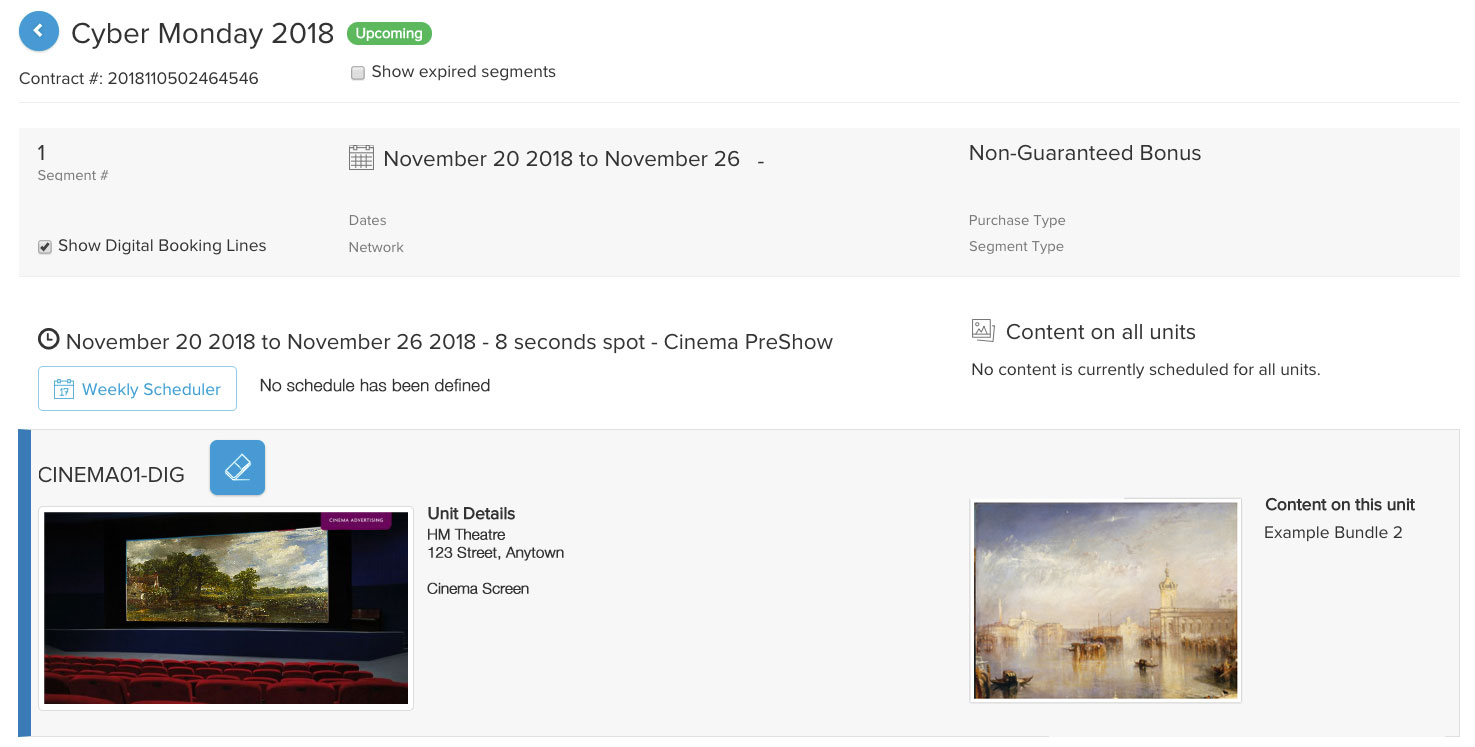
The campaign is detailed including:
Note: After a bundle has been assigned to a screen, the weekly schedule for it must be created.
Schedule Bundle Content
Organizing bundles is key to working with the Alto weekly scheduler efficiently. If a ‘base bundle’ has been created with an eye toward efficient schedule filling, it will reduce the amount of manual editing in the scheduler.
Click the Weekly Scheduler button.

The weekly scheduler opens in a new window. This screen is used to allocate advertising spots onto a digital face that has been booked for a campaign.
Bundles can be selected in the left-hand column and dropped or painted to the weekly schedule. The object of the scheduler is to fill the operational time of the digital faces with media bundles.
Note: The smallest interval is fifteen minutes.
The Alto Scheduler Toolbar

- Week forward and back
- The current week
- Zoom out and zoom in
- Fill the week with the selected bundle
- Fill gaps with the selected bundle
- Clear the week's schedule
- Cut week schedule
- Copy week schedule
- Paste week schedule
- Use the current week schedule in all future weeks
- Undo all changes
The toolbar buttons are there to paint the schedule with bundles. The best practice is to begin in the first week of the campaign. Get the basic schedule down and click the Use the current week schedule in all future weeks button to copy the schedule to future weeks.
With the bulk of the schedule completed, then begin adding exceptions.
A common issue when starting to edit a schedule is that the campaign period starts in the middle of the week. For example, imagine a schedule starting Wednesday. If the schedule is built for Wednesday, Thursday and Friday, clicking Use the week schedule in all future weeks will leave blank Mondays and Tuesdays for the rest of the campaign.
Who Wins Edits?
By necessity, the last change always wins. There are no user permissions that stack and prevent one digital scheduler from overwriting the changes made by another digital scheduler.
Final Step
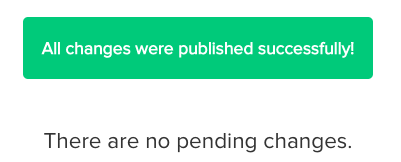
Click Publish from the menu. This refreshes the screen to show the recent additions and changes made within Alto.
From here either undo the changes, navigate to the individual items to edit them further, or click Accept all changes and Publish. The screen refreshes and a confirmation is shown that no changes are pending.