

Warning: Perform this step in-house before shipping your device to its installation location, if applicable, because you need physical access to it.
This process uses the Core App Deployment URL you received.
To provision a LG webOS device:
- Turn ON the screen.
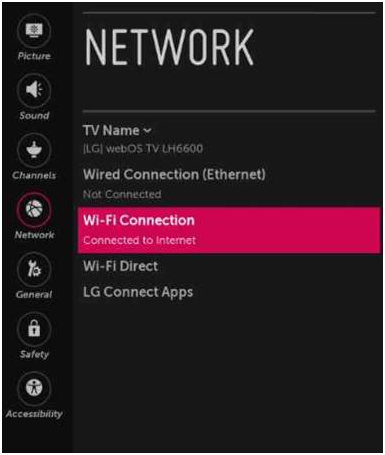
- Use the Network Settings option to connect to the internet.
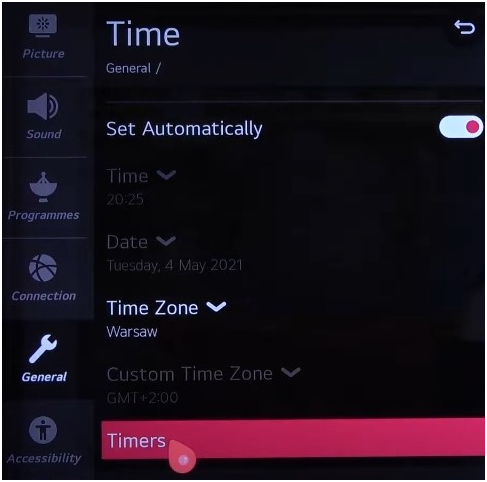
- Set the correct Date and Time. Select the correct Timezone of the location of the Broadsign Control for SoC device. Make sure to enable Set Automatically.
- Go to Settings > EZ-settings.
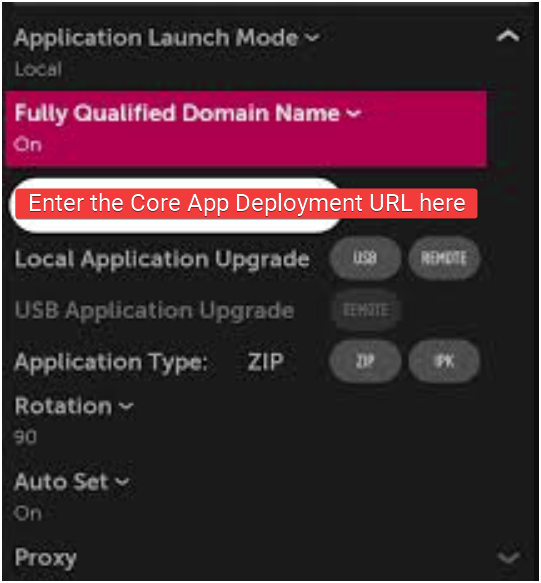
- Select SI Server Setting and apply the following configuration:
- Fully qualified domain – ON
- Enter the Core App Deployment URL here in this field. Type the URL in full, it is case sensitive and make sure special attention is paid to avoid any typo.
- Select Application Launch mode – Local
- Local Application upgrade – Remote
- Application type – IPK
- Auto set – OFF
-
The interface could vary in some WebOS screens depending on the WebOS version, but the options to configure are the same.

Another variation of an interface from a different WebOS version:
- After you apply these settings, the system displays a window prompting you to confirm the download from the URL. Click Confirm.

- Click OK and Turn OFF the screen.
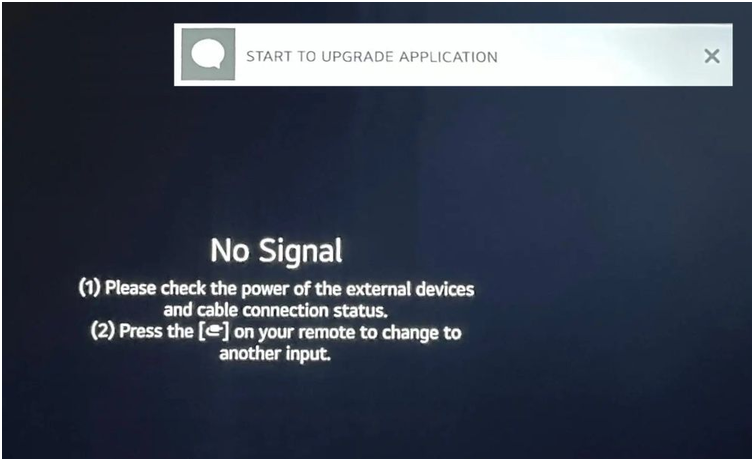
- Turn ON the screen after 10 seconds. You should expect the following notification message on the screen as soon as the screen is on and it successfully connected to the internet.

This message confirms that the contents were downloaded successfully from the Core App Deployment URL that was added along with the settings you applied.
- Wait for 2–5 minutes, and then visit the Organization in the the SignageOS interface. If you see your device under the Devices tab, this means your device has been provisioned successfully.

Important: The Auto set - OFF is a mandatory setting only if you find this option. It is not available on every WebOS version. If you leave that to "On", you will not be able to update the application remotely. Always keep this option to OFF.
The screen downloads the app contents. Once done, you will see the message Complete.

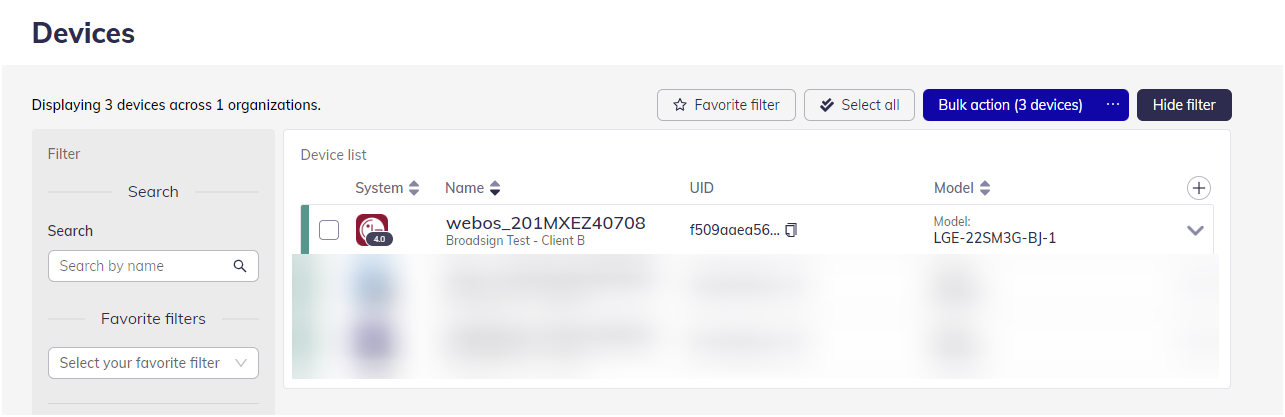
If your device did not successfully provision and is not visible in the Devices tab of your organization, repeat the device provisioning steps carefully to identify and correct any errors in the setup.
