Players sometimes require replacement due to hardware failure or upgrades. The easiest way to replace a Player involves using the registration wizard. This process transfers the license from the old, retired hardware to the new Player, avoiding activation or deactivation fees.
To replace a Player:
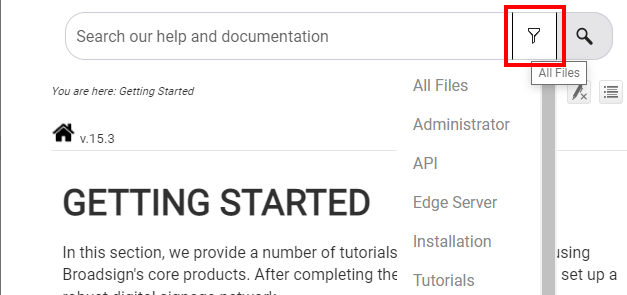
- Start the Add Registration Wizard by using one of the following methods:
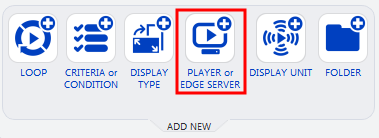
- Go to the Network Setup ribbon, and then select the Player or Edge Server icon.
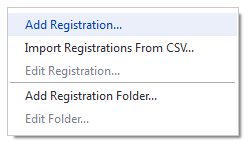
- From the resource tabs on the left, select Registrations. Then, right-click anywhere in the work area. From the contextual menu, select Add Registration.
- Go to the Network Setup ribbon, and then select the Player or Edge Server icon.
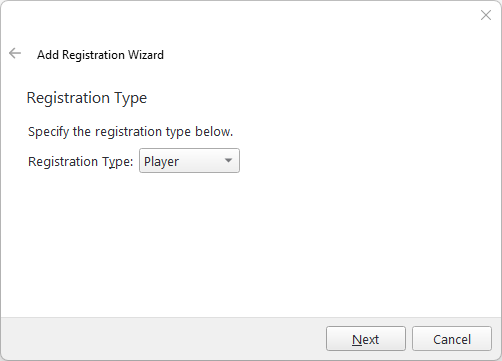
- Select Player in the Registration Type page.
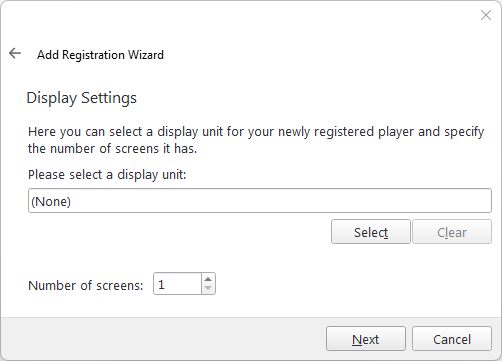
- Assign the new Player to the same Display Unit as the replaced Player.
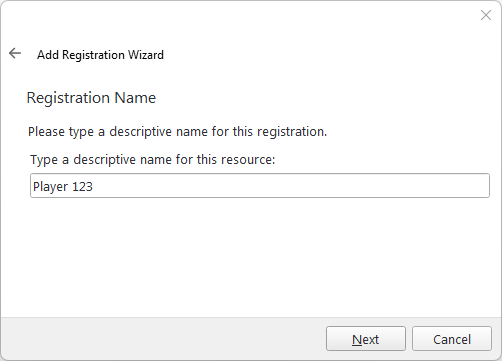
- Assign a name to the new Player, as per your naming convention.
-
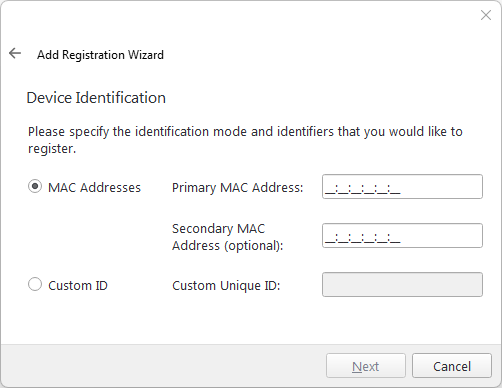
Enter the new Player’s MAC address. If it is a Broadsign Air Player, enter its unique Custom ID.
-
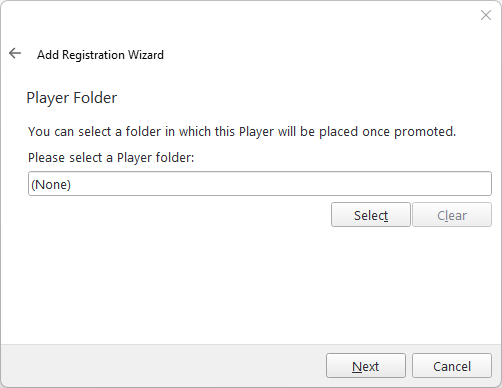
Select the folder where the player should be placed once promoted.
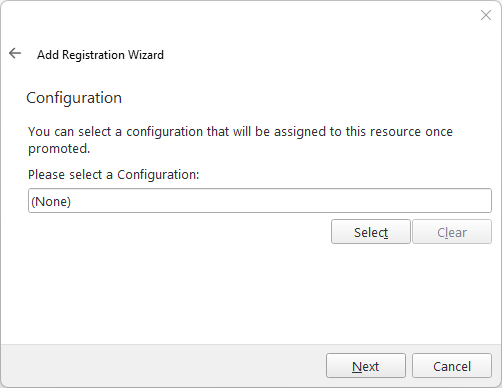
- Assign the Player to a Configuration Profile.
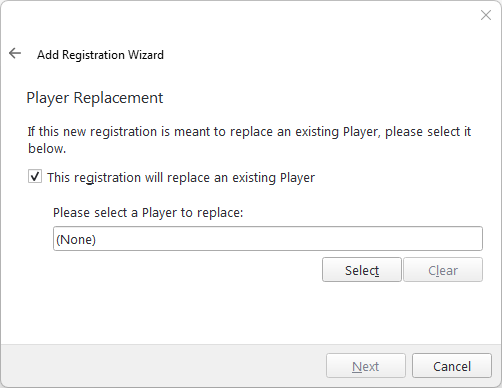
- Select the Player to be replaced.
This displays the Add Registration Wizard.
This action automatically applies the replaced Player's scheduling and opening hours to the new Player, eliminating the need to adjust campaigns and ensuring uninterrupted operation.
If you do not select a folder, the Player will be placed in the root of the Players resource.
Tip: In most cases, the new Player uses the same Configuration Profile as the replaced Player. However, review the Configuration Profile before assigning it to the new hardware to ensure it contains all necessary settings.
Note: Deregistering a Player occurs immediately upon selection. Therefore, only register the replacement Player during the hardware swap to avoid potential issues.
The new Player automatically registers and retrieves all necessary configurations and scheduling from the old Player through the Display Unit and Configuration Profile.
