This section describes how to create a one-time report that will be exported.
To create a report:
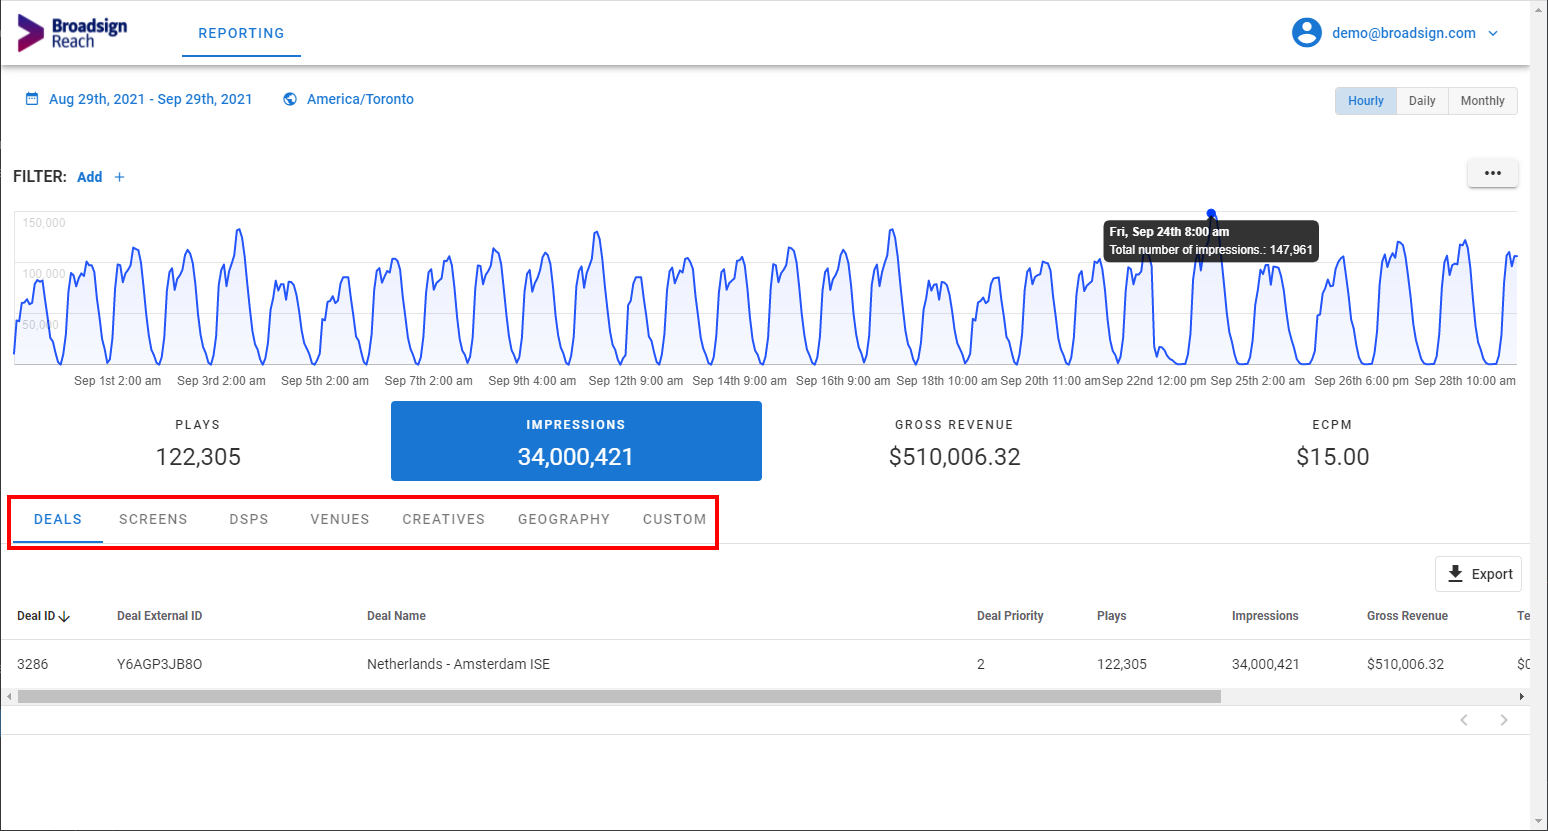
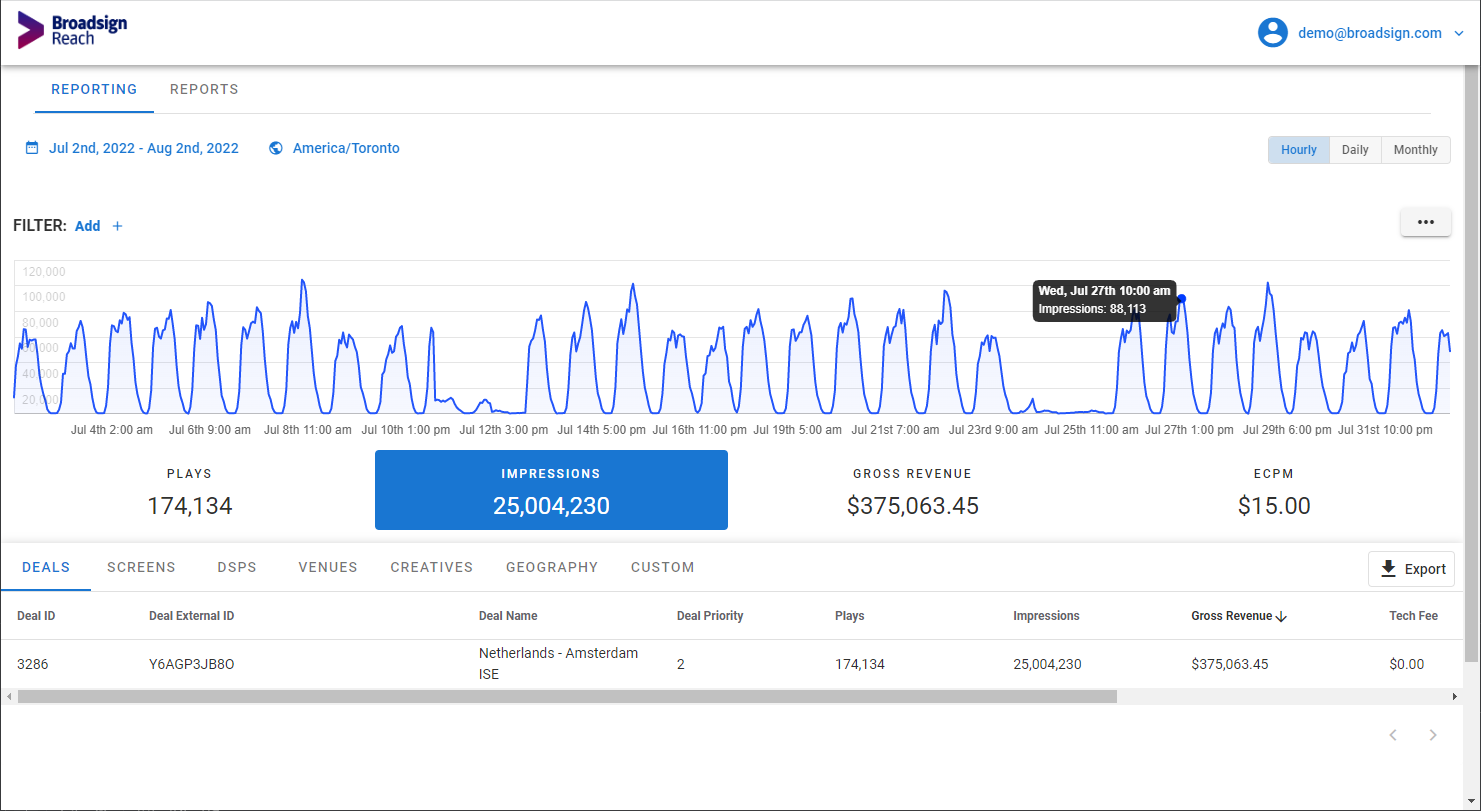
- Access the Reporting section.
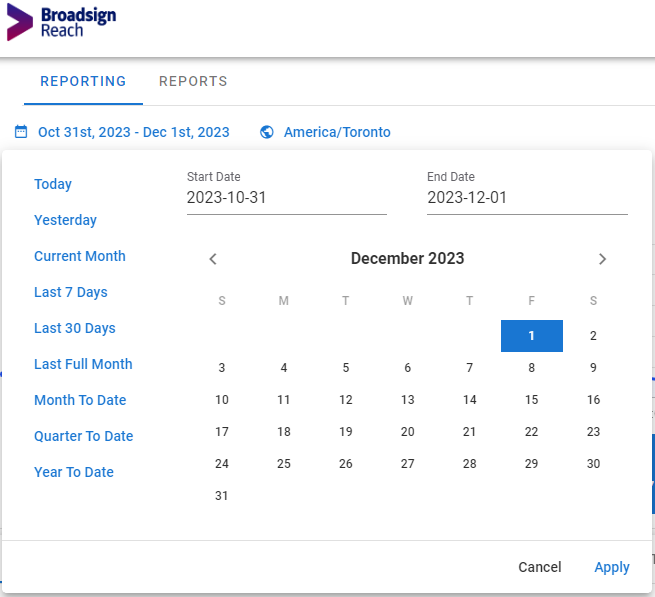
- Select a reporting period by clicking the Date picker.
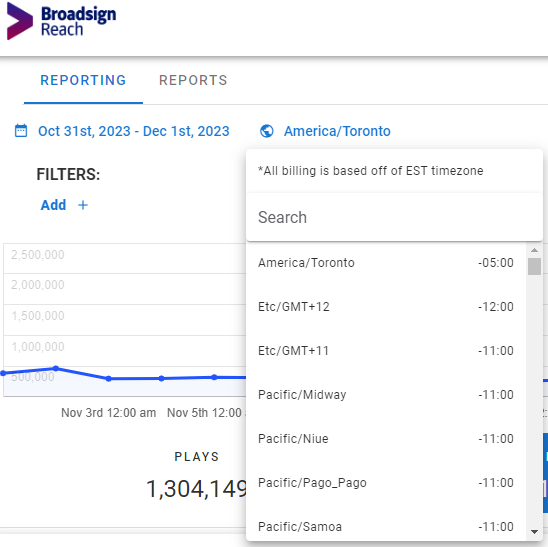
- Select the proper time zone by clicking the Time Zone picker, and then select the proper time zone from the list.
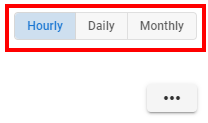
- Select whether to have Hourly, Daily or Monthly information displayed in the graph.
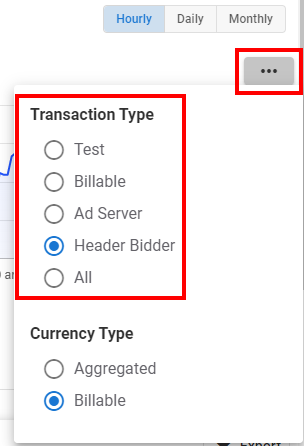
- Select the Transaction Type to use for the report.
- Test – Test transaction data only.
- Billable – Production data from Broadsign SSP (Reach)-integrated demand sources.
- Ad Server – Transactions processed through Broadsign's Ad Server (if available).
- Header Bidder – Transactions processed through the Broadsign SSP (Reach) Header Bidder (if available).
- All – All available transactions.
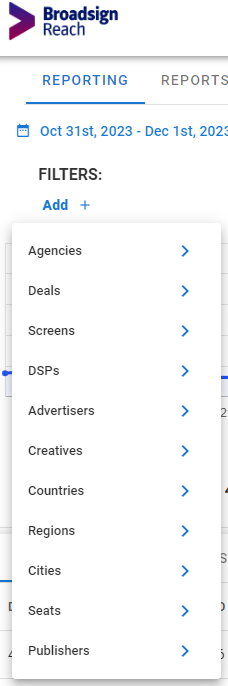
- If applicable, create a filter to display only specific data:
- Click the Add button next to Filter and the list of metrics is displayed.
- Click one of the metrics.
- Enter the information to filter.
- Select which breakdown tab to use in the Information section:
- Deals
- Screens
- DSPs
- Venues
- Creatives
- Geography
- Sort information by any column to customize the information that you would like to see.
- If applicable, create a custom view:
- In the Information section, click the Columns button on the right.
- Select the Dimensions and Metrics, then click Apply.
The Columns window is displayed. This window allows you to select the Dimensions and Metrics that you want in your custom view.
Tip: You must select at least one Metrics.
The selected columns are displayed.
For more information, see Custom View.
- Once everything is correct, click Export.
The Reporting tool is displayed.
You can select one of the periods on the left (Today, Yesterday, Current Month, Last 7 Days, Last 30 Days, Last Full Month, Month to Date, Quarter to Date, Year to Date), or pick your own start and end dates in the calendar.
You can search for a time zone by name or time offset, for instance, "-5".
The default value is Eastern Standard Time.
A search box for this specific metric is displayed. You can search by metric name or ID.
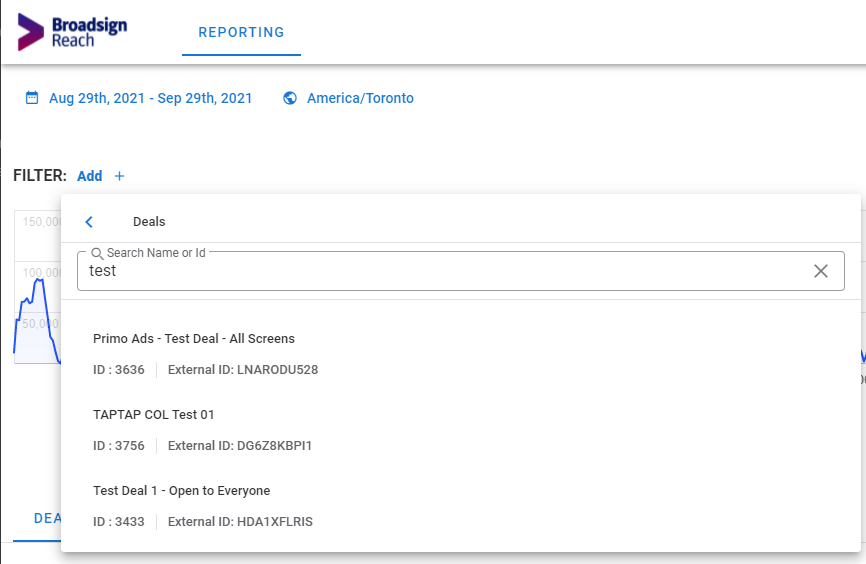
For more information, see Filtering.
The information related to the selected tab is displayed.