This page describes how to use the BMS Finance Connector to create General Ledger (GL) Accounts and associate them.
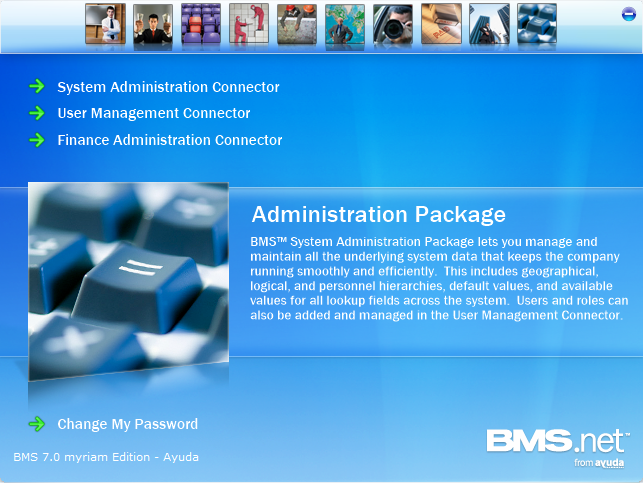
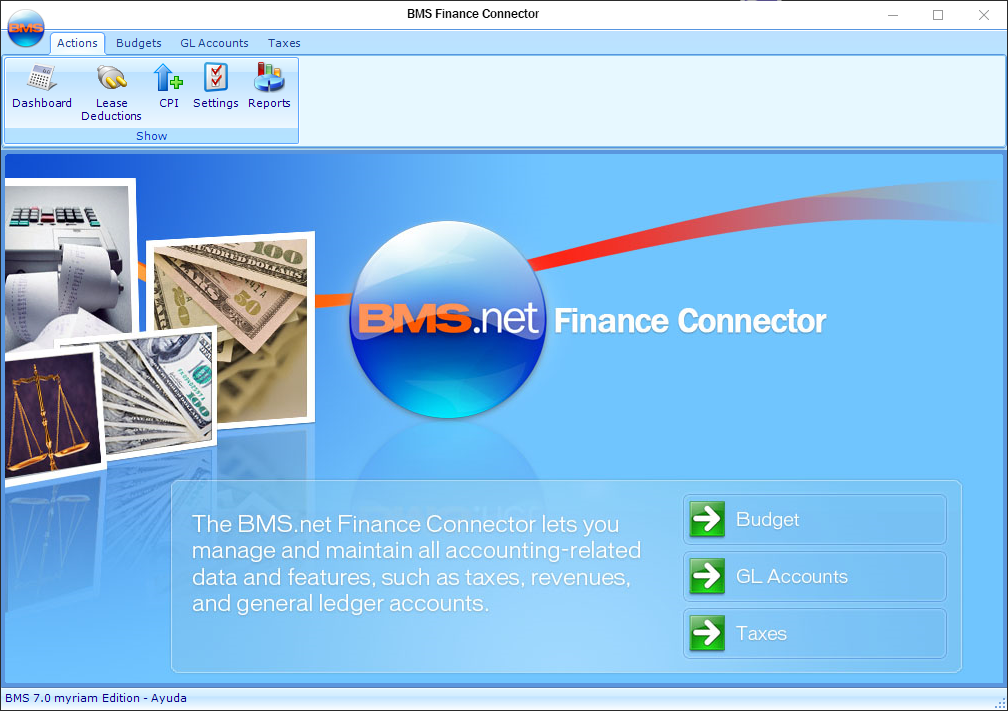
The Finance Administration Connector lets you manage and maintain all accounting-related data and features, such as taxes, revenues, and general ledger accounts.
GL Accounts need to be set for each item that will be generated in the invoice. This means that your first step will be to create them or to update them. New GL Accounts entered in BMS need to match the GL Accounts present in your dedicated Accounting System.
Note: Keep in mind that taxes and tax schedule will also need GL Accounts created for them, if used. See BMS – Creating Taxes and Tax Schedules.
To create a GL Account:
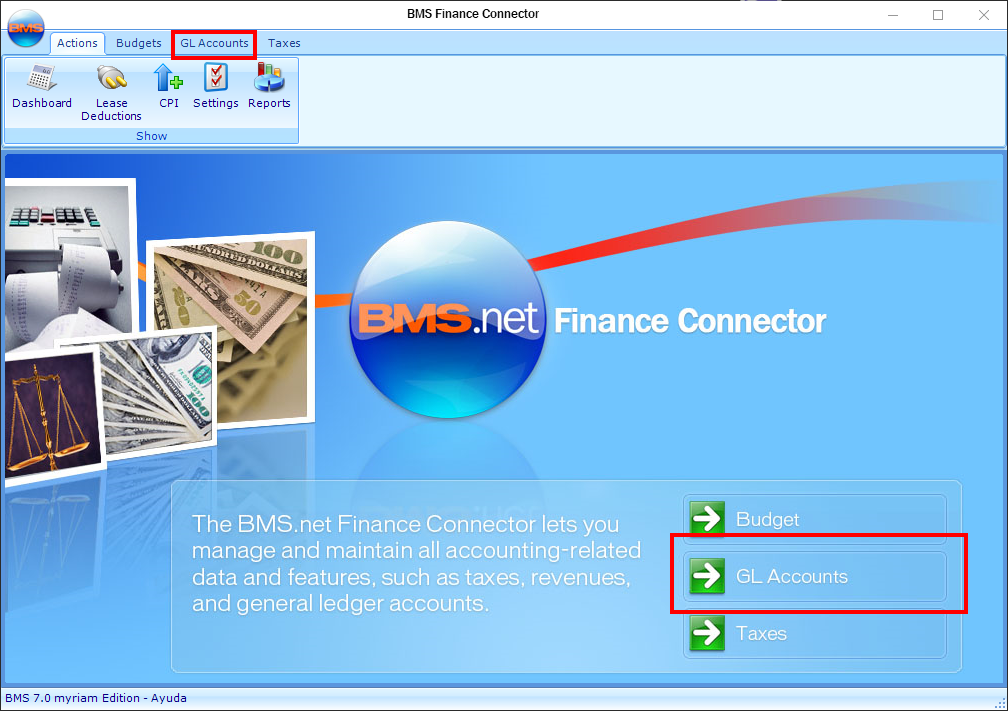
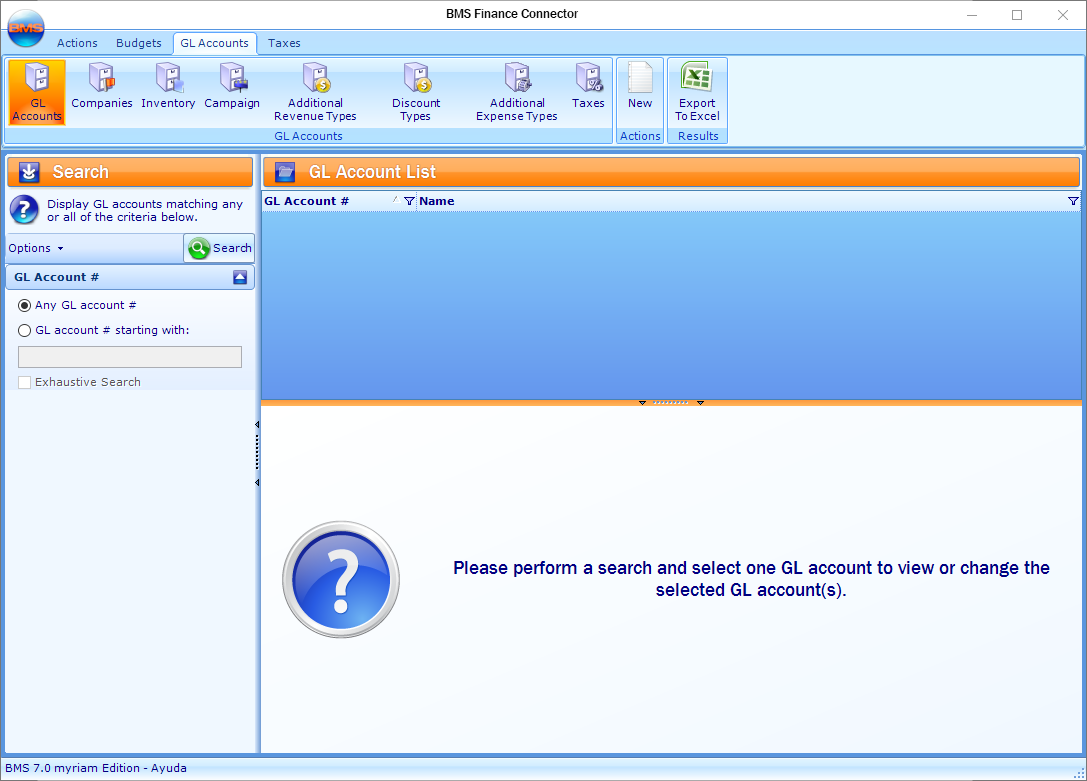
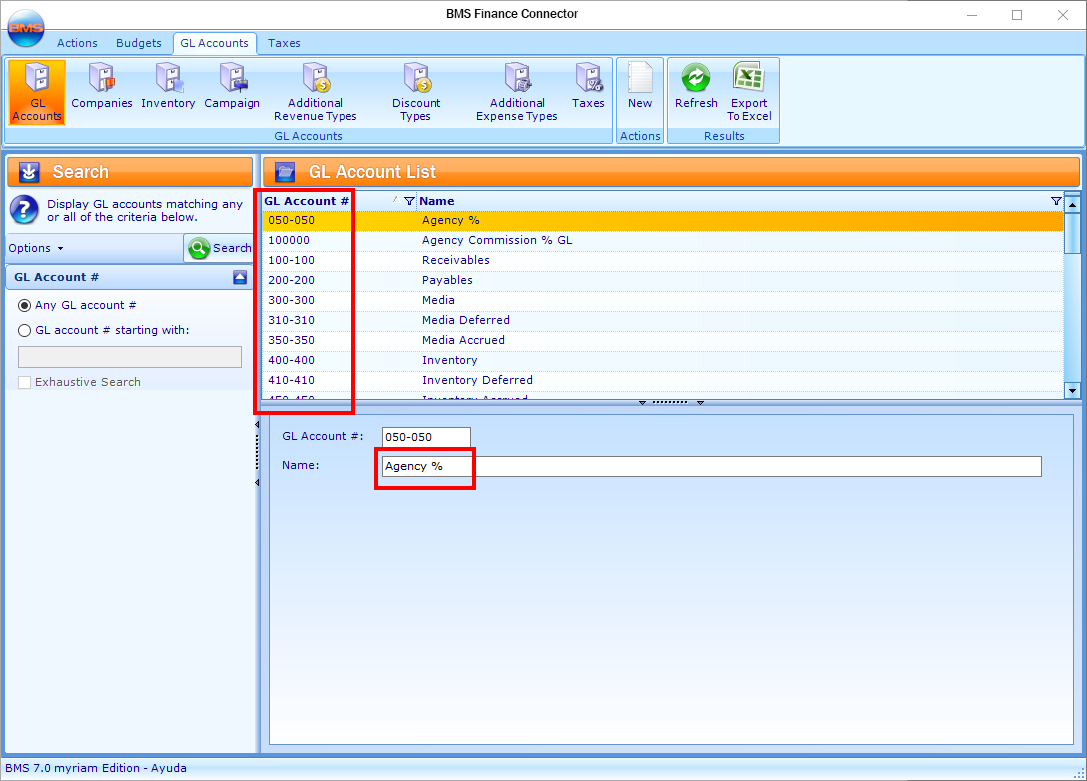
- In the Finance Administration Connector, click GL Accounts.
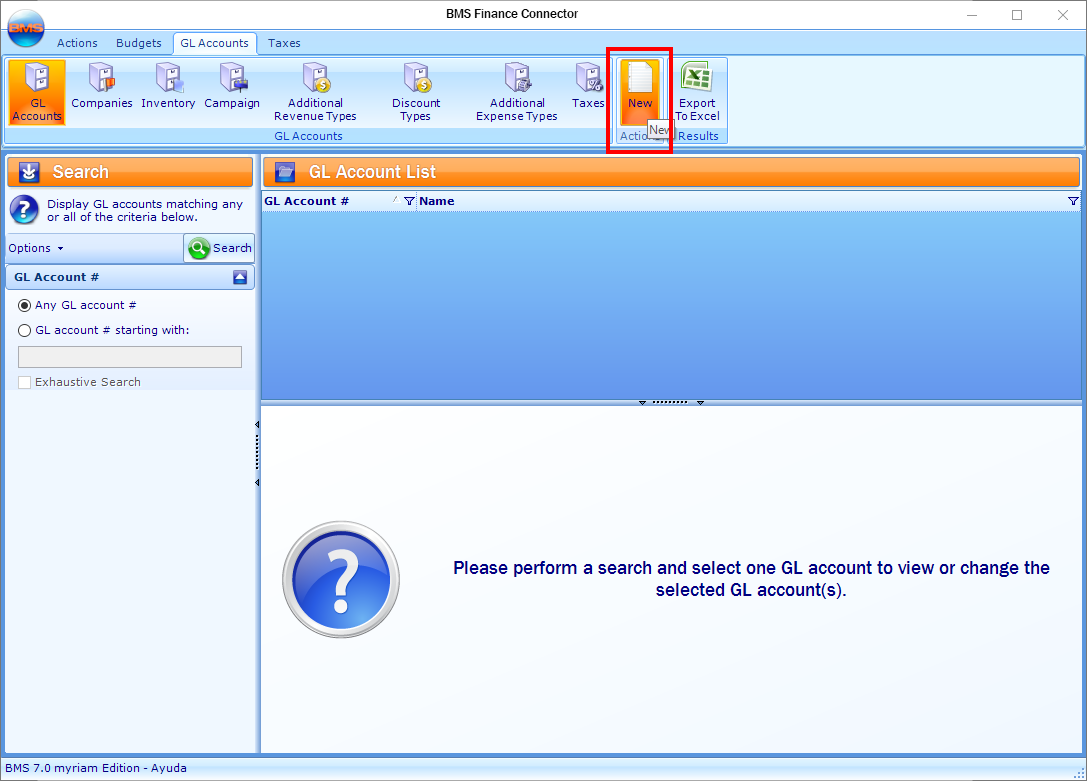
- Click New in the tool bar.
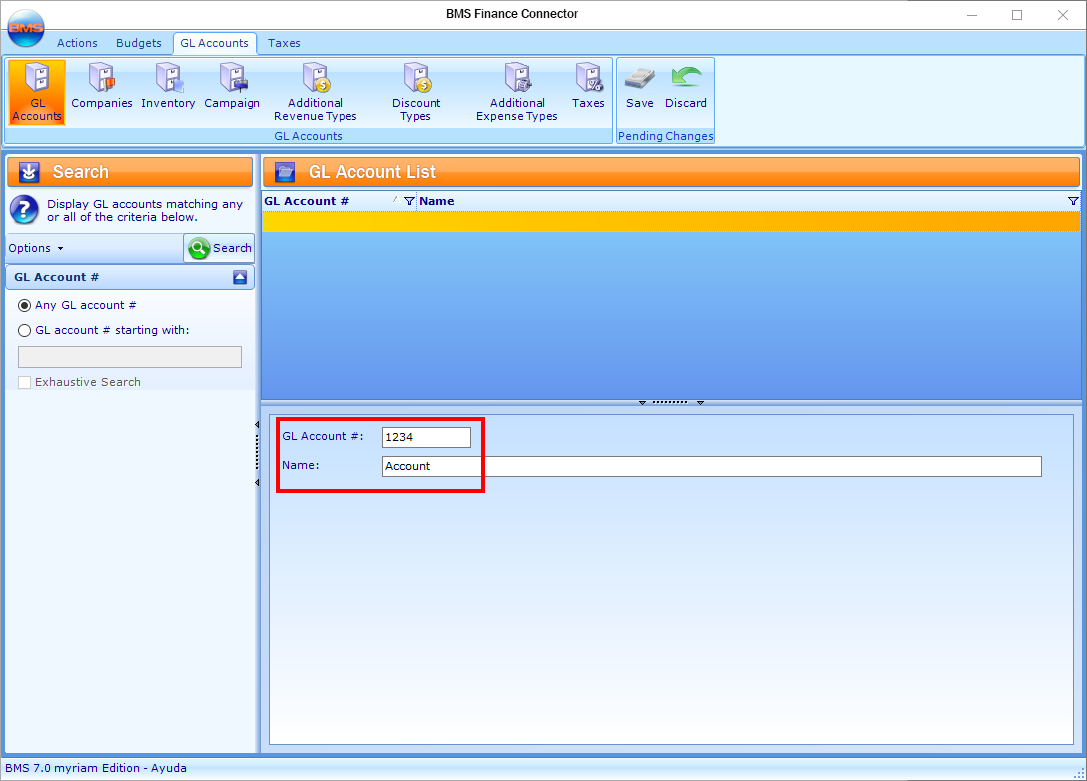
- Enter a value in the GL Account # and Name fields.
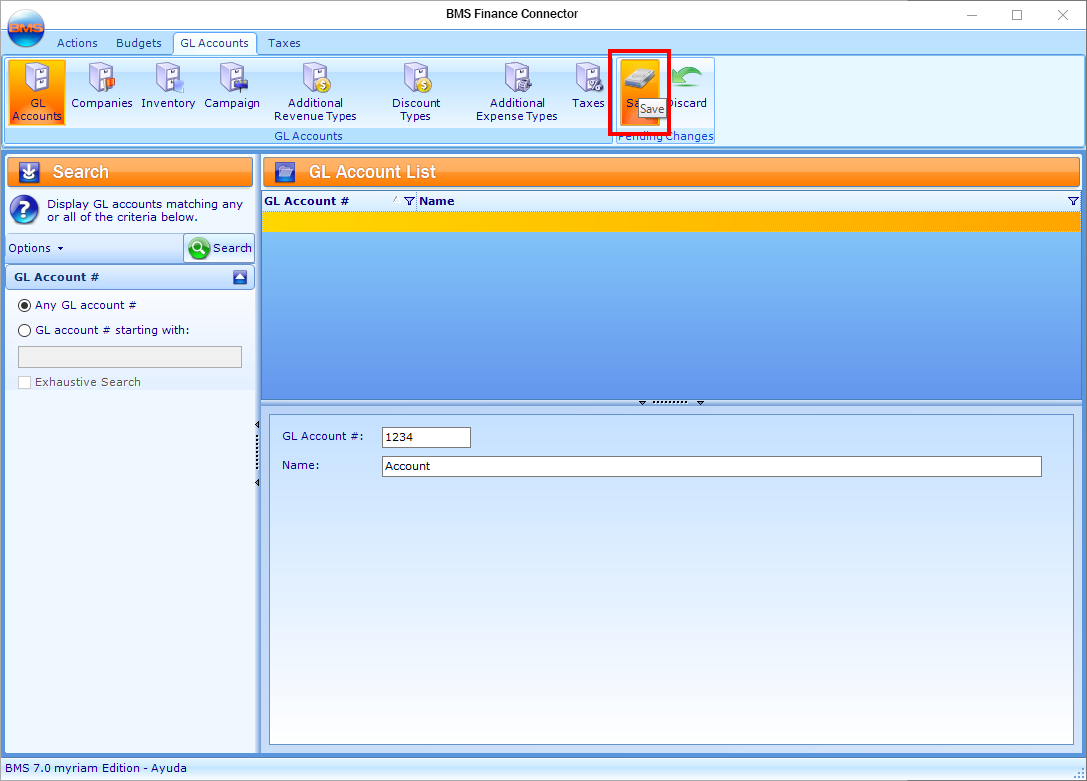
- Click Save in the tool bar.
This presents the GL Accounts level of the Finance Connector.
The GL Account # must match the GL Accounts present in your dedicated Accounting System.
If you already have GL Account and you want to use them, search for them.
Once all GL Accounts are created, your first step in assigning GL Accounts is to set them at the divisions’ level. Each division for which you generate invoice batches should have the above identified values.
Note: You can re-use GL Accounts for different purchase types if possible. For example: you can use the same Receivables GL Account for all values in the Receivables tab.
To assign a GL Account to a Division:
- In the Finance Administration Connector, click GL Accounts.
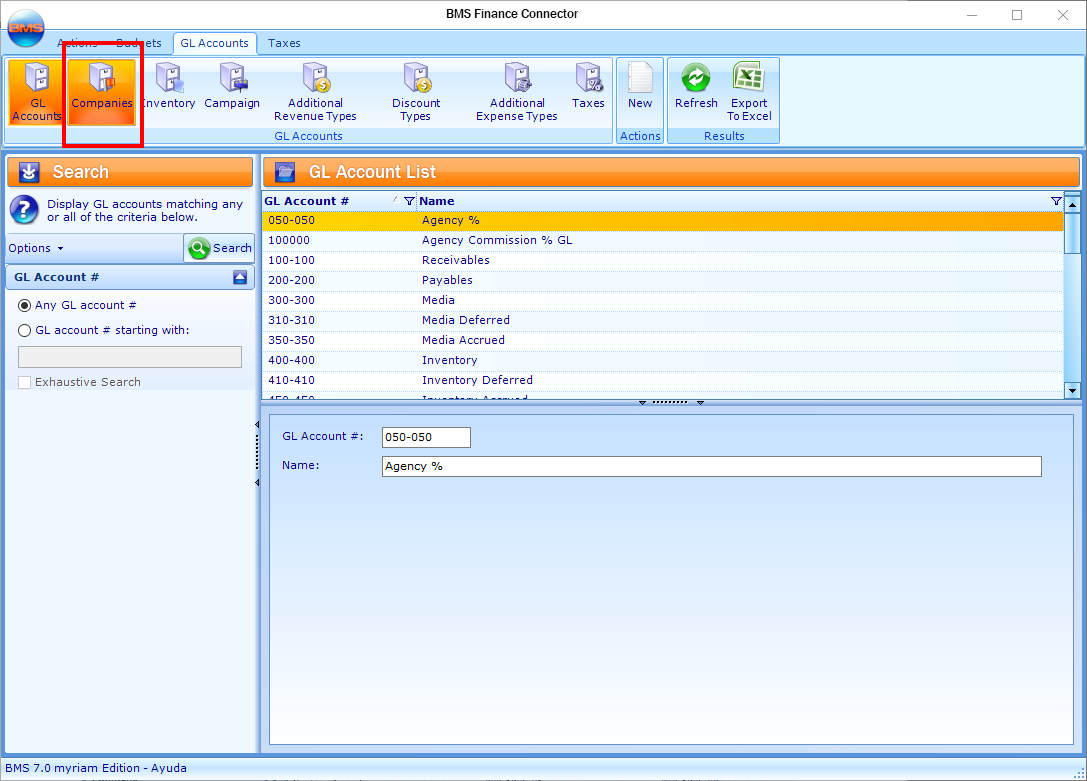
- Click Companies in the tool bar.
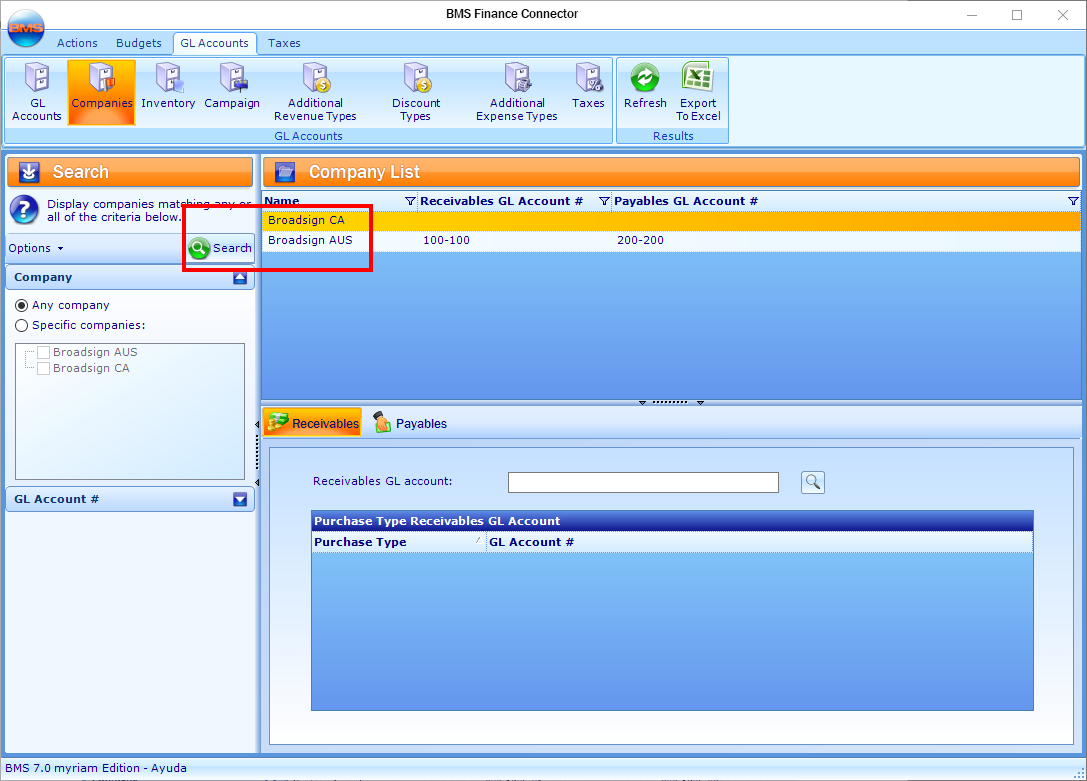
- Search for companies.
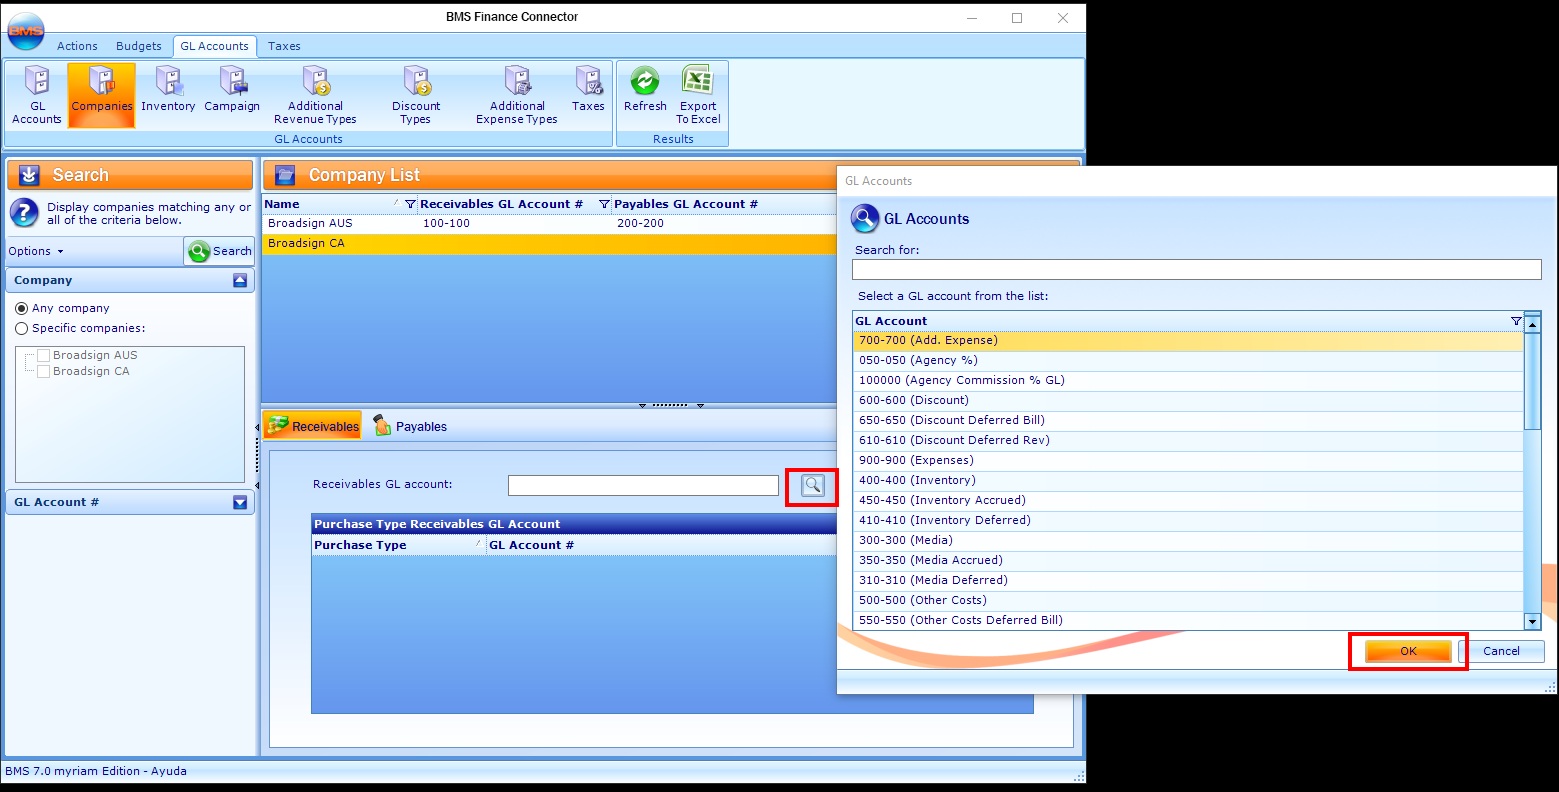
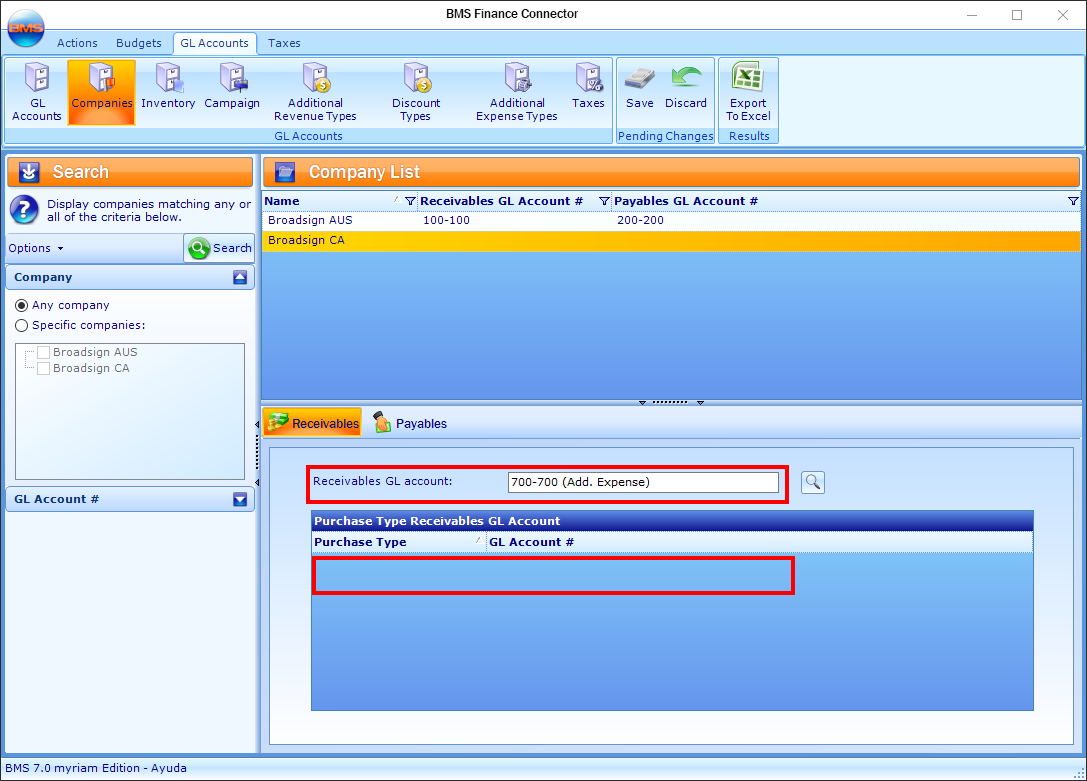
- Select a Division, and then assign a GL Account in the Receivables GL account field.
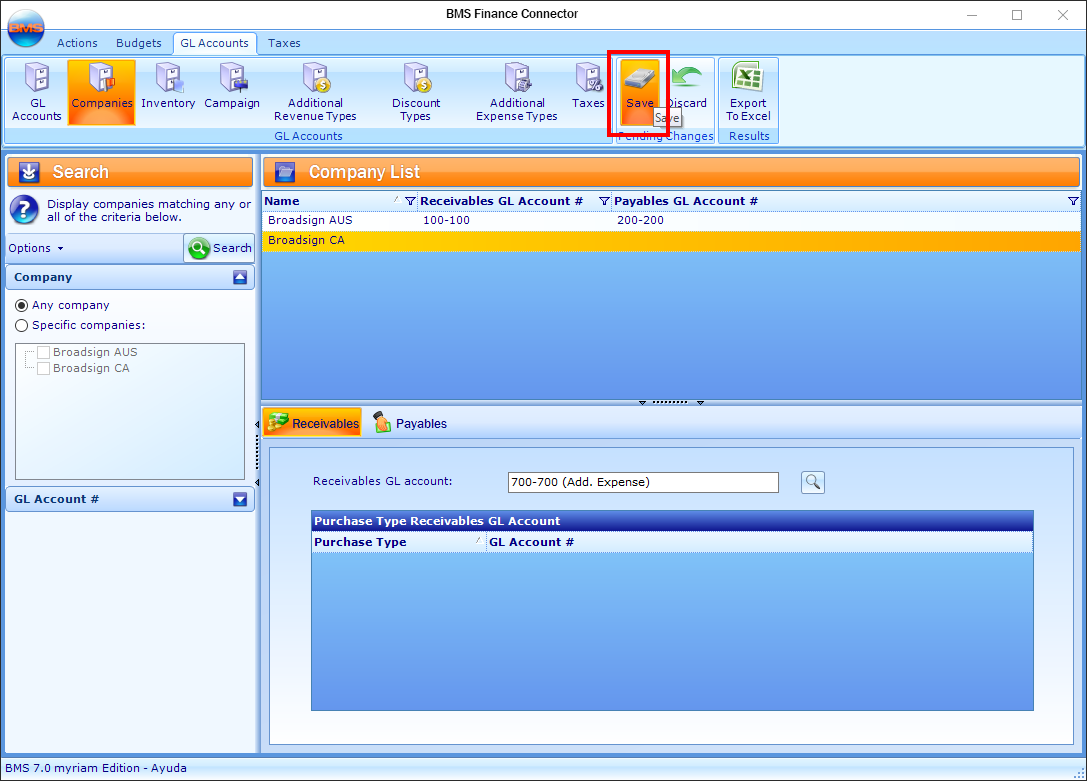
- Click Save in the tool bar.
This presents the GL Accounts level of the Finance Connector.
This presents the Companies section.
This presents the list of Divisions for the companies.
Tip: Click the search icon to get the list of available GL accounts.
This section describes how to assign a GL Account at the campaign level.
To assign a GL Account to a Campaign:
- In the Finance Administration Connector, click GL Accounts.
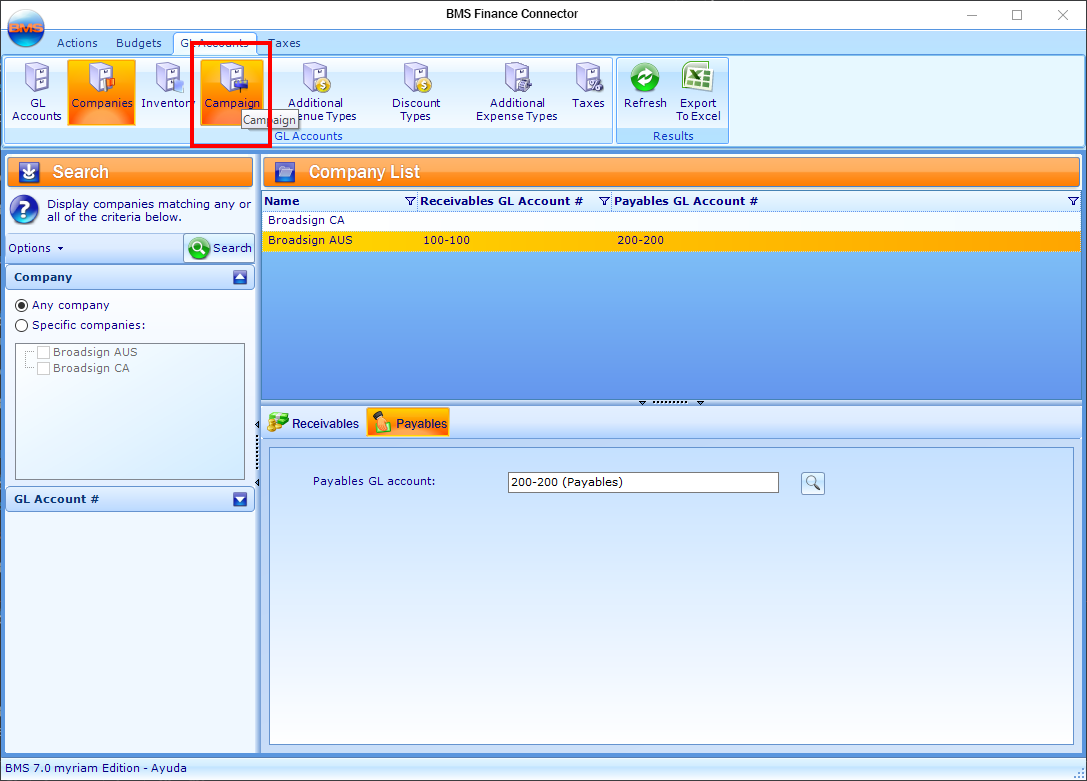
- Click Campaign in the tool bar.
- Search for campaigns.
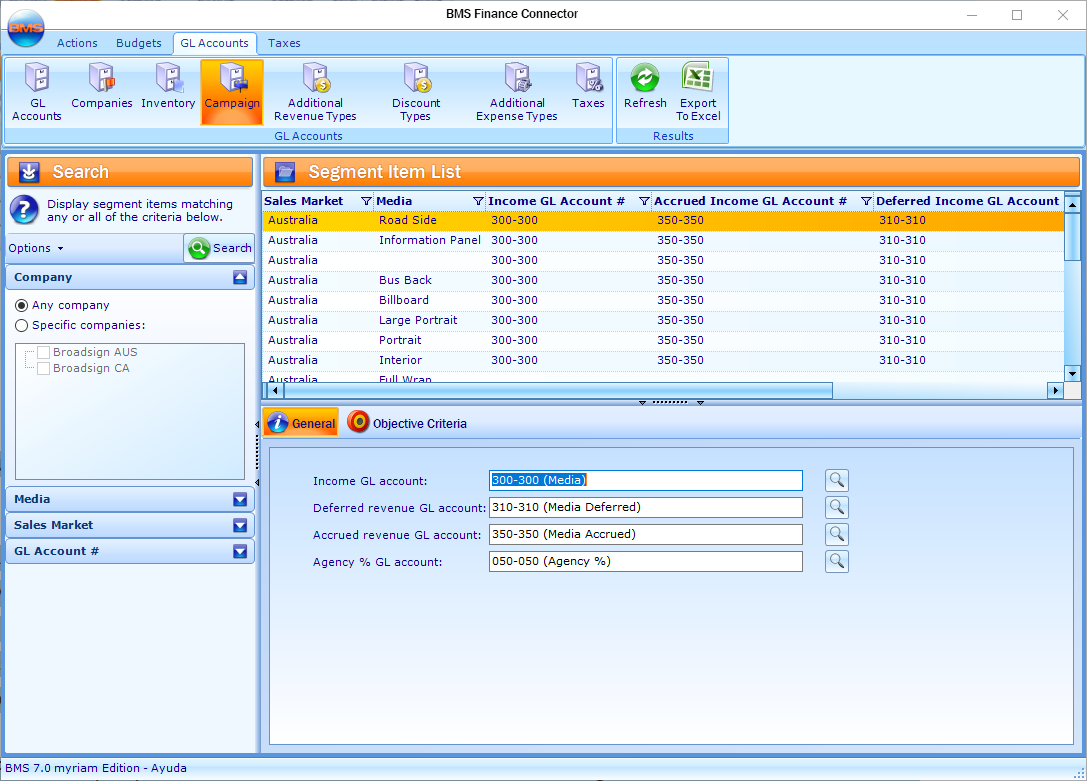
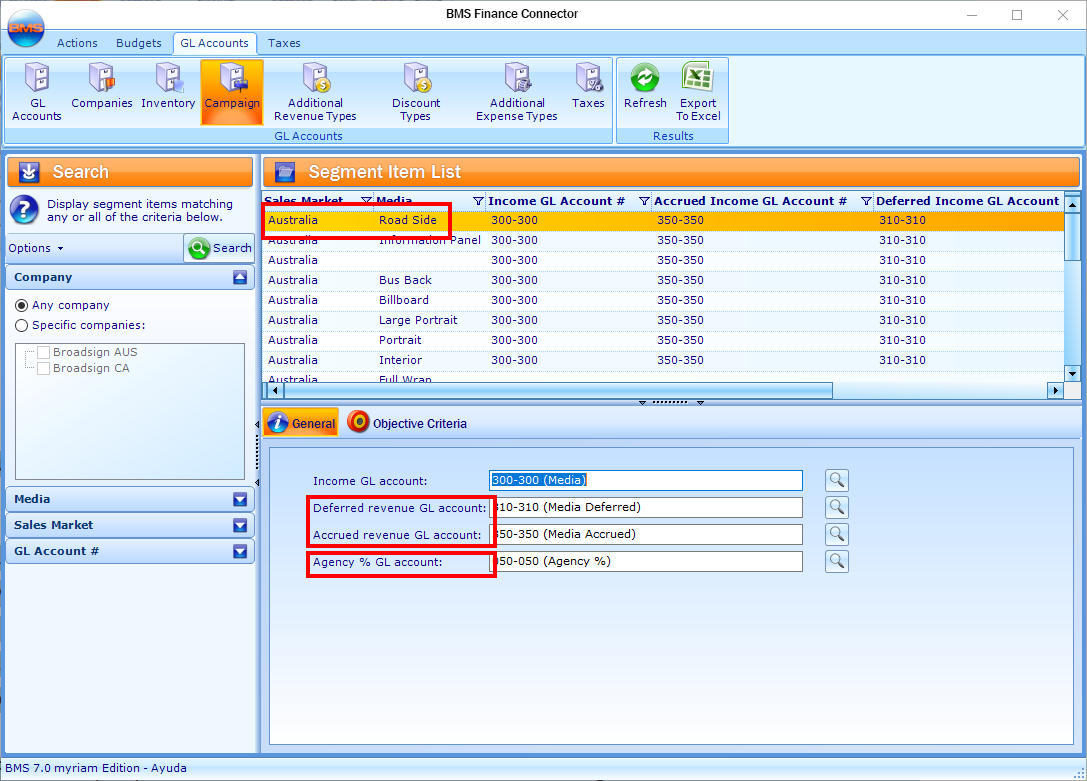
- Select a Campaign, and then assign GL Accounts.
- The ‘campaign’ items are made up of all the combinations of Sales Market, Media Group and Purchase Types, which were defined for segments in existing campaigns. Be aware that for each new combination that is created, GL Accounts must be set up. Often, users will set their GL Accounts and then create a new contract and find out that they cannot generate the invoices because of missing GL’s.
- If the company does not use the Revenue tab, in the Billing Connector, the ‘Deferred’ and ‘Accrued’ GL Accounts are not necessary to generate invoices.
- Deferred – When the revenue is recognized at a later date, meaning it doesn’t match the billing schedule dates.
- Accrued – When the revenue is accumulated every week/month/quarter/year.
- The Agency % GL Account will be mandatory for all companies that transfer agency commissions. If you see different amounts for the Gross and Net columns in the Totals tab of a campaign in the Billing Connector, then you must set this GL Account.
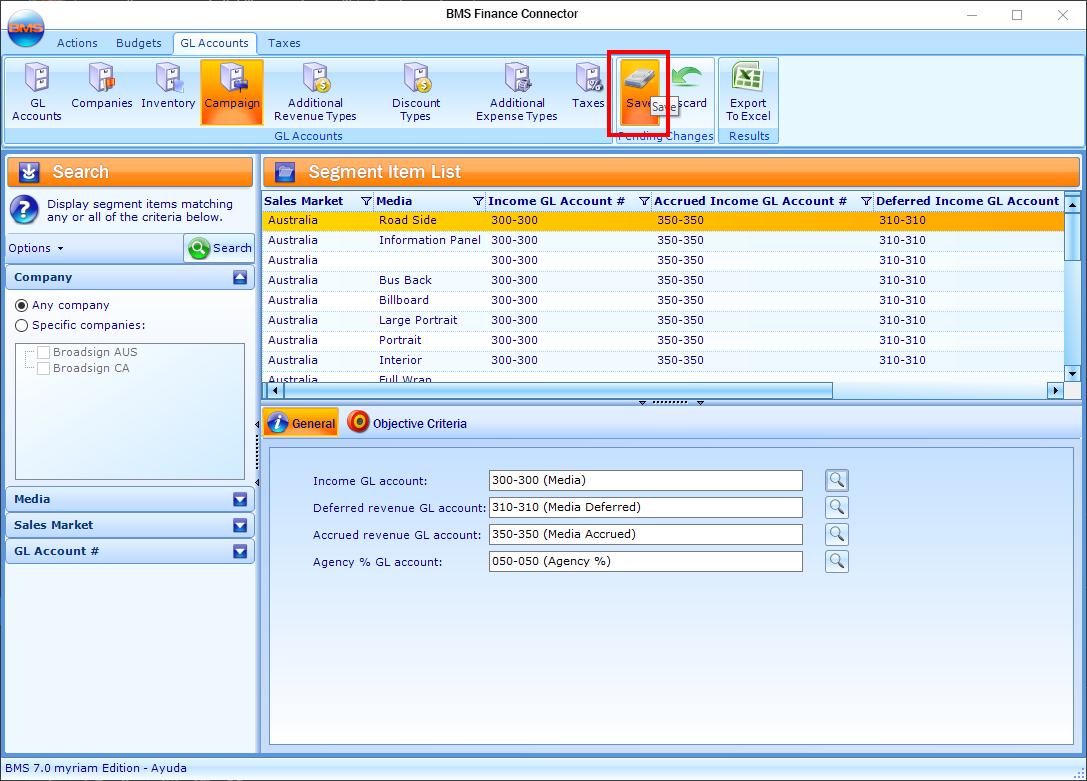
- Click Save in the tool bar.
This presents the GL Accounts level of the Finance Connector.
This presents the Campaigns section.
This presents the list of campaigns.
Tip: Click the search icon to get the list of available GL accounts.
When assigning the GL Accounts at the campaign level, you must consider a few things:
If a campaign uses revenue schedules that are different from the billing schedule, then the ‘Deferred’ and ‘Accrued’ GL Accounts must be configured.
Note: Setting up GL Accounts at the ‘Inventory’ level is not necessary if you have all your campaign-level GL Accounts. However, if you want to set up GL Accounts at the face level, note that they will take precedence over the campaign GL Accounts. Usually, the face GL Accounts will only be set up if you are also generating the leases payments.
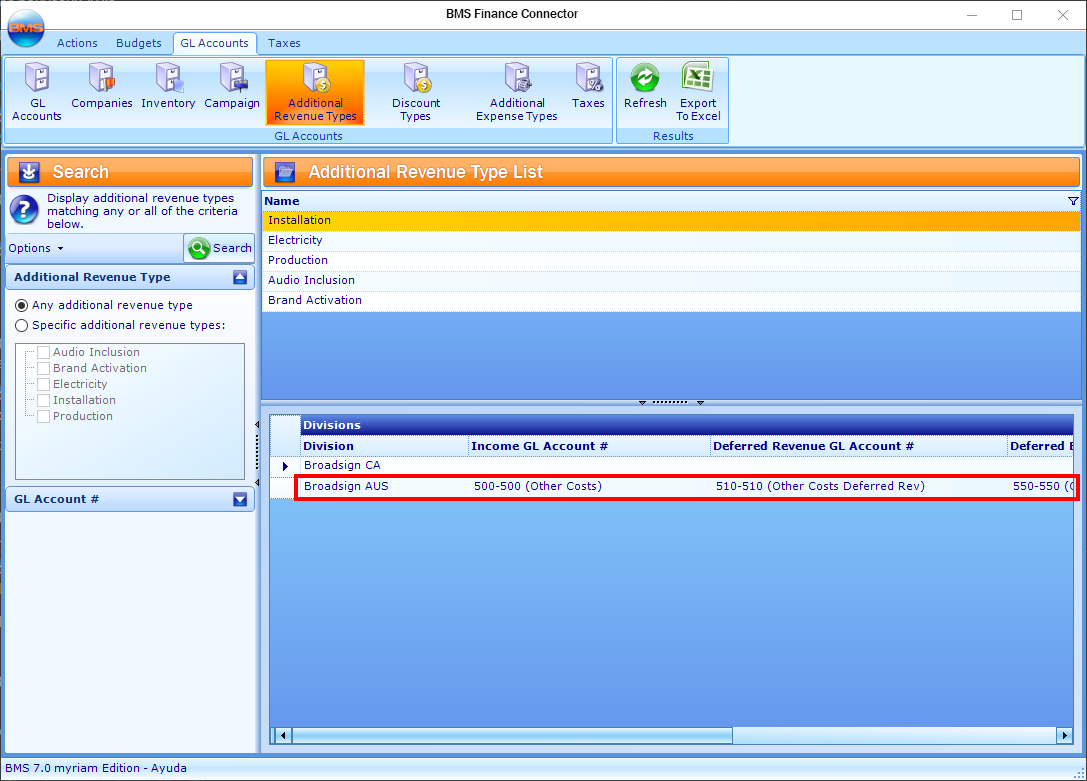
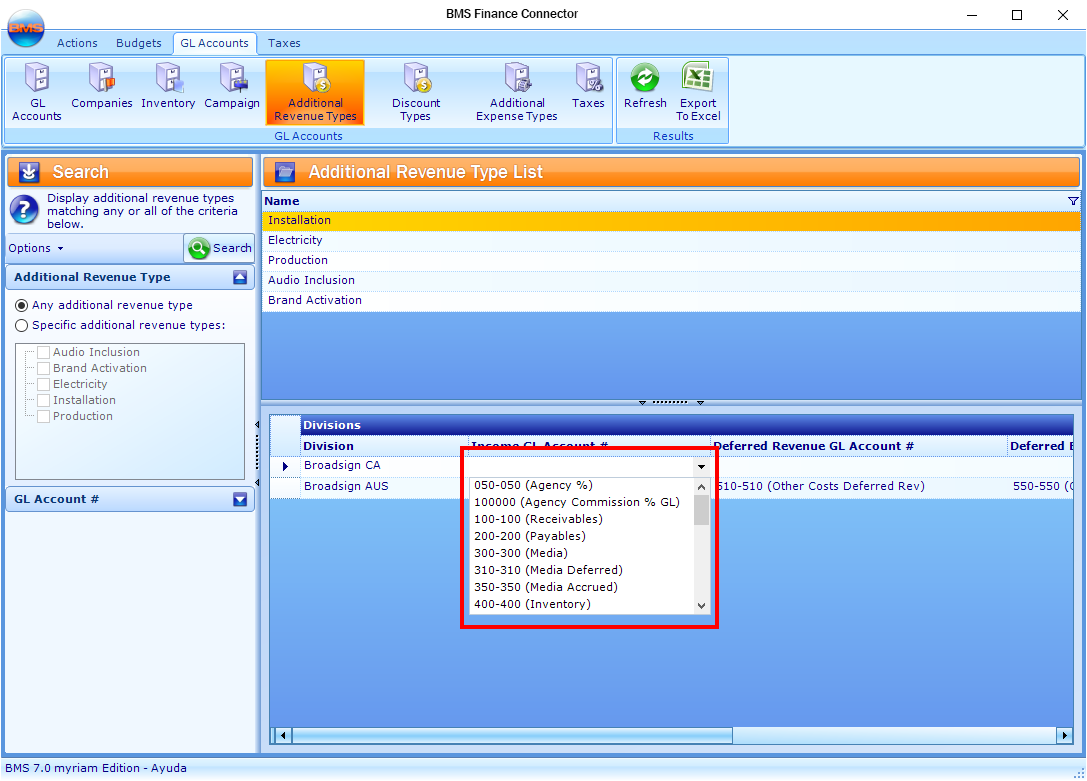
Assigning GL Accounts to additional revenue types differs from companies and campaigns, since the same additional revenue can belong to multiple companies. You will need to assign a GL to each of the companies the additional revenue type has been assigned to previously in the System Administration Connector.
As mentioned in the previous section, the ‘Deferred’ and ‘Accrued’ GL Accounts are only mandatory when the revenue schedule is used. If you have no revenue, these fields can remain empty and you will still be able to generate the invoices.
To assign a GL Account to additional revenue types:
- In the Finance Administration Connector, click GL Accounts.
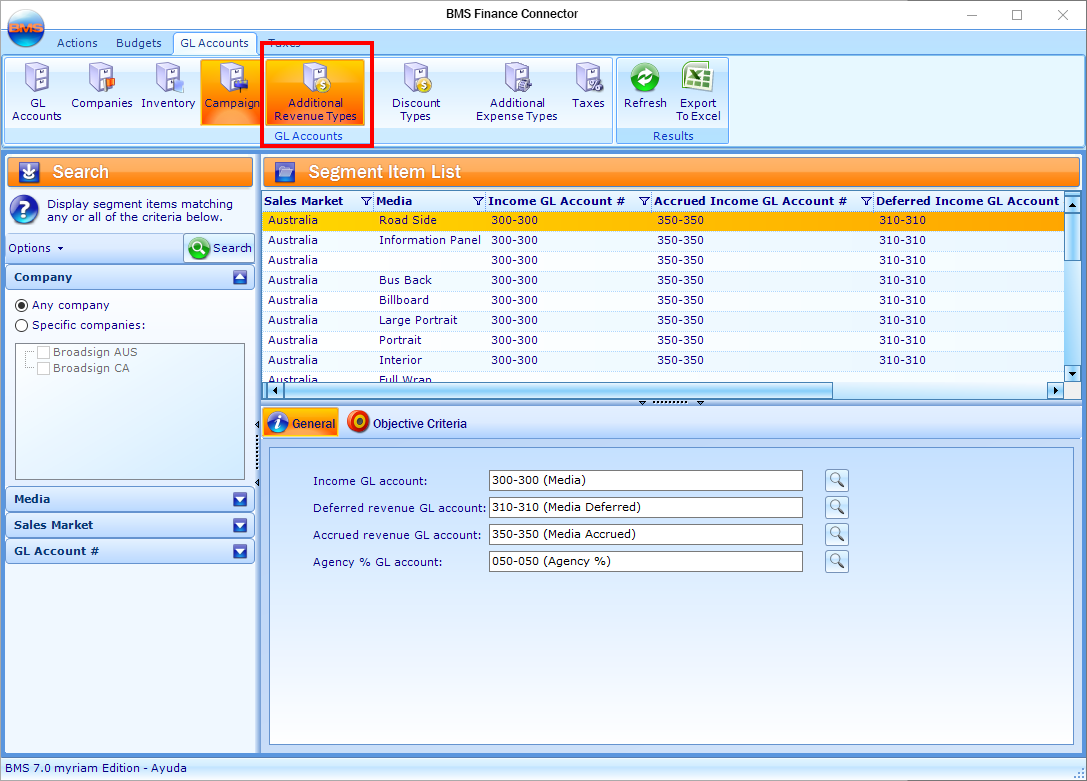
- Click Additional Revenue Types in the tool bar.
- Search for additional revenue types.
-
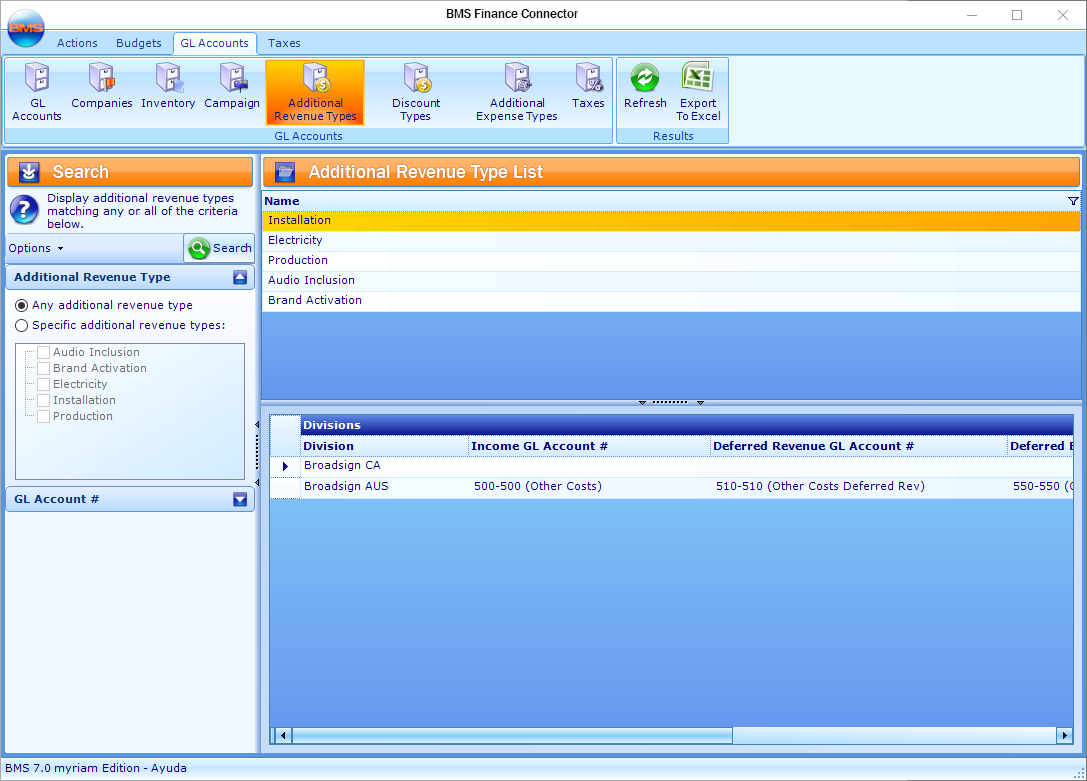
This presents the list of additional revenue types.
- Select an additional revenue type, and then assign GL Accounts.
- Click Save in the tool bar.
This presents the GL Accounts level of the Finance Connector.
This presents the Additional Revenue Types section.
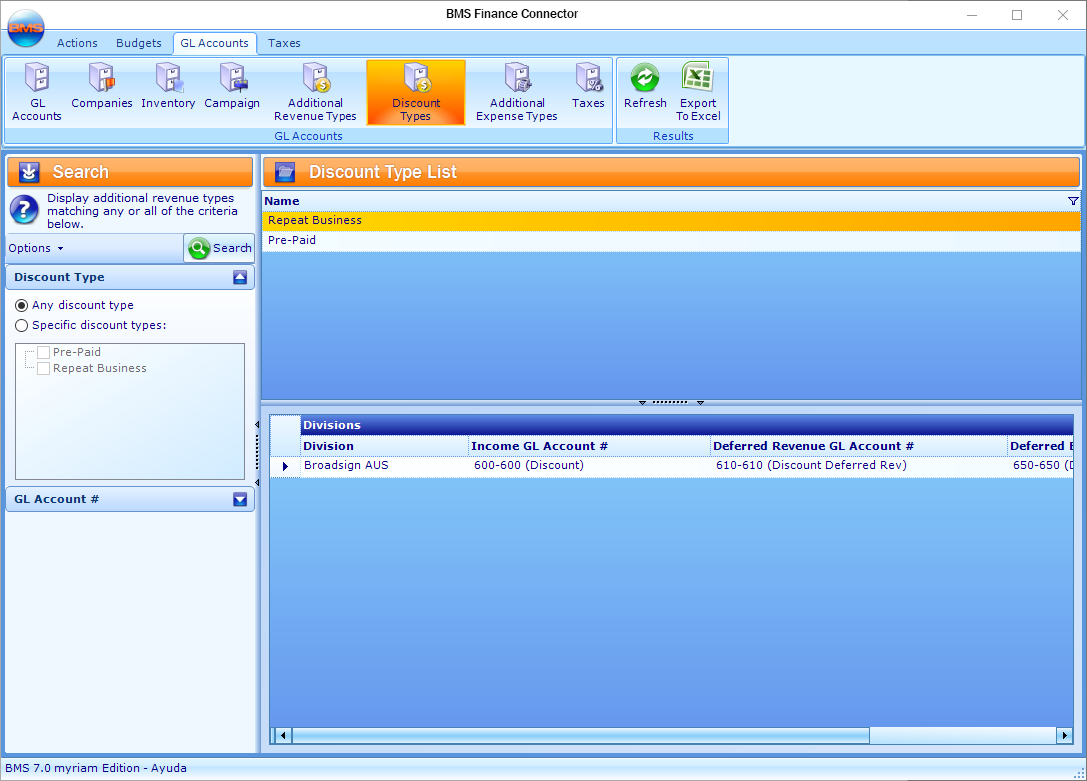
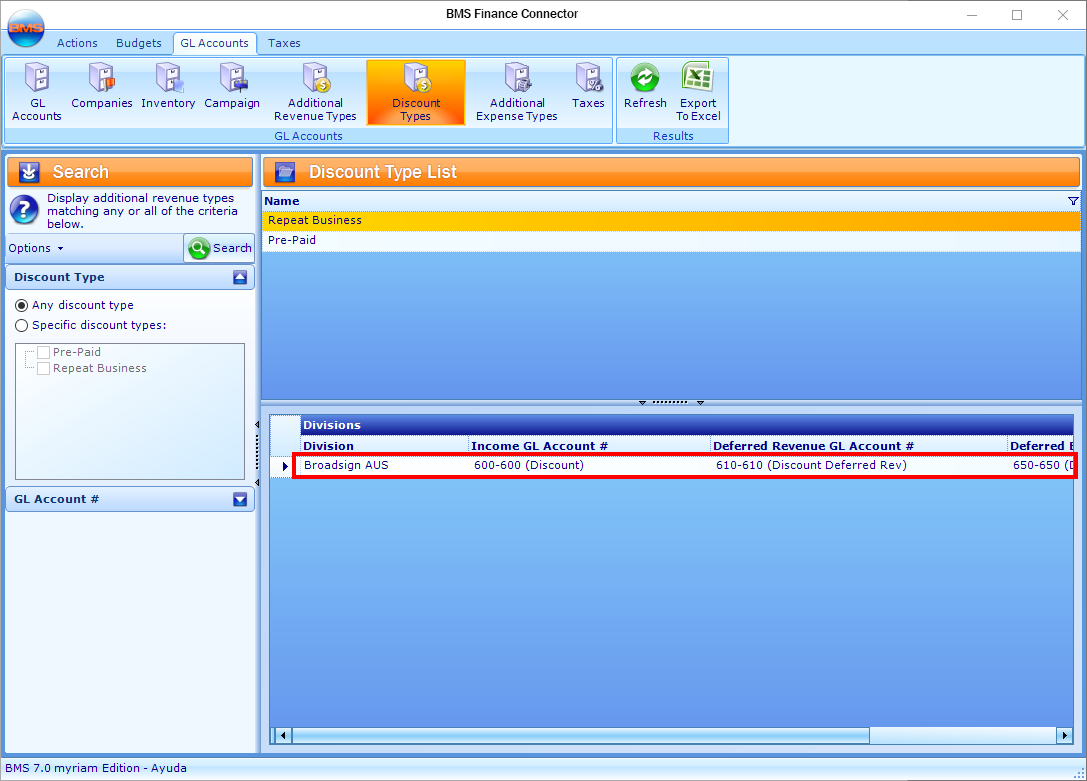
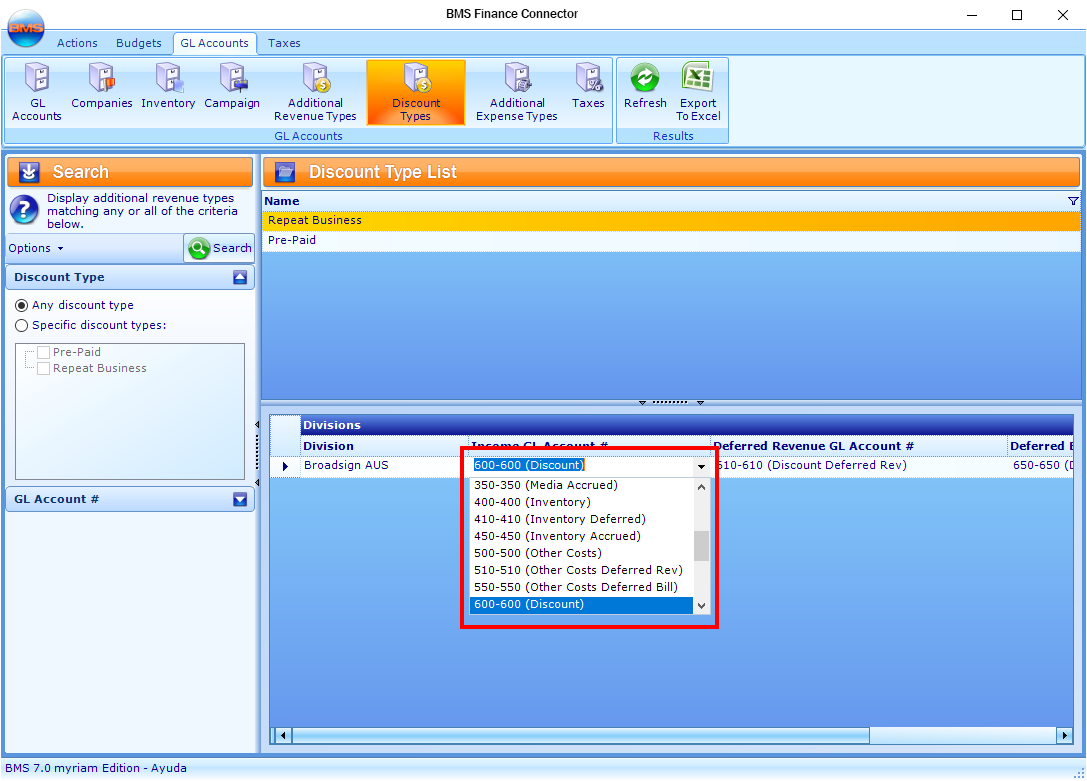
Assigning GL Accounts to discount types respects the same principles applied to additional revenues, because the same discount types can belong to multiple companies. You will need to assign a GL to each of the companies the discount type has been assigned to previously in the System Administration Connector.
To assign a GL Account to discount types:
- In the Finance Administration Connector, click GL Accounts.
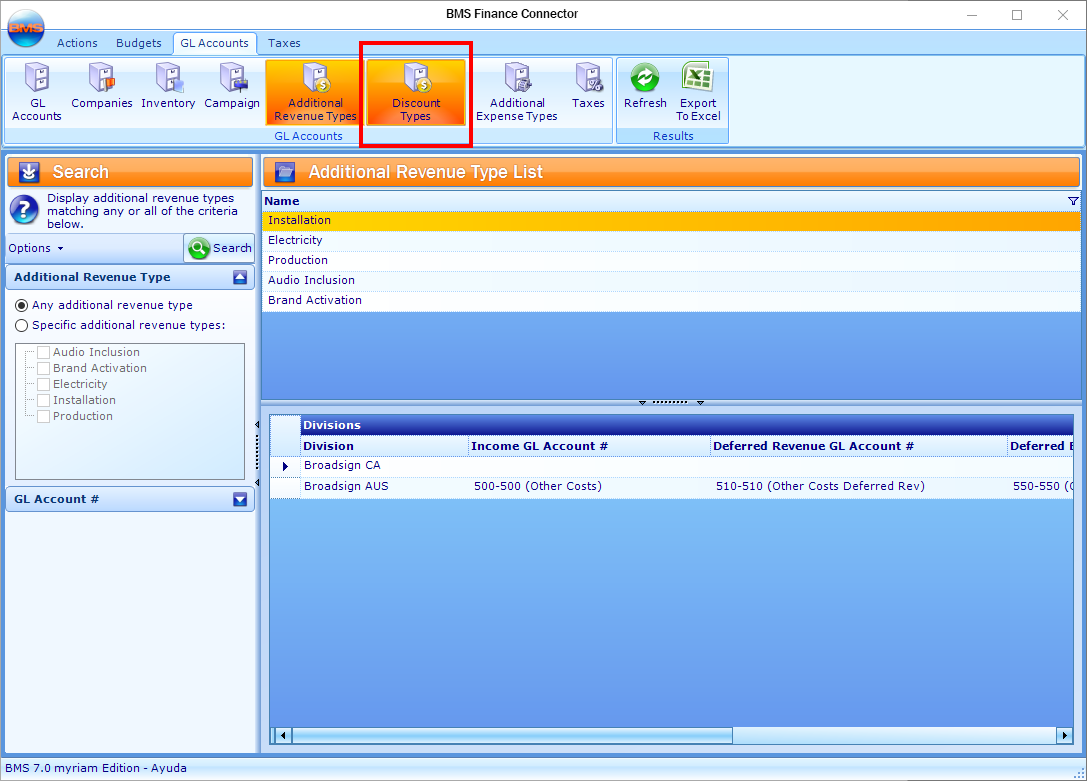
- Click Discount Types in the tool bar.
- Search for discount types.
-
This presents the list of discount types.
- Select a discount type, and then assign GL Accounts.
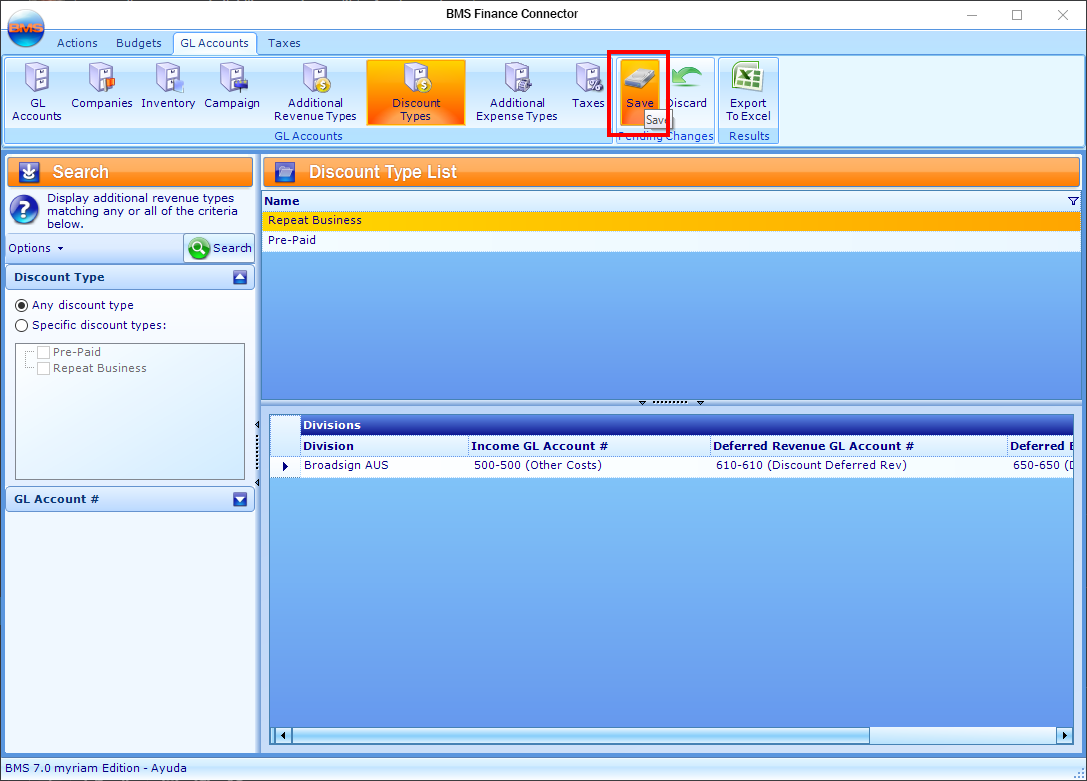
- Click Save in the tool bar.
This presents the GL Accounts level of the Finance Connector.
This presents the Discount Types section.
You are now ready to create taxes and tax schedules. See BMS – Creating Taxes and Tax Schedules.

