BMS – Creating Taxes and Tax Schedules
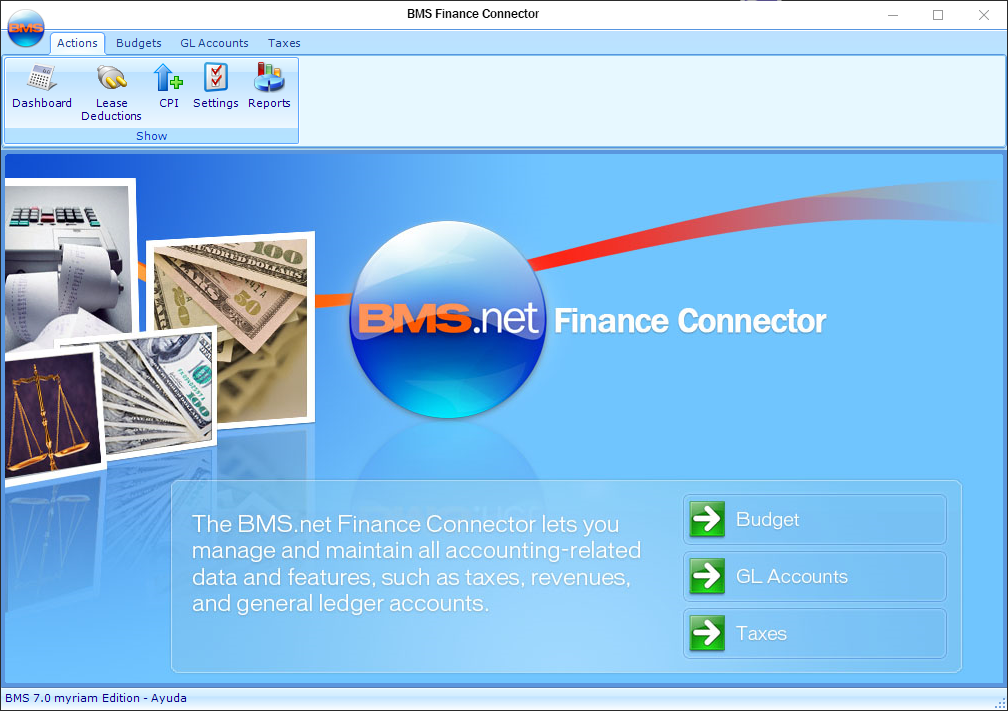
This page describes how to use the BMS Finance Connector to create taxes.
Taxes are handled differently from State to State or from Country to Country. Some companies will apply Federal and/or City taxes. The most commonly applied tax will be the State tax.
Usually, taxes are not applied to the media (at the segment level) but only on additional revenues. Keep in mind that you can create as many taxes as you need.
When creating a new tax, there is a few things that you need to remember:
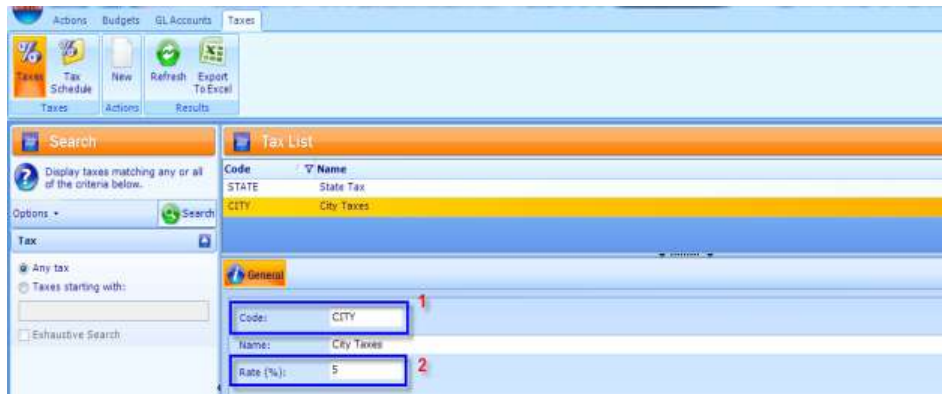
- The tax Code is usually linked directly to the accounting software tax code. It needs to reflect that specific value if you want to be able to transfer the invoice batches without any problems.
- The Rate of a tax is always in percentage (%) and can include decimals.
A Tax Schedule usually includes more than one tax. When you set taxes to media and additional revenues, you are in reality assigning a tax schedule, since you cannot set individual tax(s) to your campaigns. You can have as many tax schedules as you need.
To create a tax schedule:
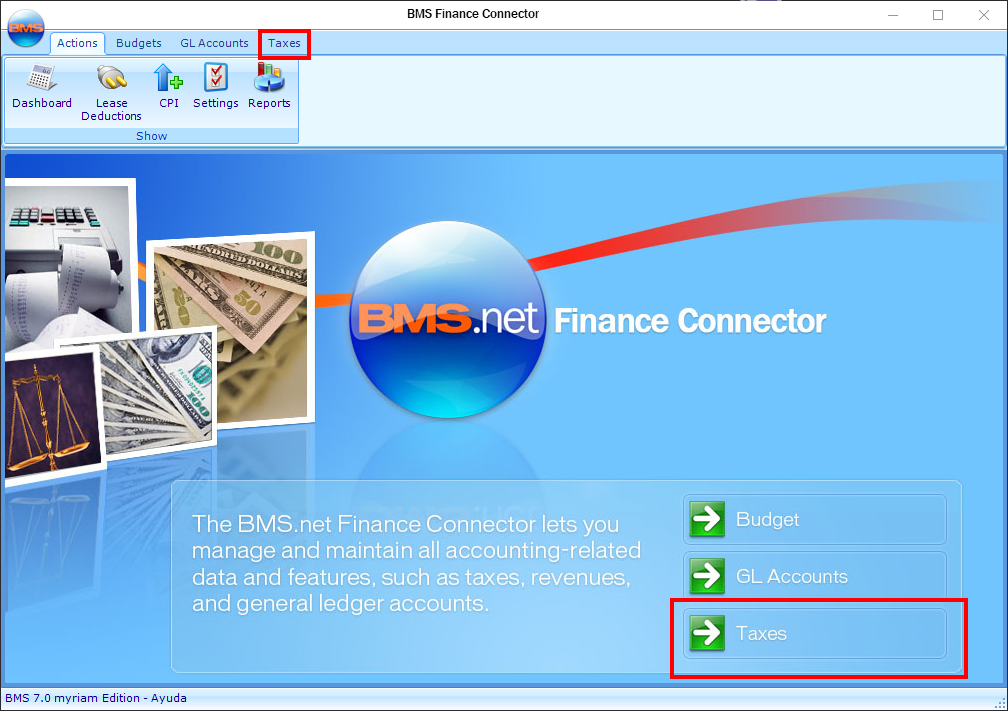
- In the Finance Administration Connector, click Taxes.
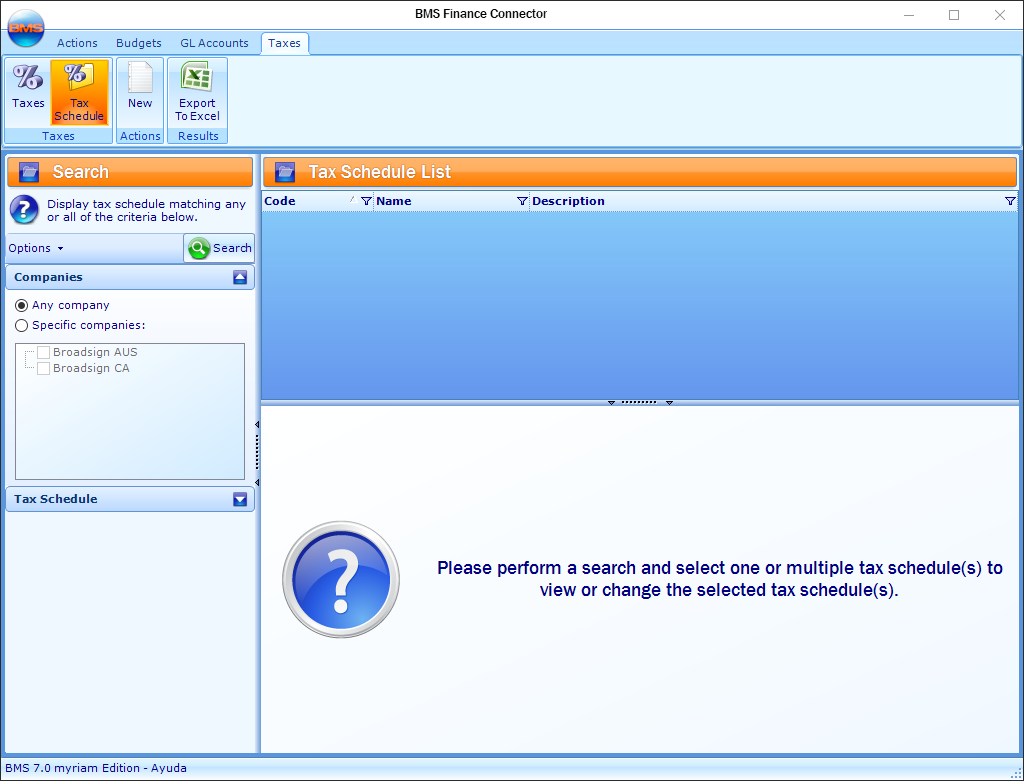
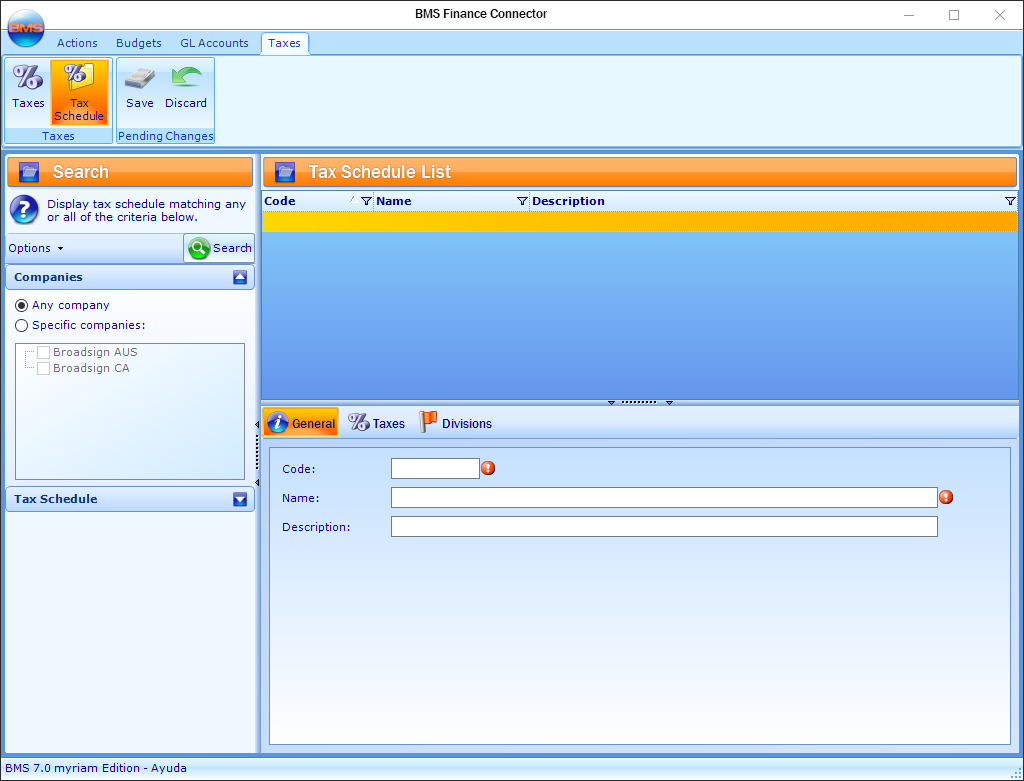
- Click Tax Schedule in the tool bar.
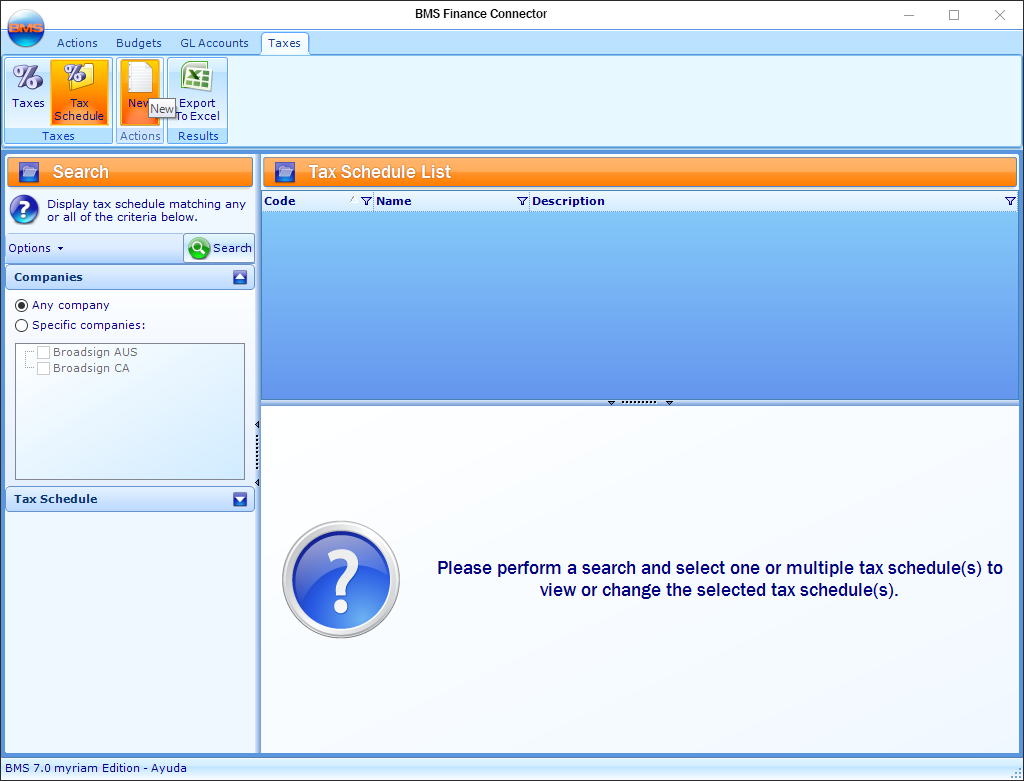
- Click New in the tool bar.
- Enter a value in the Code field.
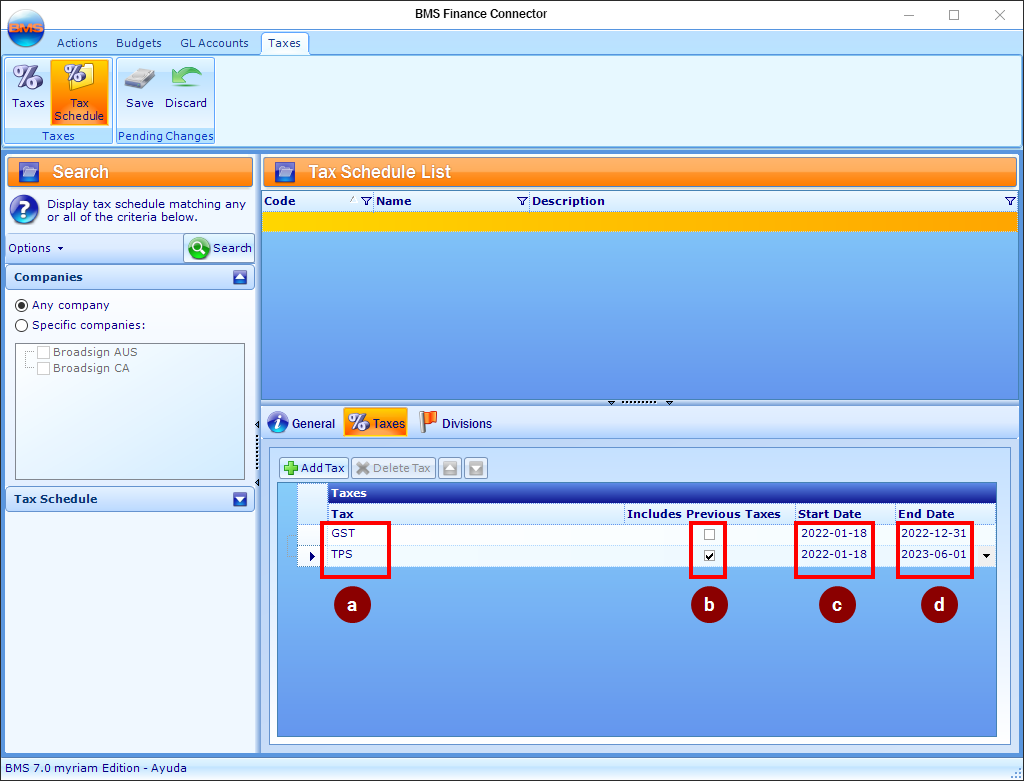
- Click the Taxes tab.
- You can assign one or multiple individual taxes to a schedule. On the invoice, just above the total, you will see the name of each tax with a dollar amount next to it.
- If you have multiple taxes in your schedule, you will need to order them by order of calculation on the invoice. They will appear in order and will calculate the individual tax amount accordingly. The check mark in Includes Previous Taxes defines if the tax calculation includes the previous tax rate or not.
- The Start Date field represents the date at which that specific tax rate is active. If the start date is not included in your invoice generation date range, and you have an invoice that includes taxes, then the tax will not be calculated and will not appear on your invoice.
- The End Date field represents the date at which that specific tax rate becomes inactive. If you generate invoices after the tax end date, then the tax will not be calculated and will not appear on your invoice.
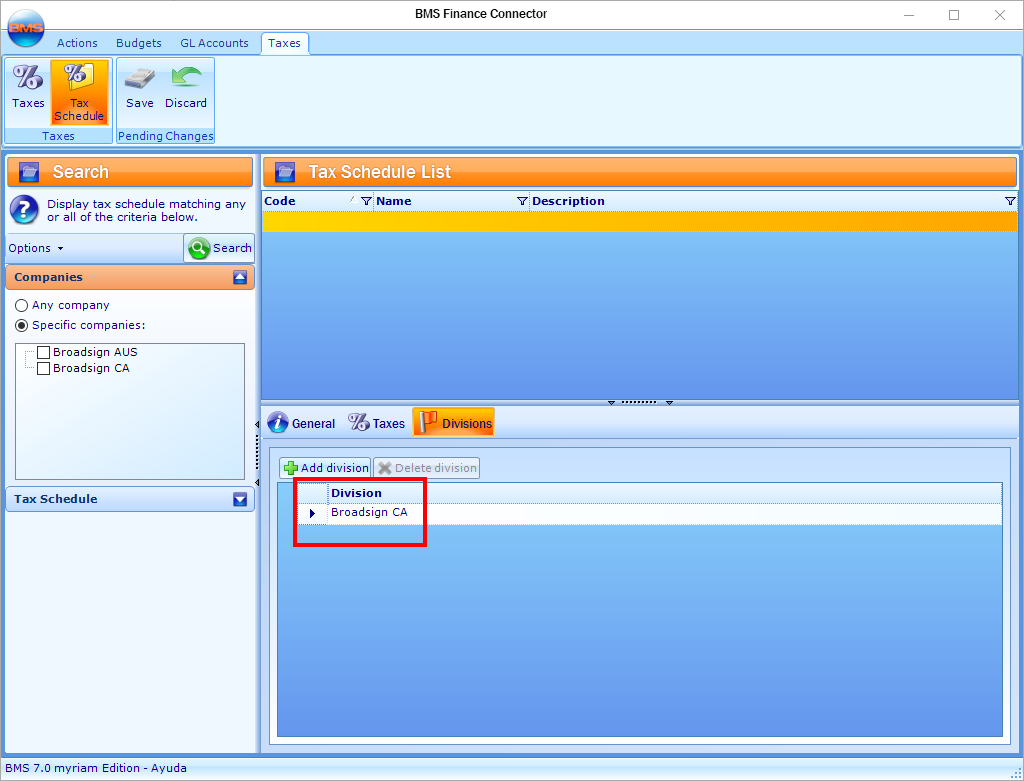
- Click the Divisions tab.
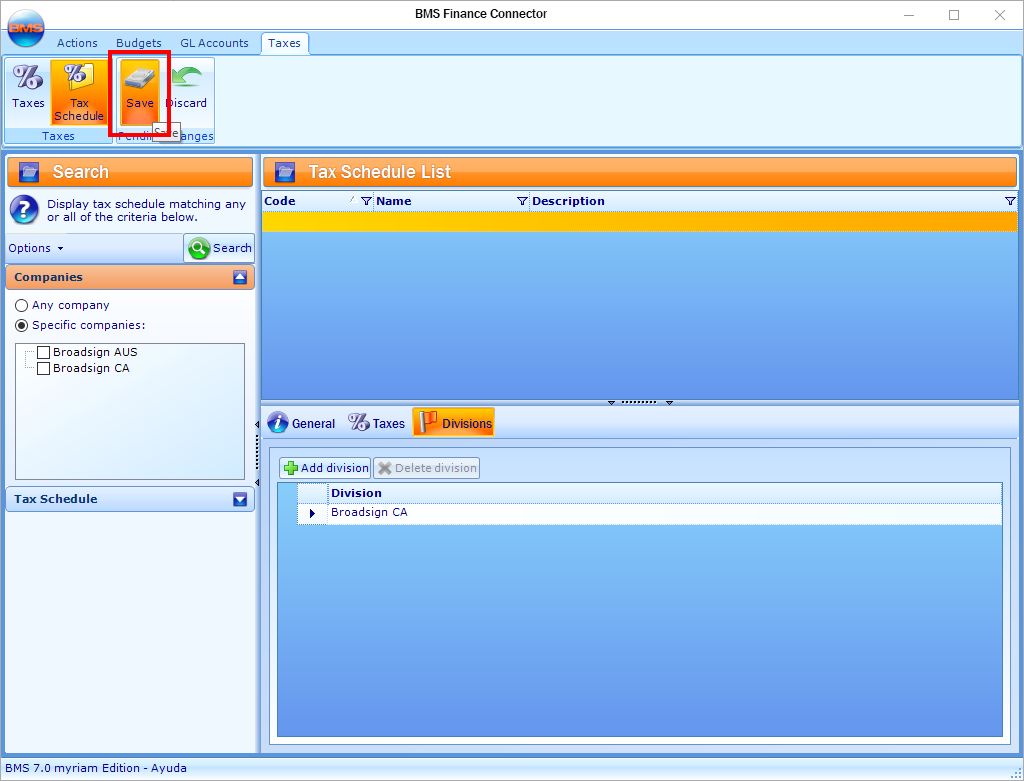
- Click Save in the tool bar.
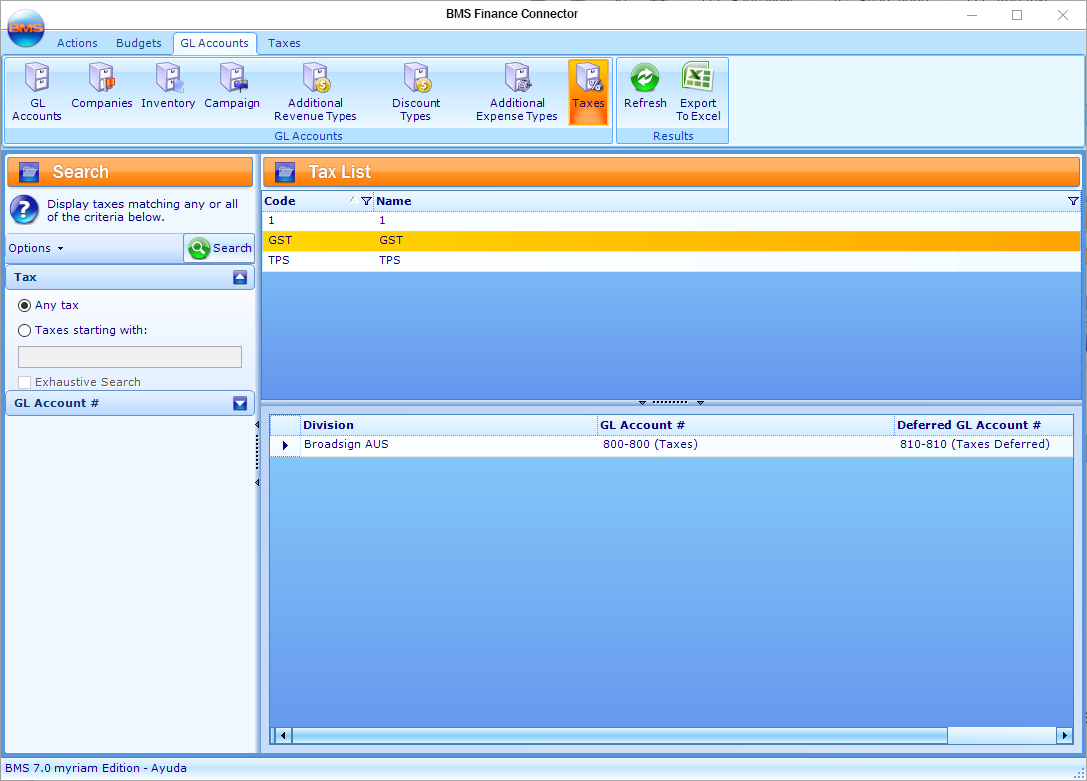
- Click GL Accounts in the menu bar at the top, and then click Taxes in the tool bar.
- Perform a search, then select a tax code to assign GL Accounts to Taxes.
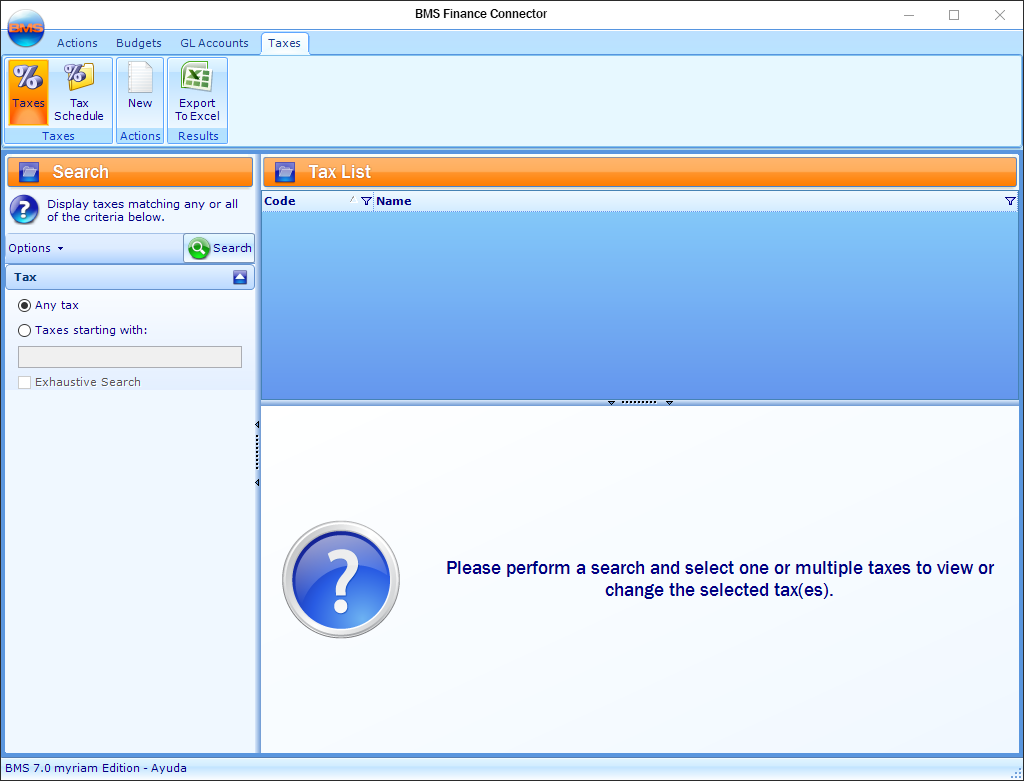
This presents the Taxes level of the Finance Connector.
The new tax schedule pane is displayed.
The tax schedule Code is usually linked directly to the Accounting System tax code. It needs to reflect that specific value if you want to be able to transfer the invoice batches without any problems.
After having created your tax schedule, you must assign the individual tax to the schedule, in the Taxes tab.
You can add as many taxes as you need, but there are a few things that you need to take into consideration:
If you want to have access to specific tax schedules in your contracts, you must assign the divisions that are using the specific tax schedules.
The ‘Deferred’ GL Account # for taxes will only be used if you have revenue schedules in your contract.
You must assign the GL Accounts to each individual tax and for every company that was specified in the Tax Schedule section.

