In order to book faces for digital campaigns:
- The campaign must already be created.
- The segments must already be created.
- For digital campaigns, the booking line must already be created.
To book campaigns:
- From within Splash, click the Scheduling tab.
- Locate the needed campaign and open it.
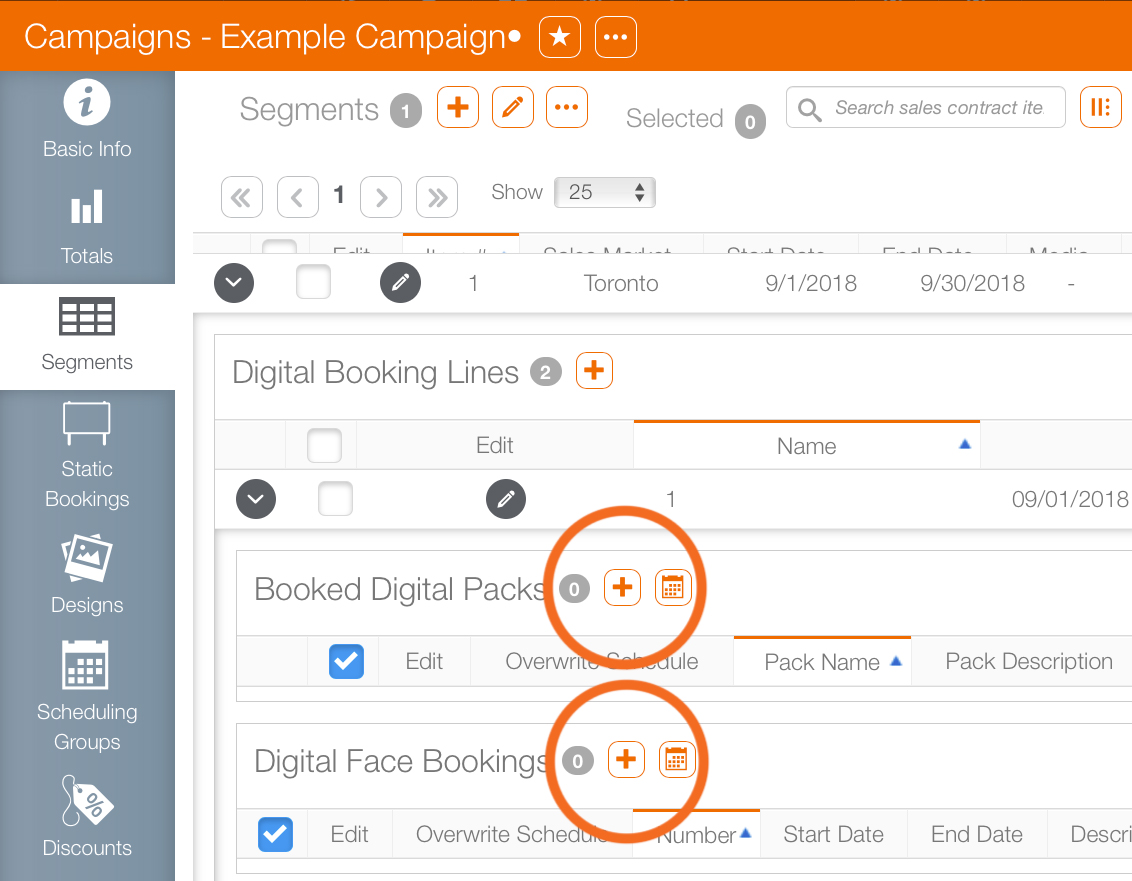
- In the campaign record, click the Segments tab in the navigation bar on the left.
- In a digital campaign, locate the booking line that requires the face booking. It may be necessary to use the
 buttons to reveal the item.
 - Click the
 button.
 - Search for the needed face. Enable the check box next to the face or face pack.
- Click the Add to Cart button.
- Click the
 button.
 - This presents a drop down menu. Click Add Digital Faces to Booking Line.
![]()
Faces can be added to the Face Pack or the Face Booking for that booking line.
This presents the Avails Search screen.
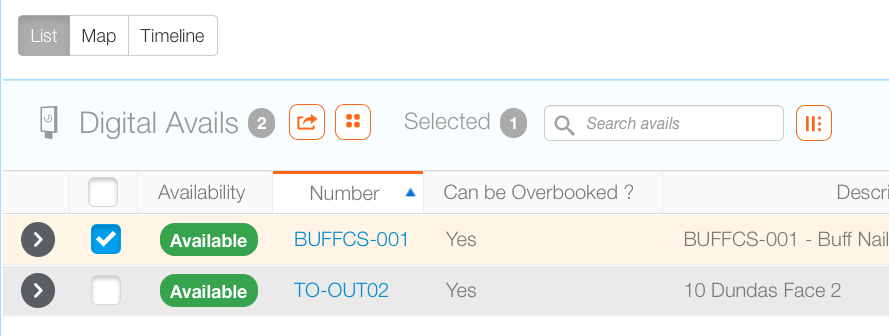

This updates the Digital Faces Selected count by the number of checked faces added to the cart.

This adds the selected faces to the booking line. This closes the window and returns users to the campaign record.
What's Next?
What happens once digital faces have been booked? The booked faces must be scheduled with the weekly scheduler so that their designs play.
