- Log into Splash.
- Within Scheduling locate the campaign and open the campaign record.
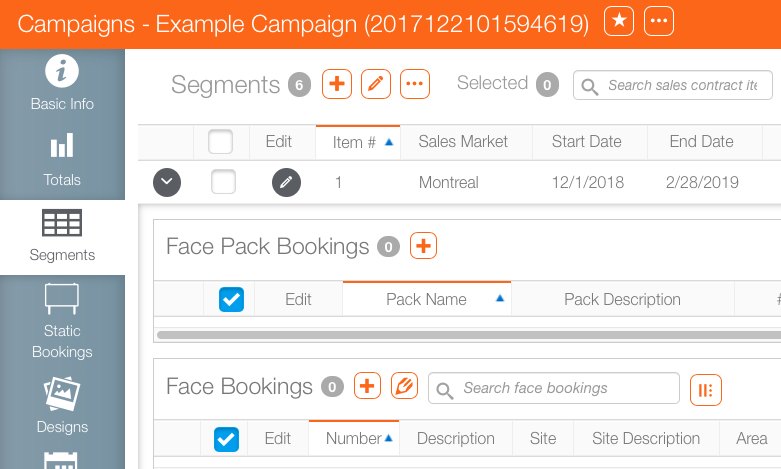
- Within the campaign, click the Segment tab in the navigation bar on the left.
- Locate the segment that must have a face booked.
- Click the
 button.
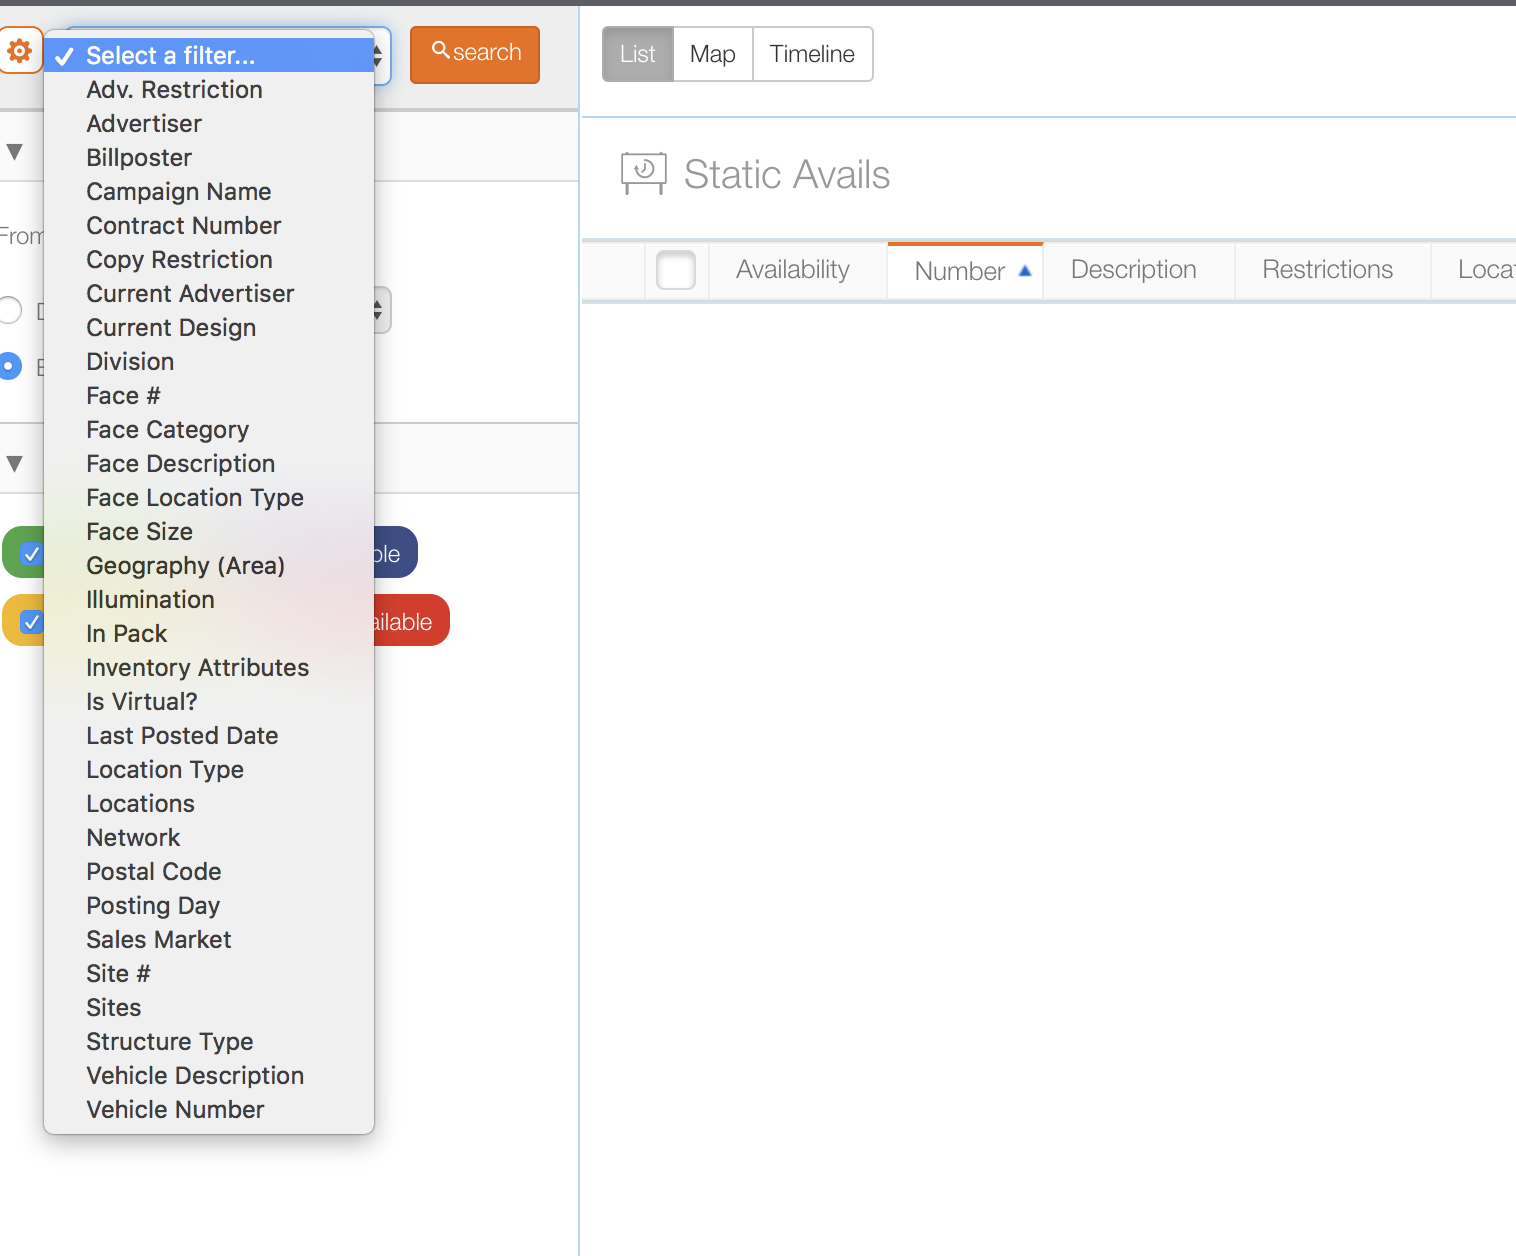
 - Enter a date range and click Search to return results for the period, or use the Filter Search to narrow the search.
- Using the results, identify which static faces you wish to book.
- Map – Click the Map tab to show the locations of each of the available ad locations.
- Timeline – Click the Timeline tab to show when location become available.
- Select the needed faces by enabling their check boxes.
- Click Add to cart.
- The Faces selected menu becomes active. Click it to see a list of faces added to the current segment you are editing
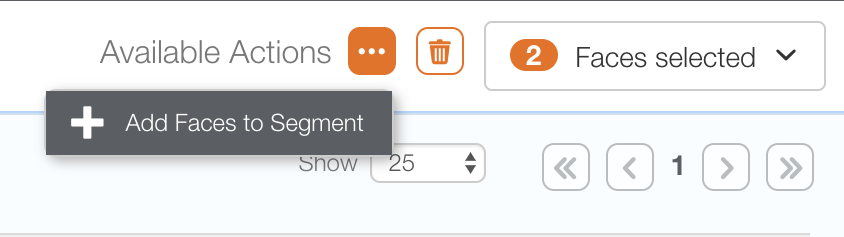
- Once the faces have been added to the "shopping cart", click the
 button to show the Add Faces to Segment.
 - Click Add faces to Segment to complete the booking.
![]()
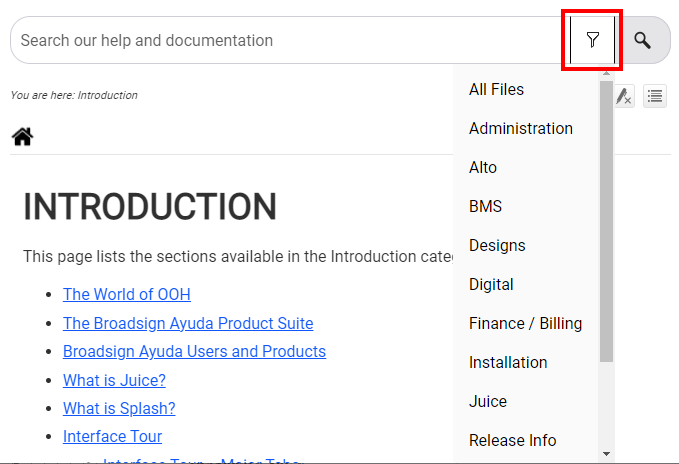
It may be necessary to use the  buttons to reveal the item.
This opens a Filter Search window for searching the advertising inventory in your company. The start and end date from the static segment you are working on will be entered.


To the right of the Add to cart menu item, the number of faces in the static segment now increments. In this example, there are two faces selected.

To delete a face from this segment, click the  icon in the row you wish to delete.
The faces have still not been booked.
The static faces selected are now booked. Close this window to return to the campaign record. The faces booked will now appear.
