- Within Splash, locate the campaign and open the campaign record.
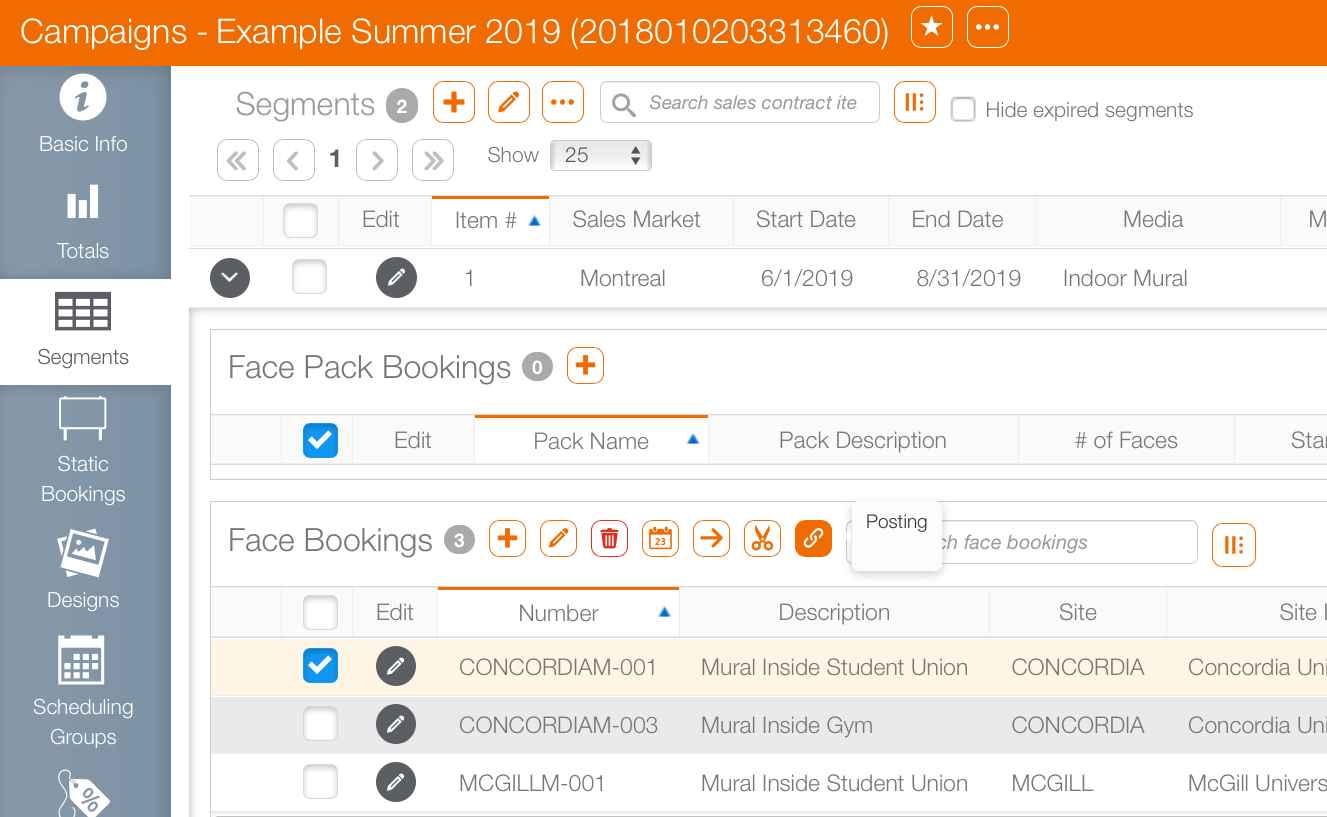
- Click the Segments tab in the navigation bar on the left.
- Locate the face that must be linked to a design. It may be necessary to use the
 buttons to reveal the face line item.
 - Click the row's check box.
- Select the needed faces by enabling the check boxes to be associated with the design.
- Click the
 button.
 - Select a design from the Design drop down menu.
- Click OK.
![]()
This presents the Add Posting dialogue box for choosing designs.

The design drop down menu will only show designs that have been linked to the campaign. If a design that is expected is not shown, it must be added.
What's Next?
To see the work order, go to the Operations tab at the top of the screen. Search for the campaign and the start date. This presents the work order for posting. To review the work order, exit the campaign record, and return to the top level of Splash. Click the Operations tab and then Work Orders.
