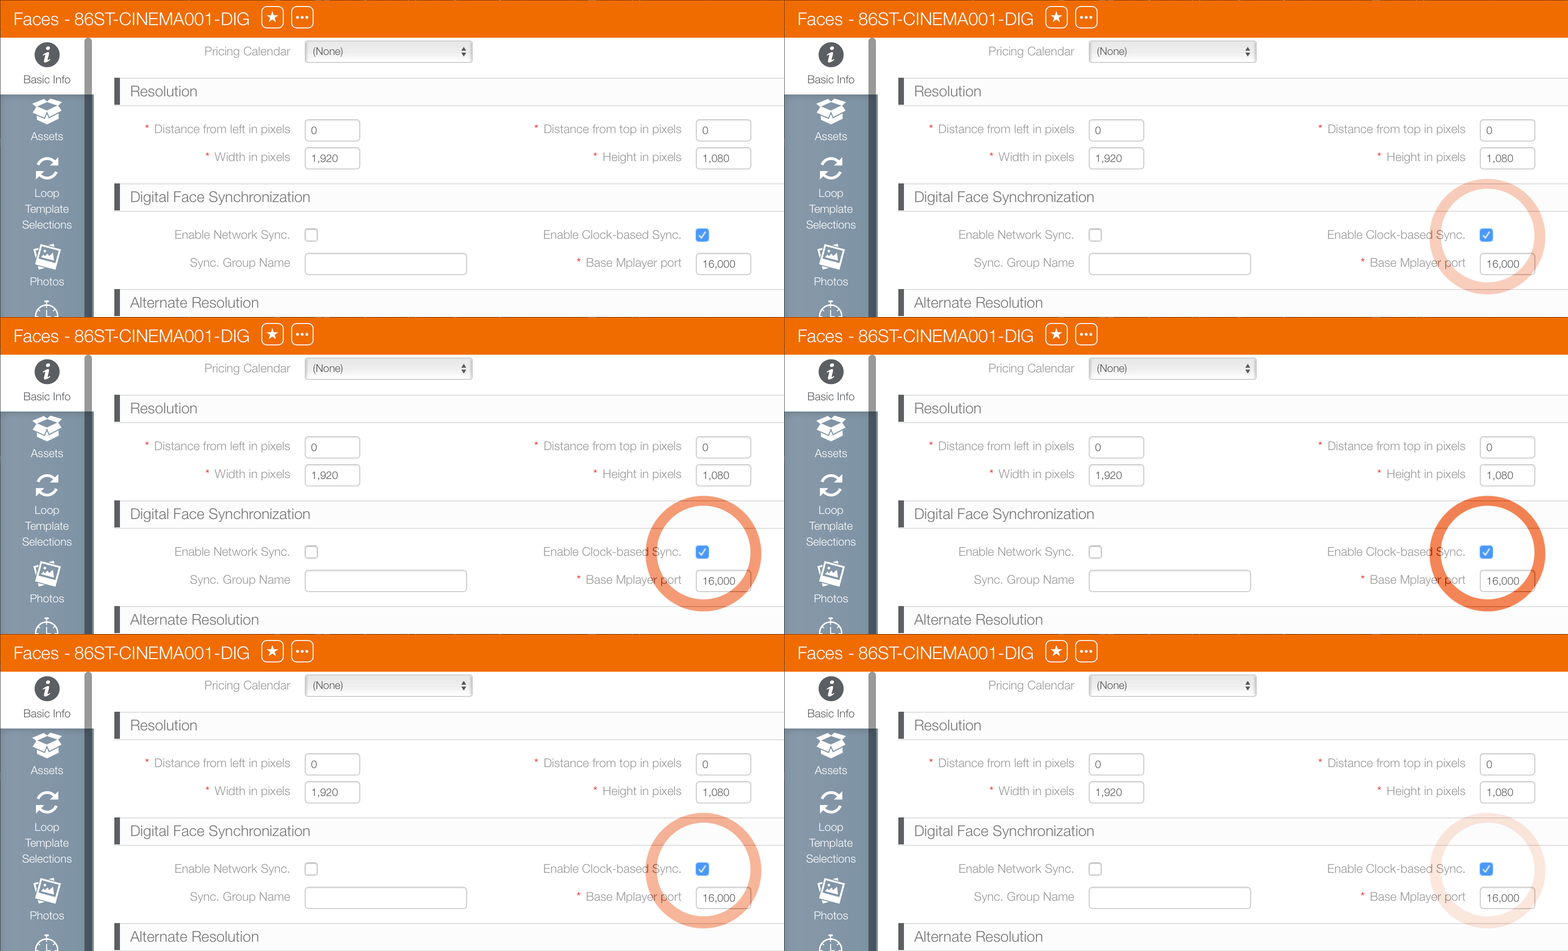
Player clock synchronization is enabled at the face level.
To enable clock synchronization:
- From within Splash, click the Assets tab.
- Click the Faces tile.
- Locate the needed campaign and open the face record.
- Click the
 button.
 - Scroll down.
- Click the Enable Clock-Based Sync check box.
- Click Save changes.
This presents the Basic Info screen.
This makes the Basic Info screen editable.
Once enabled, the player automatically synchronizes itself with the computer clock. It may take a few spots or loops for the player to synchronize itself using the clock.
Loop Template Configuration for Clock Sync
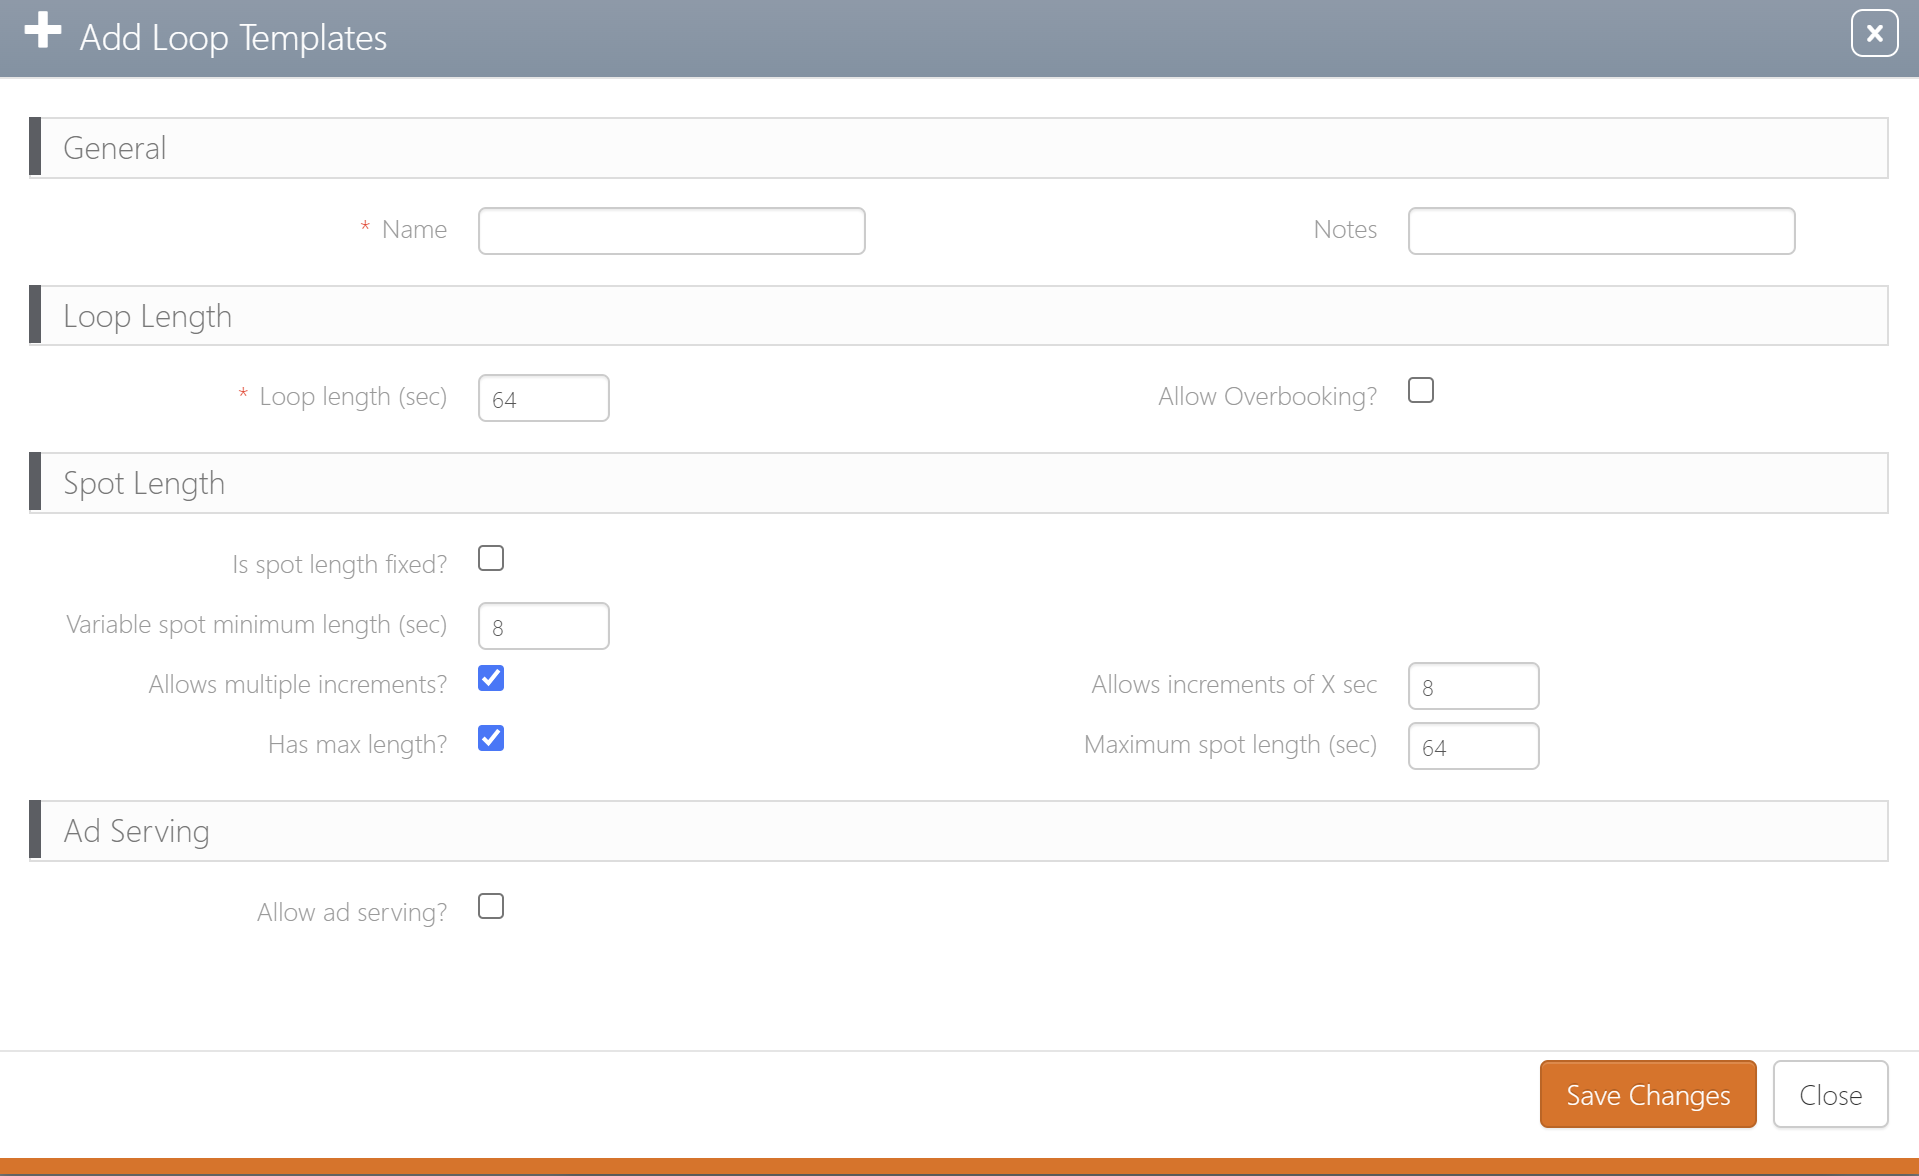
When assigning a loop template to a face that will have Clock Sync enabled, the spot lengths can be either fixed or varying only in increments of the minimum spot length. For more information on loop templates, see Loop Properties.
What About Enable Network Sync?
If Enable Network Sync is enabled, then Enable Clock-Based Sync is ignored even if it is also enabled. UDP synchronization takes precedence.


