This page describes how to install the BMS program.
BMS
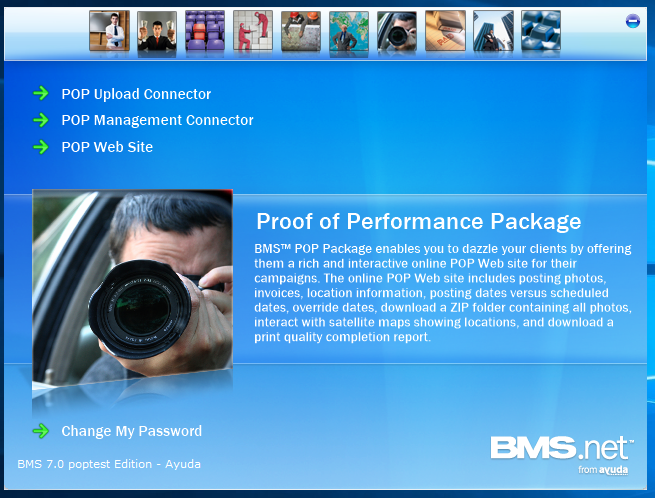
BMS is a Windows program that can do everything Splash and Juice can. However, it also has special administrative and financial tools not normally needed by chartists, digital schedulers and members of the sales team. Most users do not need access to it, and should not have access to it.
Mac OS users can run it as well and use all of its capabilities. However, their Macintoshes will need to be running Windows inside virtual machines. See your IT department for details.
BMS serves many functions, but for the purposes of finance users in their daily tasks, it is used to generate and verify manual billing, and to create, verify, print and hand off invoices to the general ledger system.
Follow this procedure to install BMS.
To install BMS:
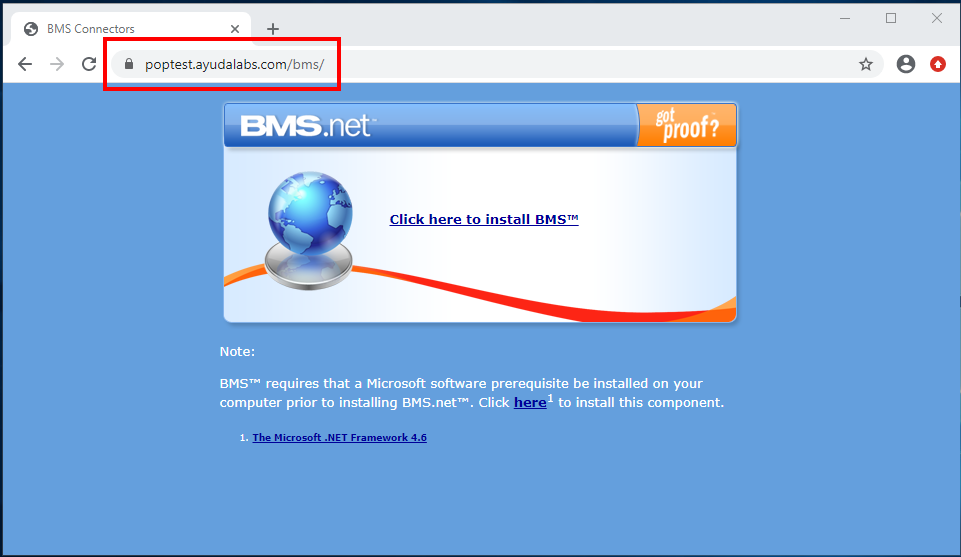
- Go to the website of the instance you were provided, ensuring that you type in “/bms” at the end to send you to the installation of BMS page.
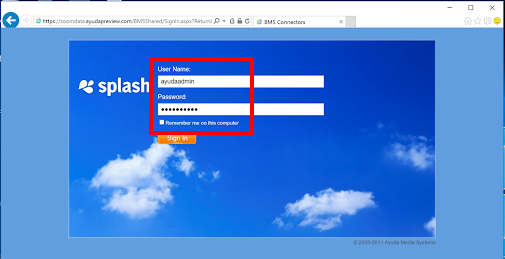
- Sign in with your given credentials.
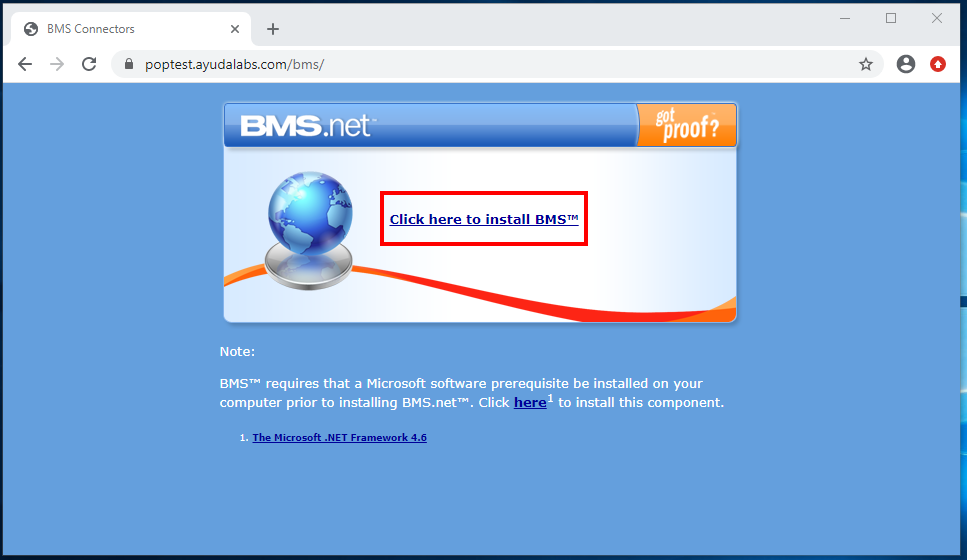
- Click Click here to install BMS.
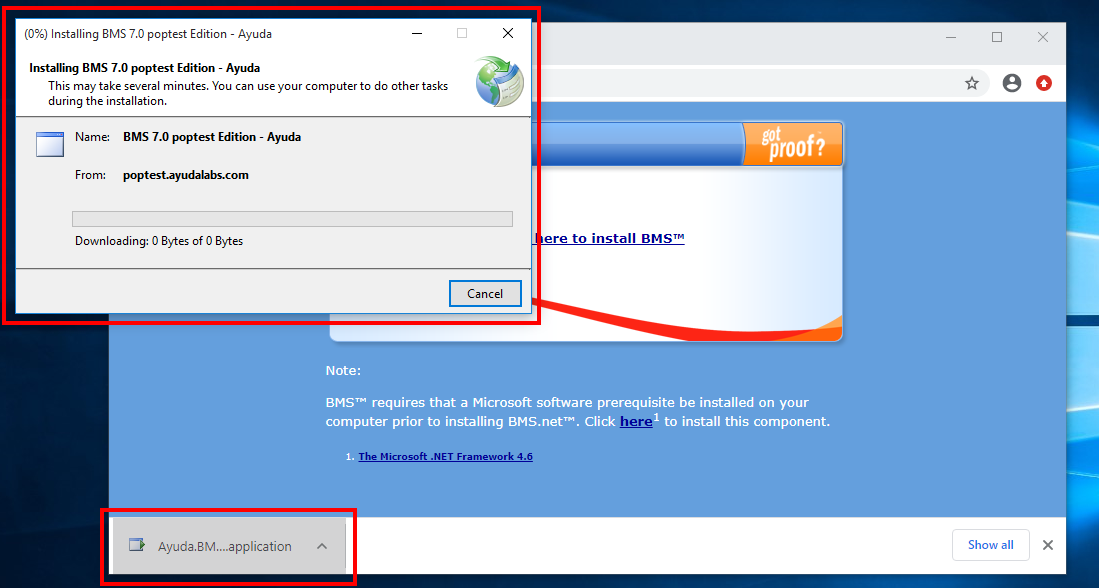
- Run the installation application that is downloaded.
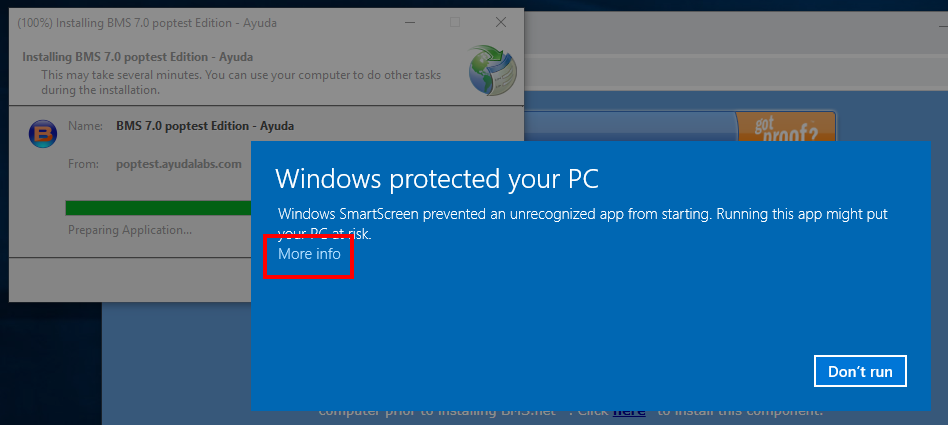
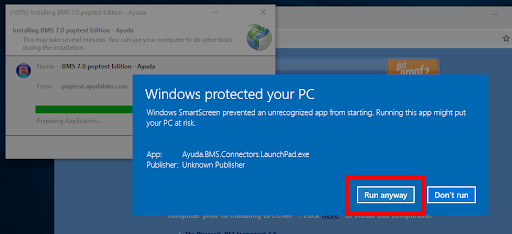
- At the Windows Security popup, click More info, then Run anyway.
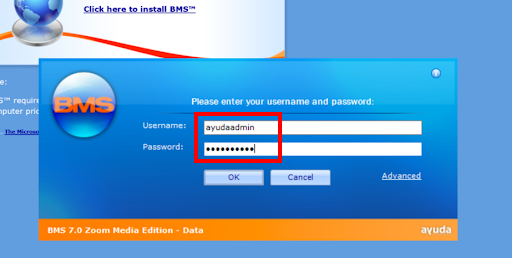
- Sign in with your given credentials.
For example, if your instance is: https://poptest.ayudalabs.com, then type this URL: https://poptest.ayudalabs.com/bms/.
This downloads an application executable file.
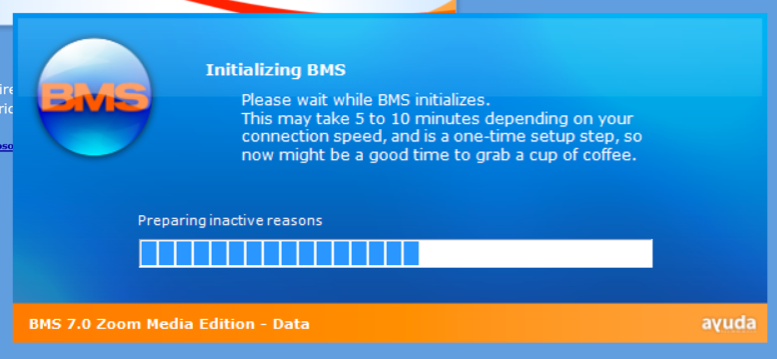
BMS starts initializing.
Once the initialization is complete, BMS opens.
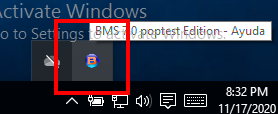
BMS is located in your Windows launch pad for easy access.
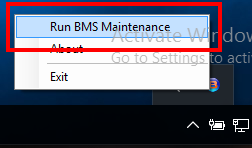
If you ever have any issues, run the BMS Maintenance:

