The procedure to upload designs is the same for media, editorial or filler content.
To upload designs:
Static Campaigns
- Access Operations in the top-left menu, click the Operations tab, and then the Static Copies tile.
- Click the
 button to add a design.
 - Click Choose a file to select the media file to upload.
- Enter the following mandatory information:
- Name – Enter a title for the design that explains its purpose. The name should be easily understood by your colleagues.
- Advertiser – Specifies for which client or company the design is uploaded.
- Content Type – Select between Advertising, Editorial or Filler.
- Design Variation Code – This is used to identify designs that may have alternates.
- Approval Status – This is used to mark the design as ready for scheduling.
- Type – Identifies the design advertising type display. The options are:
- Standard – Static
- Extension – Some designs include props that must be installed on the billboard.
- Snipe – A sticker applied to a billboard. These are used to make corrections, change dates or add new information without reprinting and reposting the entire billboard.
- If applicable, enter the following optional information:
- Description – This field can be used to provide context for the file. The Filter Search tool can used to search content in description fields. In comparison, Note is a free-form text field that cannot be searched for.
- Brand – Choose the brand that owns this design.
- Barcode – Static design physical copy may have bar codes assigned. Not the same as the Static Copy Key.
- Tags – Tags can be entered here that can be searched for in the Static Campaigns module so your firm's customers can track their purchases.
- Media Group – Each customer has a different hierarchy of media groups. These are used to organize the inventory of assets into logical groups. For example, all bus shelters might be one group and restaurants might be another.
- Media Type – The specific type of static media such as poster or bus shelter.
- Material – Identifies what physical material will be used for static ads.
- Face Size – Default measures of faces for your system can be selected.
- Created By – If the design is to be associated with a particular user in your system, click the Ellipses button to present a list of users in your deployment. Select the user to be logged as the responsible creator.
- Artwork Receipt Date – A date field for tracking when the printed copy was received. The upload date is included by default.
- Static Copy Key – The number provided by the printer to track copy that is to be posted.
- Click Save changes.

Tip: Designs can also be uploaded in the Designs tab of the Campaign record. See Upload Designs within Static Campaigns.
This presents the filter search window.
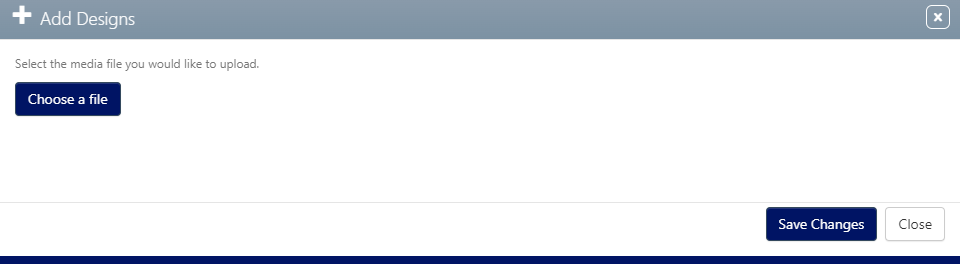
This presents the Add Designs dialogue box.

