To upload designs within static campaigns:
Static Campaigns
- Access Operations in the top-left menu, click the Charting tab, and then the Campaigns tile.
- Locate the needed campaign and open the campaign record.
- Within the campaign record, click the Designs tab in the left navigation bar.
- To add a design to the campaign, click the
 icon at the top of the record.
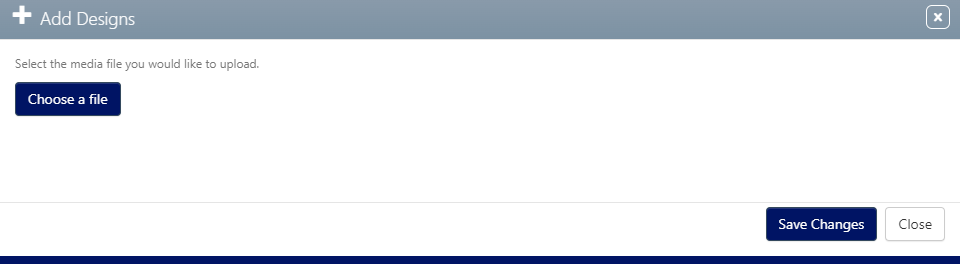
 - Choose a file
- Select existing design
- I don’t have the image yet
- Choose a file opens a selection window in your browser.
- Navigate to the image on your computer.
- Click Choose to upload the image.
- Click Open to upload the image.
- Enter the following mandatory information:
- Name – Enter a title for the design that explains its purpose. The name should be easily understood by your colleagues.
- Quantity – Indicate the number of physical media. If you enter a number here, the Date, Plant, Bin and Supplier fields become available.
- Date – Indicate the date.
- Plant – This indicates which of your facilities or installation vendors’ facilities will be used for the copy.
- Bin – Select a storage unit for the physical copy at the plant.
- Optionally, you can enter the following information.
- Expected Quantity – Enter the number of physical media you anticipate receiving. As the media arrive, update the totals so that any shortfalls in inventory can be managed. It also protects your client. If the client does not ship the expected number of copies, you want to alert them sooner rather than later.
- Face Size – A face size can be associated with this design. Select from the drop-down menu.
- Customer Supplied? – Use this check box to indicate that the Customer will be supplying this design.
-
Artwork Received Date – This indicates when the copy is expected.
- Media Group – Select the group for which this design is to be used.
- Media Type – The broad media type. Select from the drop-down menu.
- Supplier – Select the supplier that will provide the copies.
- Click Save Changes to finish uploading the design. This returns you to the design record.

This presents the filter search window.
This presents the Basic Info screen.
![]()
This presents a dialogue box with three choices:

The screens are broadly similar.
This presents the Add Advertising Content window.

These optional informational fields exist to help you and your team sort and find design files. If the design is likely to be reused, it’s best practice to fill out as many of these fields as possible.
Select an Existing Design
This presents the same dialogue box, except that it contains the  button for linking to a previous uploaded design. See Select an Existing Design.
That design may be a newly uploaded one, or an older one that is to be re-used.
Note: Even if the advertiser's design is to be reused, it is best practice to fill out as much of the design form as possible.
I Don’t Have the Image Yet!
This presents the same dialogue box, except that it contains no link to a design. However, the design record can still be created so that the campaign can still be scheduled. See Link a Design When You Do Not Have the Image File Yet.
