Charting can only be done for Campaigns that have been signed and contracted. See Getting Started – Sales Setup.
Note: The Static Campaigns module is available to users with the Admin, Static Admin, or Static Campaign Manager role.
You can add a Design directly to the Campaign. You can do so in three different ways:
- Directly upload a file to the Campaign.
- Select an existing Design in the list of uploaded Designs.
- Add a Design details without the image file.
You can upload a .jpg/.jpeg/.png file from your computer.
To upload a file directly:
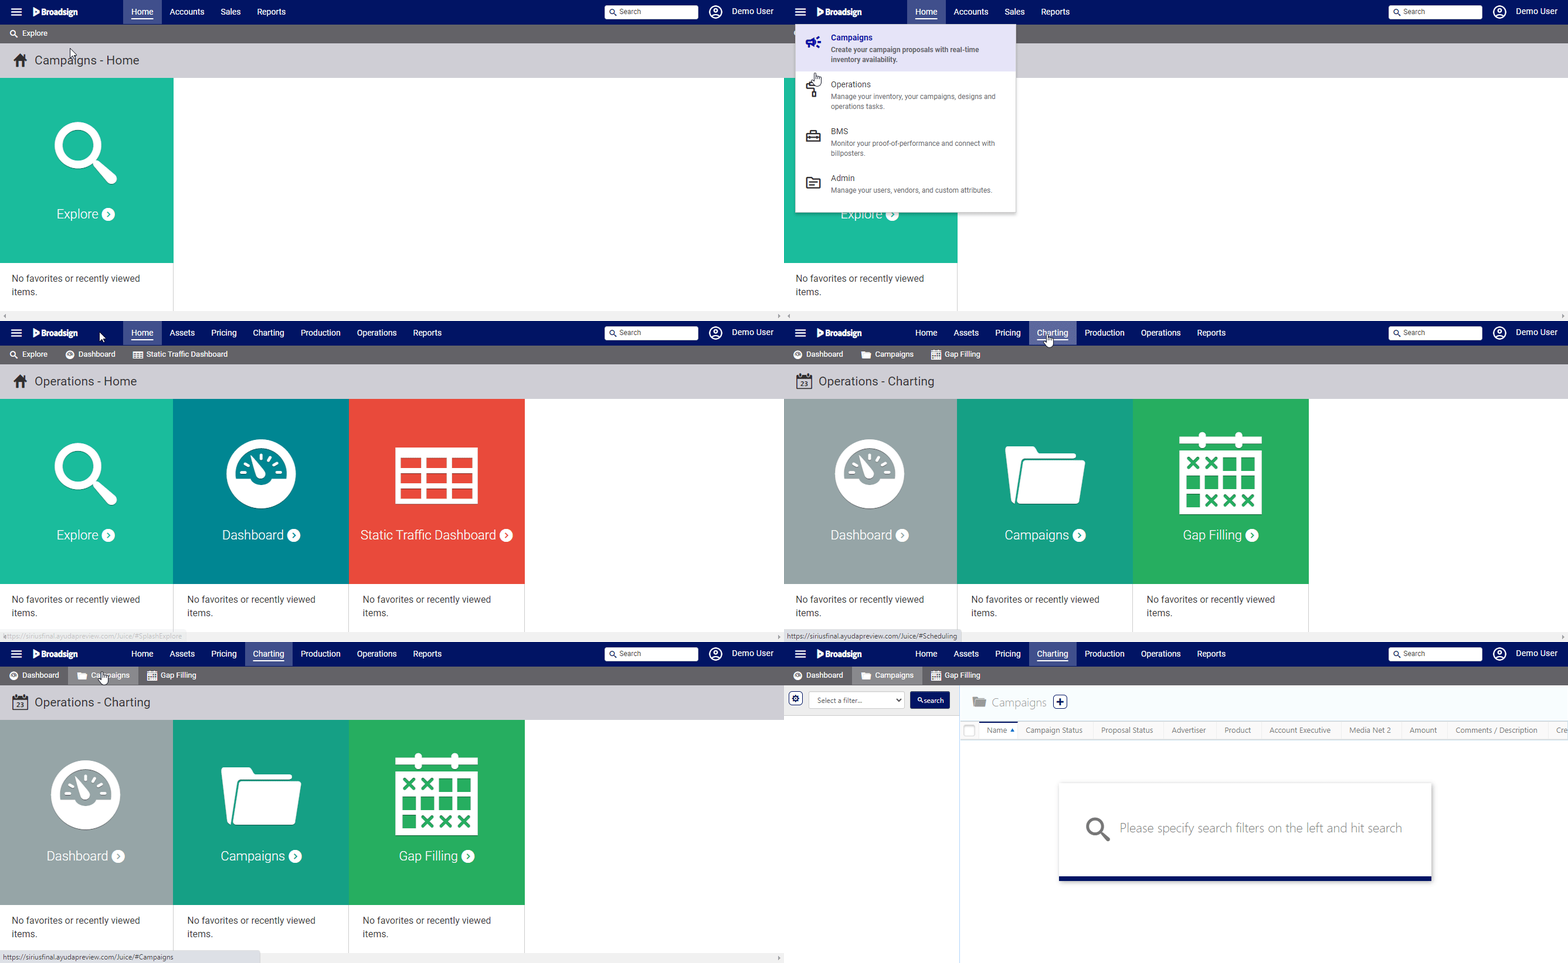
- Access Operations in the top-left menu, click the Charting tab, and then the Campaigns tile.
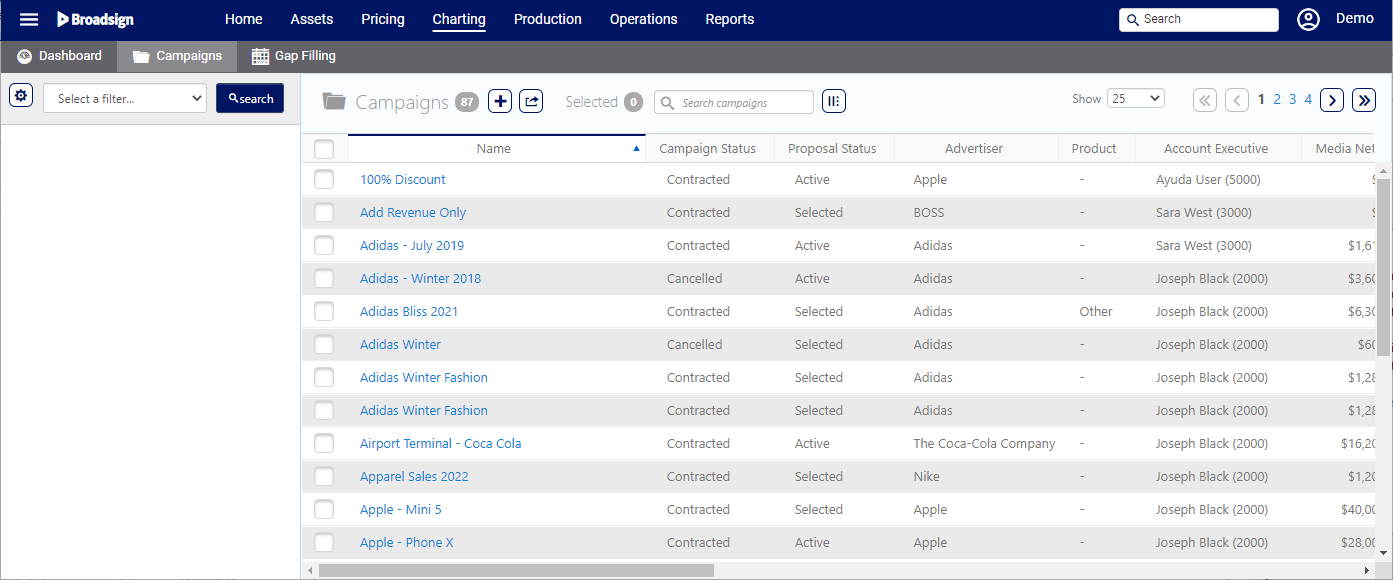
- Click Search and locate the needed campaign in the list of campaigns.
- Open the campaign record.
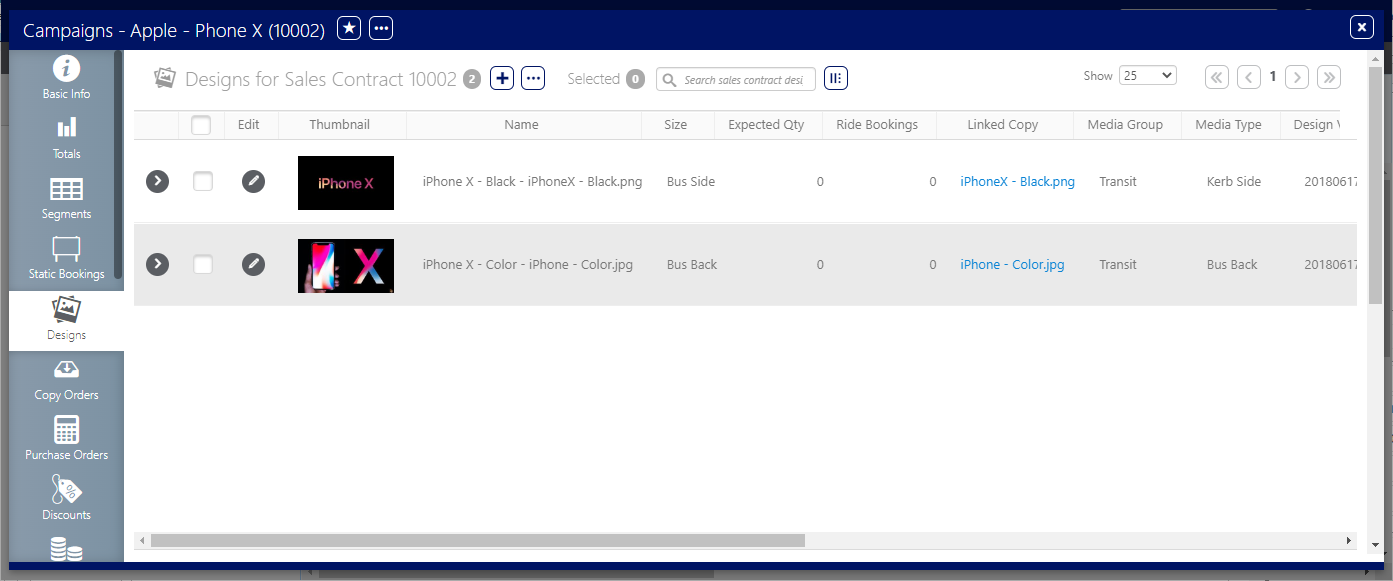
- Within the campaign record, click the Designs tab in the left navigation bar.
- To add a Design to the campaign, click the
 icon at the top of the record.
 - Choose a file
- Select existing design
- I don’t have the image yet!
- Click Choose a file, which opens a selection window in your browser.
- Navigate to the image on your computer.
- Click Open to upload the image.
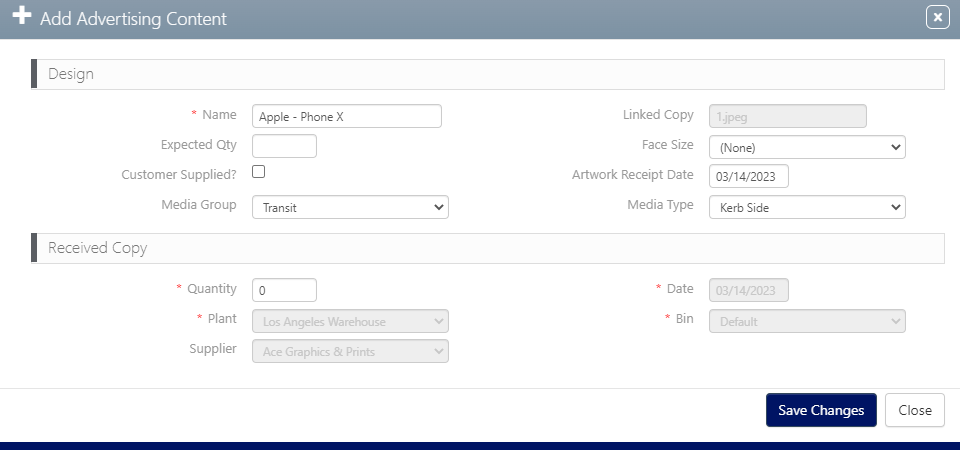
- Enter a Name for the Design.
- Optionally, you can enter the following information:
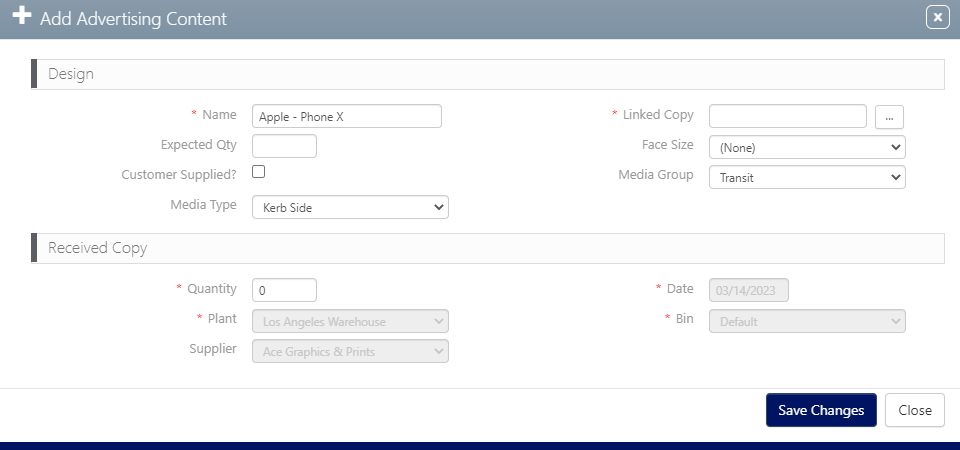
- Face Size – A face size can be associated with this design. Select from the drop-down menu.
- Customer Supplied? – Whether the design is supplied by the Customer.
- Media Group – Select from the drop-down menu.
- Media Type – The broad media type. Select from the drop-down menu.
- Quantity – The expected quantity to be received.
- Click Save Changes.
This presents the filter search window.
This presents the Basic Info screen.
![]()
This presents the Designs page.
This presents a dialogue box with three choices:
This presents the Add Advertising Content window.
The Design is added.
If Designs have previously been uploaded for the Advertiser for which the Campaign is for, you can select one of those existing Designs to use for the Campaign.
To select an existing Design:
- Access Operations in the top-left menu, click the Charting tab, and then the Campaigns tile.
- Click Search and locate the needed campaign in the list of campaigns.
- Open the campaign record.
- Within the campaign record, click the Designs tab in the left navigation bar.
- To add a Design to the campaign, click the
 icon at the top of the record.
 - Choose a file
- Select existing design
- I don’t have the image yet!
- Click Select existing design.
- Enter as Name for the Design.
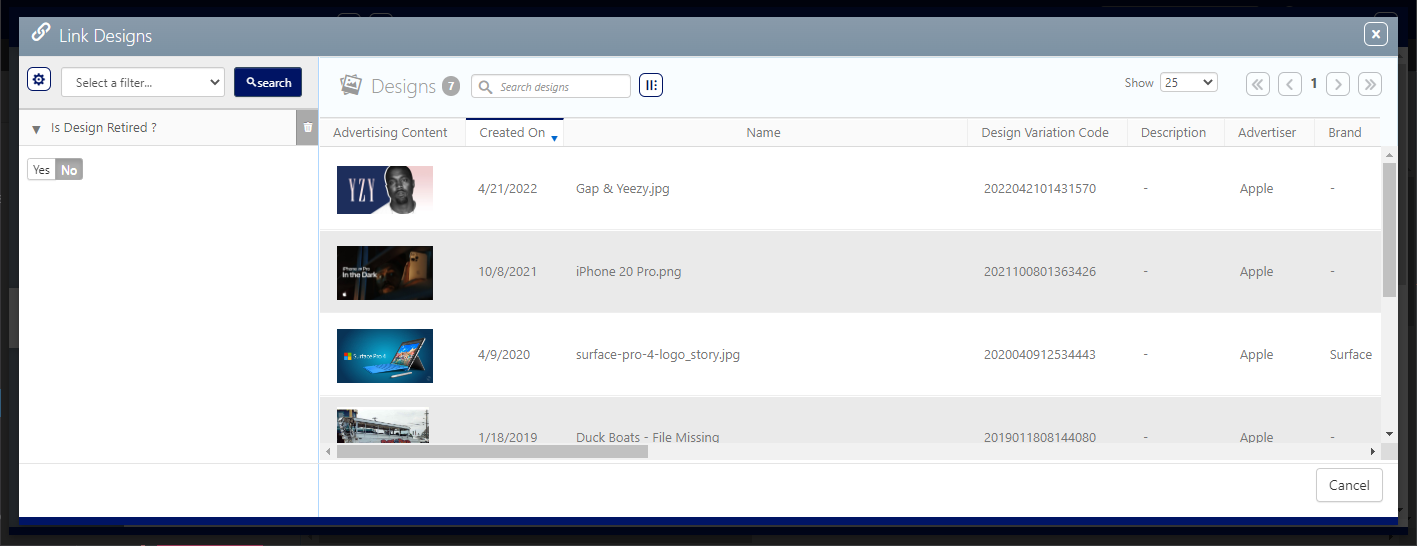
- Click the Ellipse button next to Linked Copy.
- Click a Design from the list.
- Optionally, you can enter the following information:
- Face Size – A face size can be associated with this design. Select from the drop-down menu.
- Customer Supplied? – Whether the design is supplied by the Customer.
- Media Group – Select from the drop-down menu.
- Media Type – The broad media type. Select from the drop-down menu.
- Quantity – The expected quantity to be received.
- Click Save Changes.
This presents the filter search window.
This presents the Basic Info screen.
![]()
This presents the Designs page.
This presents a dialogue box with three choices:
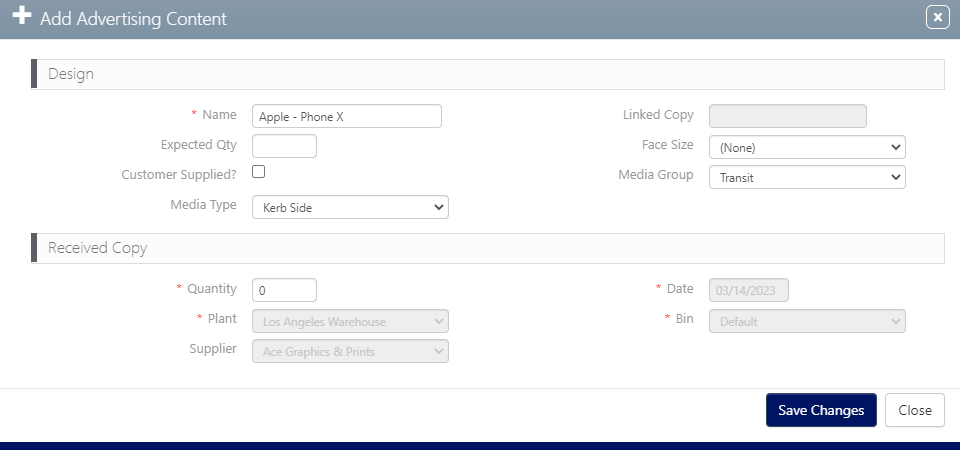
This presents the Add Advertising Content window.
This brings you to the Link Designs page. This page lists all the Designs that have previously been uploaded for the Advertiser for which the Campaign is.
The Design is displayed. Click the X icon to hide it.
The Design is added.
You can upload the file at anytime later on when you get it.
To add Design details:
- Access Operations in the top-left menu, click the Charting tab, and then the Campaigns tile.
- Click Search and locate the needed campaign in the list of campaigns.
- Open the campaign record.
- Within the campaign record, click the Designs tab in the left navigation bar.
- To add a Design to the campaign, click the
 icon at the top of the record.
 - Choose a file
- Select existing design
- I don’t have the image yet!
- Click I don’t have the image yet!.
- Enter as Name for the Design.
- Optionally, you can enter the following information:
- Face Size – A face size can be associated with this design. Select from the drop-down menu.
- Customer Supplied? – Whether the design is supplied by the Customer.
- Media Group – Select from the drop-down menu.
- Media Type – The broad media type. Select from the drop-down menu.
- Quantity – The expected quantity to be received.
- Click Save Changes.
This presents the filter search window.
This presents the Basic Info screen.
![]()
This presents the Designs page.
This presents a dialogue box with three choices:
This presents the Add Advertising Content window.
The design record is added so that the campaign can still be scheduled.
You can upload the Design file at any time later on when you get it by following the steps in Upload a File Directly.
Once Designs have been added to the Campaign, you can link them to their bookings, which will ultimately create postings. You can do so through different ways:
- Assign a Design to all bookings.
- Link Designs to bookings one by one.
- Link Designs to their bookings directly at the booking level.
If need be, you can also unlink Designs from their bookings.
Once the Campaign is contracted and the Design is assigned to static faces, work orders (posting tasks) are automatically generated.
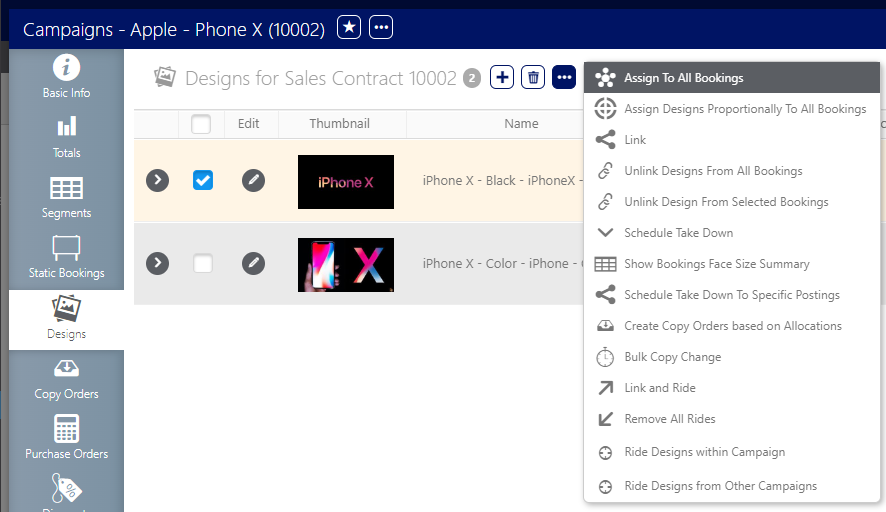
This operation will automatically assign the selected design to all the bookings included in the campaign.
This feature can only be used for single designs.
To assign Designs to all bookings:
- In your campaign record, click the Designs tab in the left navigation bar.
- Select the Design that you want to assign by clicking its check box.
- Click the
 button and select Assign to All Bookings.
 - Click OK.
![]()
You are prompted to confirm that you want to assign the selected Design to all segments and their bookings.
The system makes the assignments.
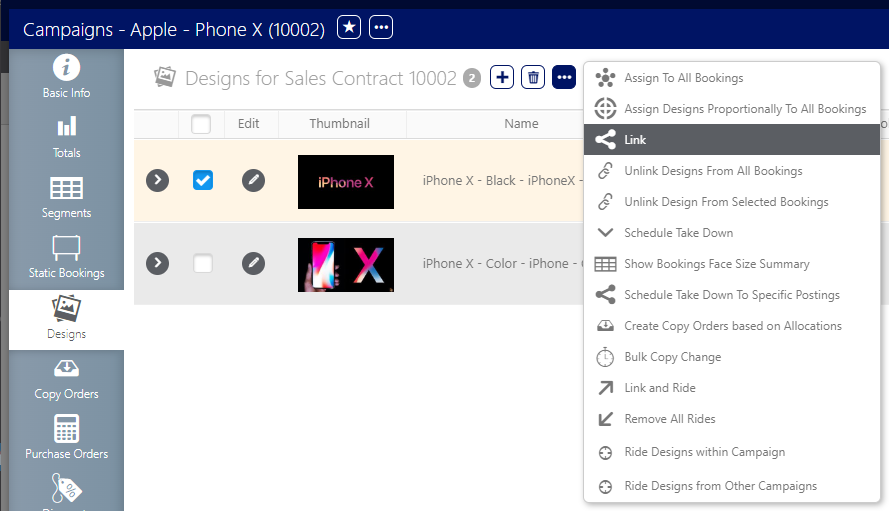
You can manually pick to which bookings you want to assign the selected Design.
To link Designs to individual bookings:
- In your campaign record, click the Designs tab in the left navigation bar.
- Select the Design that you want to link by clicking its check box.
- Click the
 button and select Link.
 - In the Link window, select to which bookings you want to link the Design.
- Click the Link button.
![]()
This presents the filter search window.
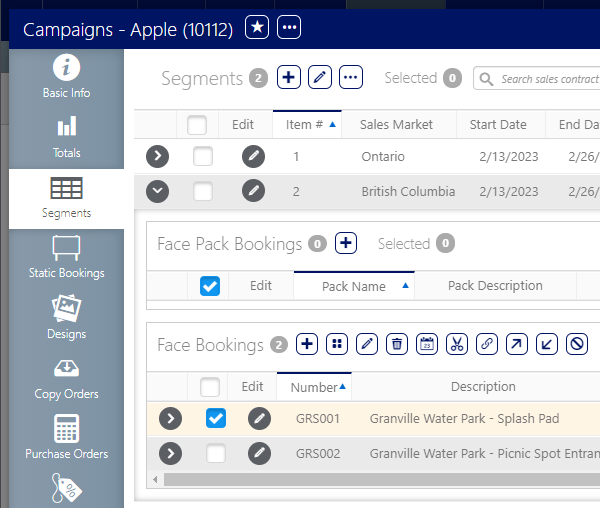
You can link designs to their bookings directly at the booking level. You can select specific bookings or all of them.
To link Designs at the booking level:
Static Campaigns
- In Operations, locate the campaign and open the campaign record.
- Click the Segments tab in the left navigation bar.
- Locate the face that must be linked to a design.
- Click the row's check box.
- Select the needed faces by enabling the check boxes to be associated with the design.
- Click the
 button.
 - Select a design from the Design drop-down menu.
- Click OK.
![]()
It may be necessary to use the  buttons to reveal the face line item.
This presents the Add Posting dialogue box for choosing designs.
The Design drop-down menu will only show designs that have been linked to the campaign. If a design that is expected is not shown, it must be added.
Now that you have added a Design, you can manage copies. See Getting Started – Copy Setup.
