This page describes how to prepare a proposal.
Note: The Static Campaigns module is available to users with the Admin, Static Admin, or Static Campaign Manager role.
Before preparing the Sales information, you must ensure that the following prerequisites are met:
Create Accounts
You can create Accounts directly in Campaigns. When selecting the Account Type, pick Advertiser.
See Manage Accounts.
Set Rate Cards
Create Rate Cards
You can create and link both Media and Additional Revenue Rate Cards (see Add a Flat Media Rate Card and Add an Additional Revenue Rate Card).
Make sure that the Active? box is checked.
For Additional Revenue Rate Cards, you must select an Additional Revenue Type from the drop-down menu. The options depend on your own data and can be set in BMS. See Create Additional Revenue Types in BMS.
Add Rate Card Values
Both Media and Additional Revenue Rate Cards can have multiple values, as long as their effective dates do not overlap (see Add a Flat Media Rate Card and Add an Additional Revenue Rate Card).
Link Rate Cards to Faces or Face Packs
You must link Faces or Face Packs to their proper rate cards (see Add a Flat Media Rate Card and Add an Additional Revenue Rate Card).
Searching avails is the same process for both Static Avails and Static Pack Avails.
To search for static avails:
Static Campaigns
- Access Campaigns in the top-left menu and click the Sales tab.
- Choose your initial sub section within the Sales tab:
- Static Pack Avails – Packs are groups of faces.
- Static Avails – Search individual faces. This presents more options below in the Filter Search.
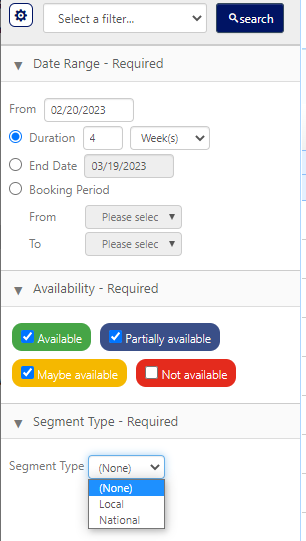
- Enter a start date using the date field.
- Choose a Duration in weeks or months. End dates auto-calculate by default.
- Choose at least one Availability filter.
- Partially Available means include inventory that has at least some availability during your date range.
- Maybe available typically means there is a proposal associated with this inventory asset. This is often for movable booking types or for inventory that has been potentially reserved in a proposal.
- Choose a segment type: national or local.
- Click Search.
-
List view – Basic view showing faces as a list with availability status and other details.
-
Map view – Google Maps integration showing faces on a map (provided that their longitude and latitude have been set up in the system).
-
Timeline view – You can see what campaigns have been booked on each face over time. You can zoom in for details.
- To select available and maybe available inventory to your proposal, select the check box next to line items, then click the Add to cart
 button on the upper right of the screen.
 - Select Add to Cart.
Filter Searches are the most effective way of searching, particularly if you have lots of results. Campaigns and Operations filter searches work the same way. Once you are three clicks deep, you are usually at the records editor level.
To improve your results, choose a filter from the drop-down menu. Examples include geography, media type.
The screen presents the results with inventory for sale marked with its availability status for the period searched.
You can view avails in three different ways:
The Faces Selected menu to the right will now have the items added to it, and the Add to Cart button will disappear until more inventory is selected with check marks below.
Next, you can create a proposal.
You can add your bookings to an existing campaign or create a brand new campaign proposal. For this document, we will add the booking to a new campaign.
To create a proposal:
- Use the Available Actions menu to choose New Campaign.
- Name – Title your campaign in a way that it will be easily understood by other users in your system.
- Division – Divisions are sub-sections of agencies. Select the division with which the contract was signed.
- Advertiser – Name the ultimate purchaser.
- Account Executive – Individual who has sold the Campaign.
- Campaign Type – Select from the list of types in the drop-down menu. You have the choice between New and Renewal.
- Content Type – Select from the list of types in the drop-down menu. You have the choice between Advertising and Editorial.
- Enter other information as applicable. Scroll down to the faces section to edit the Purchase Type and Booking Type if necessary.
- Click Save Changes.
This opens the New Campaign window.
Set the following the mandatory parameters:
If rate cards are associated with faces, booking amounts are automatically calculated.
You can review the details of bookings including date range, description, amounts.
Status messages will be presented as the campaign is updated. The main campaign record window for that campaign will be shown. From here you can continue to edit the campaign.
Next, you can complete the proposal package.
Now that a proposal has been created, you can add more information to it.
Add Discounts
![]()
You can add discounts to the proposal providing:
- Discount type (predefined list) – See Step 6 – Create Discount Types in Getting Started – BMS Setup.
- Percentage of discount
You can add a description to give further details. See Campaign Discounts.
Add Additional Revenues
![]()
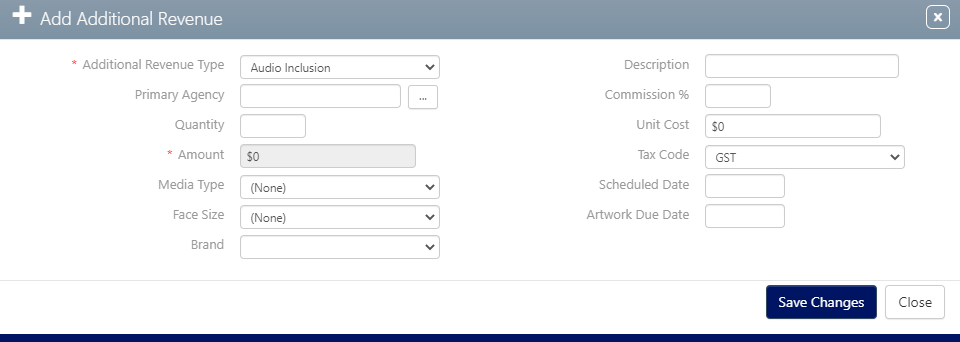
If faces have Additional Revenue rate cards linked, this amount will be automatically added to the campaign total.
See Enter Additional Revenues at the Campaign Level and Enter Additional Revenues at the Booking Level.
You can also:
- Link Agency and its Commission for Additional Revenue
- Add Description
- Add Tax Code
- Add Scheduled Date
Add Agency and Commission
![]()
If the Campaign is carried out through an Agency, you can add the Agency to the campaign as well as its Commission, providing:
- Agency name (predefined list)
- Commission percentage
- Agency Type (regular or specialist)
Note: If an Agency has its default commission, it will be automatically added when selected. It can, however, be overwritten.
Review Totals
![]()
You can review total, media and additional revenue, discounts, agency commission and taxes.
For more information, see Campaign Totals Tab.
Now that your proposal is ready, you can send it for external review by your customers.
To send the proposal:
- Open your proposal.
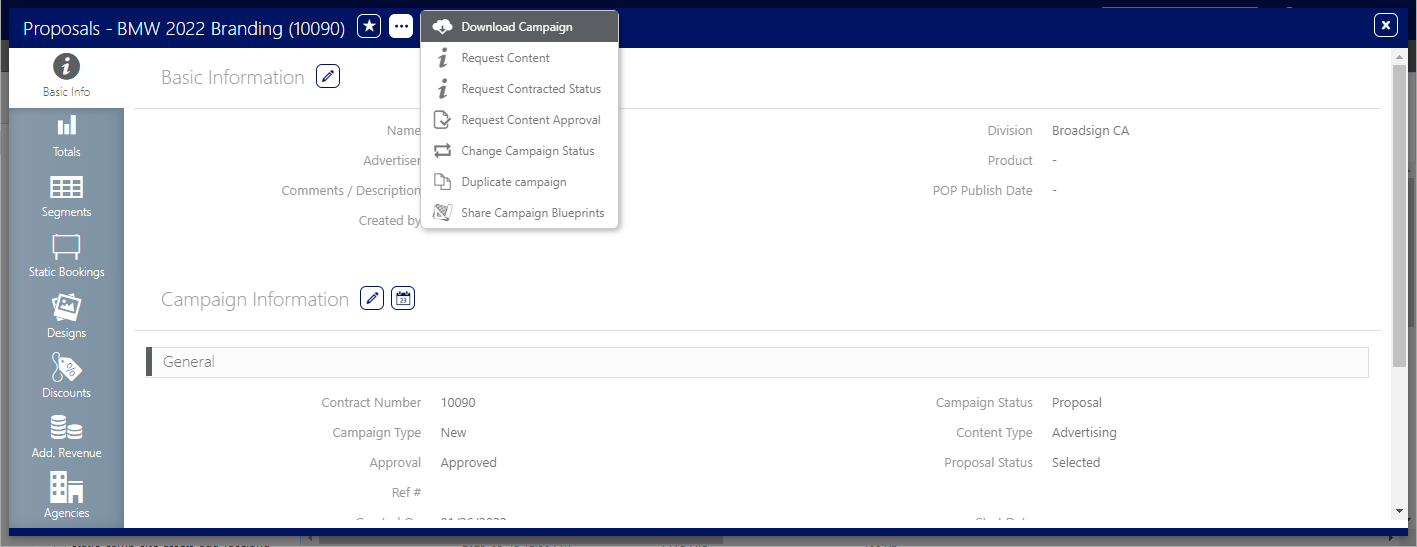
- In the proposal record, click the
 button at the top of the page and select Download Campaign from the drop-down menu.
 - Use the field in the top center of the screen to change the name of the report.
- The following Export options are available:
- Email Link – Link for the report that you can send directly to clients.
- Save as PDF – Save the report as a PDF file.
- Location List – This is probably the most useful to customers who are familiar with your inventory as the report can be reviewed quickly.
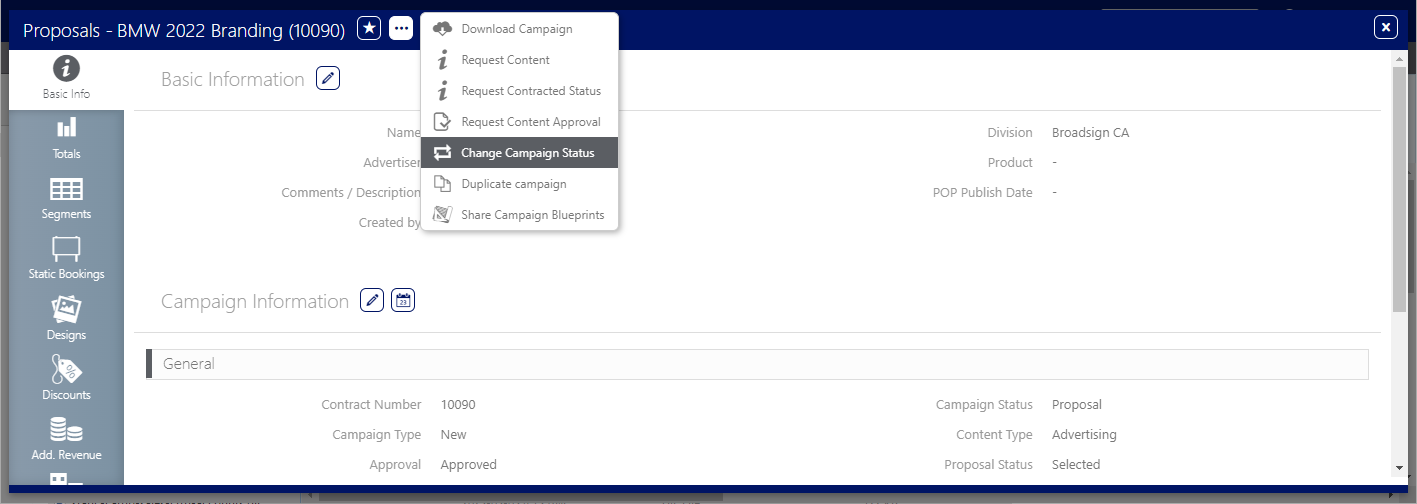
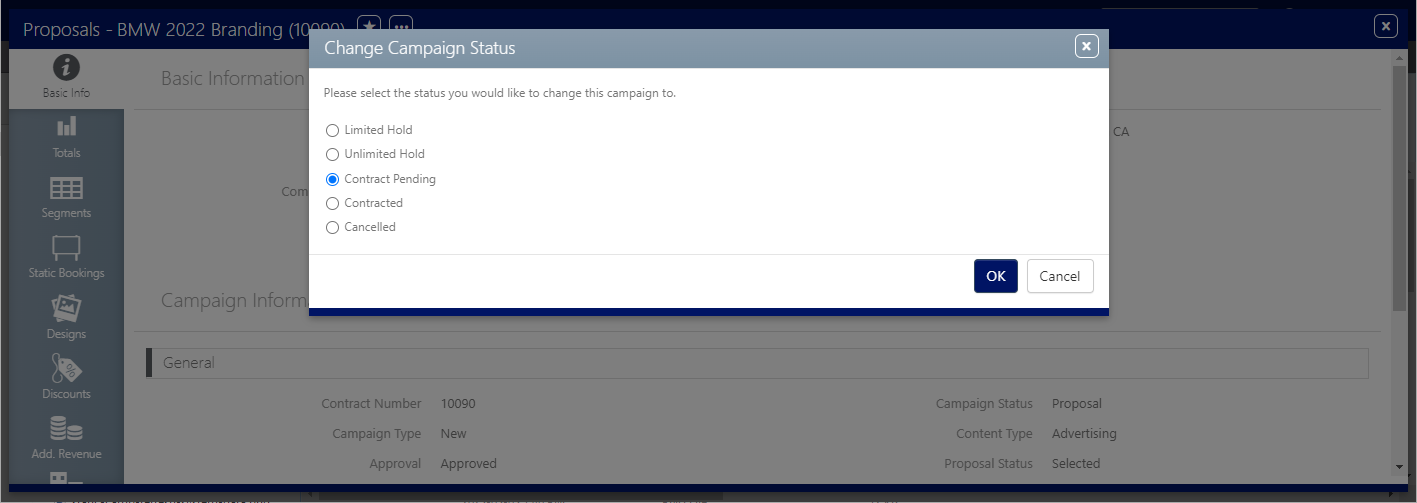
- Once the proposal is sent, change the campaign status to Contract Pending.
This presents the Proposals screen in a new browser tab.
You can share the proposal as PDF, Excel, or as an e-mail link for external review by your customers.
Tip: Generally the larger the report, the fewer images you would want to include in something to be e-mailed, otherwise hundreds of Photo Sheets might make the report large, slow to create and transmit, and difficult to read quickly.
Next, when your customer approves the proposal, you can contract the campaign.
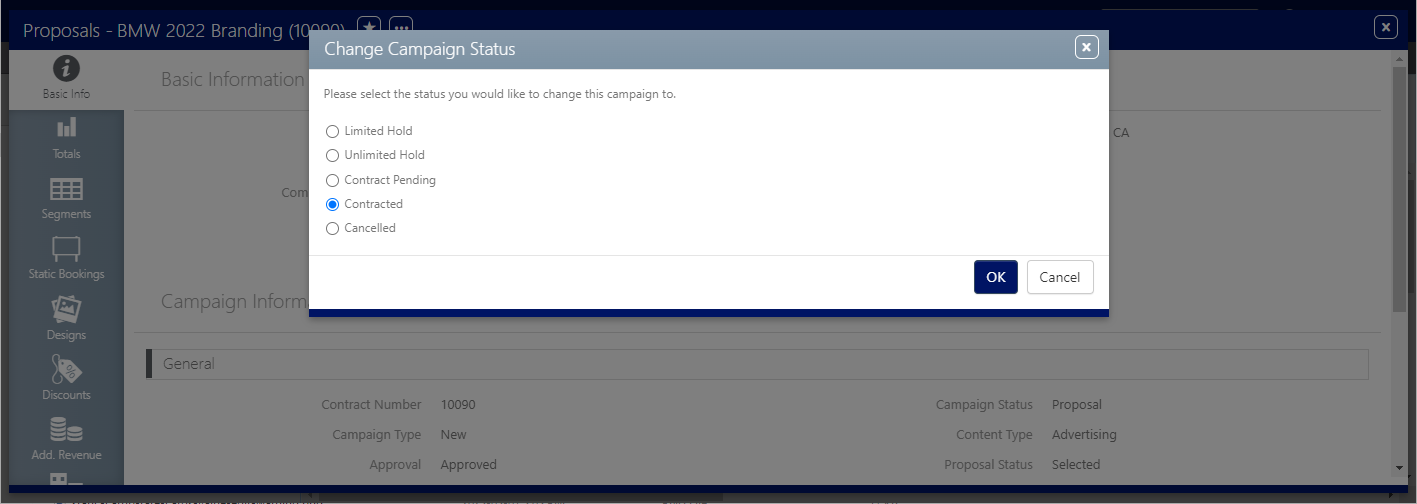
Once the proposal is approved by the client, the Sales Management User can contract the campaign. The Campaign will then move into the hands of Charting users.
To approve the proposal:
The Reporting User role allows users to access Reports in both Campaigns and Operations.
Sales or revenue-related reports can be found in Campaigns. They include:
- Goal vs. Actual
- Pacing + Pipeline Report
- Sales Analysis
- Sales Analysis - Booked Time - Static
Additionally, Sales Users can access the following reports in Operations:
- Contract Listing (+ flattened)
- Master Report
- Media Sales Highlight Report
For more information, see Reports.
Now that you have a proposal, you can undergo charting tasks. See Getting Started – Charting Setup.

