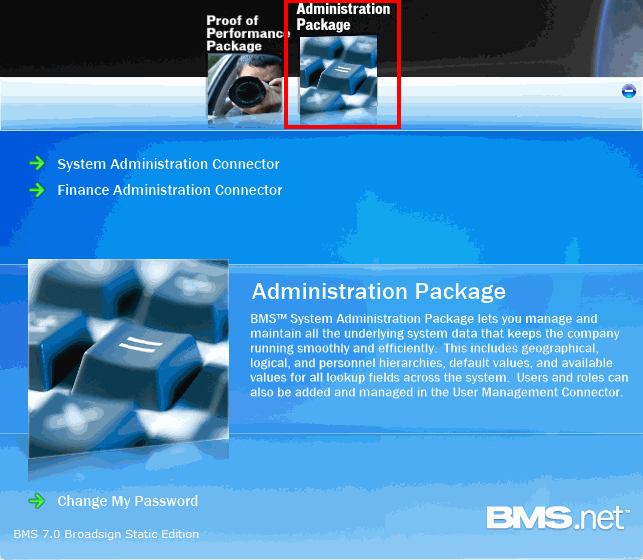
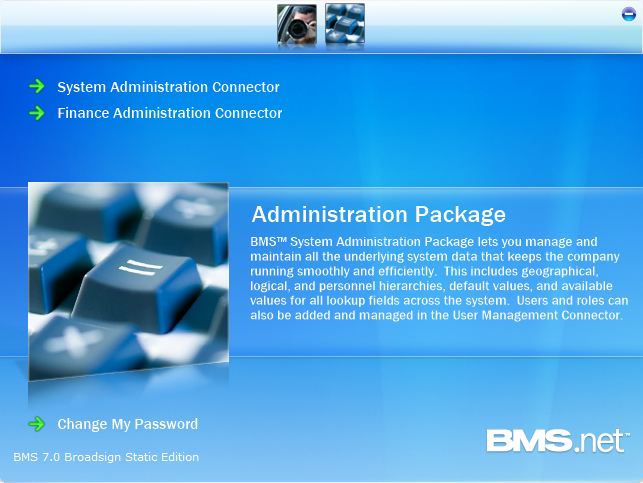
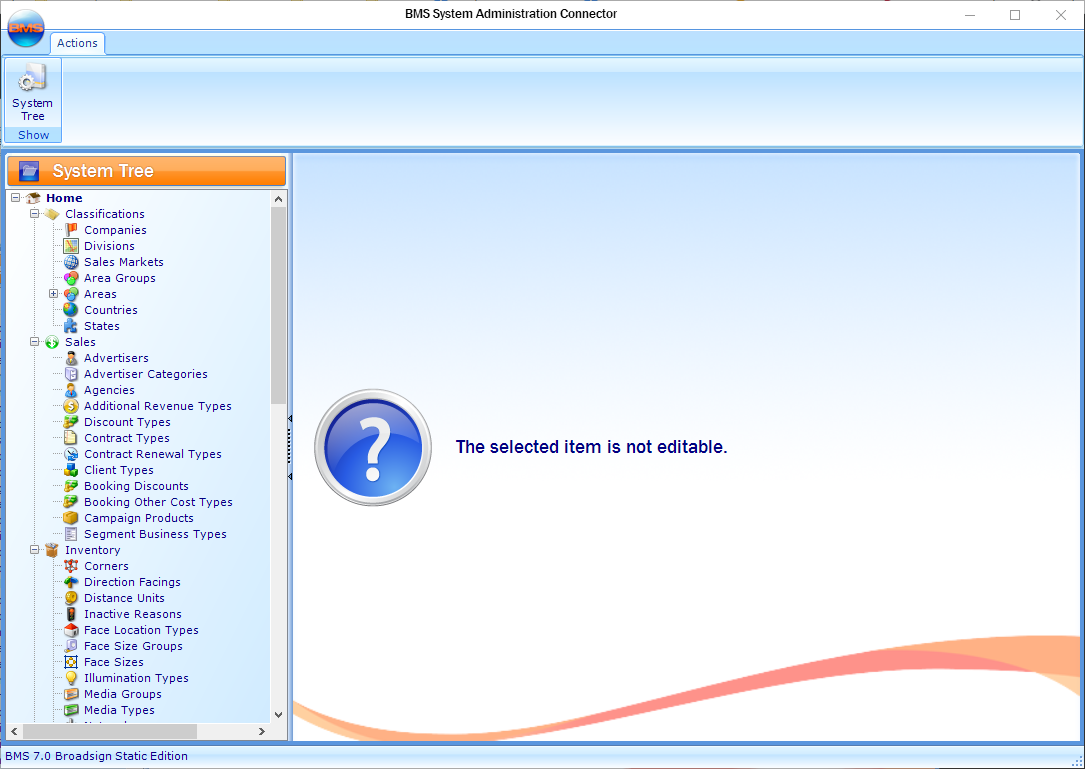
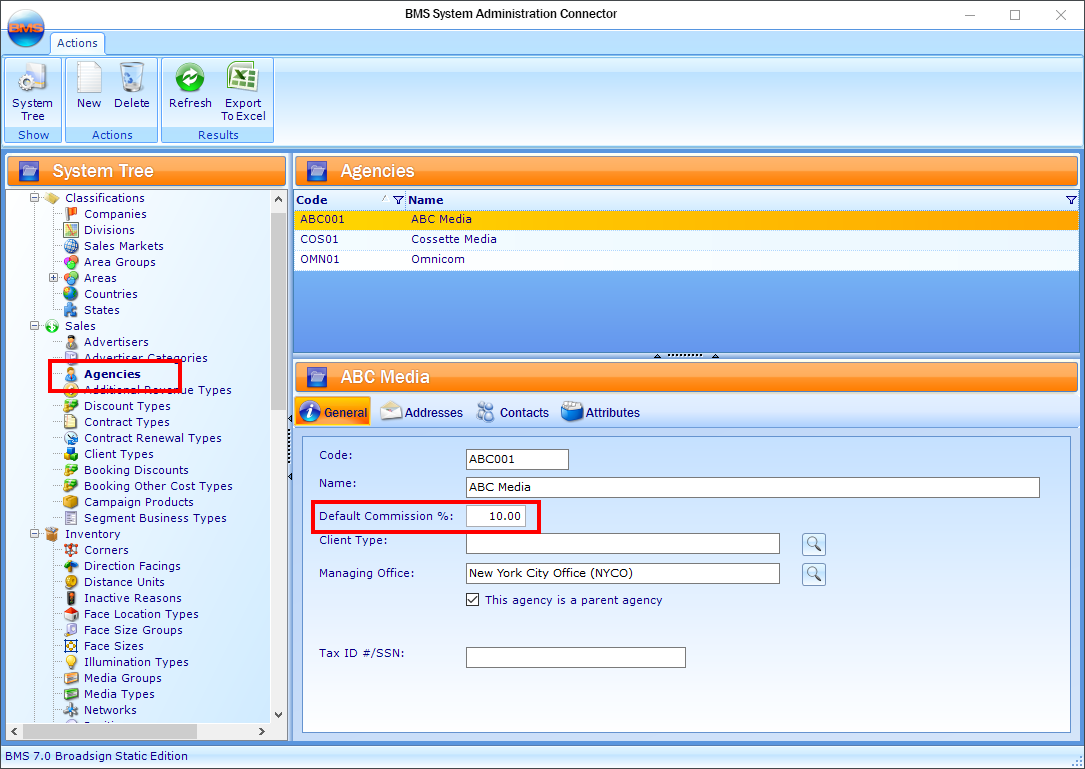
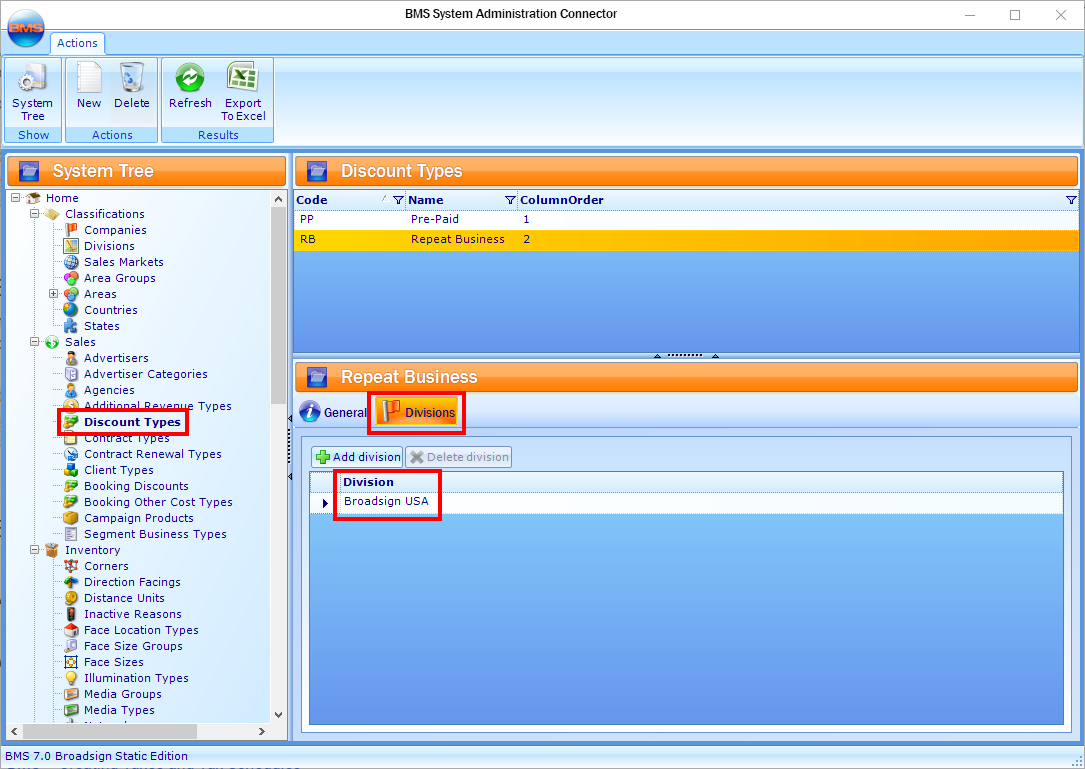
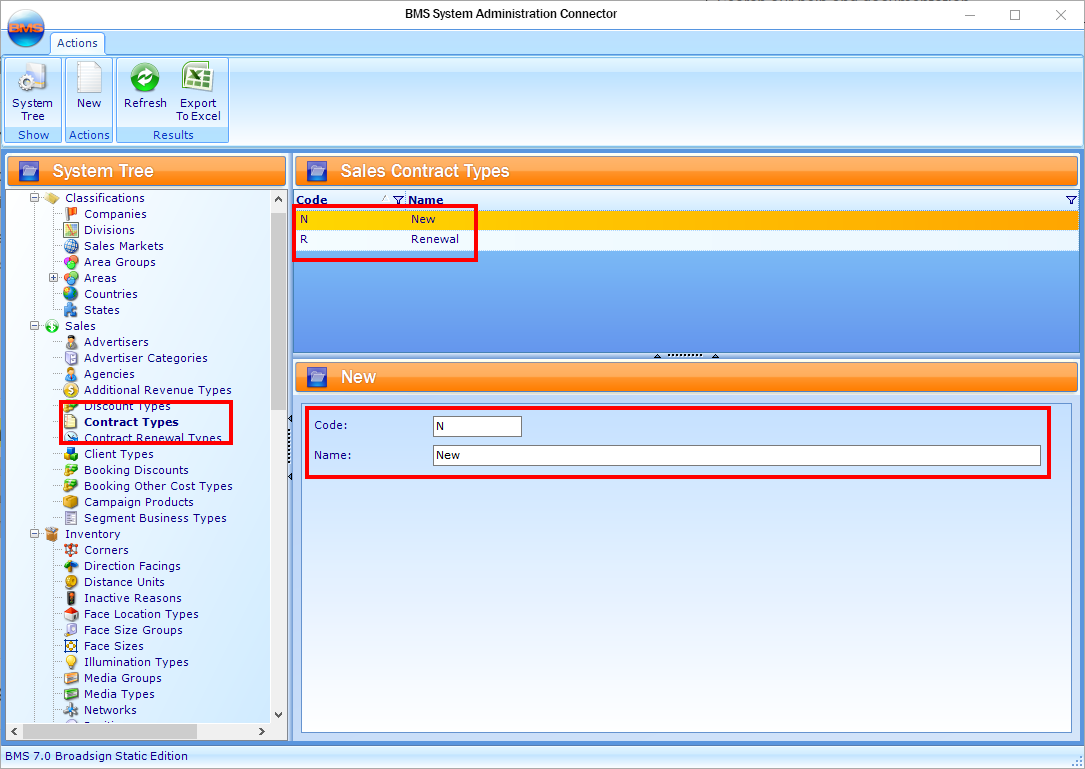
Some sections of the Static Campaigns module require some setup in the System Administration Connector of BMS.
Perform these steps only if necessary.
Note: The Static Campaigns module is available to users with the Admin, Static Admin, or Static Campaign Manager role.
To install BMS:
Static Campaigns
- Access the Static Campaigns Module
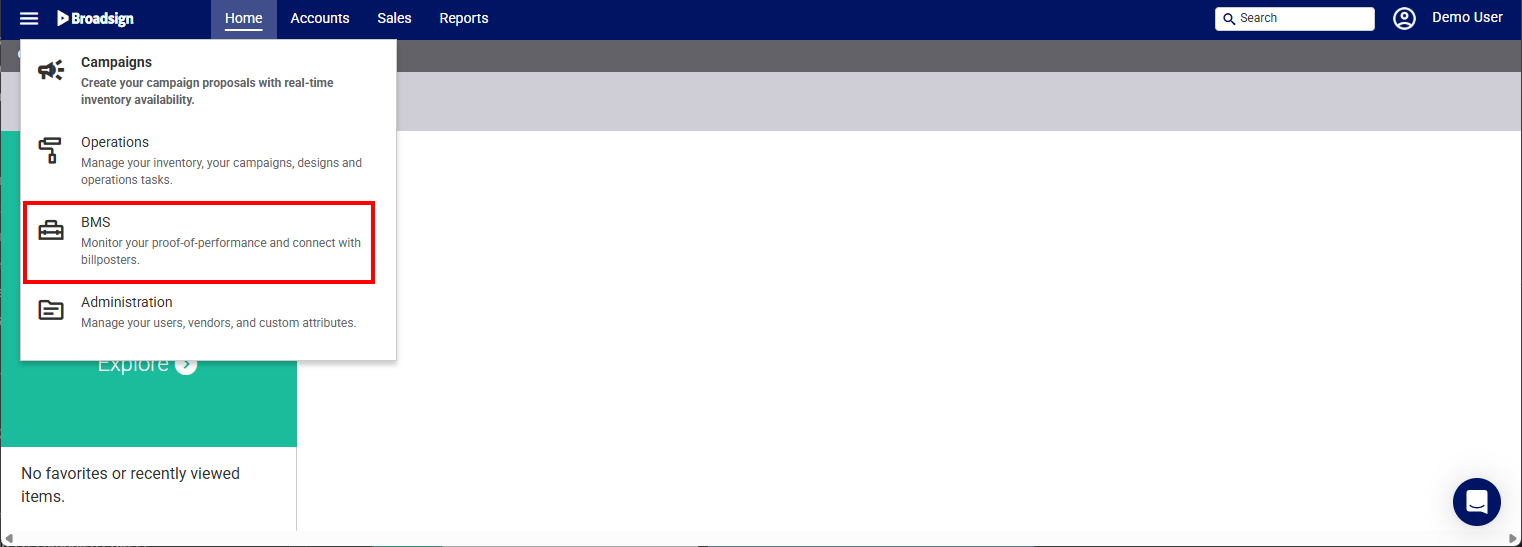
- Access BMS in the top-left menu.
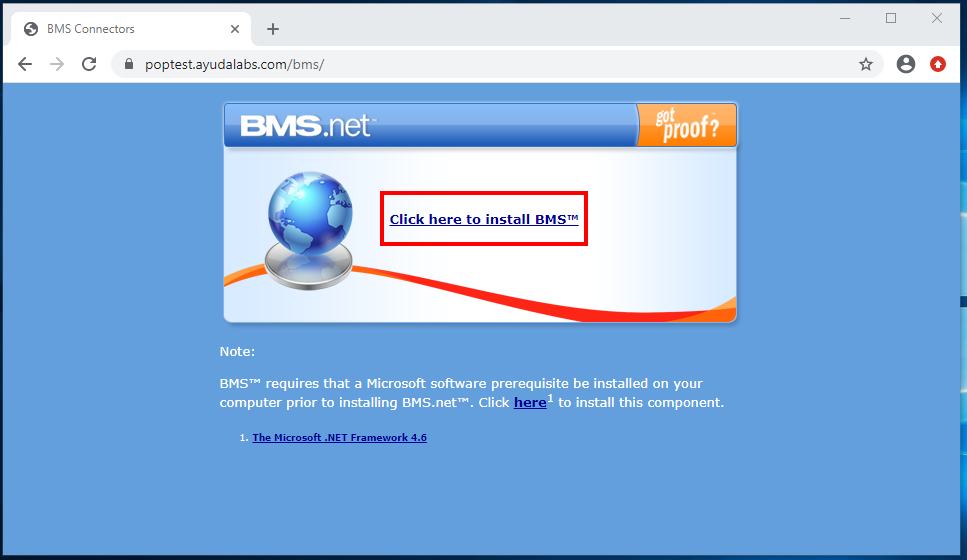
- Click Click here to install BMS.
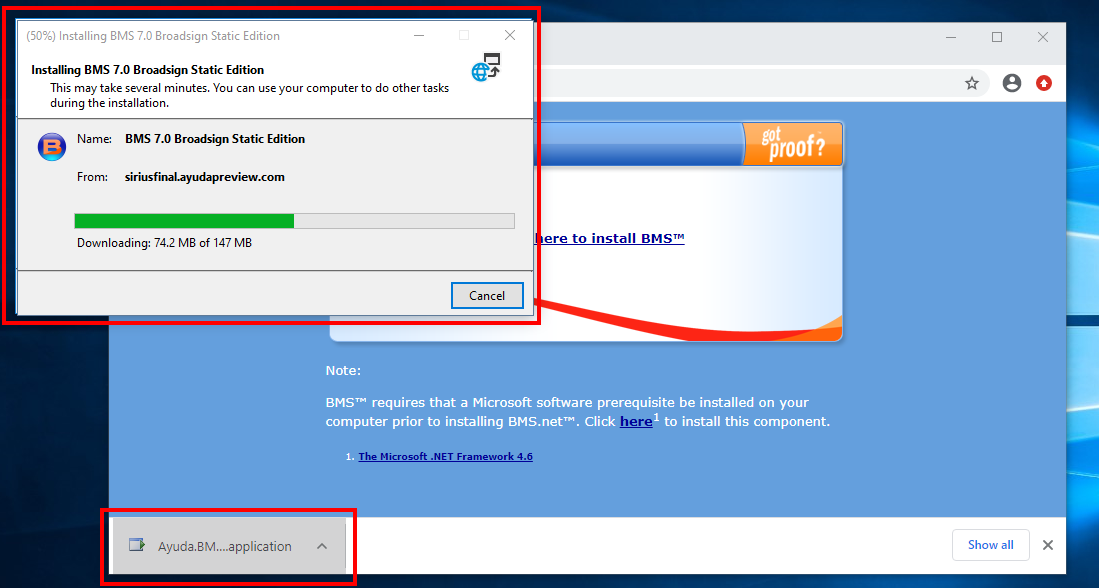
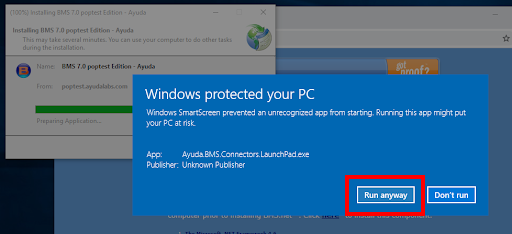
- Run the installation application that is downloaded.
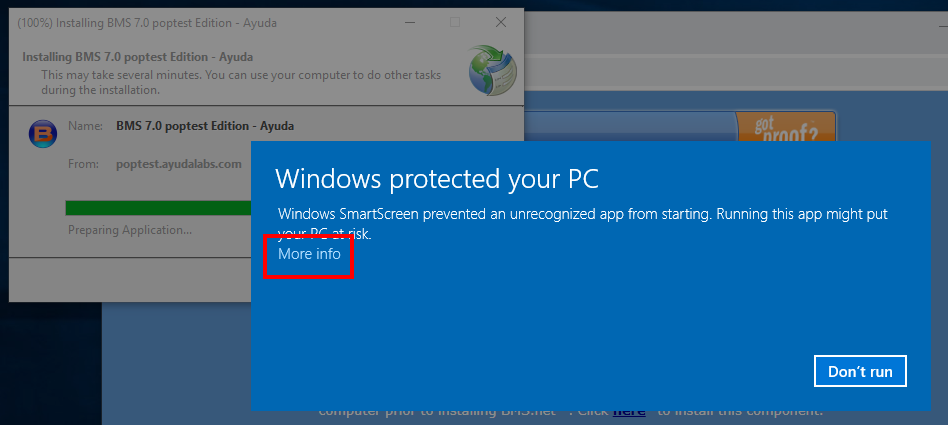
- At the Windows Security popup, click More info, then Run anyway.
- Sign in with your given credentials.
This downloads an application executable file.
BMS starts initializing.
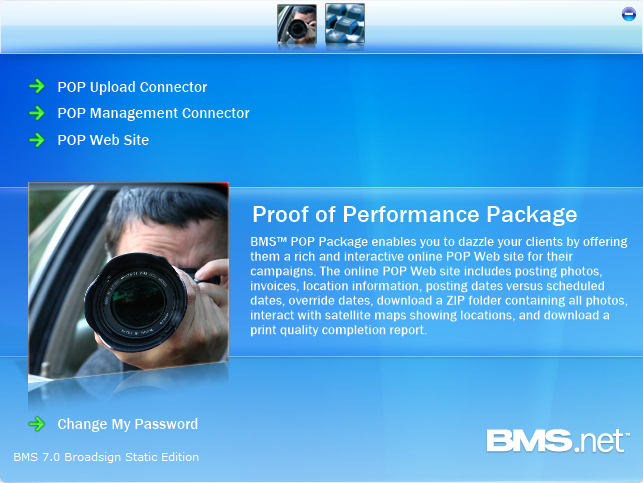
Once the initialization is complete, BMS opens.
BMS is located in your Windows launch pad for easy access.
If you ever have any issues, run the BMS Maintenance:
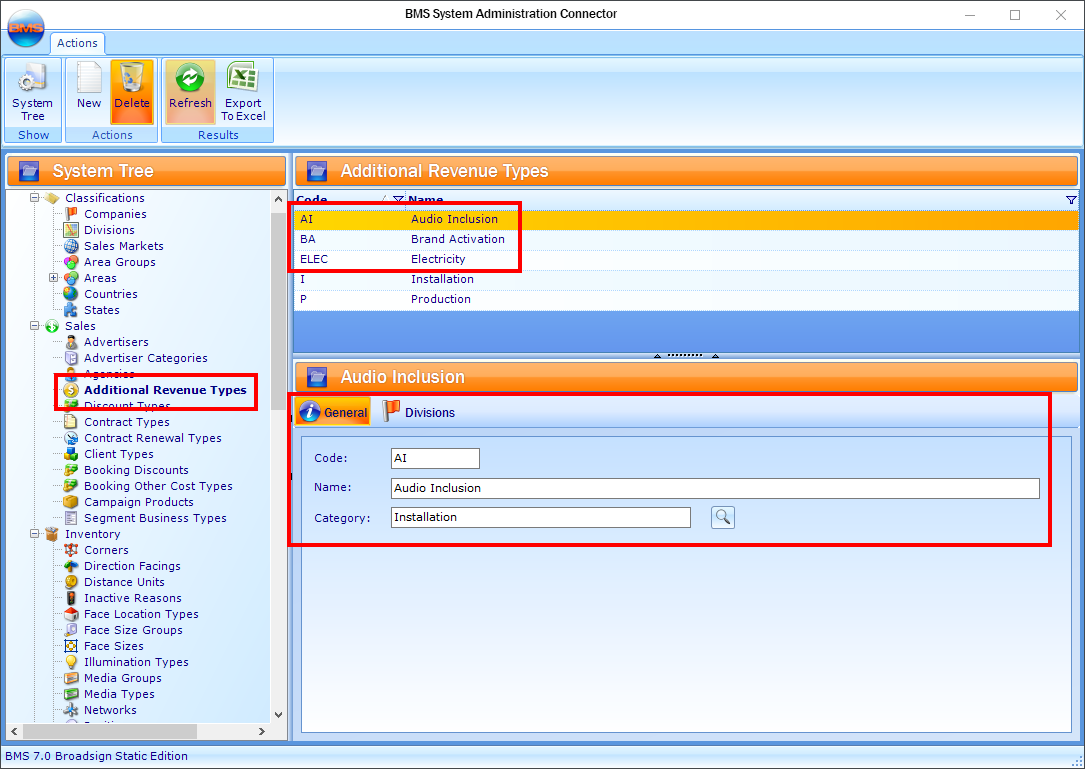
You can add new Additional Revenue types, that is, the types other than Installation and Production that are available in the system by default.
For more details, see Create Additional Revenue Types in BMS.
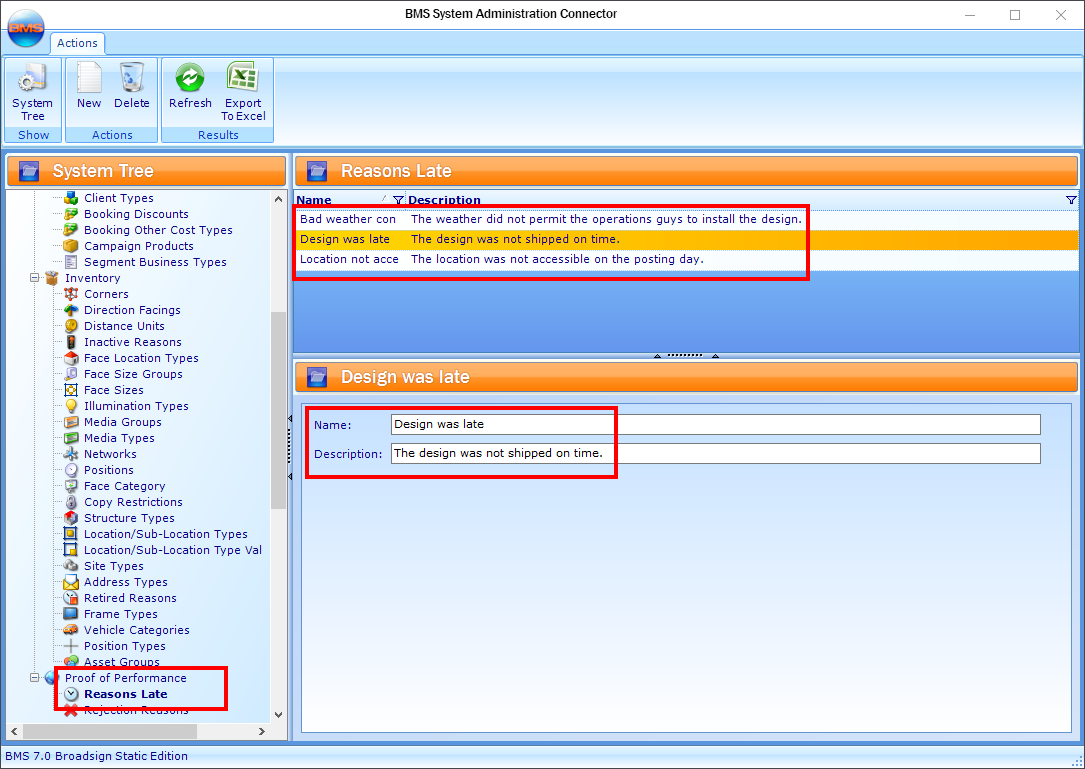
Now that you have set up BMS, you can look at your Proof of Performance setup. See Getting Started – POP Setup.
