This section describes how to create a report that will be sent according to a recurring schedule.
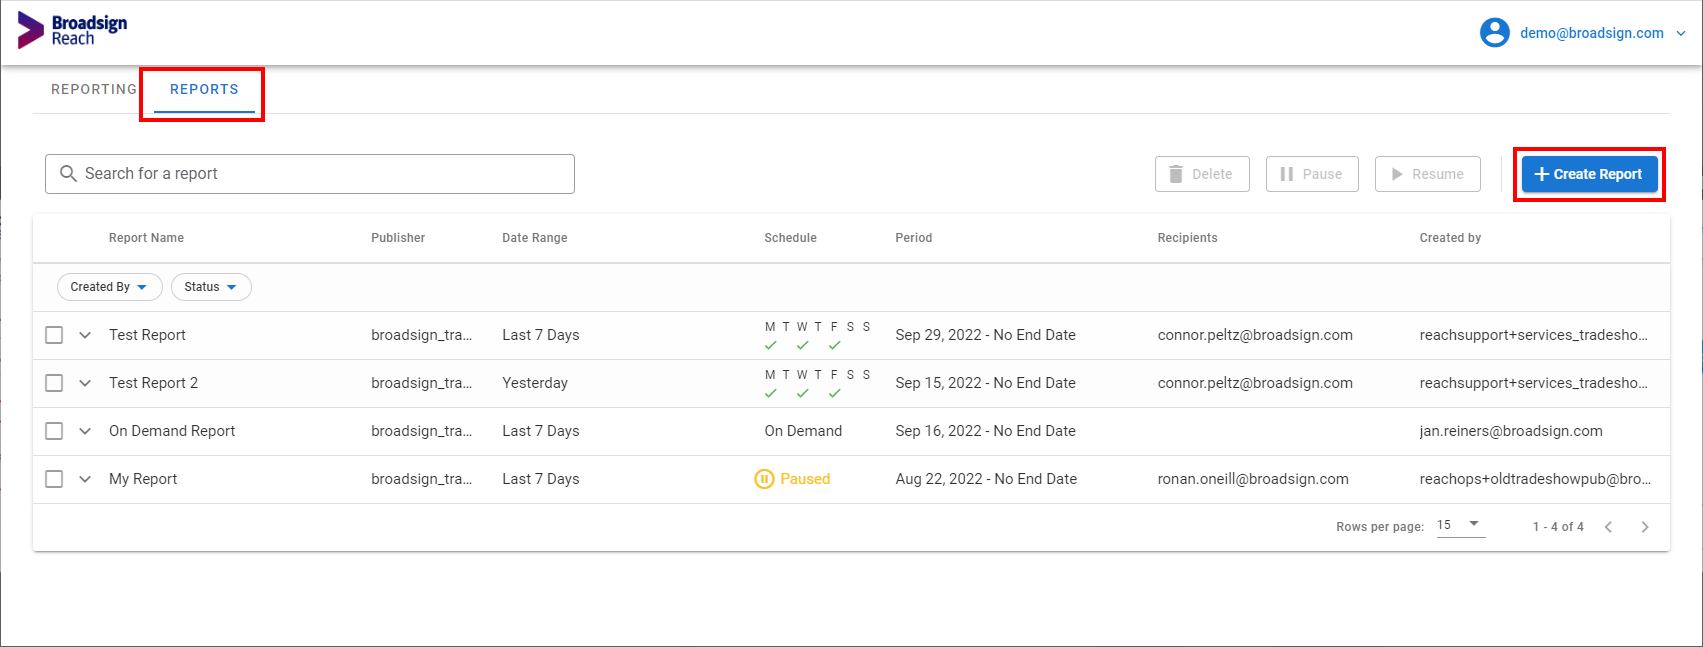
The following are some features of the Reports section interface:
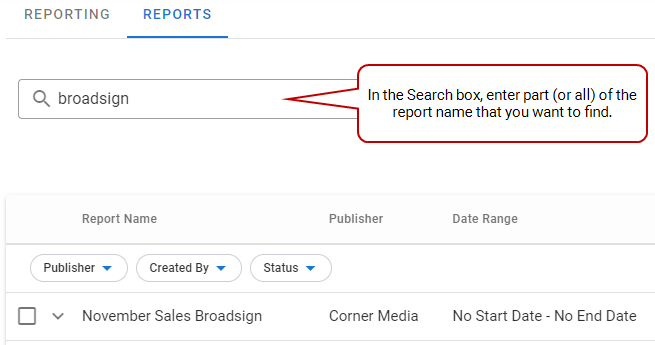
- Search – In the Search box, enter part (or all) of the report name that you want to find.
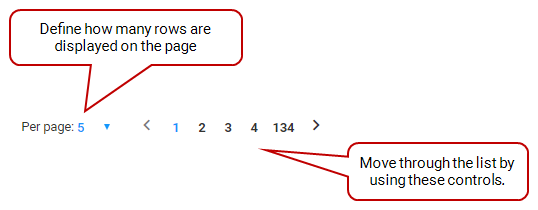
- Define Page Size – You can define how many reports are displayed at a time on the page.
- Filter by Publisher – You can filter your reports according to the Publisher menu.
- Filter by Created By – You can filter your reports according to who has created them in the Created By menu.
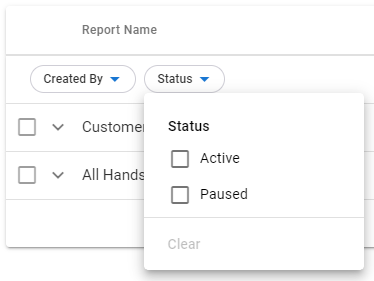
- Filter by Status – You can filter your reports by using the Status menu. You can decide to display only Active reports, only Paused reports, or both.
- Delete one or more reports – See Delete a Report.
- Pause one or more report – See Pause a Scheduled Report.
- Resume one or more paused reports – See Resume a Scheduled Report.
To schedule a report:
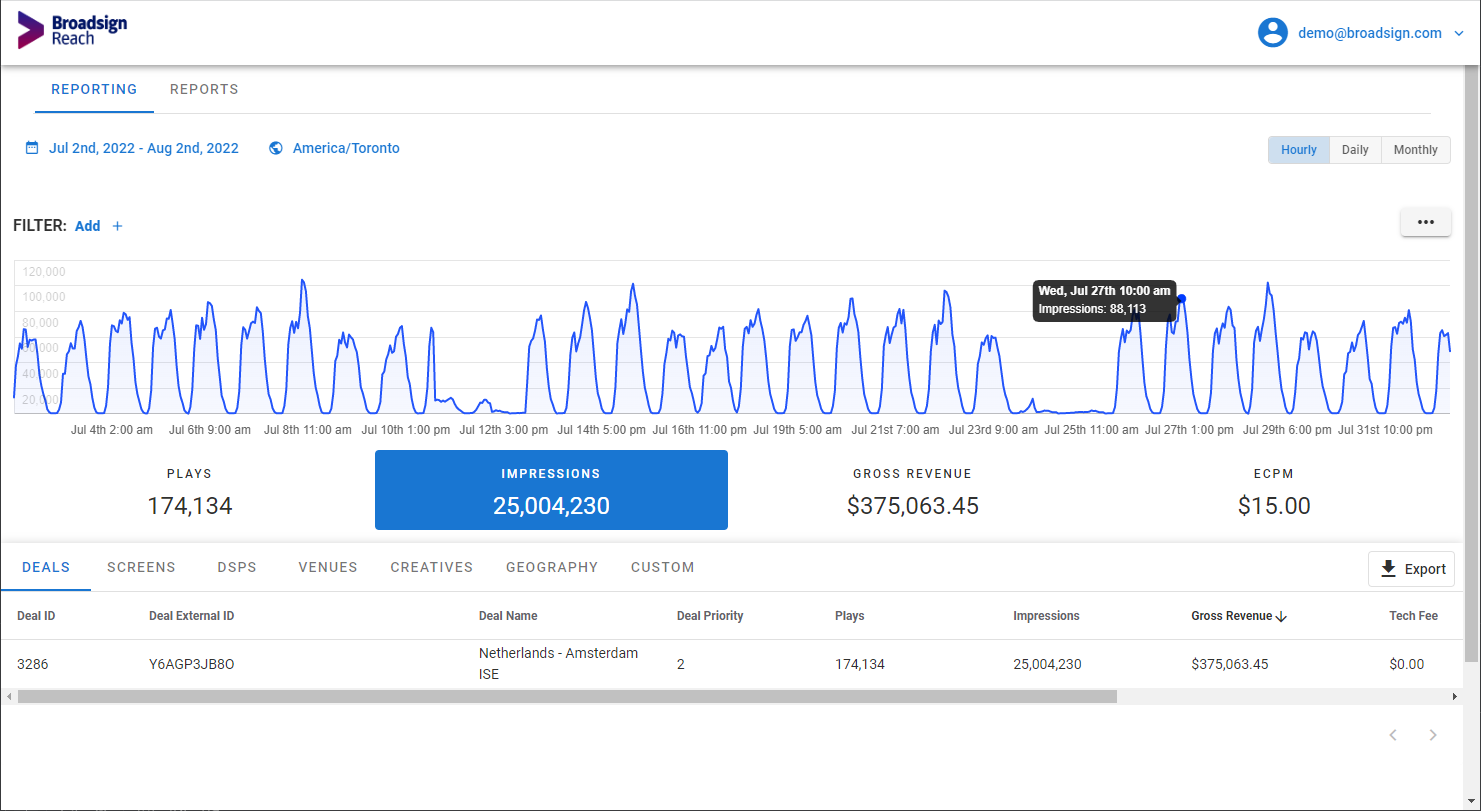
- Access the Reporting section.
- Click the Reports tab to access the Reports section.
- Click Create Report on the top right of the scheduled Reports list.
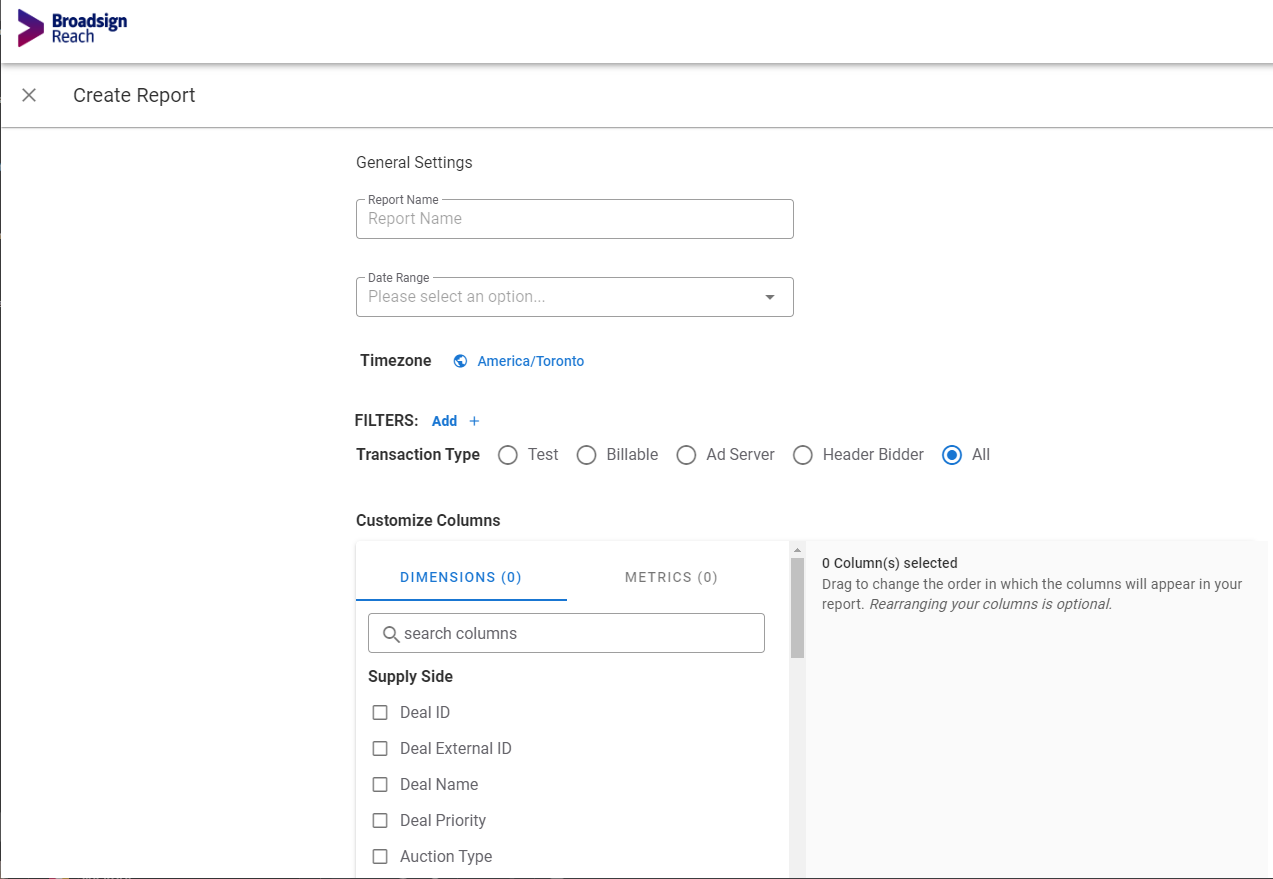
- Enter the proper information in the General Settings section.
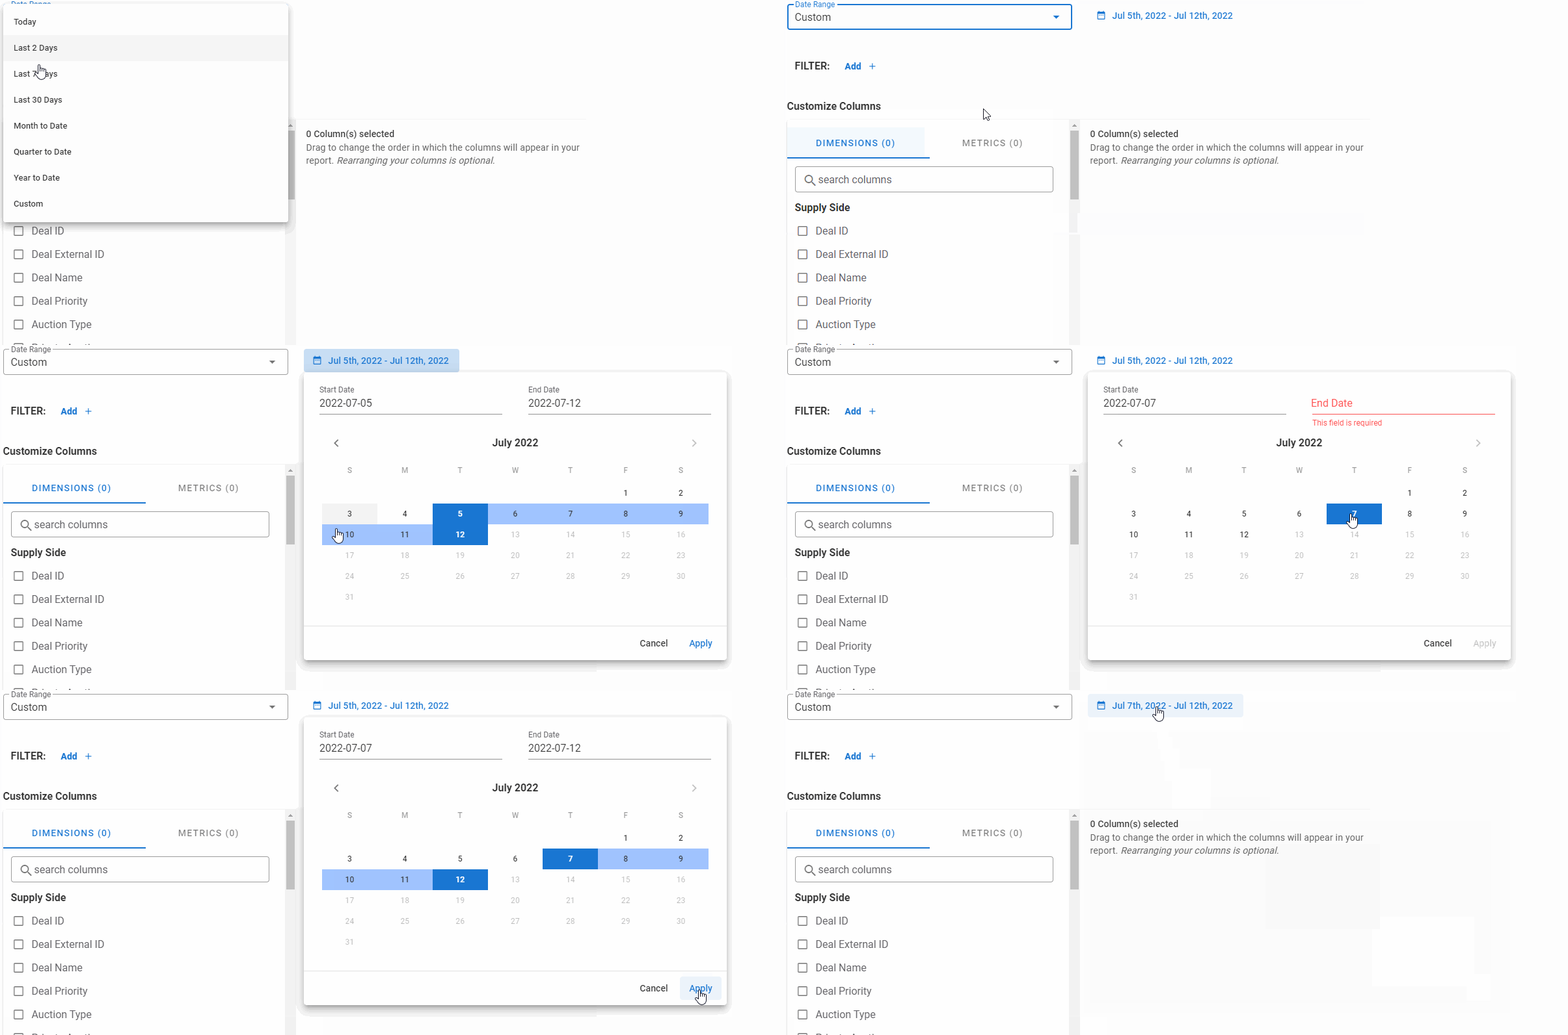
- Today
- Yesterday
- Last 2 days
- Last 7 days
- Last 30 days
- Last Full Month
- Month to Date
- Quarter to Date
- Year to Date
- Custom
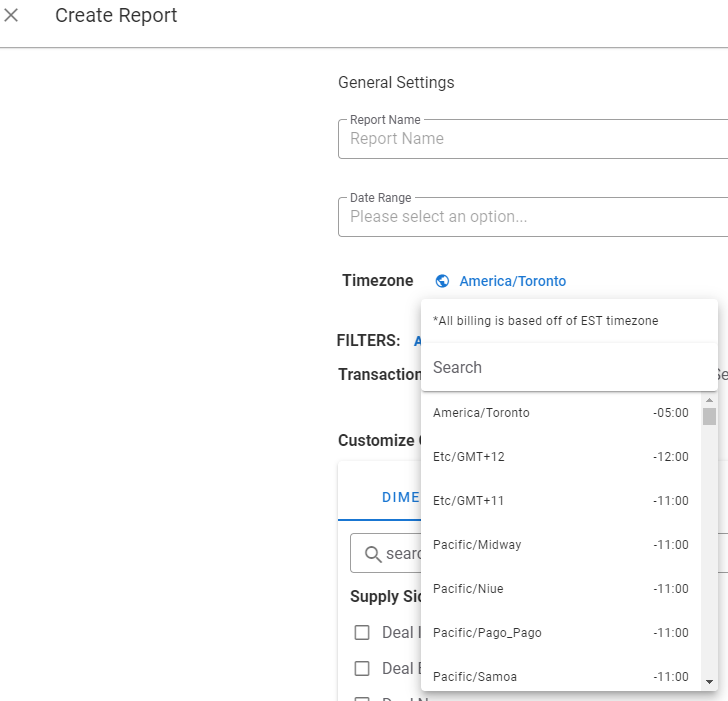
- Select the proper time zone by clicking the Timezone picker, and then select the proper time zone from the list.
- If applicable, create a filter to add only specific data in your report:
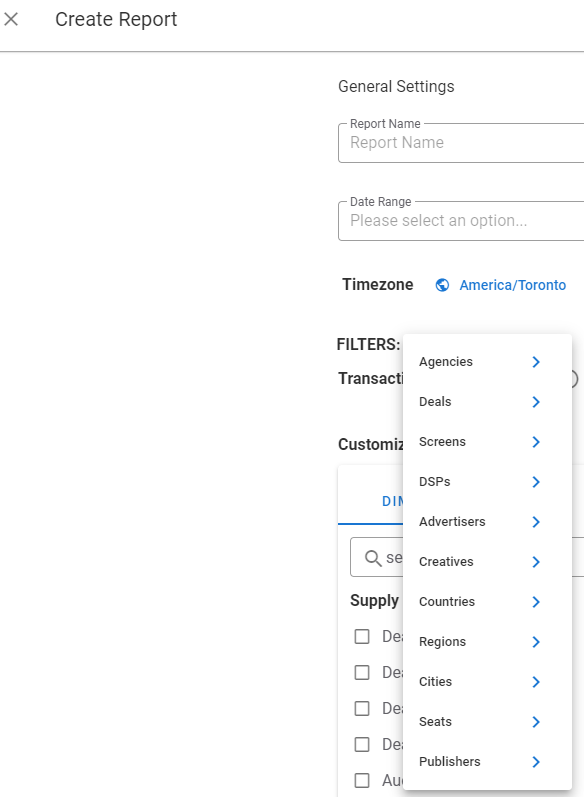
- Click the Add button next to Filter and the list of metrics is displayed.
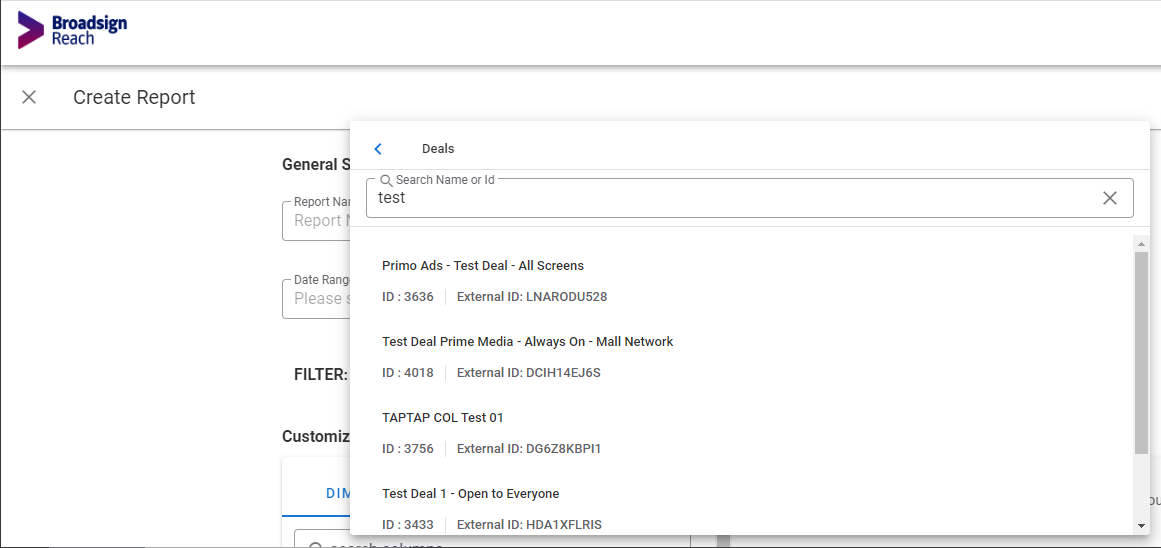
- Click one of the metrics.
- Enter the information to filter.
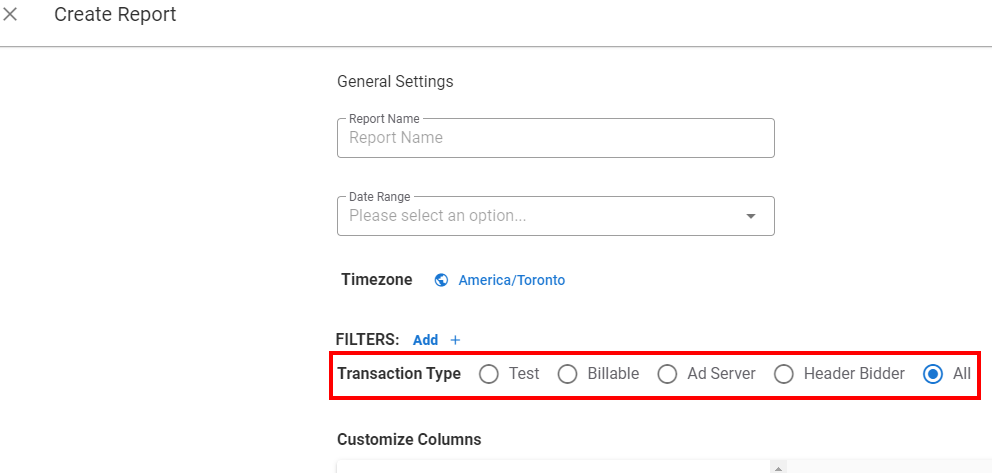
- Select the Transaction Type to use for the report.
- Test – Test transaction data only.
- Billable – Production data from Broadsign SSP (Reach)-integrated demand sources.
- Ad Server – Transactions processed through Broadsign's Ad Server (if available).
- Header Bidder – Transactions processed through the Broadsign SSP (Reach) Header Bidder (if available).
- All – All available transactions.
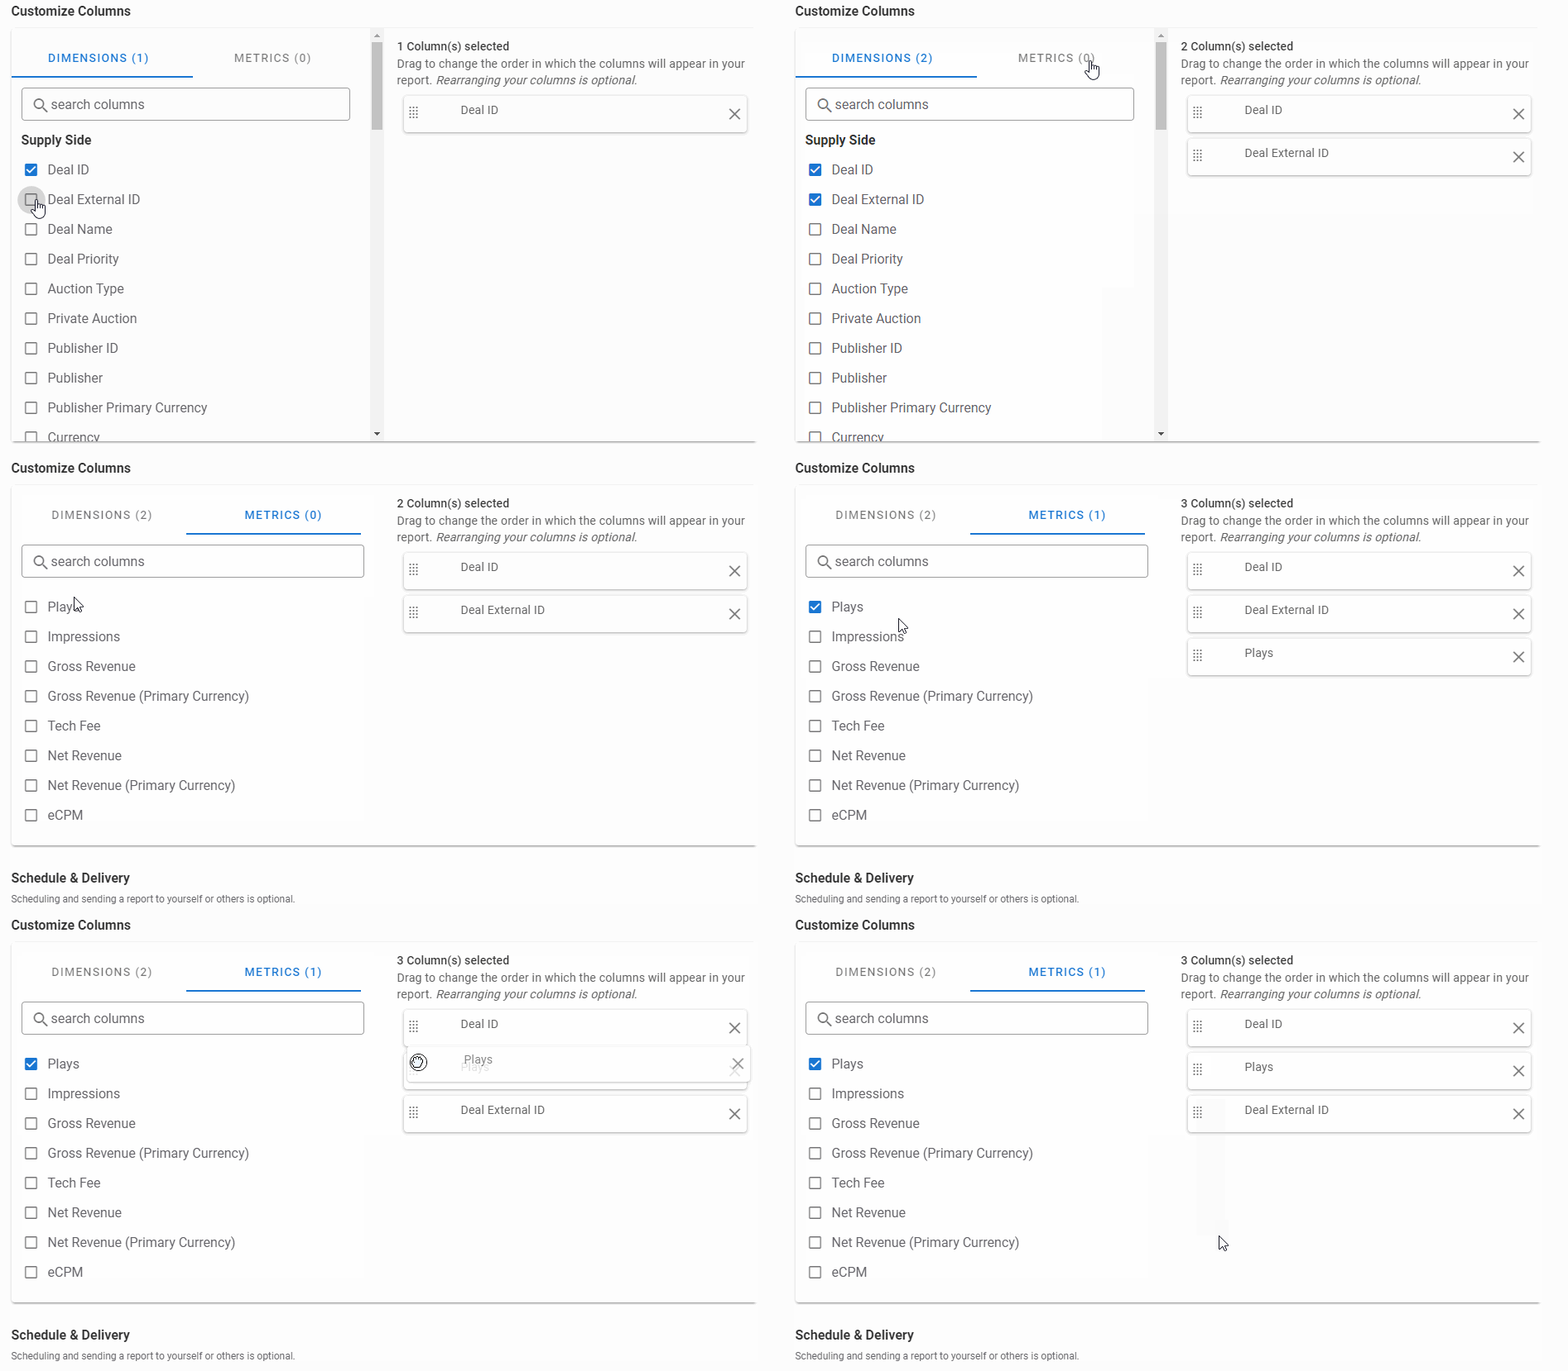
- Select the Dimensions and Metrics that will appear as columns in your report in the Customize Columns section.
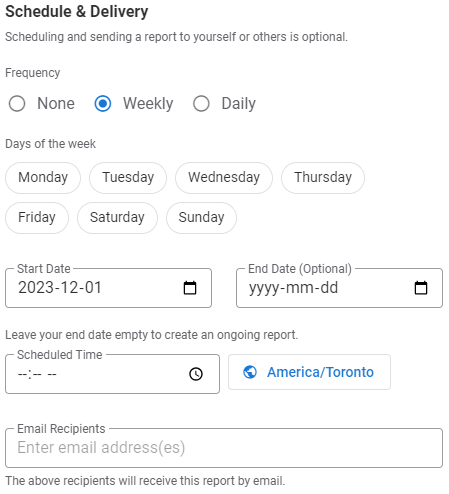
- Enter the proper information in the Schedule & Delivery section (all fields are mandatory):
- Once everything is correct, click one of the Save buttons:
- Save & Export – Saves the report in the list of reports and exports it in csv format.
- Save – Saves the report in the list of reports.
If you already have scheduled a report, it will be listed here.
The Create Report page is displayed.
| Field Name | Description |
|---|---|
| Report Name | Name of the report. It must be something meaningful. |
| Date Range |
Select one of the following: When clicking Custom, pick your own start and end dates in the calendar. |
You can search for a time zone by name or time offset, for instance, "-5".
The default value is Eastern Standard Time.
A search box for this specific metric is displayed. You can search by metric name or ID.
For more information, see Filtering.
Tip: You must select at least one metric.
| Field Name | Description |
|---|---|
| Frequency |
Select when to receive the report. If you select None, the report will not be produced and the Schedule column of the reports list will show On Demand. |
| Days of the week |
If you have selected the Weekly frequency, select the day of the week for the report to be created. You can select more than one day. The Schedule column of the reports list will show the days selected. |
| Dates | If you have selected the Weekly or Daily frequency, select a date at which to create the report. Optionally, you can set an end date at which to stop creating the report. Leaving the end date empty creates an ongoing report. |
| Timezone | Select a time zone by clicking the Time Zone picker, and then select the proper time zone from the list. You can search for a time zone by name or time offset, for instance, "-5". The default value is Eastern Standard Time (EST). All billing is based off of the EST time zone as well. |
| Scheduled Time | Select a time at which to create the report. |
| Email Recipients | Enter the list of recipients for the report. Separate each email with a comma. |

