In order to access Alto, an advertiser must have users assigned to their account with Alto specific permissions.
An Alto user can log in to Alto, and then make changes to campaigns published to Alto belonging to the account in which the user was created.
To add an Alto user:
- Open Splash.
- Select Juice in the drop-down menu on the left.
- Click the CRM menu item in the top row.
- Click the Accounts tile.
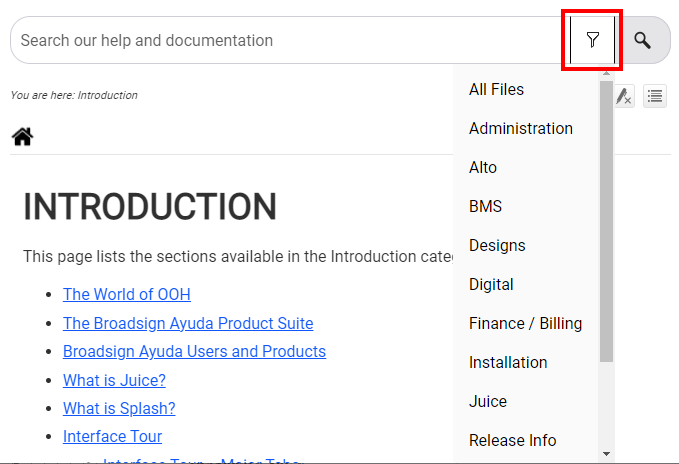
- Choose a filter on the left-hand side to narrow down your search request. Otherwise, click Search to show all accounts in your system.
- Click the needed advertiser account.
- Click the Contacts tab in the navigation bar on the left.
- Click the
 icon.
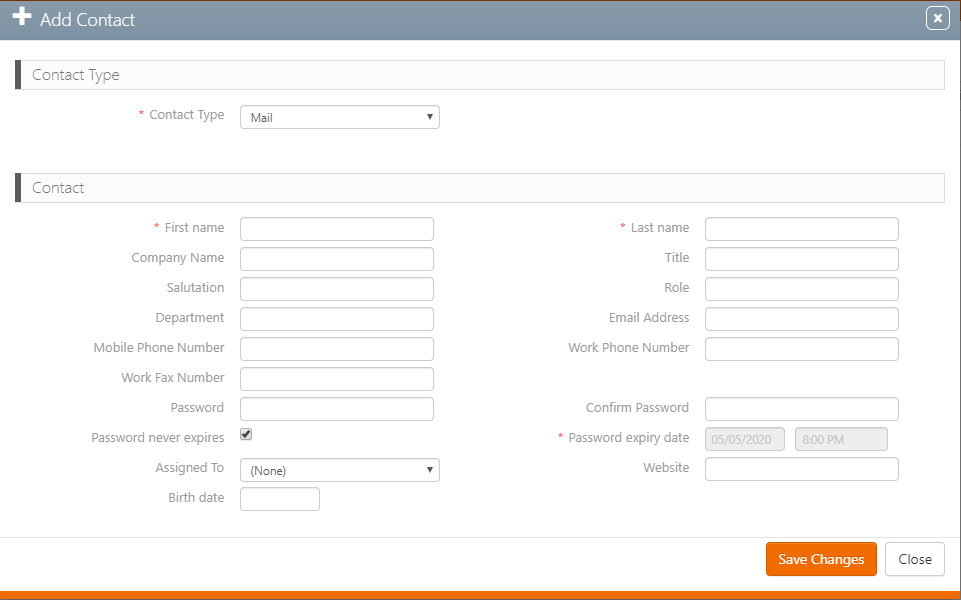
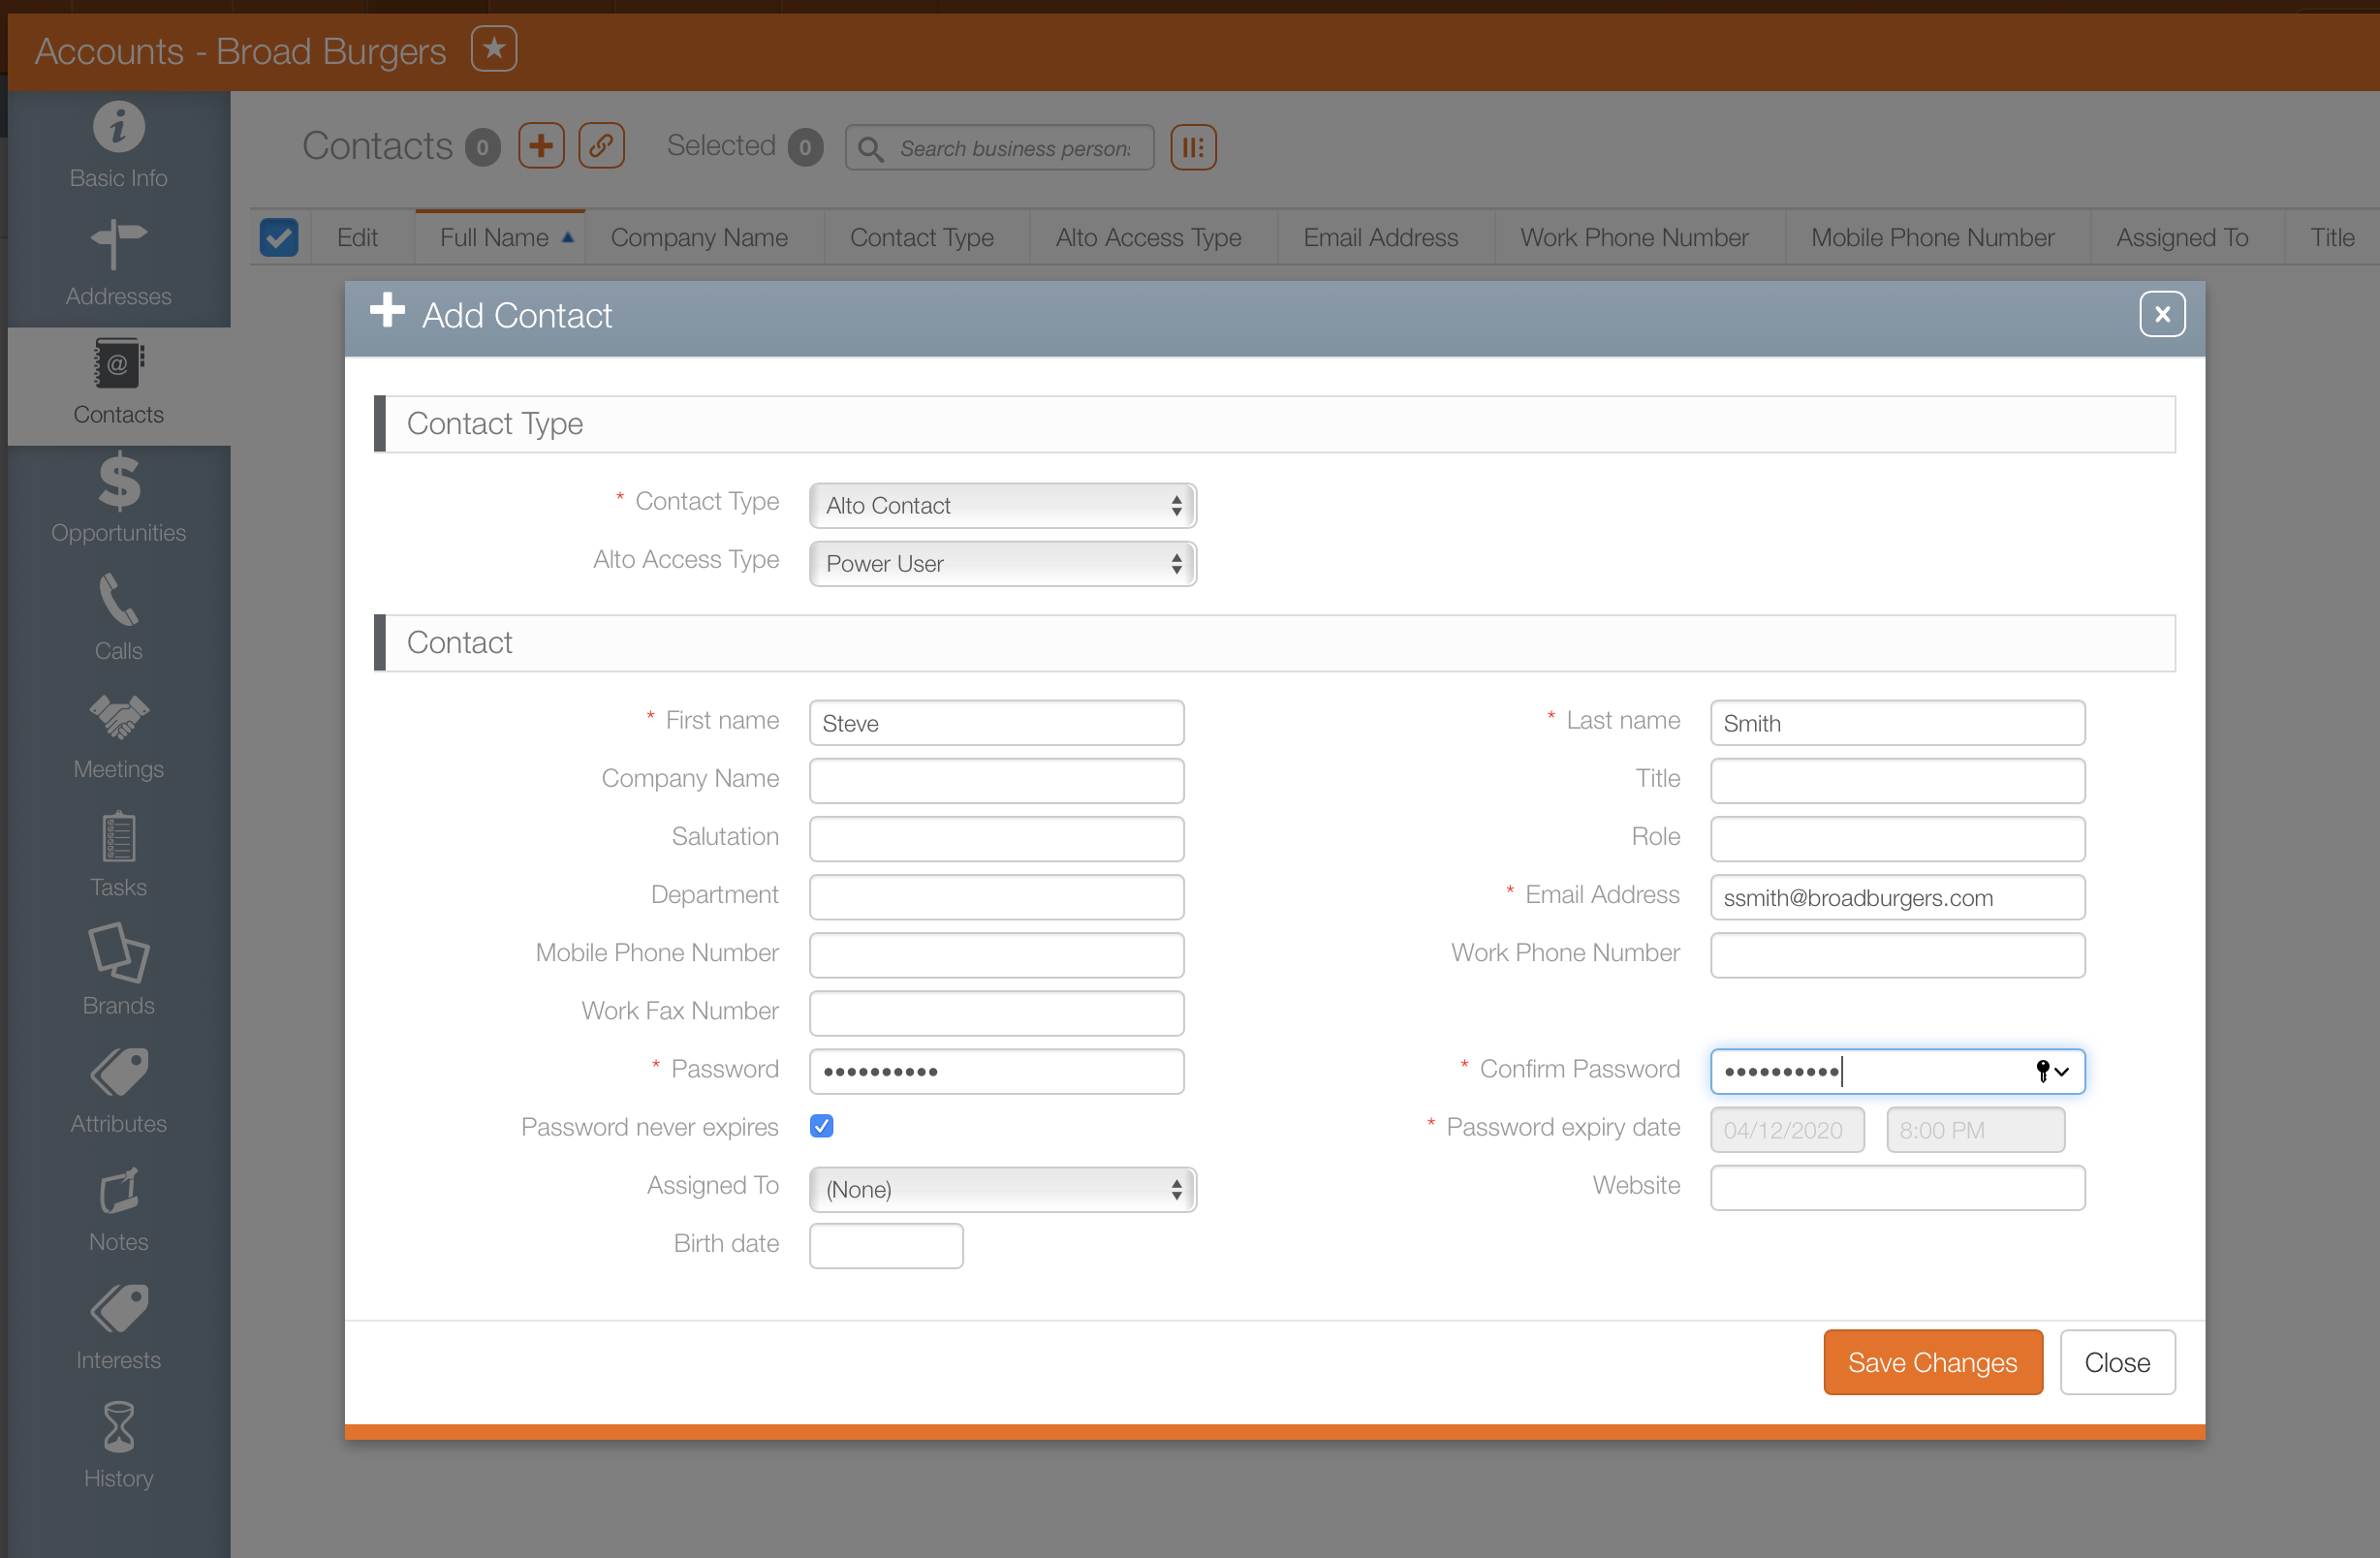
icon. - Enter the following mandatory information:
- Contact Type – Select Alto Contact from the Contact Type drop down menu.
- Alto Access Type – Choose My Business's Campaigns, My Linked Campaigns, Emergency Messages, or Power User.
- First Name and Last Name.
- Email address and Password – Though not marked as mandatory, for creating an account contact, an email address is needed for Alto. It will be this user's log in name.
- Password Never Expires / Password Expiry Date– Enable the Password Never Expires check box to allow this contact to log in until this organization is no longer active. Otherwise, disable the check box and supply a Password Expiry Date and time of day.
- Click Save Changes.
This presents a filter search screen for accounts.
The screen refreshes to show the search results.
This opens that account record in a new window.
![]()
This presents the Add Contact dialogue box.
This will allow the user to log in Alto and use the service.
If a user cannot log in to Alto, you should double check the contact type to ensure it is correct.
The contact types available may be different for each Broadsign Ayuda customer. Examples of typical contact types include: Mail, Alto Contact, Content Approval, Creative, Payment, POP Contact, Primary and Remit.
My Linked Campaigns will give that Alto user access to campaigns that have been assigned to them specifically.
My Businesses' Campaigns will grant access to all campaigns for that agency.
Emergency Messaging System will grant access to emergency messages only.
Power User will grant access to all campaigns for that agency as well as emergency messages. These special administrative powers are not needed by most users.
Note: Regardless of a Access type, any content uploaded and published will require someone with relevant access in Broadsign Ayuda to approve the design.
The user will need to use the password that you create. Ensure that the password is 10-30 characters and contains at least one number .
This user will now be able to log in to Alto and make changes to campaigns published to Alto belonging to the account in which the user was created.
What's Next?
The user must add Campaigns to Alto.
