Players do not have any faces configured by default.
To add a face to a player:
- In Splash, click NOC.
- The player that must have faces added to its screen must be identified. Use the filters to locate the player then click Search. Or simply click search with no filters selected to present all of the players in your network.
- Click the needed player from the search results. This opens the player record's Basic Info screen.
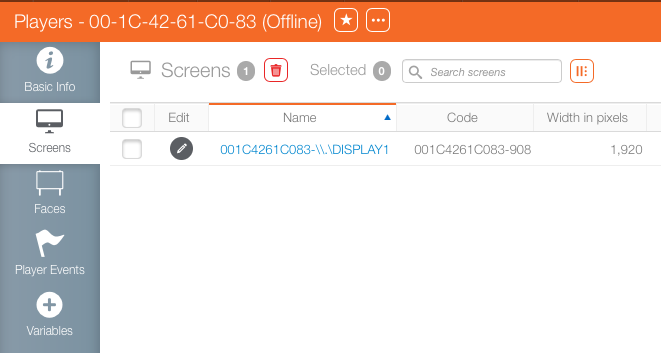
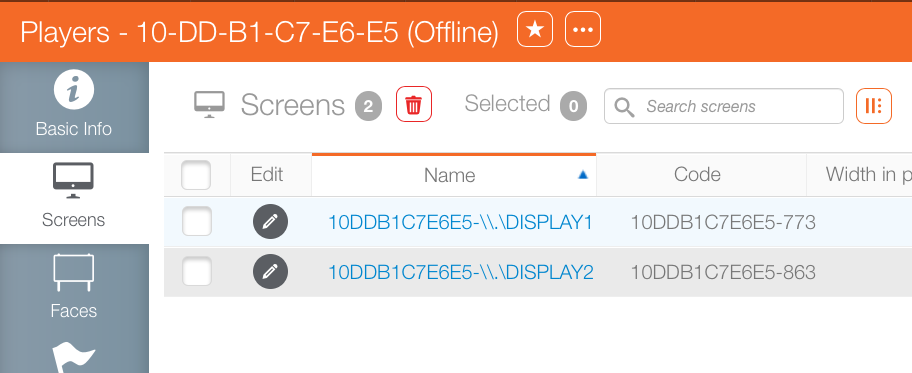
- Click the Screens tab.
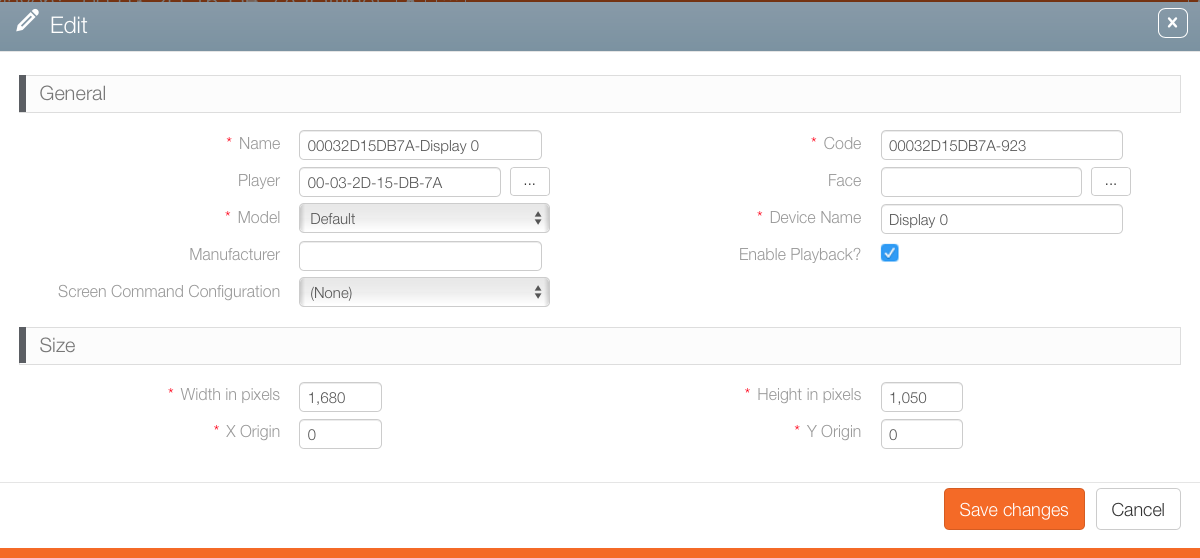
- Locate the screen that must have a face added to it. Click the
 icon to present the screen record.
 - Click the
 button next to the Face field.
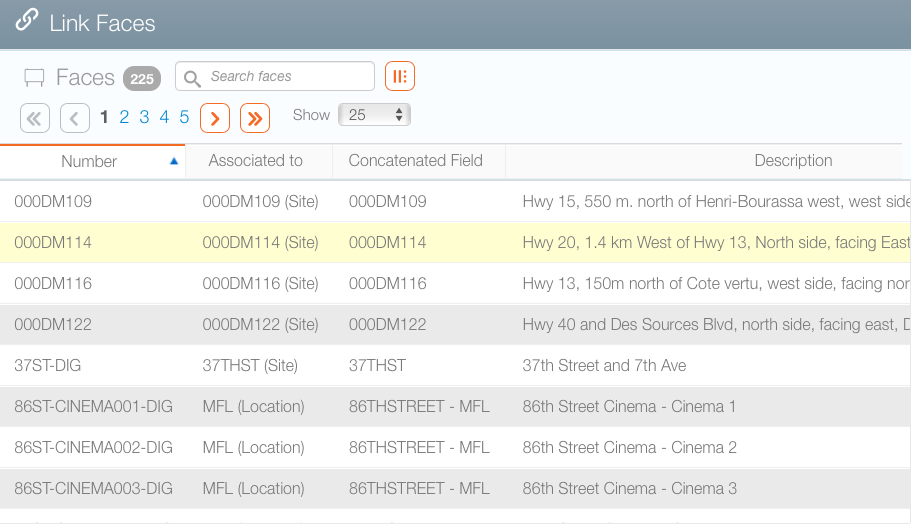
 - Use the filters to locate the face then click Search. Or simply click search with no filters selected to present all of the faces in your inventory.
- Click the needed face from the search results. This immediately closes the window and adds the selected face to the face field.
- Click Save Changes.
This presents a filter search window.
When searching through an inventory of players in search results, those without any configured faces would have no scheduled loops and no recorded check ins.
![]()
This presents the list of screens connected to the player. As long as a screen is connected to a player, it will be recognized, even if powered off.
This presents the Edit window for configuring the screen.
This opens a new filter search window for locating faces that have been configured in your instance's inventory.
This presents the Link Faces window.
The face will appear on the player after its next check in its completed.
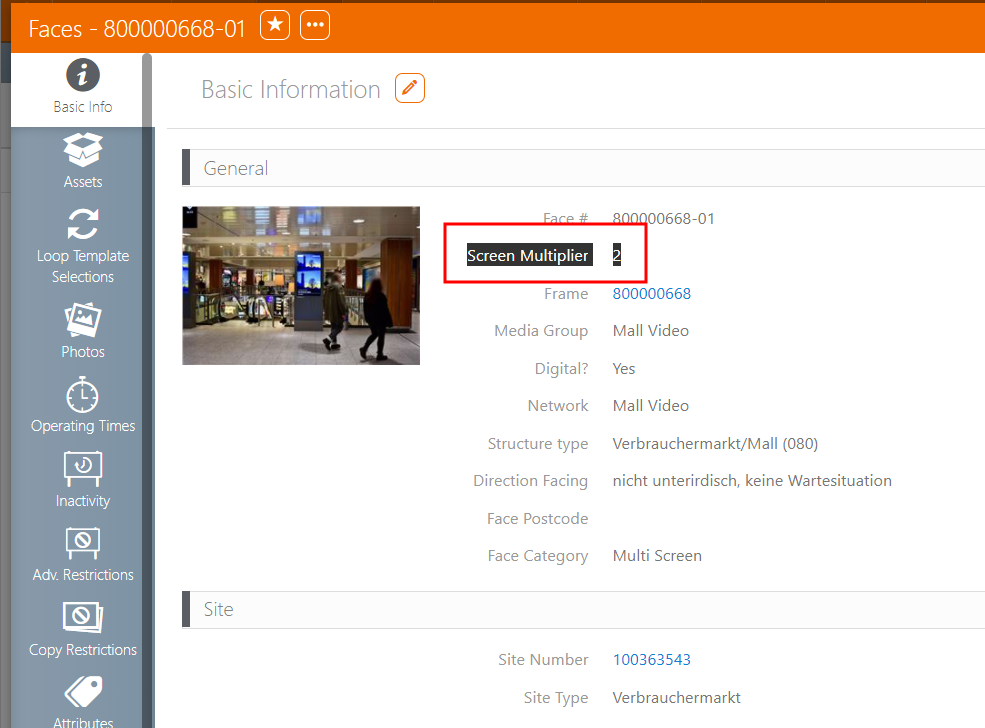
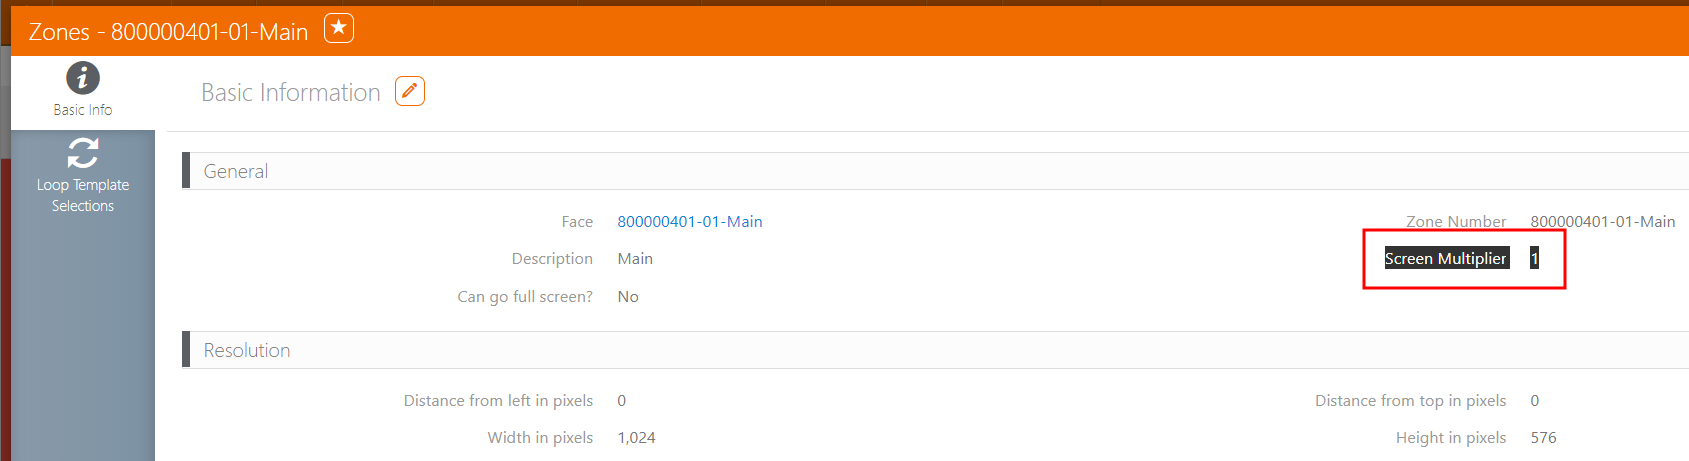
Screen Multiplier
With some player set ups, the same image gets pushed to multiple screens from a single player. The screen multiplier is used to calculate proof of play. It does this by multiplying the plays against the number of screens.
Tip: This may be listed as the screen count.
When accessing Splash > Assets > Faces, you can define the screen multiplier value in two places:
- In the Basic Info tab of a Face:
- In the Zones tab of a Face that has multiple zones: