Advertiser Restriction – Used to prevent advertisements from specific advertisers from being scheduled on certain assets. You implement it by applying an Advertiser Restriction to an asset, such as a Face or a Site (Add a Category Restriction to a Face). When an asset has an Advertiser Restriction, it indicates that creatives from certain advertiser categories should not display there.
For example, if a specific Face in a shopping mall has an 'Apparel' Advertiser Restriction, then the system advises against scheduling advertisements from any advertiser with the category type 'Apparel' (for instance, a clothing store) on that face. The system displays a  icon.
icon.
Separations Category – A feature in booking lines to keep ads from competing companies from running adjacent to one another. This may sometimes be referred to as a copy restriction in other sections of Broadsign Ayuda.
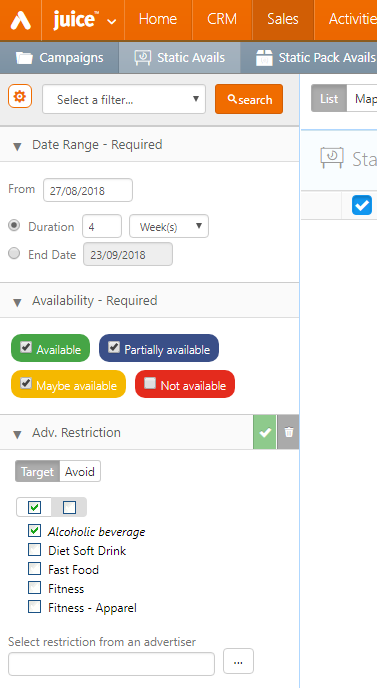
In Juice > Static Avails, an icon indicates that there is at least one Advertiser Restriction against the Face.
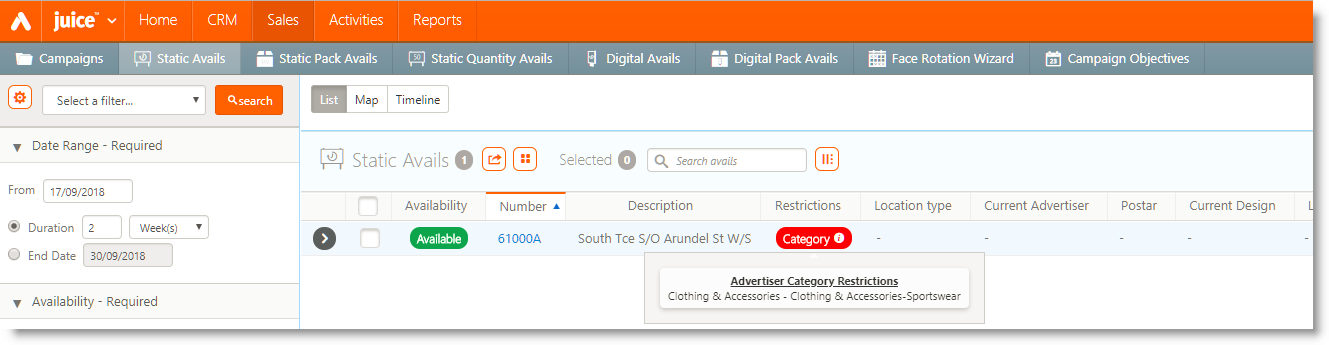
Hovering over the icon, you can see the details of the Category restrictions.
However, no flag will be triggered in the following cases:
-
Choosing Faces from Juice > Static Avails and adding them to an existing Campaign or to a new Campaign.
-
Choosing Faces from Splash > Campaigns > Segment level of a Campaign and adding new bookings to the Segment on which a Brand has been applied.
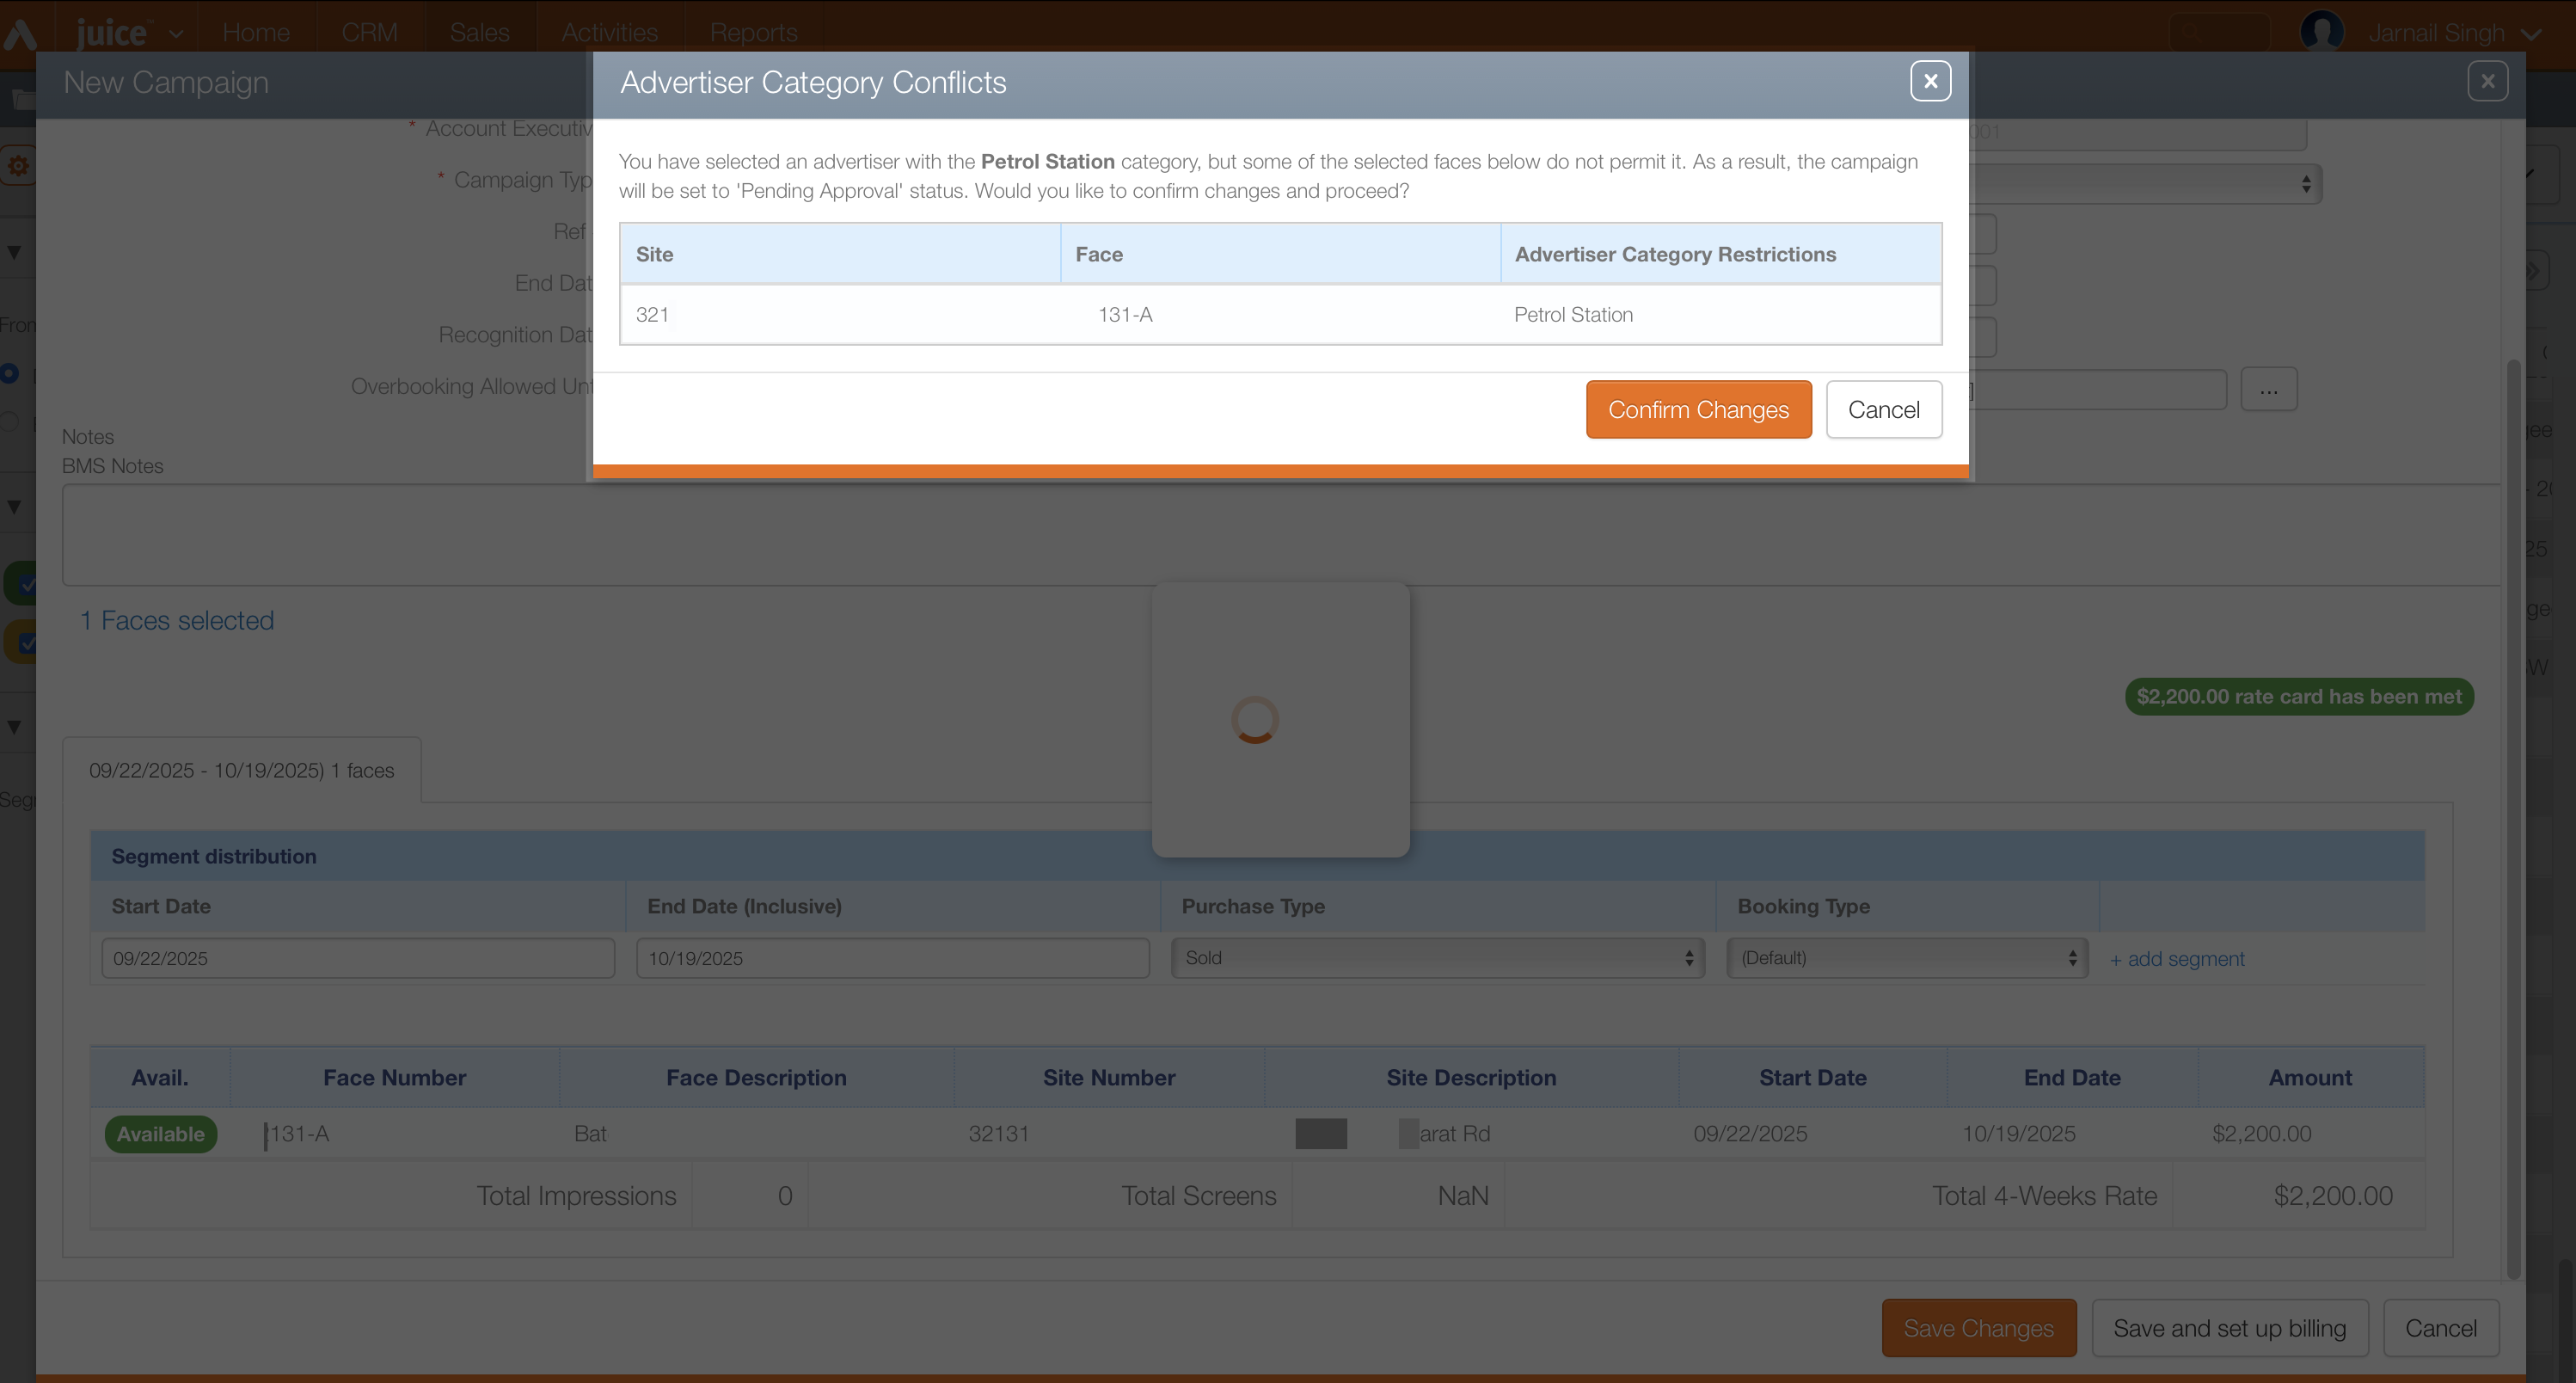
To prevent errors, the system automatically warns you when you schedule an advertiser on a restricted face.
When you add faces to a new or existing campaign from Juice>Sales>Avails, the system compares the advertiser's category against any restrictions on those faces.
- If the system finds a conflict, a warning pop-up appears.
- The pop-up lists the specific faces that have a restriction matching the advertiser’s category.
- You can choose to proceed by selecting the Confirm Changes button.
- Selecting Confirm Changes automatically places the campaign in a Pending Approval status.
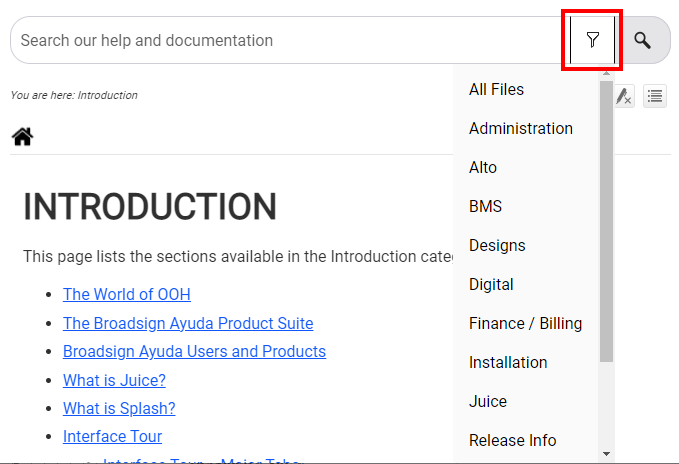
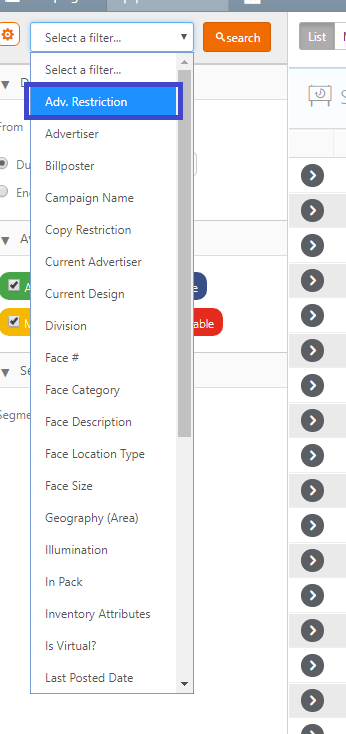
In Juice > Static Avails, you can also decide to select specific Advertiser Restrictions via the 'Adv. Restriction' Search Filter.
Follow this procedure to add a category restriction.
To add a category restriction to a Face:
- In Splash, click the Assets menu item.
- Click the Sites, Locations or Face tile as needed.
- Use the filter search to locate the required asset. Select the asset from the search result.
- Scroll down to the Advertising Restrictions tab and select it.
- Click the
 icon to add an advertising restriction.
 - Select the category restriction from the drop-down menu. Click Save Changes.
This presents a filter search.
This opens the site, face or location record, showing the Basic Info screen.

The screen refreshes to show all of the asset's advertising restrictions, if any.
This presents the Add Advertiser Category Restriction dialogue box.
The screen refreshes to show the new restriction.
To edit an existing restriction, click the  icon.
icon.
To delete it, enable the check box next to the row item. This presents the  icon. Click it.
You will be asked to confirm the deletion. Click Yes to delete the Category Restriction.
Advertiser Restrictions work broadly similarly to Category Restrictions.
To create an advertiser restriction for an asset, click the Copy Restriction tab.

