Before attempting manual billing, ensure that all of the necessary preconditions have been met.
- An approved contract.
- A sales rep associated with the contract.
- An account (advertiser/agency) associated with the contract.
- That account must have a payment address and contact.
- Select the billing schedule template
- Add additional revenue (if required)
- Select an invoice template
- Review and confirm
- Schedule the invoice
To bill manually:
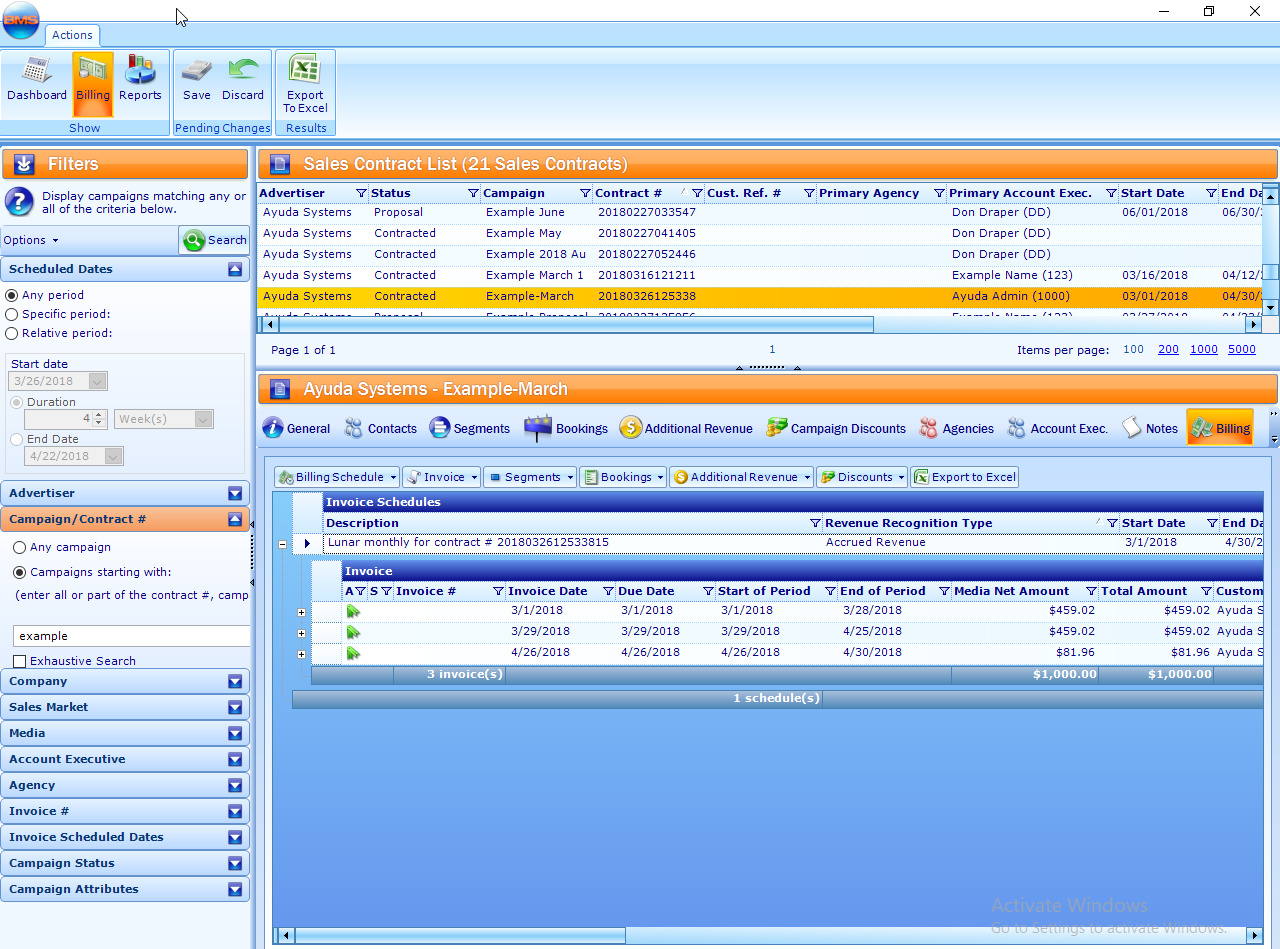
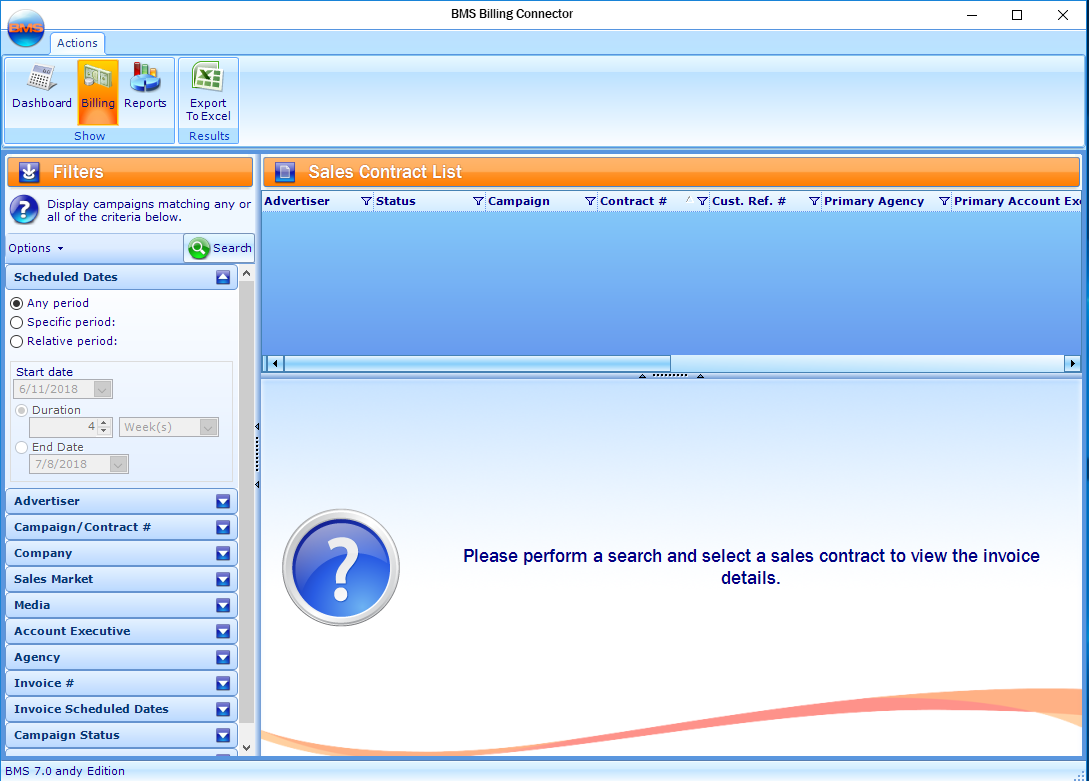
- Within BMS, click Invoicing Package, then Billing.
- On the left is a filter menu used to locate the campaigns that need to be billed and then invoiced. Once the filter is selected, click
 .
. - Click the needed campaign row in the upper right pane. This presents the campaign billing record details below. Click
 .
. - Clicking the Billing Schedule shows a drop-down menu. Choose Add Billing Schedule.
- Choose a billing schedule.
- Click
 .
. - Choose only those segments to be included on the invoice by enabling the check boxes next to the needed rows.
- Choose either:
- Invoice proportionally based upon the booking level amounts – This is the default. It takes the booking (face) amounts to calculate the invoice amounts, pro-rated.
- Invoice proportionally at the booking level within the segment based on the rate cards – Segment amounts are always a total of the sum of all faces assigned to it, the system calculates the total invoice amount as per the invoicing options.
- Click
 .
.
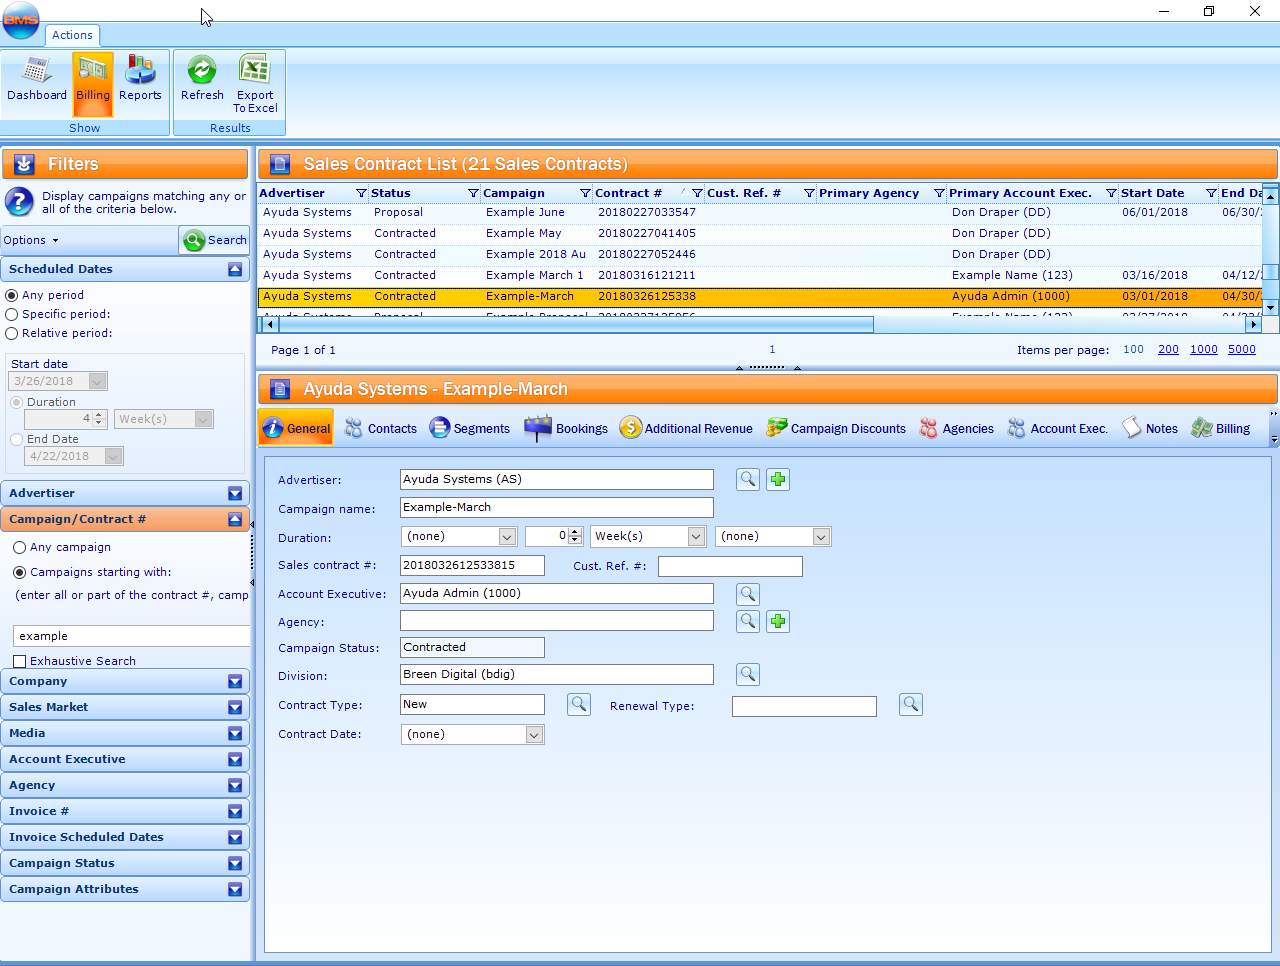
This presents a filter search window on the left hand side. Because no records have been searched for and selected, the other panes are empty.
This presents items matching the search terms in the upper right hand side of the window.
This presents a series of sub tabs within the campaign billing record window.

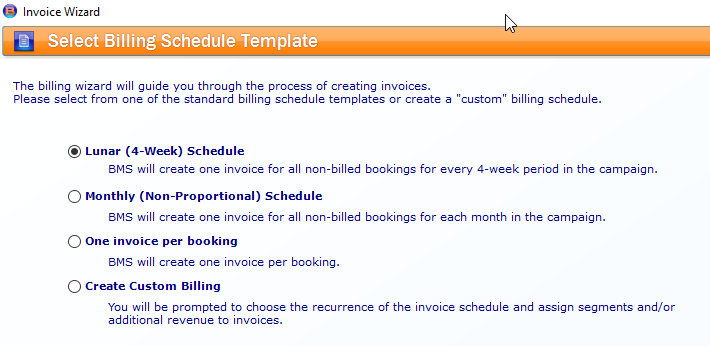
This presents the Select Billing Schedule Template screen. These are typically customized for each Broadsign Ayuda customer and will likely show different options.
This presents the segments selector.
If you choose to create an invoice for some segments, the next time an invoice is created for that campaign, only the unbilled segments will be available for selection.
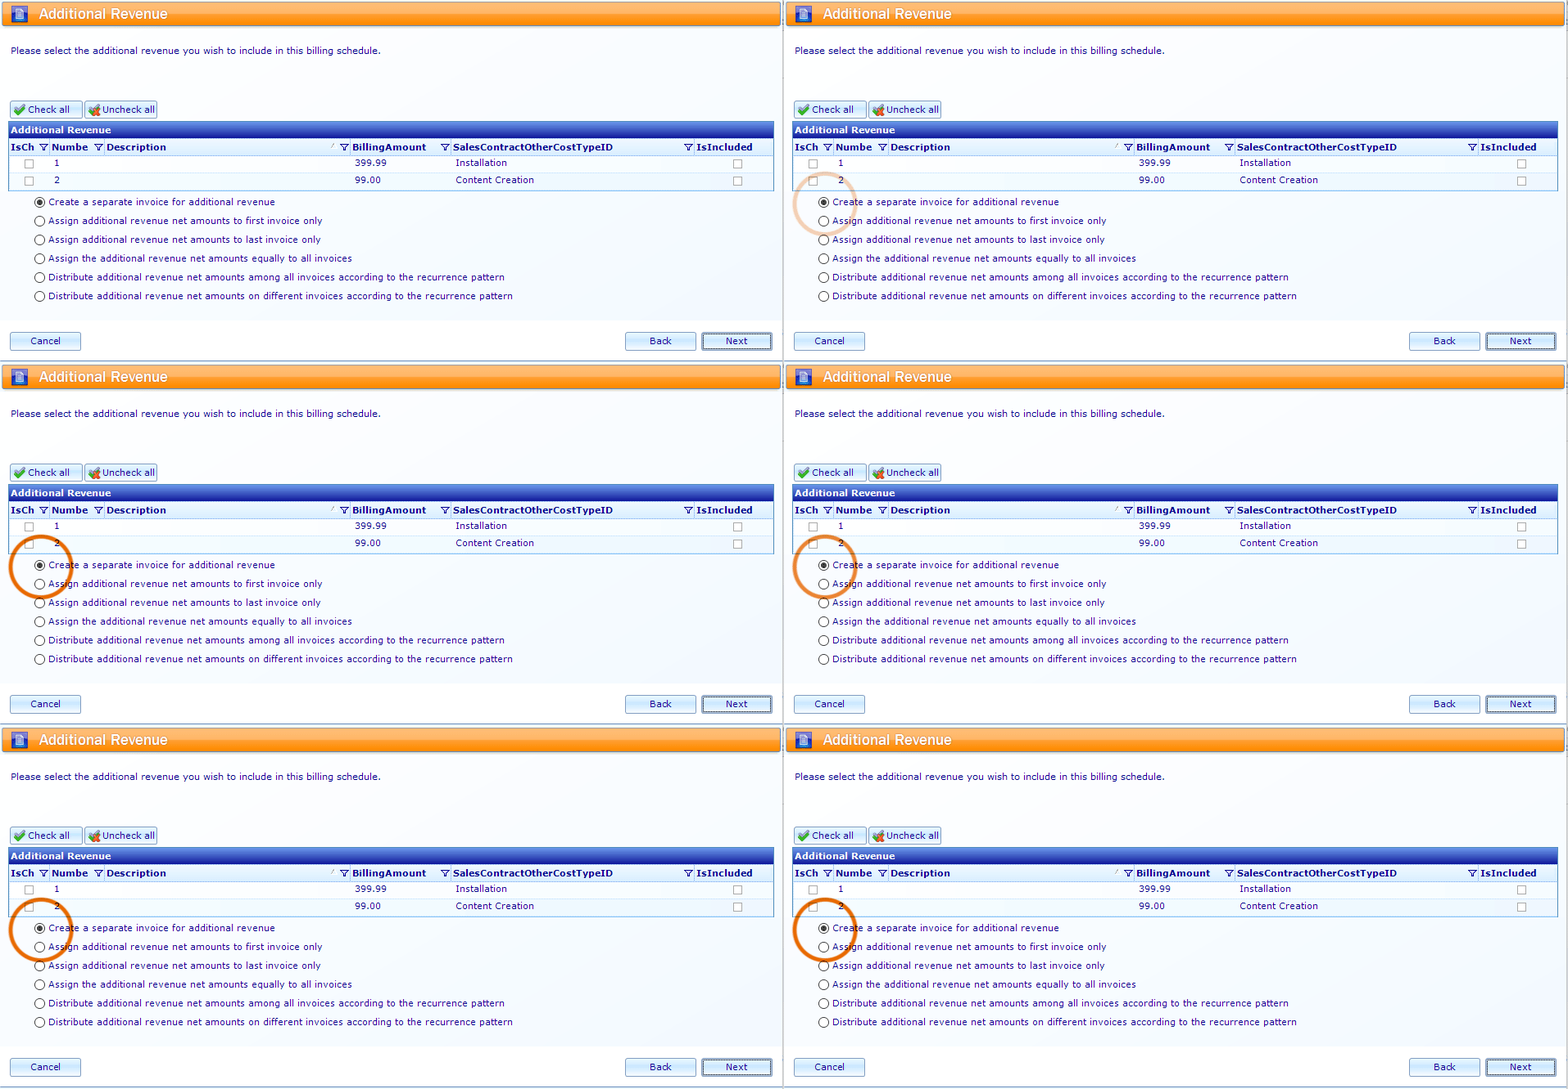
If additional revenues are to be included, a screen for those items will be shown. If not, this screen is skipped.
- Enable the check boxes next to the additional revenue item, and then choose one of the following options to indicate how that additional revenue item is to be treated:
- Create a separate invoice for additional revenue
- Assign additional revenue net amounts to the first invoice only
- Assign additional revenue net amounts to the last invoice only
- Assign the additional revenue net amounts equally to all invoices
- Distribute additional revenue net amounts among all invoices according to the recurrence pattern
- Distribute additional revenue net amounts on different invoices according to the recurrence pattern
- Click
 .
. - In the Revenue Recognition Type drop-down menu, click the drop-down menu. Select either:
- Accrued Revenue – Sales that have been sold or completed but the associated revenue has not yet been billed to the customer.
- Deferred Revenue – Deferred revenue refers to payments received in advance for services which have not yet been performed or goods which have not yet been delivered. These revenues are classified on the company's balance sheet as a liability. Use this when the revenue is recognized at a later date, meaning it doesn’t match the billing schedule dates.
- Same As Billing – Use this when the revenues should be recognized at the same time as the invoices.
- Click
 .
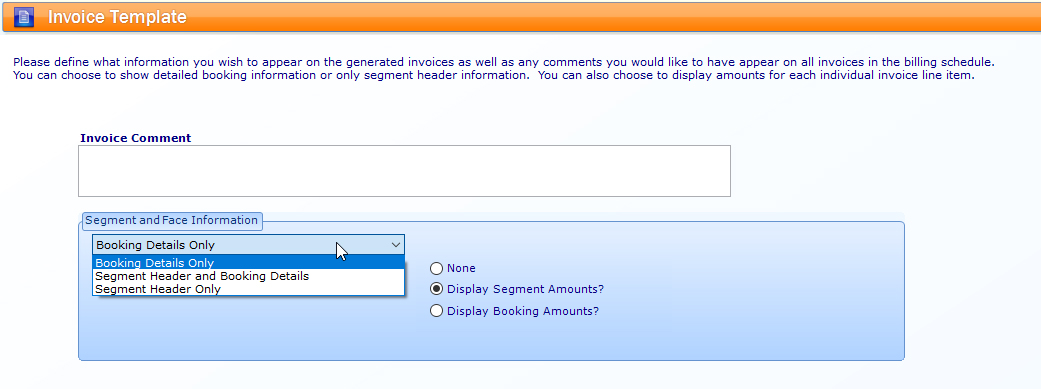
. - Use the Segment and Face drop-down menu to choose either:
- Booking Details Only
- Segment Header and Booking Details
- Segment Header Only
- Choose whether to display granular financial information:
- Display Segment Amounts
Display Booking Amounts - Click
 to review the billing information.
 - The rows can be expanded to review their details. If a correction must be made, click the Back button. Otherwise choose how and when to schedule the invoices.
In this context, the Recurrence Pattern means the billing schedule selected.
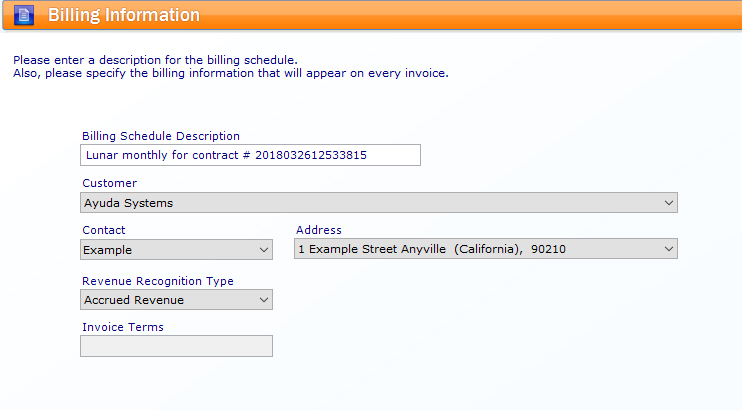
This presents the billing information screen. The default values for this screen are taken from the company contact information record. Ensure that the information is correct.
This presents this Invoice Template. It is used to add comments to the invoice, and decide what information is included.
The batch of invoices created by the selections made on the previous screen is shown in the Review and Confirm screen.
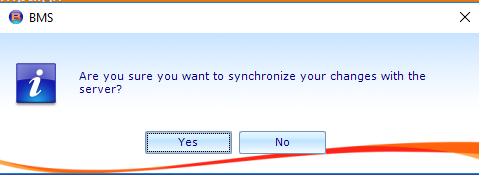
This will not actually send the invoice to the customer. Additional steps are required to do so.
- Invoice at the start of the period
- Invoice at the end of the period
It is the segment dates that are used for the Period Start and End Dates.
- Based on the posting calendar – Billing calendars uses the 12 calendar months. These start on the 1st of the month in which the ‘Period’ starts and end on the last day of the month in which the ‘Period’ ends.
- Based on the broadcast (billing) calendar. Broadcast calendars are usually based on the lunar calendar, which is four weeks to a month for a total of 13 months. These always start on Mondays and end on Sundays.



 to create the billing record.