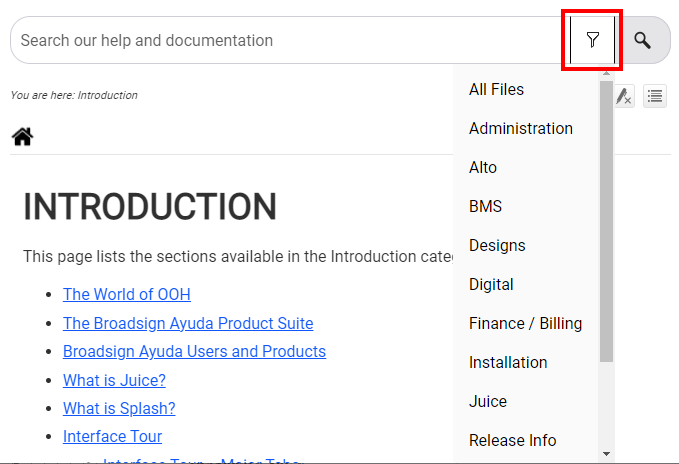
- In Broadsign Ayuda, log into Splash. Select Assets. Click Faces.
- Use the search tool to locate a face that must have a positional relationship with another face.
- Select a starting face by clicking the Face Number or any of the faces to be linked.
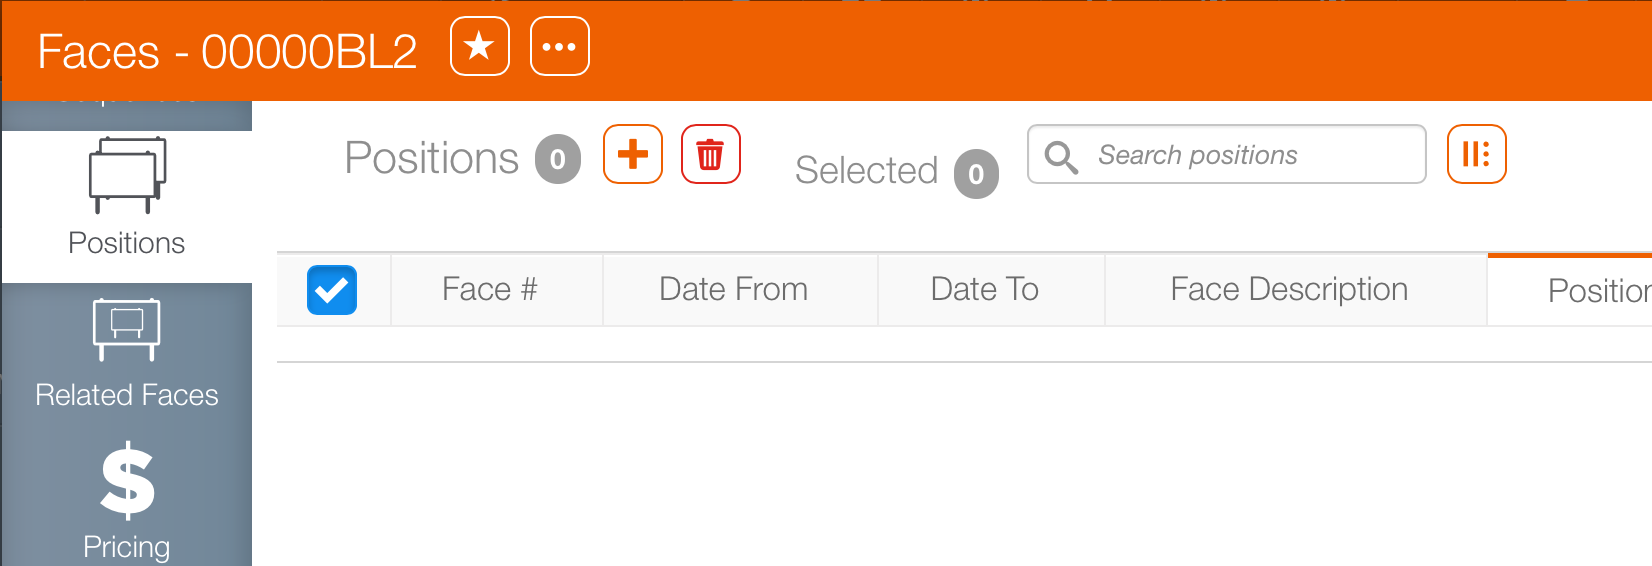
- Click the Position tab from within the navigation bar on the left.
- Click the
 icon.
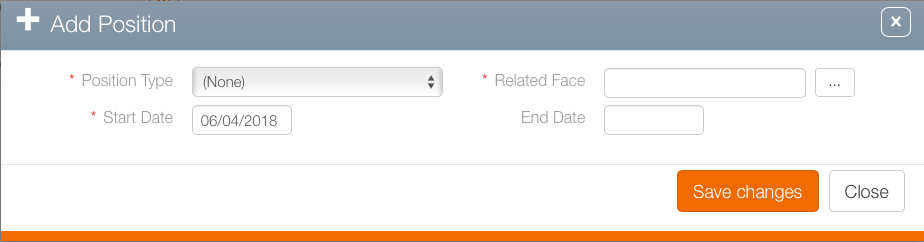
icon. - Set the following Mandatory Information:
- Position – The following options are available: In Pair With, Right of, Opposite, Line of Sight, or Left of. The default is none.
- Start Date – When this relationship begins.
- Related Face – Use this to select the face to which there must be a positional link.
- Click the
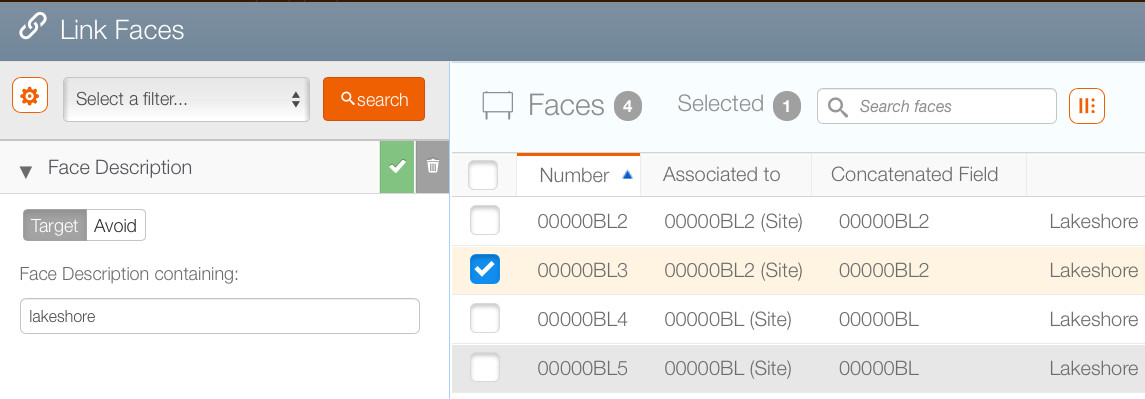
 button to open a new filter search window. Use the search tools to locate the face that must have a position set in relation to this one.
 - Enable the check box next to the needed face. In this example, BL3 will be selected.
- Click Link.
- Click Save changes.
This presents a filter search window.
Note: Not all users have the ability to edit faces.
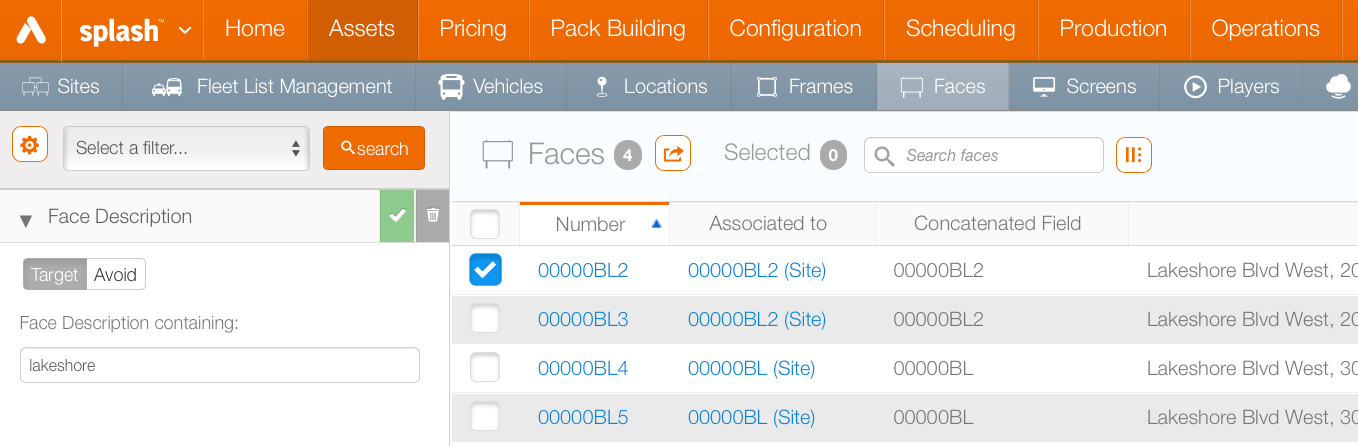
In this example, we will link BL2 and BL3.
This presents the face record.
This presents Add Position dialogue box.
This closes the filter search window and returns you to the Add Position dialogue box. The selected face now appears in the Related Face text field.
