Each Broadsign Ayuda deployment must have at least one office configured. That office must be linked to at least one sales market. Offices can be created and edited.
Note: Offices can manage multiple sales markets. As well, each sales office is required to be linked to an office.
To create or edit an office:
- In Broadsign Ayuda, log into Admin.
- Select Workforce.
- Click Offices.
- To create an office, click the
 button.
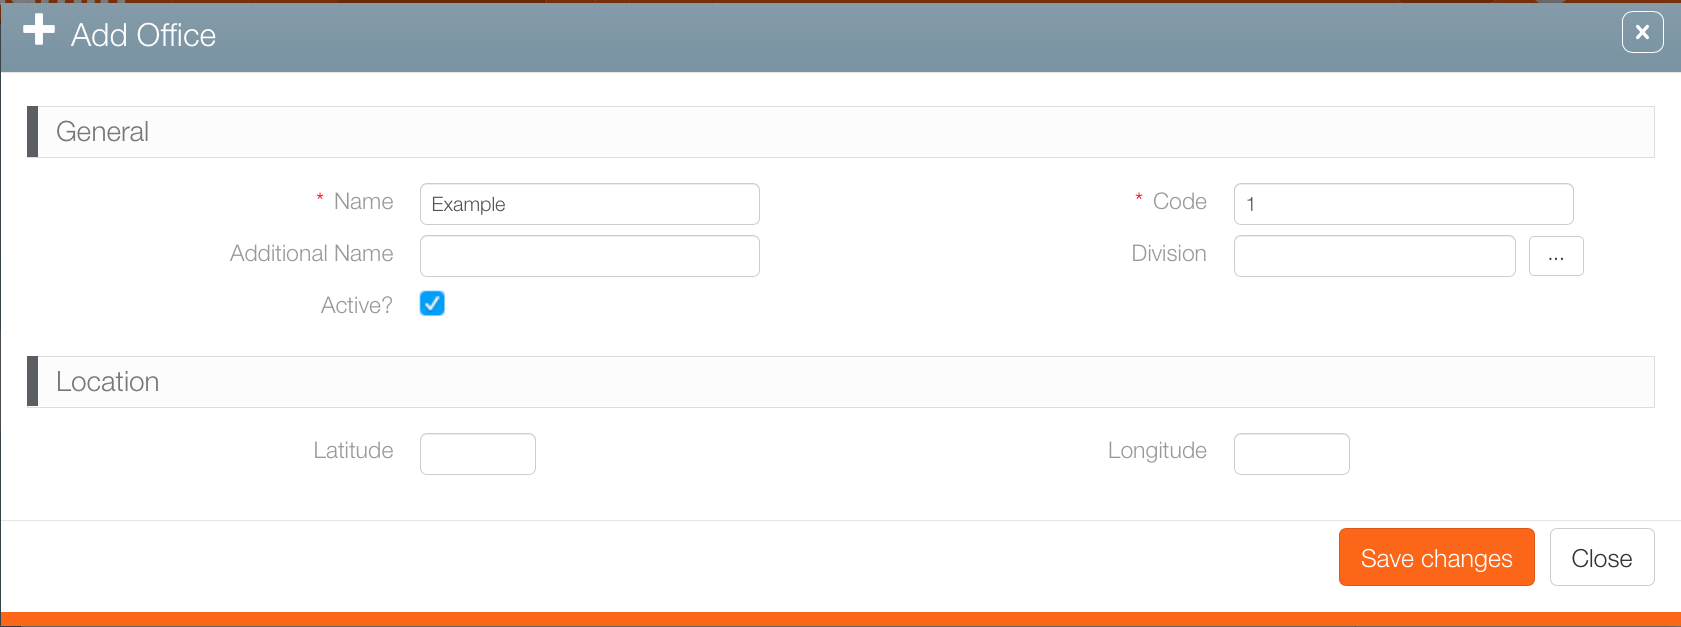
 - Enter a Name and Code to identify the office.
- Additional Name
- Division
- Latitude and Longitude
- For the office to be selectable for current operations, the Active check box must be enabled. Click Save changes.
- To edit the office's basic information, click the Pencil icon.
This presents a filter search screen listing all configured teams in your deployment.
This presents the Add an Office dialogue box.
Additional information that can be entered or selected includes:
This creates the office record and presents the Basic Info screen.
- From within the office record, click the Address tab.
- Click the
 icon to add an address.
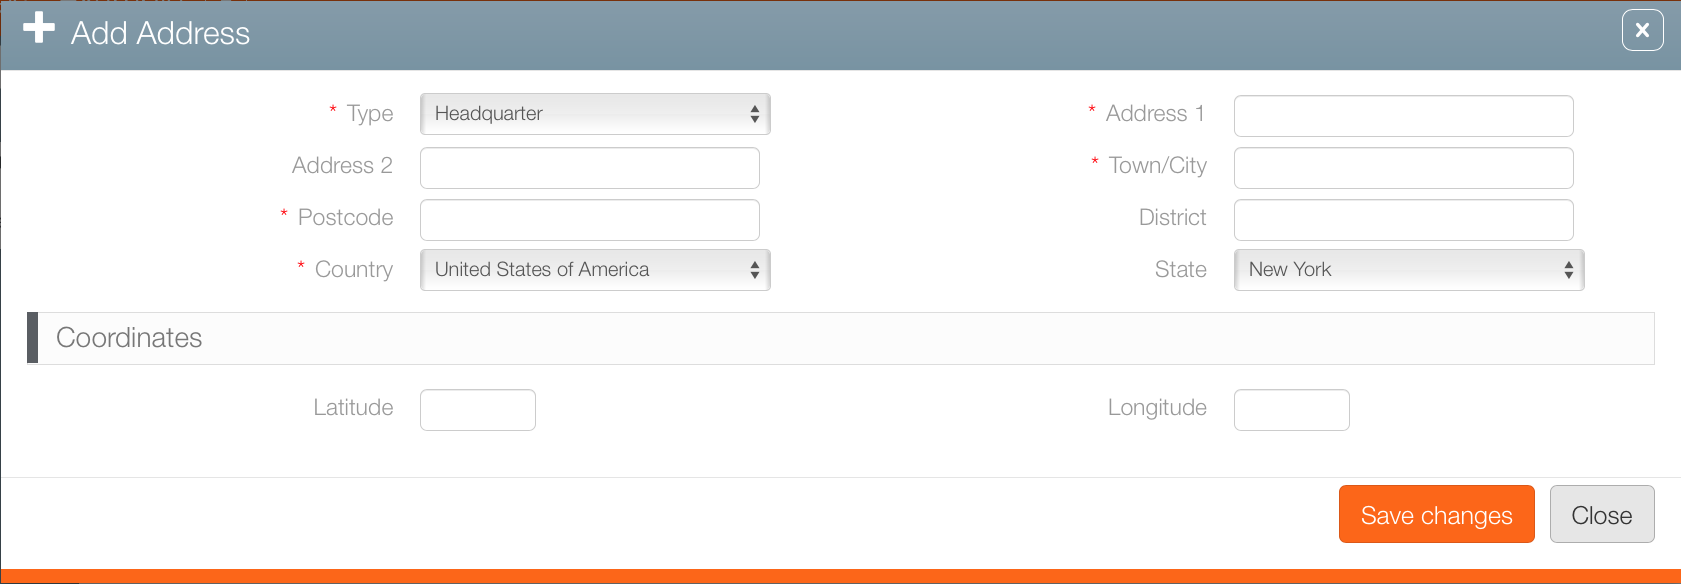
 - Fill out the following mandatory information for an office address:
- Type
- Headquarters
- Payment
- Remit
- Address – Enter the civic address.
- Town / City – Enter the municipality.
- Post Code – Enter the district information.
- Country – Enter the nation state.
- If applicable, fill out the following additional information:
- Additional address information
- District
- Latitude and Longitude
- Click Save changes.
![]()
This presents the Address screen.
This presents the Add Address dialogue box.


