To create a network sync group:
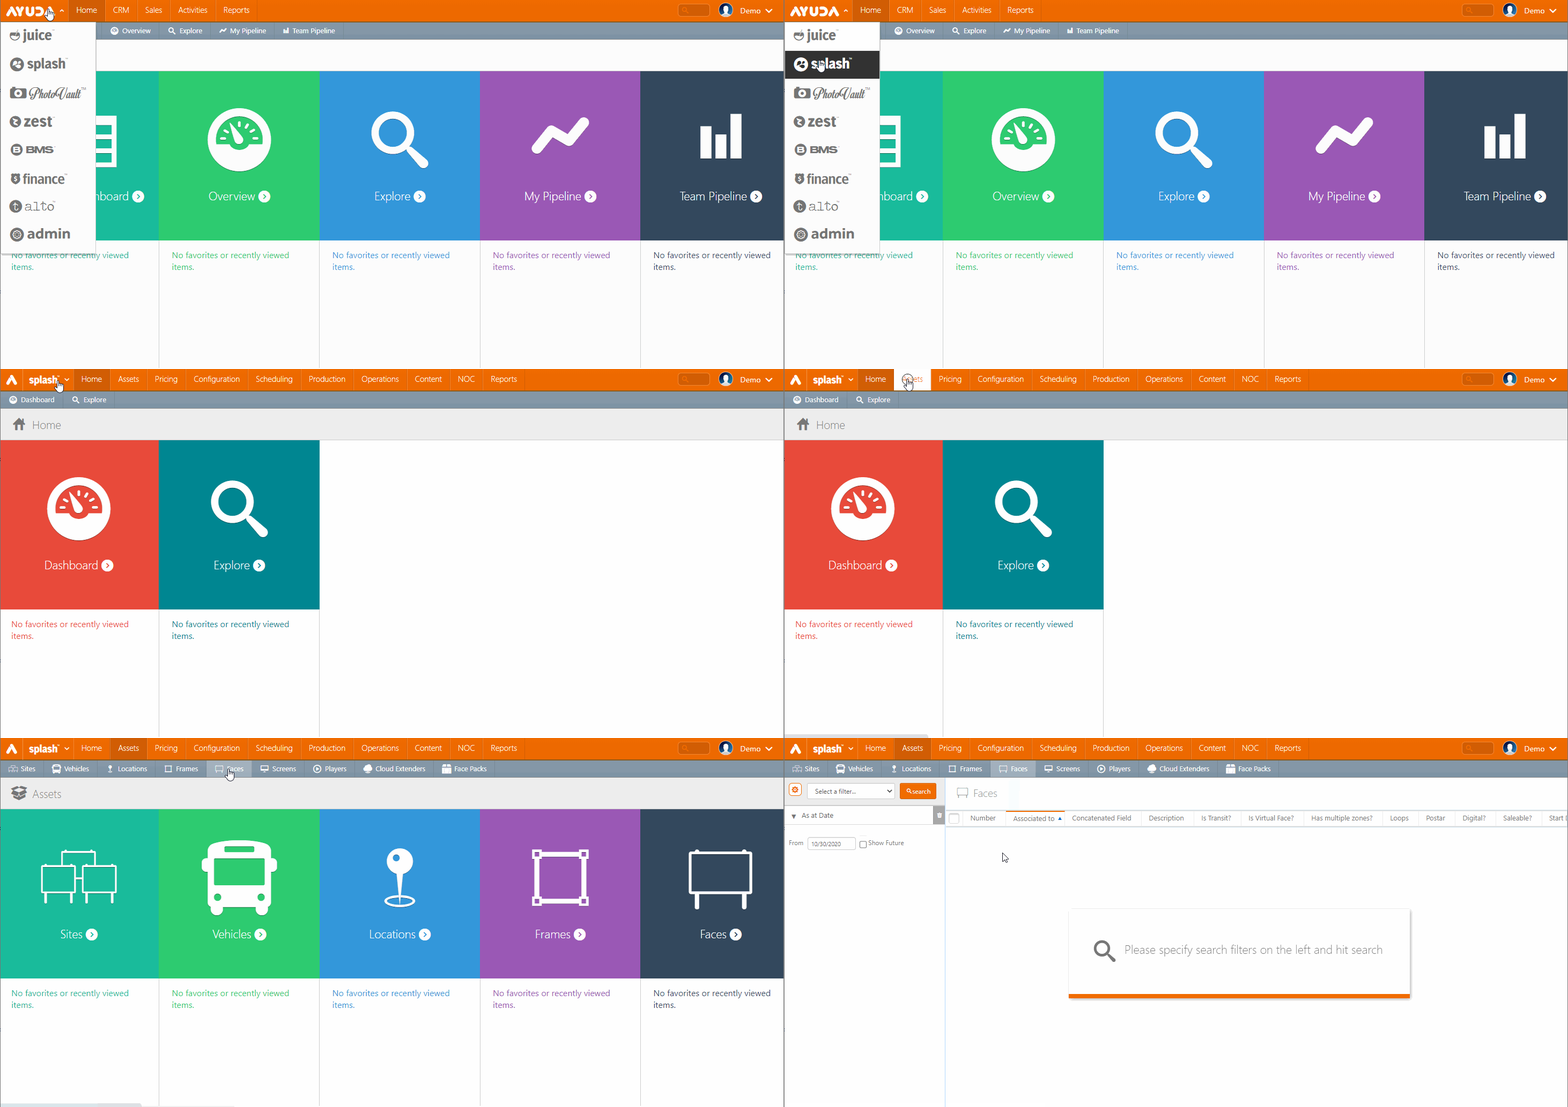
- Log into Splash and click Assets.
- Click the Faces tile.
- Click the first face to be added to the group.
- Click the
 icon to make the record editable.
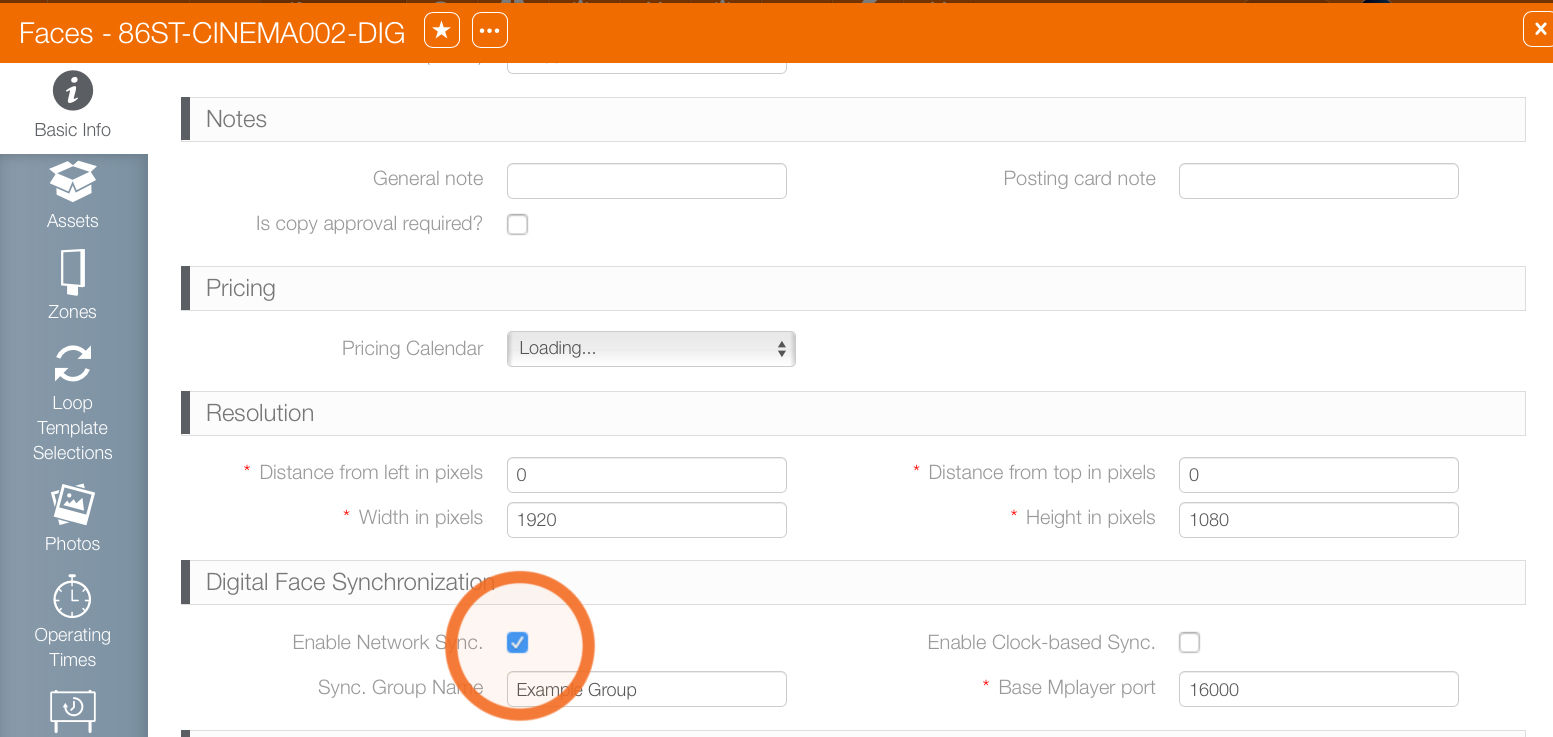
 - Scroll down while remaining in the Basic Info tab to Digital Face Synchronization.
- Check the Enable Network Sync check box.
- Fill out the following mandatory information:
- Base Mplayer port – Do not change this without the permission of your network administrator. It changes the port through which the player connects to the internet.
- Enable clock-based sync – Do not change this without the permission of your network administrator. It forces the player to synchronize based on the clocks of the collective players instead of using network-based time.
- Sync Group Name – Enter a name in this field. The name should be purposeful and clear to your colleagues.
- Click Save Changes.
- Repeat this process for the faces that are to be included in the sync group.
- Any time a face enters or leaves a group its player must be rebooted. To do this, click the NOC tab at the top of the screen.
- Click the Players tile.
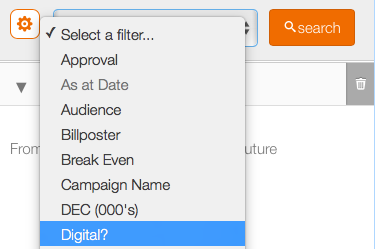
- The players that operate the digital faces to be added to the group must be identified. Use the search filter to identify them, then click Search. This presents a search result listing faces.
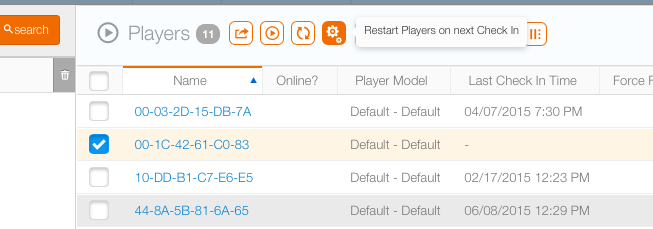
- Click the check box next to the players that must be added to the group.
- Click the
 button to Restart Player on Next Check In.
Note: Sync Groups requires read/write access to the Assets section of Splash.
This presents the tools for creating and managing the assets your company rents to your advertising clients. It is in here that configured faces can be selected and the additional feature of sync groups be enabled for these faces.
This presents a filter search window.
This opens the face record in a new window.
This presents a list of tiles for monitoring, configuring and managing the players in your network of sites, and their loops.
This presents a filter search window.


