When creating a billing schedule, the invoice is automatically approved. A green icon appears at the beginning of the row to show users that it will generate if requested.
When and if a change is done to the campaign, the invoice can require re-approval or regenerating, depending upon the extent and type of changes. To have an invoice take effect, it must be generated, and then transferred to the General Ledger system and printed for physical distribution.
Note: More typically, finance users generate and transfer the same invoices several times as data is verified, corrected and edited.
To generate an invoice:
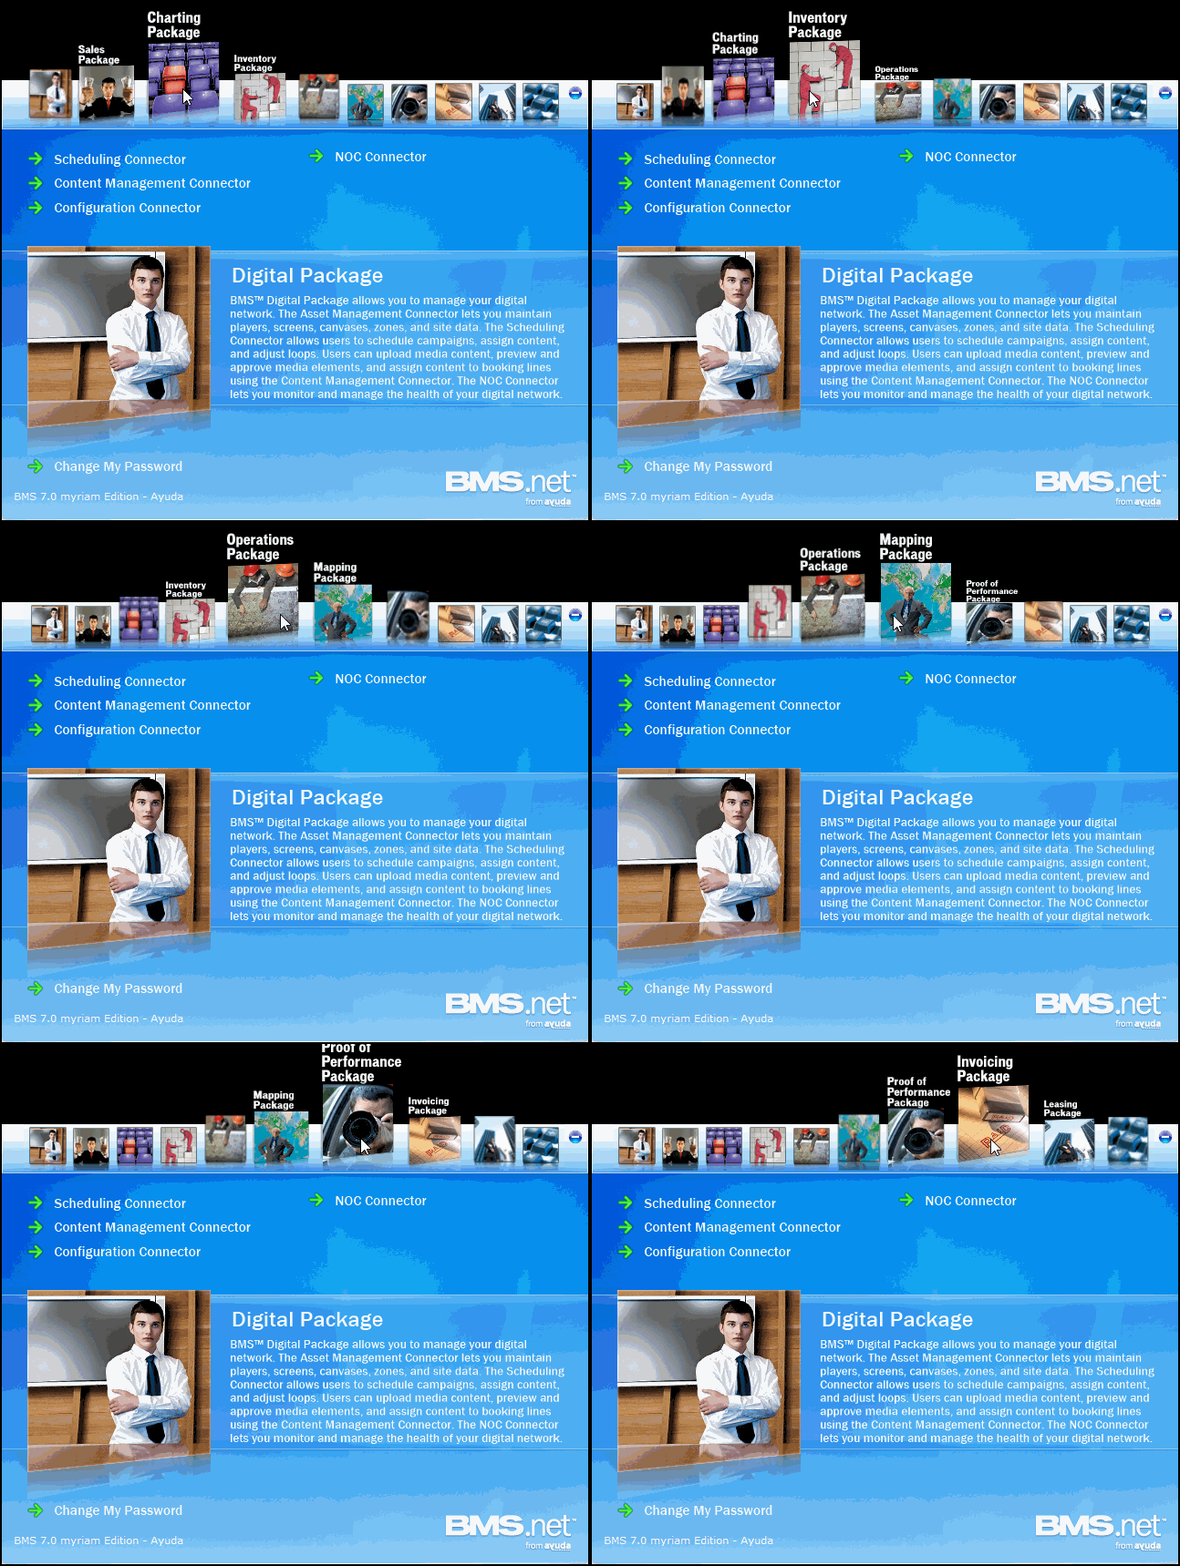
- Within BMS, choose the Invoicing Package.
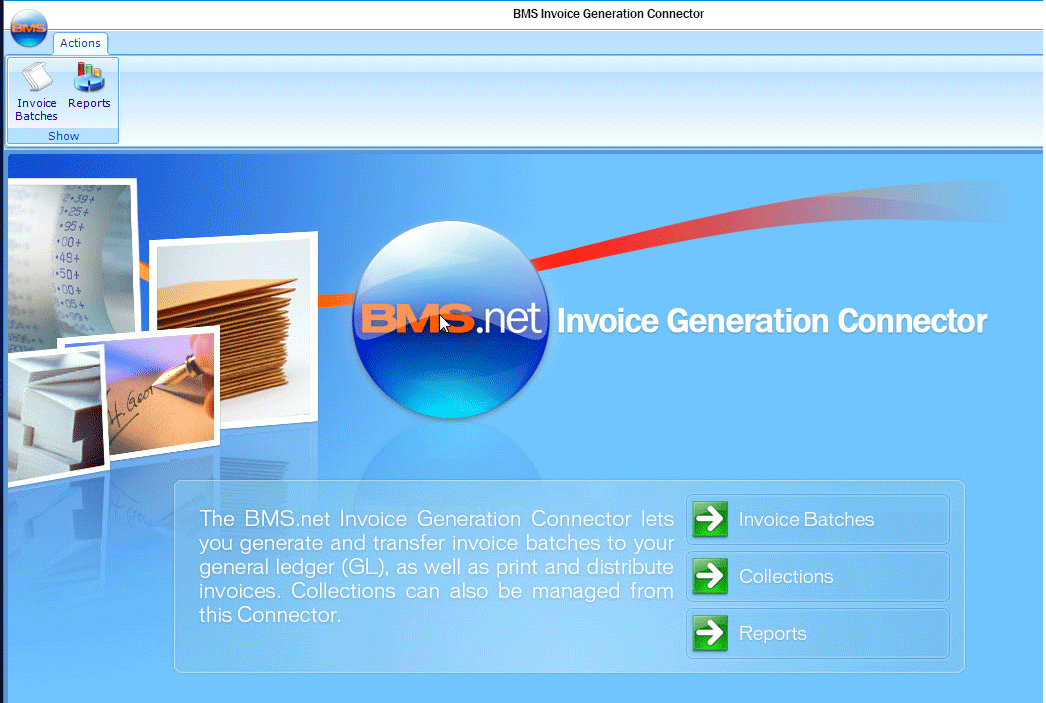
- Click the Invoice Generation Connector, and then click Invoice Batches.
- Use the filter search on the left-hand side of the screen to locate the invoice or invoices to be generated. To filter the results, enable the check boxes next to the companies for which invoices must be generated.
- Click Search.
- Select the row to be generated.
- Click Generate.
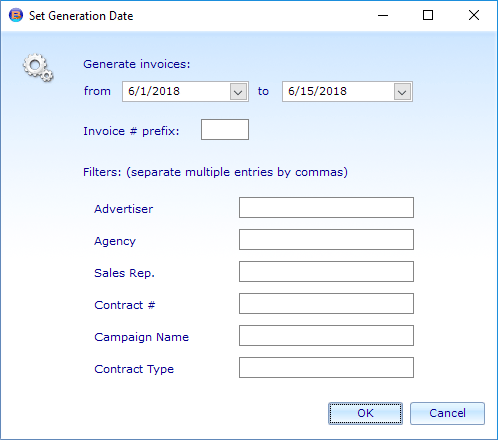
- Click the date drop-down menus to set a from and to generation date.
- Advertiser
- Agency
- Sales Rep
- Contract Number
- Campaign Name
- Contract Type
- Click OK.
This refreshes the screen to present the list of all historical invoices and potential invoices in the system.
The screen refreshes to show the search results in the middle column. Ungenerated rows will be marked in green. They will also lack dates in the Generated On column.
This makes the Generate button appear in the contextual action menu.

The Set Generation Date dialogue box appears.
This will process completed invoice items inside that date range. To narrow down the processed items within the batch, filters can be added for:
Leave these fields blank to generate every potential invoice within the date range.
This generates the selected invoices.
Invoices can always be regenerated as corrections and additions are made.
Once an invoice has been generated, it can be transferred to the general ledger. Once the transfer has been accepted, the invoice data becomes historical and cannot be edited. This means that even when an invoice has been transferred, there is still time to make corrections, as long as the transfer has not been accepted.
To transfer an invoice:
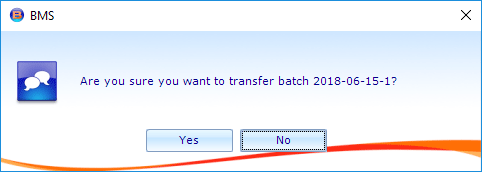
- Click Transfer.
-
Click Yes.
- Accept the invoice transfer by clicking the Accept Transfer button.

This presents a confirmation dialogue box.
A save dialogue box will be presented. This allows the saving of the generated data as a spreadsheet.
The invoice is now generated and transferred. The Accept Transfer button now appears in the contextual action buttons. As corrections and verifications are made, it is typical that invoices are transferred repeatedly.

Note: Once the transfer has been accepted, the invoice data becomes historical and cannot be edited.
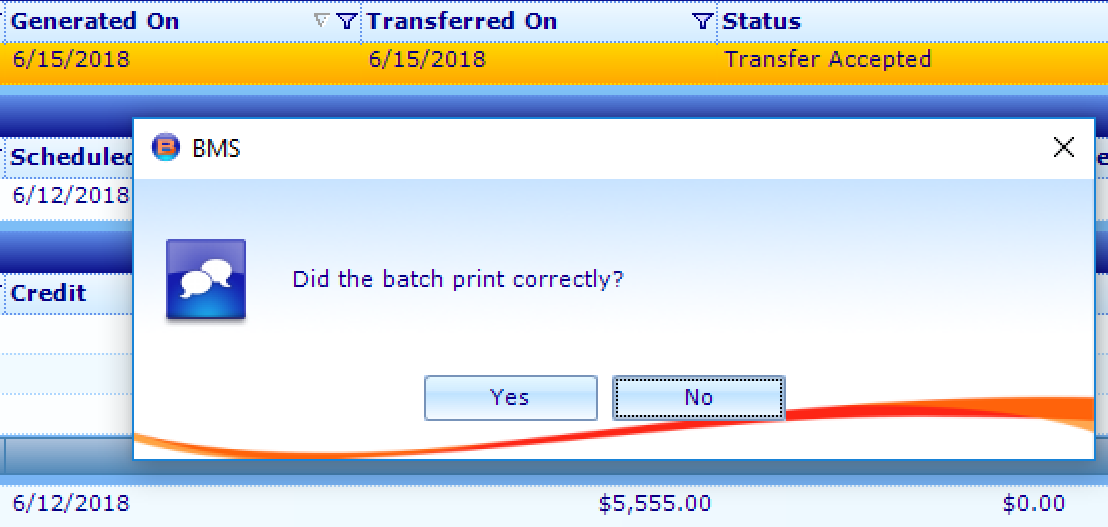
Select a row and click Print. Once the document is printed, a confirmation will appear asking if the invoice was printed correctly:
- Selecting Yes changes the status from Transfer Accepted to Printed.
- Selecting No does not change the invoice's status from Generated to Printed in BMS.
Note: The Print button will now be renamed Reprint if you click Yes.

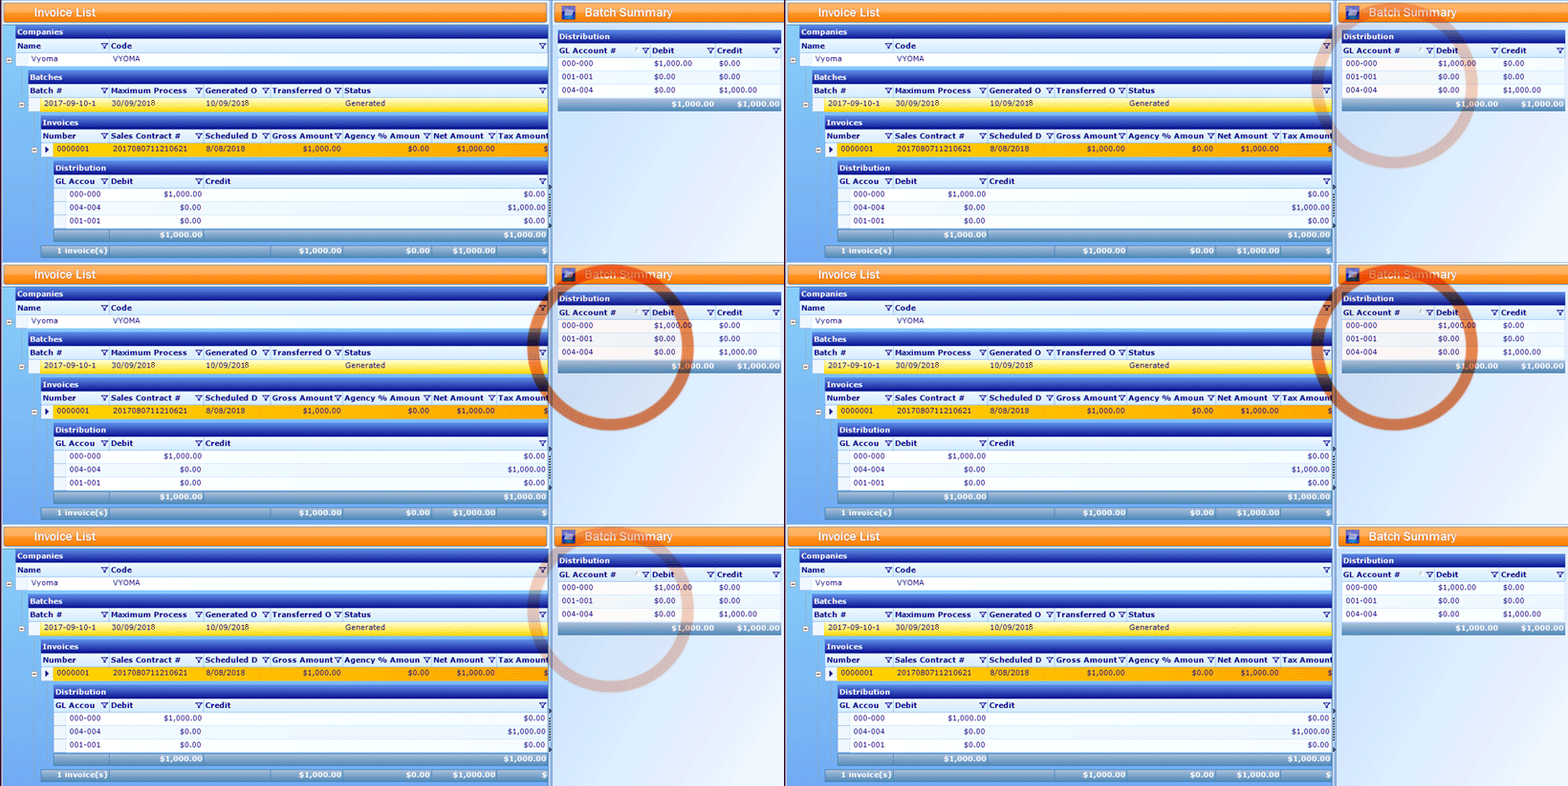
When the invoice or invoice batch is generated, you can expand the invoice row to see the GL Account distribution. The Credit and Debit columns should match the total calculated amounts in the Sales Contract. On the right side of the screen is a Summary of the GL Account transaction for you to verify that the GL Accounts are distributed correctly.

