- Log into Splash.
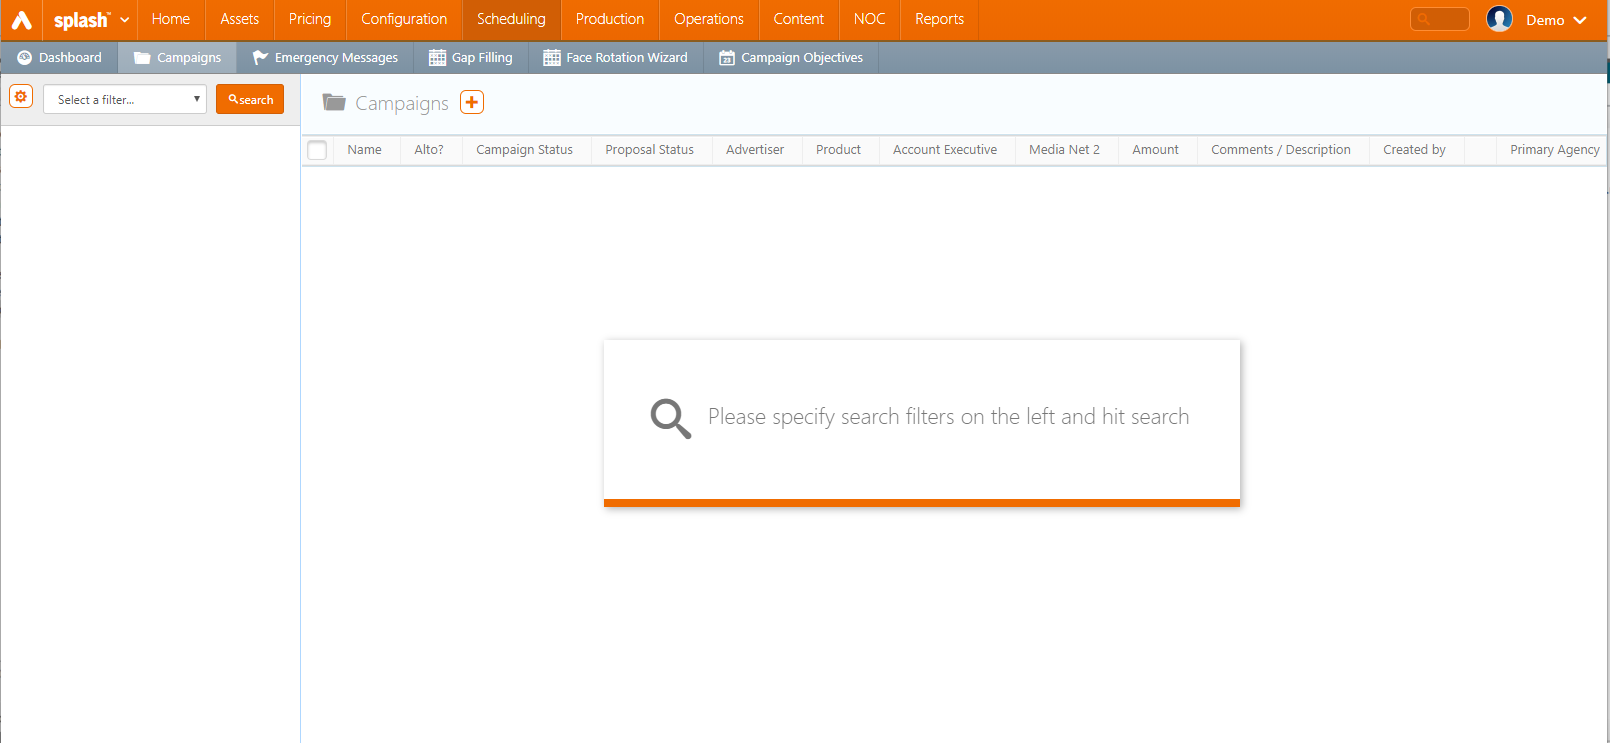
- Click Scheduling and then the Campaigns tile.
- Enter the search criteria and click Search.
- Select the needed result.
- Scroll down to click the Takeover tab in the left navigation bar.
- To add a scheduled takeover, click the
 button in Scheduled Takeover.
 - Enter mandatory information:
- Name – Give the takeover a purposeful name.
- Type – Override (to interrupt the loop) or Append (to add as an extension to the loop).
- Start Date and Start Time – Depending upon the options chosen, an end date and time may also be required.
- Occurrences – The options available depend upon the recurrence pattern. This number can be entered manually or, depending on selections made, updated automatically.
- Duration – How long the takeover is in effect once it starts.
- Recurrence – How often the takeover events should take place – Once, Daily, Weekly and the days of the week.
- Image Duration – Image show duration once the takeover is in effect.
- Click Next.
- Click the
 button.
 - Enter the needed bundle's name in the search field and press return.
- When the bundle or bundles have been located in the search results, enable the radio button in the necessary row or rows.
- Click Select Bundle.
- When no more bundles are needed, click Next.
- Click the button.
- Enter the needed faces number in the search field and press return.
- When the face or faces have been located in the search results, set a checkmark in the necessary row(s).
- Click Select Faces.
- When no more faces are needed, click Next.

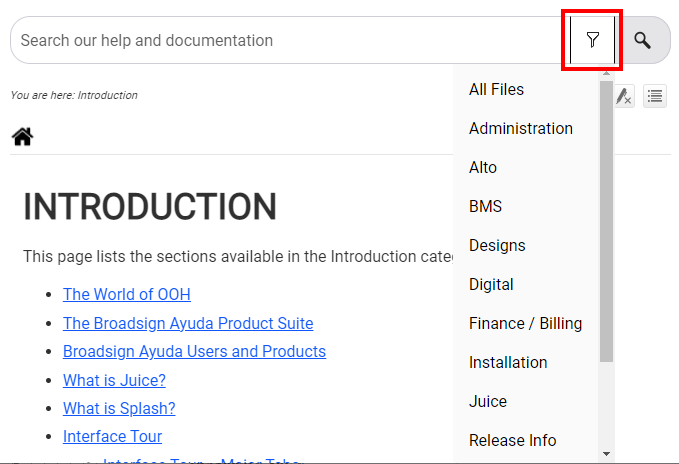
This presents a filter search window.
This opens the campaign record.
![]()
This presents the configuration screen.
Duration differs from image duration. If the duration is longer than the image duration, the takeover item will loop.
This presents a screen for linking to bundles.

The next step is to link to the bundle containing the takeover designs.
Additional searches can be made for bundles that can be added to the takeover.
This presents the screen for linking to faces. Only individual faces can be selected, not complete packs. This is to prevent accidental takeovers of large areas.

Additional searches can be made for faces that can be added to the takeover.
This presents a screen for linking to bundles.
This refreshes the screen to show the completed scheduled takeover. To edit it further, open it. Additional takeovers can be scheduled for the same campaign.