This tutorial describes the setup to display video content on a LED screen, where the LED screen does not have the same aspect ratio as your player or Operating System resolution.
This tutorial and LED Screens - Different Aspect Ratios (Frame Only Setup) will result in the same output.However, the current tutorial may be more difficult to set up and maintain because it uses custom geometry, which needs different player configurations for every different resolution.Custom geometry changes the geometry for all frames and the whole display.
It may happen that your LED screen does not have the same aspect ratio as your player or Operating System resolution.If you still want this video content to play on the entire screen, you must perform a specific configuration in Broadsign Control Administrator.
Prerequisites
Before configuring this feature, ensure that you are familiar with the following:
Workflow
In general, the workflow to configure for LED screen with different resolutions is:
- Add a Display Type
- Add a Display Unit
- Configure a Frame
- Configure Custom Geometry at the Frame level
- Configure your player to assign the configuration
- Book a campaign
Display types profile the display characteristics of the screen hardware in use on the network. When you create a display unit, you must assign a display type to it. The display type indicates the display resolution used by the hardware, as well as its orientation.
For more details about display types, see Display Types.
To add a display type:
- From among the Resource Tabs on the left, select Display Types.
- In the Network Setup ribbon, click on the Display Type icon.
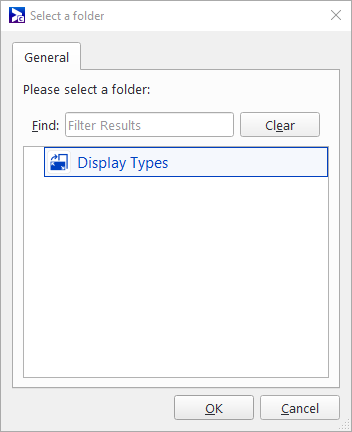
- In the Select a Folder dialogue box, select Display Types.
- Click OK.
- Enter a descriptive name for the display type.
- Click Next.
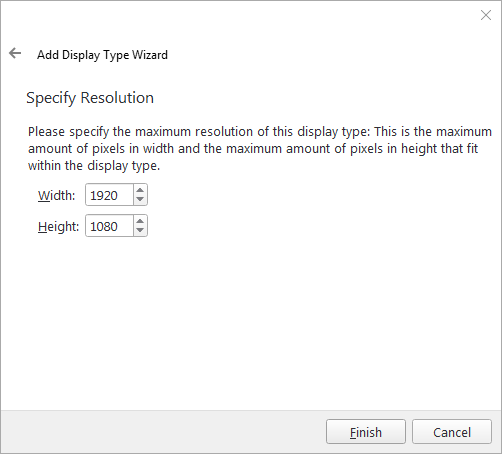
- On the Specify Resolution page, enter the following information:
- Width – 1920
- Height – 1080
- Click Finish.
The Add Display Type Wizard opens.
We recommend giving the display type a name that describes its dimensions. In this example, we will call the display type "1920×1080".
Now that we have a display type, we will add a display unit.
For our example, we will need one display unit that uses the Display Type that we have created.
Note: This step describes how to create a new display unit. If you want to set up LED screen on an existing display unit, you must assign the Display Type to it. Assigning display types can be done in the Display Type tab of the Settings section in the Display Unit Properties. For more information, see Display Units.
To create a display unit:
- To keep things organized, for this tutorial we recommend you create a display unit folder called "LED Screens".
- In the LED Screens folder, create the display unit. Be sure to enter the following information:
- Welcome – Enter the name "LED Screen Different Resolution".
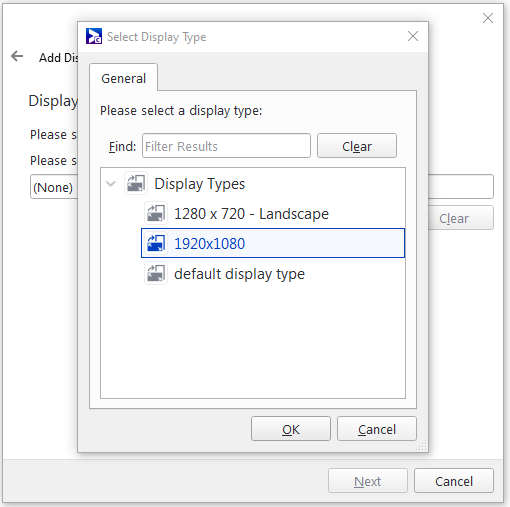
- Display Type – Select the Display Type created in Step 1 – Add a Display Type.
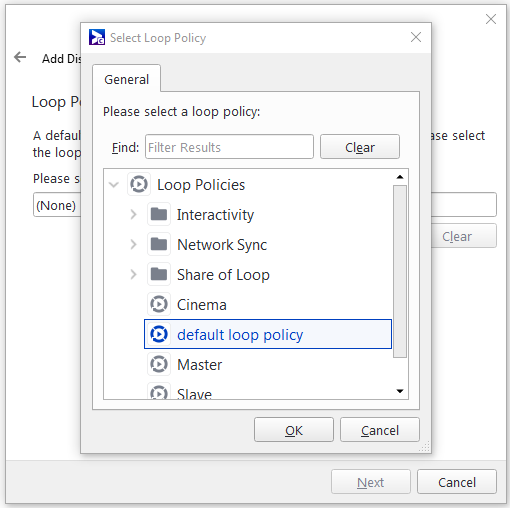
- Loop Policy – The loop policy is unimportant for LED Screen configuration, so select any loop policy that you want to use, or select the default loop policy.
- Open the Display Unit Properties, and go to General > Players.
-
Click Add, and select the player that you will use to display your content.
For our example, we will need to configure the display unit created in Step 2 – Add a Display Unit to use a frame of 300x200, representing the subset of the video content that you want to display.
To configure the frame:
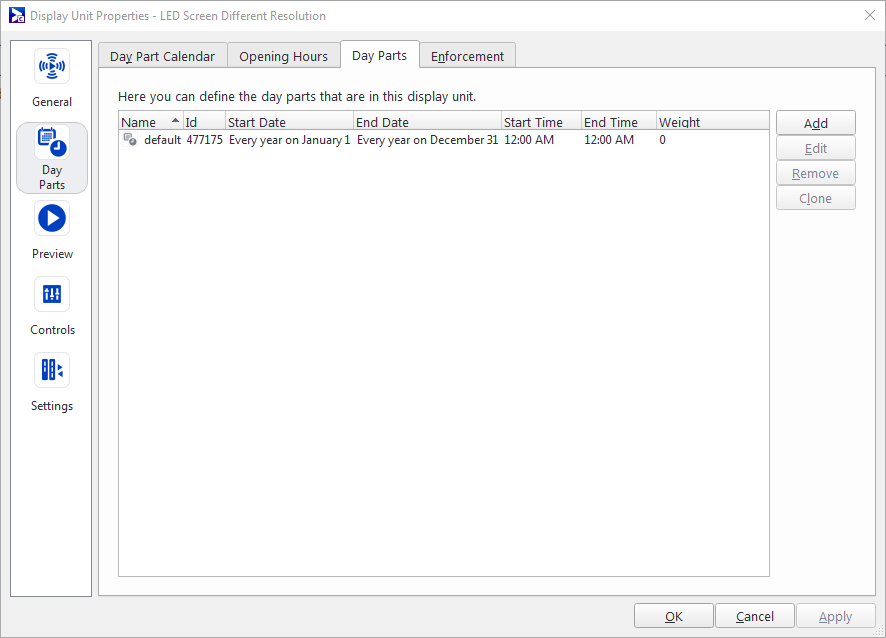
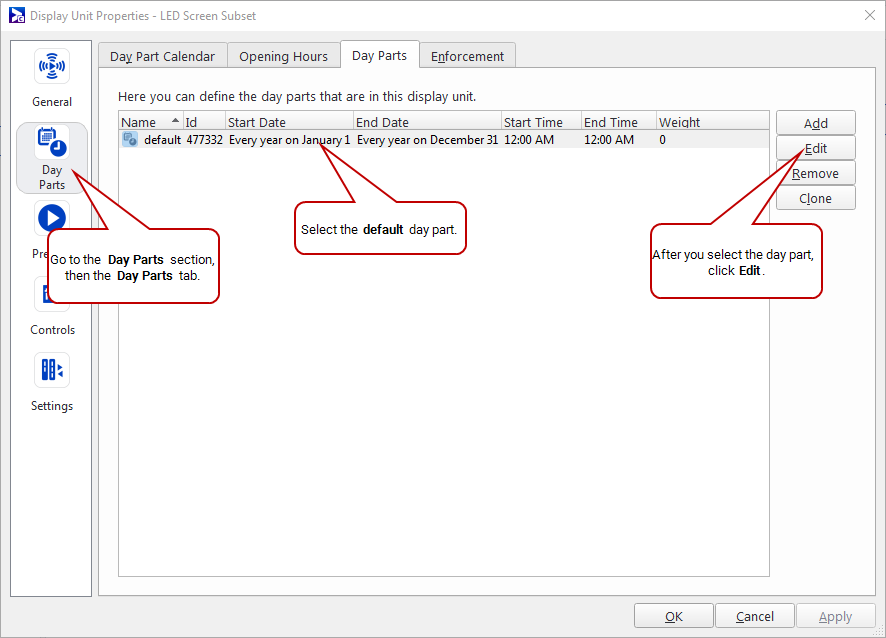
- Open the Display Unit Properties of your display unit, and go to Day Parts > Day Parts.
- Select the default day part, and then click Edit.
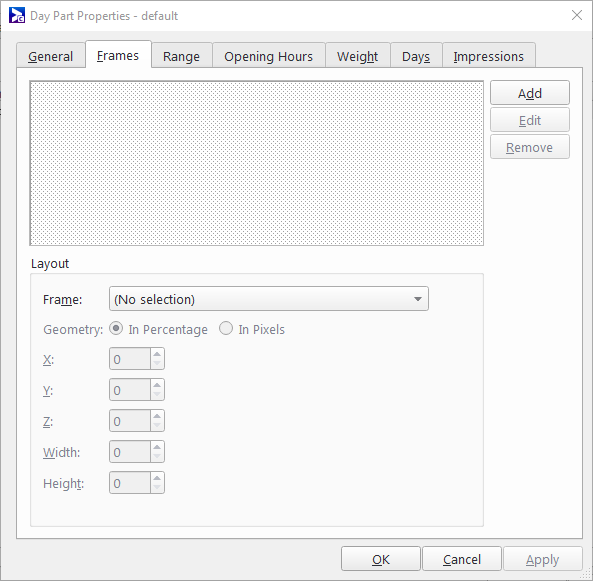
- The Day Part Properties dialogue box opens. Go to the Frames tab.
- Select the default "Fullscreen" frame, and click Edit.
- General tab – Change the name from "Fullscreen" to "Subset".
- Policy tab – The loop policy is unimportant for LED Screen configuration, so select any loop policy that you want to use, or select the default loop policy.
- Click OK.
- Under Layout, set the following:
- Geometry – "In Pixels"
- Width – "300"
- Height – "200"
- Click OK.
A default day part is listed in the field.
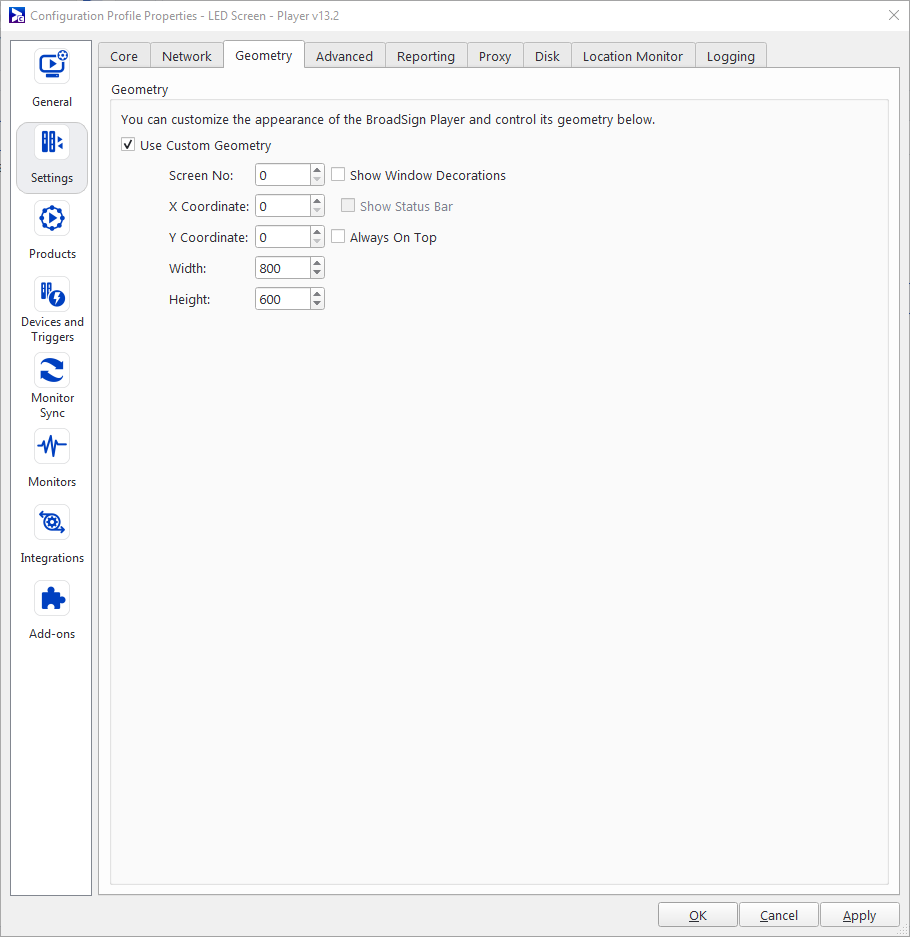
For our example, we will need a configuration profile with a custom geometry of 800x600 to accommodate the video content.
To create a configuration profile:
- Create a configuration.
- Enter the following information:
- Welcome – For this tutorial, name the configuration "LED Screen".
- Configuration Type – Select Player.
- Open the Configuration Properties, and go to the Configuration Profiles tab. Click Add.
- Enter the following information:
- Welcome – Enter the name and version number of the player, for example, "LED Screen - Player v13.2".
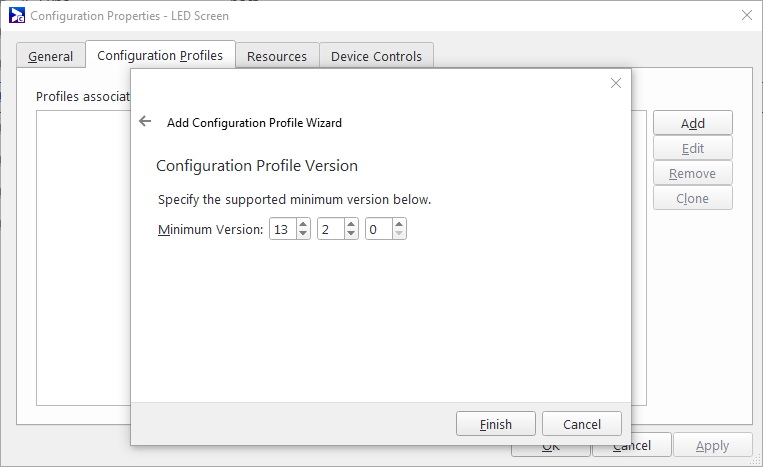
- Configuration Profile Version – Set the version number that corresponds to your player, for example, "13.2.0".
-
Open the Configuration Profile Properties, and go to Settings > Geometry.
-
Check Use Custom Geometry and configure the following:
- Width – 800
- Height – 600
- Uncheck Show Window Decorations.
- Click OK.
You need to add your configuration profile to the player that will be used to display your content.
To configure your player:
-
Open the player by double-clicking it.
The Player Properties window opens.
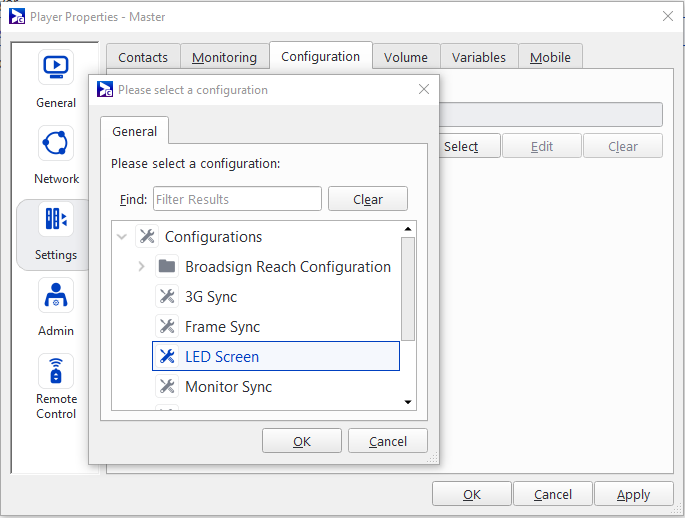
- Go to Settings > Configuration, and click Select.
- Add the LED Screen configuration profile that you have created in Step 4 – Configure Custom Geometry.
- Click OK.
This step describes how to book a single campaign to be displayed on a LED screen.
To book a campaign:
- Add a campaign. Pay special attention to the following pages in the Add Campaign Wizard:
- Welcome – Name the campaign "LED Screen".
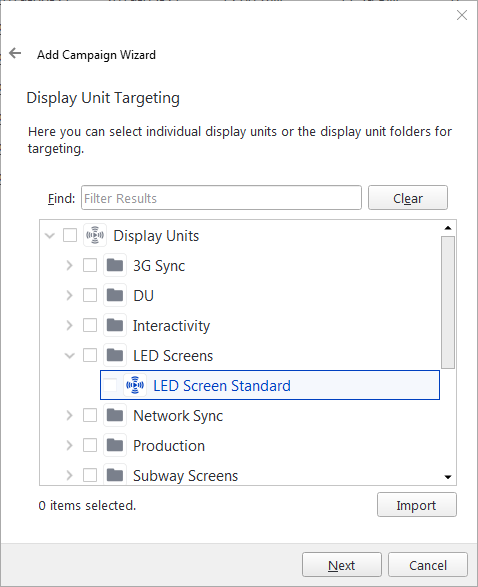
- Display Unit Targeting – Select the Display Unit to book your campaign to it (see Step 2 – Add a Display Unit).
- Ad Copy Selection – Select the ad copy to assign it to the campaign. Ad copy duration is unimportant for LED Screen configuration.
Finished!You have now set up a LED screen playback with different aspect ratios.


