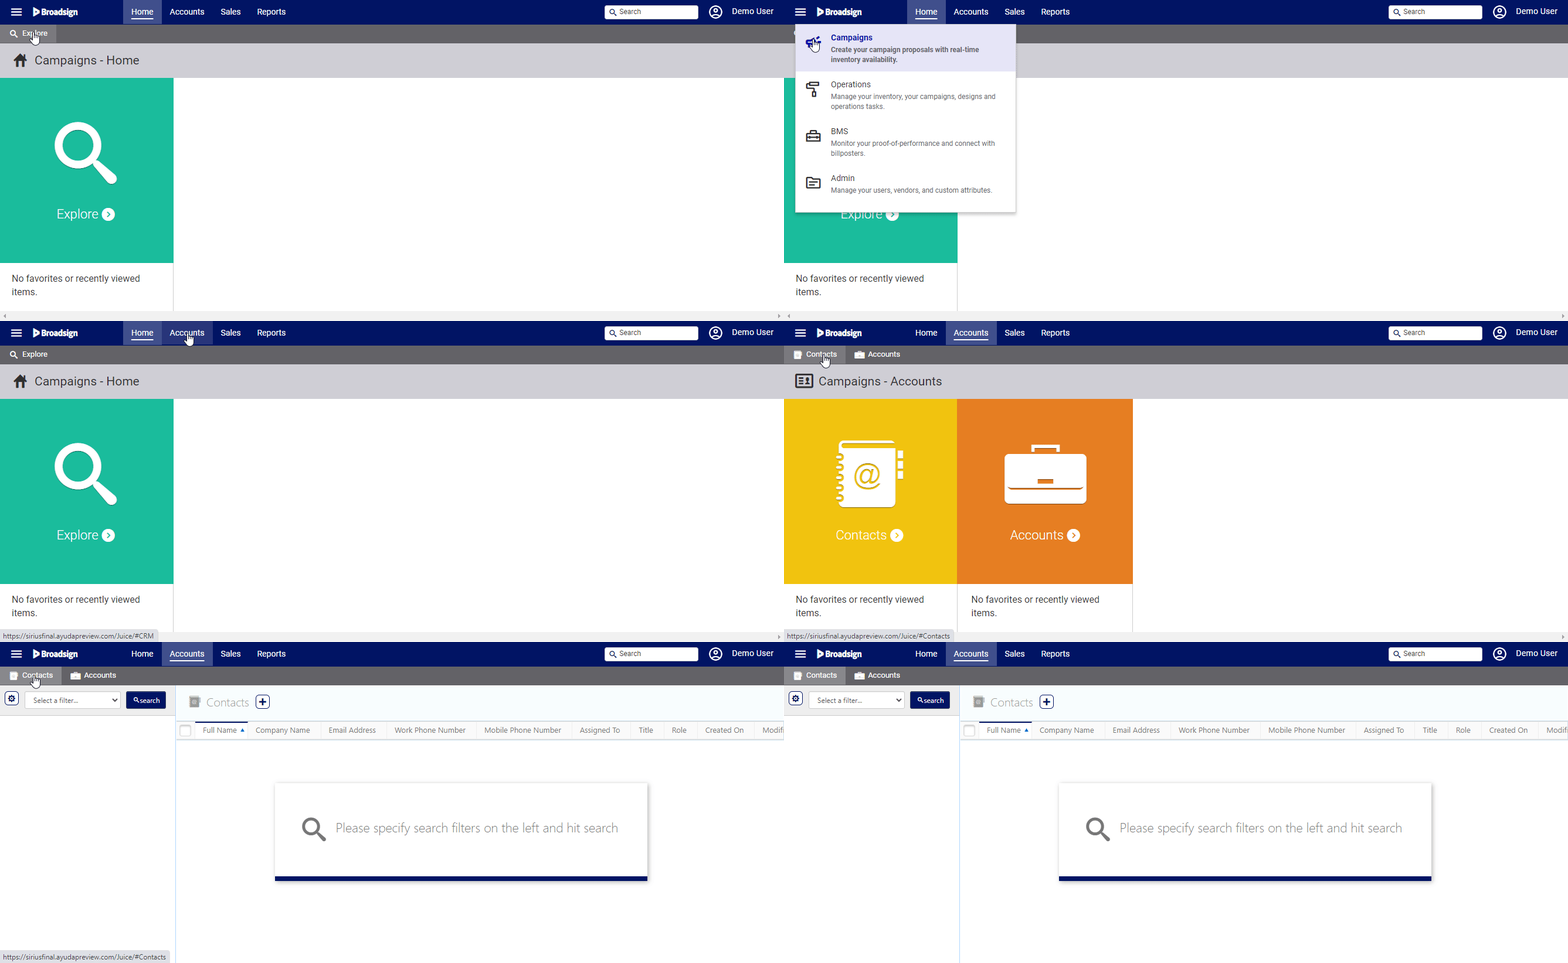
Contacts are assigned to accounts.They can also be linked to entities such as Vendors and Campaigns.
When adding a contact in Campaigns, it is available to be linked to an account or other entities such as Vendors.
To add a contact in Campaigns:
Static Campaigns
- Access Campaigns in the top-left menu, click the Accounts tab, and then the Contacts tile.
- Click the
 icon to add a contact.
 - Enter the following mandatory information:
- First Name and Last Name.
- Email address – Though not marked as mandatory, for creating an account contact, an email address can be used for a variety of features in the system.
- Click Save Changes.
This presents the filter search window.
This presents the Add Contact dialogue box.
An advertiser![]() An advertiser is a person or company that pays for a product, event, or job to be advertised online, in a newspaper, on television, or on a poster. must have users assigned to their account with specific permissions.
An advertiser is a person or company that pays for a product, event, or job to be advertised online, in a newspaper, on television, or on a poster. must have users assigned to their account with specific permissions.
To add an account contact:
Static Campaigns
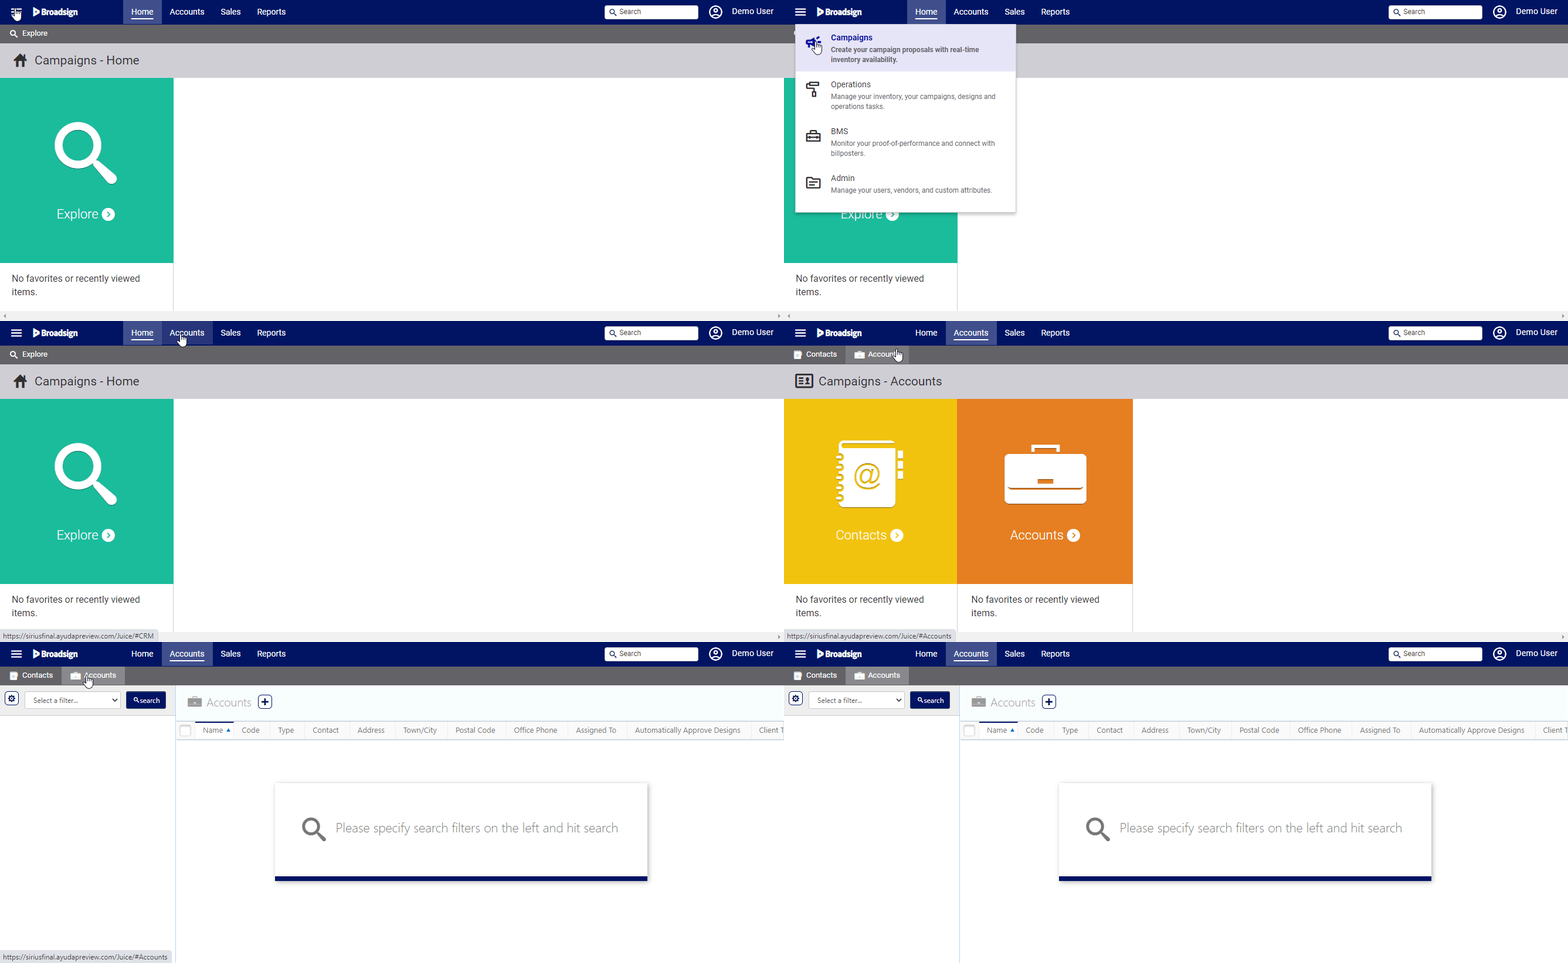
- Access Campaigns in the top-left menu, click the Accounts tab, and then the Accounts tile.
- Choose a filter on the left-hand side to narrow down your search request.Otherwise, click Search to show all accounts in your system.
- Click the needed advertiser account.
- Click the Contacts tab in the left navigation bar.
- Click the
 icon.
icon. - Enter the following mandatory information:
- Contact Type – The contact types available may be different for each customer.Examples of typical contact types include Content Approval, Creative, Mail, POP Contact, and Primary.
- POP Access Type – If you have the POP Contact type, choose between the following:
- My Linked Campaigns – Users can only see and search for their own campaigns and those of users to which they are linked.
- My Business Campaigns – Users can only see and search campaigns for which they have been added to as contacts. They are usually Campaigns where users share supervisory responsibility. For example, a sales rep's manager would be linked to the rep's sales proposals and campaigns.
- Power User – Users have access to all campaigns and data. This is not needed by most users.
- First Name and Last Name.
- Password Never Expires / Password Expiry Date – Enable the Password Never Expires check box to allow this contact to log in until this organization is no longer active.Otherwise, disable the check box and supply a Password Expiry Date and time of day.
- Click Save Changes.
This presents the filter search window.
The screen refreshes to show the search results.
This opens that account record in a new window.
![]()
This presents the Add Contact dialogue box.
Note: The linked user will not be able to see the campaigns of the other if the other is not linked to them as well.


