Split Bookings
Static Campaigns
Campaign managers often need to adjust the design or creative elements of a static face booking during its run. This is where splitting comes into play. Splitting allows you to divide a single static face booking into smaller, distinct bookings, each with its own design, start date, and end date.
The primary purpose of splitting is to introduce a new design or creative execution to a face without having to cancel the original booking and create a new one from scratch. This ensures continuity in the campaign while allowing for flexibility and updates to the creative elements.
By default, when a booking is split, it generates two new bookings with the original design. The start and end dates of the original booking are divided evenly between these two new bookings. This provides a seamless transition between the original and updated designs.
Let's say a billboard face is booked for a month-long campaign featuring a specific product. Two weeks into the campaign, the marketing team decides to introduce a new design showcasing a different product. Instead of canceling the original booking, they can split it. This creates two separate bookings:
- Booking 1: Original design, running for the first two weeks.
- Booking 2: New design, running for the remaining two weeks.
This ensures continuous utilization of the billboard face while accommodating the updated campaign creative.
To split bookings:
Static Campaigns
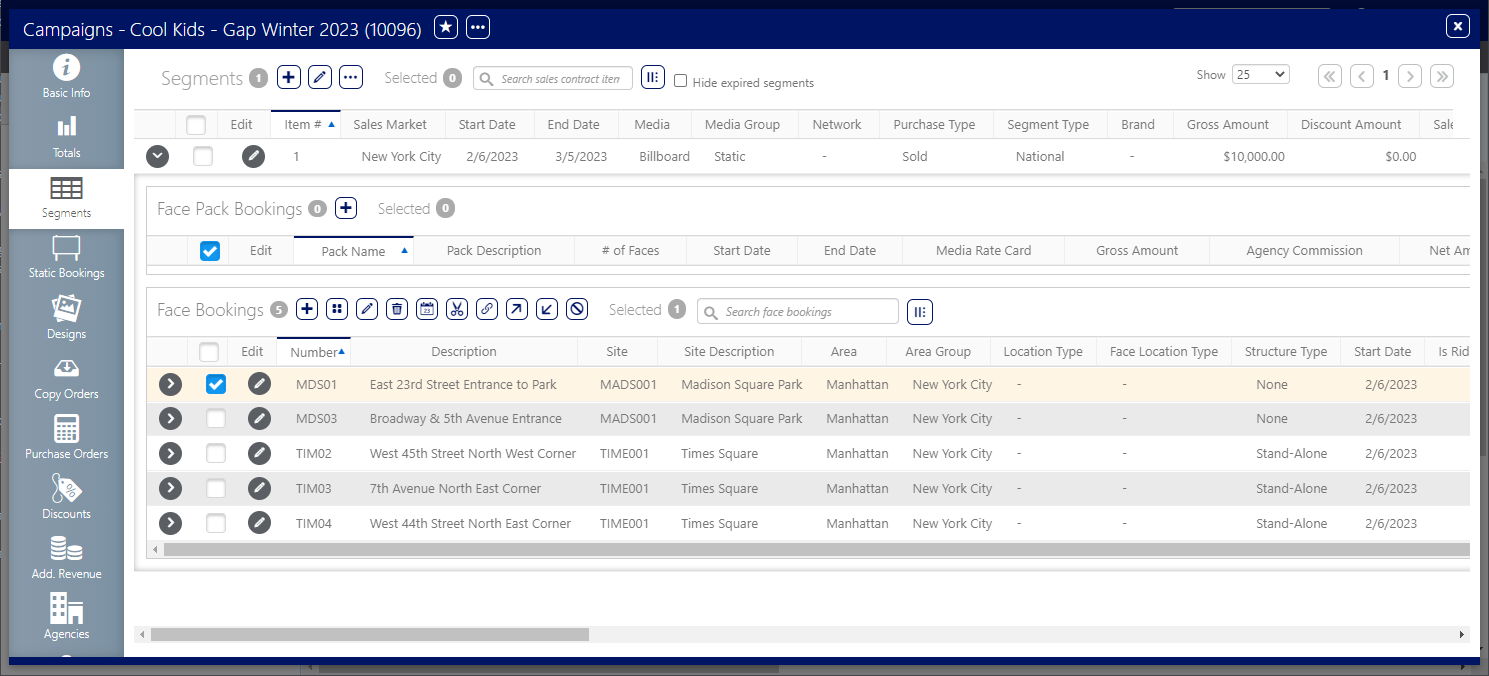
- From within the campaign record, click the Segments tab in the left navigation bar.
- Locate the face bookings from within the segment. It may be necessary to use the
 buttons to reveal the item.
 - Select the needed booking by clicking the check box.
- Click the
 icon to break the bookings into smaller units.
 - Use the Split Bookings in drop-down menu to decide how many splits to create.
- Select a Start Date and End Date for each split.
- Use the Design drop-down menu to associate the correct designs with the different periods created.
- Click OK.
![]()
This presents a Split Bookings window.
When editing dates, ensure that there are no gaps between the dates.
The booking updates to show the two dates and the selected designs applied to them.


