 minute read
The purpose of this quick start tutorial is to provide a basic introduction to the Static Operations module. By following these steps, you will be able to book a single piece of content and manage its assets.
Your Admin must add static inventory that includes the location of all of the faces in your network before you can proceed with creating a line item. There are two ways to accomplish that:
- Batch import Static inventory data by using the Static Operations Data Import tool. For more information, see Update Static Operations Data.
- Manually create the required Static data, as described in Getting Started – Inventory Setup.
The Static Operations module allows you to manage the operation assets, work orders, copies, and production for the static campaigns that you have created within the Broadsign Platform Guaranteed Campaigns module.
To create a static campaign:
You can upload a .jpg/.jpeg/.png file from your computer.
To add a Design:
- Access Operations in the top-left menu, click the Production tab, and then the Campaigns tile.
- Locate the needed campaign and open the campaign record.
- Within the campaign record, click the Designs tab in the left navigation bar.
- Click the
 icon at the top of the record.
 - Click Choose a file, which opens a selection window in your browser.
- Navigate to the image on your computer.
- Click Open to upload the image.
- Enter a Name for the Design.
- Click Save Changes.

This presents the filter search window.
This presents the Basic Info screen.

![]()
This presents the Designs page.

This presents a dialogue box with three choices:

This presents the Add Advertising Content window.

The Design is added.
For more information about designs, see:
Once a Design has been added, you must assign it to specific faces.
To assign a design:
-
In the Designs page of your campaign, select one Design to assign by clicking its corresponding check box.
- Click the
 button and select Link.
 - Click Search to get the list of available faces.
- Select the needed faces and click Link.


This presents the Link window.

It is also possible to bulk assign designs, see:
Work Orders provide instructions to bill posters. These instructions detail the removal of existing printed material, the installation of new printed material, and the placement location. The system triggers Work Order generation when a Design is added to a Campaign.
To locate work orders:
- Access Operations in the top-left menu, click the Operations tab, and then the Work Orders tile.
- Click Search.
- Click the work order that you need. This presents the work order record.

This presents the filter search window.
The screen will refresh to show the search results.
You can download a PDF of the work order by clicking the  button and selecting either Print Summary Work Order or Print Detailed Work Order.

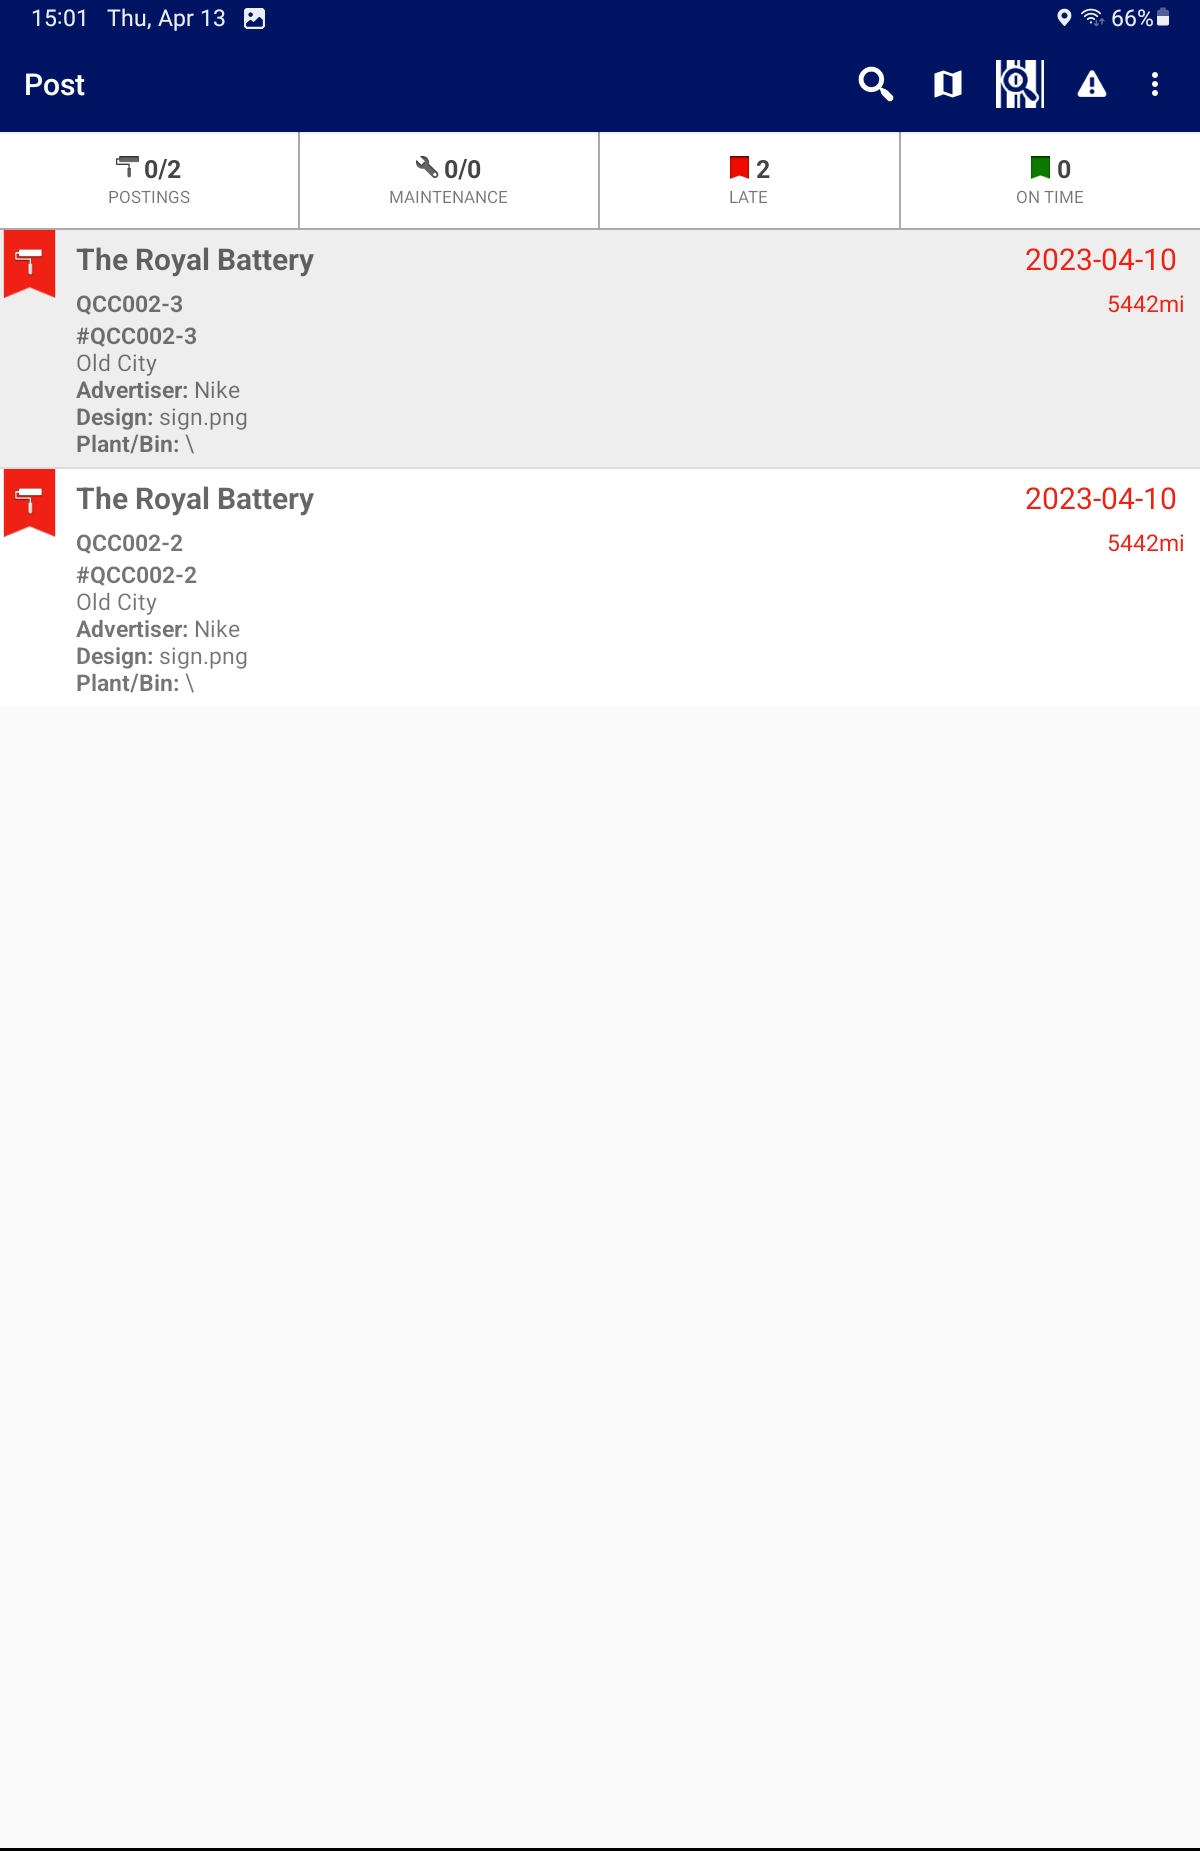
You can also access the POST app and check work orders in it.
For more information on work orders, see:
