This section describes how to work with tags and how to use them with your screens.
Overview
Tags
Tags have multiple use cases in Broadsign SSP (Reach).
You can assign one or more tags to specific screens. These tags are then used in the following scenarios:
- Creative exclusion list: When approving a creative, you can block it from screens that are tagged with a specific tag. For more information, see Tag Exclusion Feature.
- Creative pre-caching: When approving a creative, you can choose to pre-cache it to only screens that are tagged with a specific tag. For more information, see Creative Pre-Caching Feature.
- Deal targeting: When creating a deal, you can include in it screens that are tagged with specific tags. For more information, see Inventory Targeting.
Create Tags
You can add tags to the list of existing tags.
To create tags:
- Access the Workspace section.
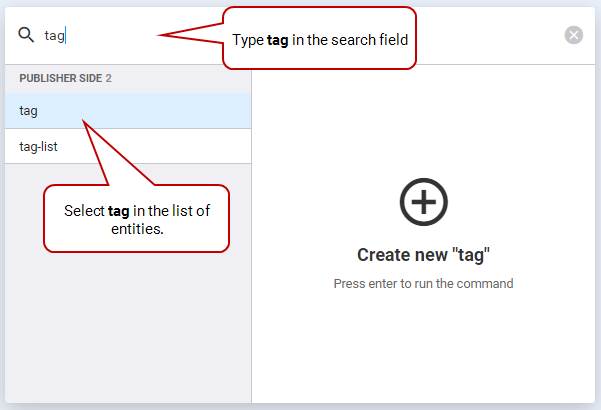
- In the search field, type "tag", and select the tag entity in the list. Press Enter.
- Enter the following information:
- Click Save & Continue.
The Creating New Tag card is displayed.
| Field Name | Description |
|---|---|
| Name | Name of the tag. Mandatory. |
| Publisher | Publisher associated with the tag. Use the drop-down list on the right to select a publisher from the list. Mandatory. |
Use Tags
You can apply existing tags to any of your screens.
To use tags:
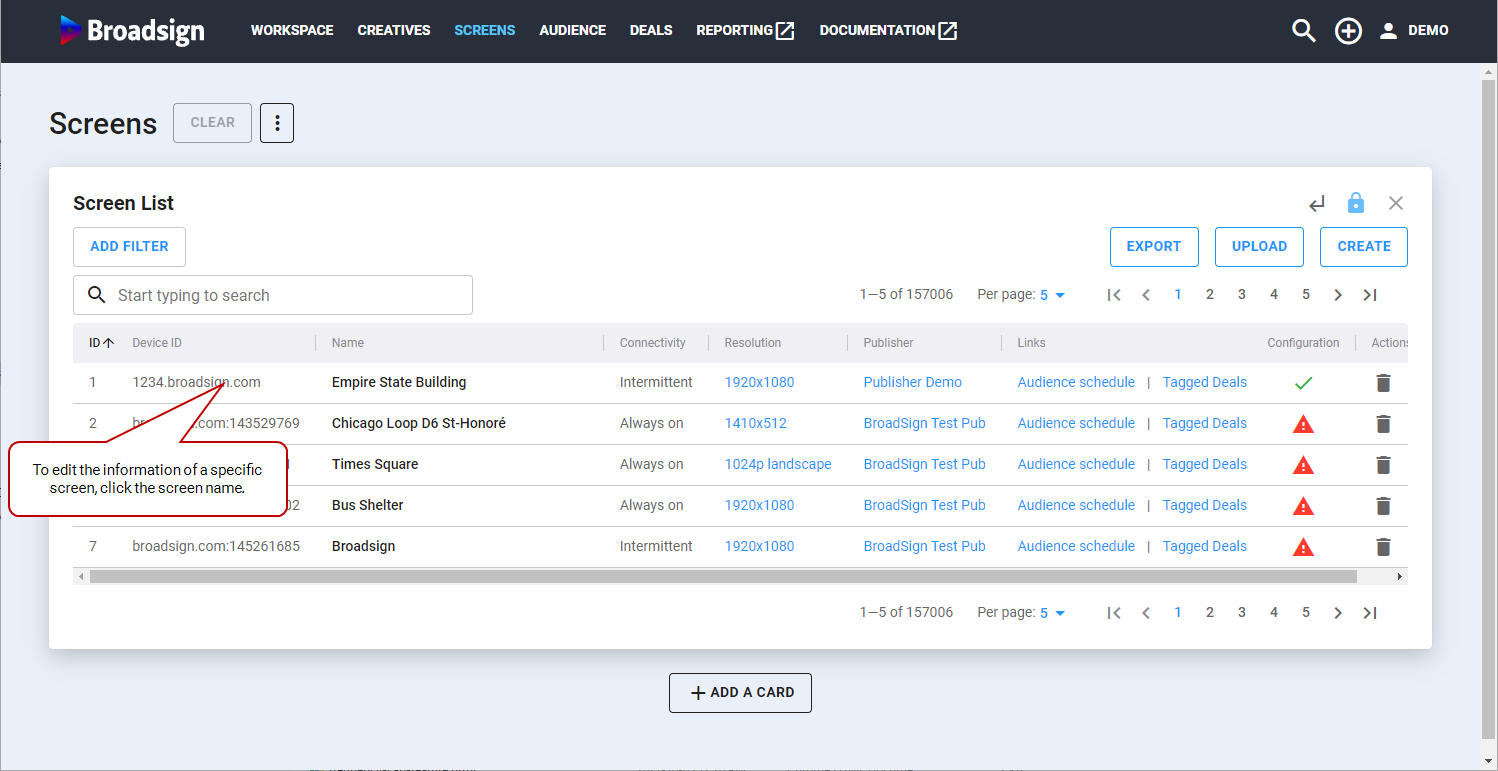
- Access the Screens section.
- Click the screen name to which you want to add tags.
- The Editing Screen card is displayed.
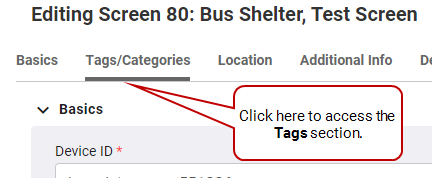
- Click TAGS/CATEGORIES.
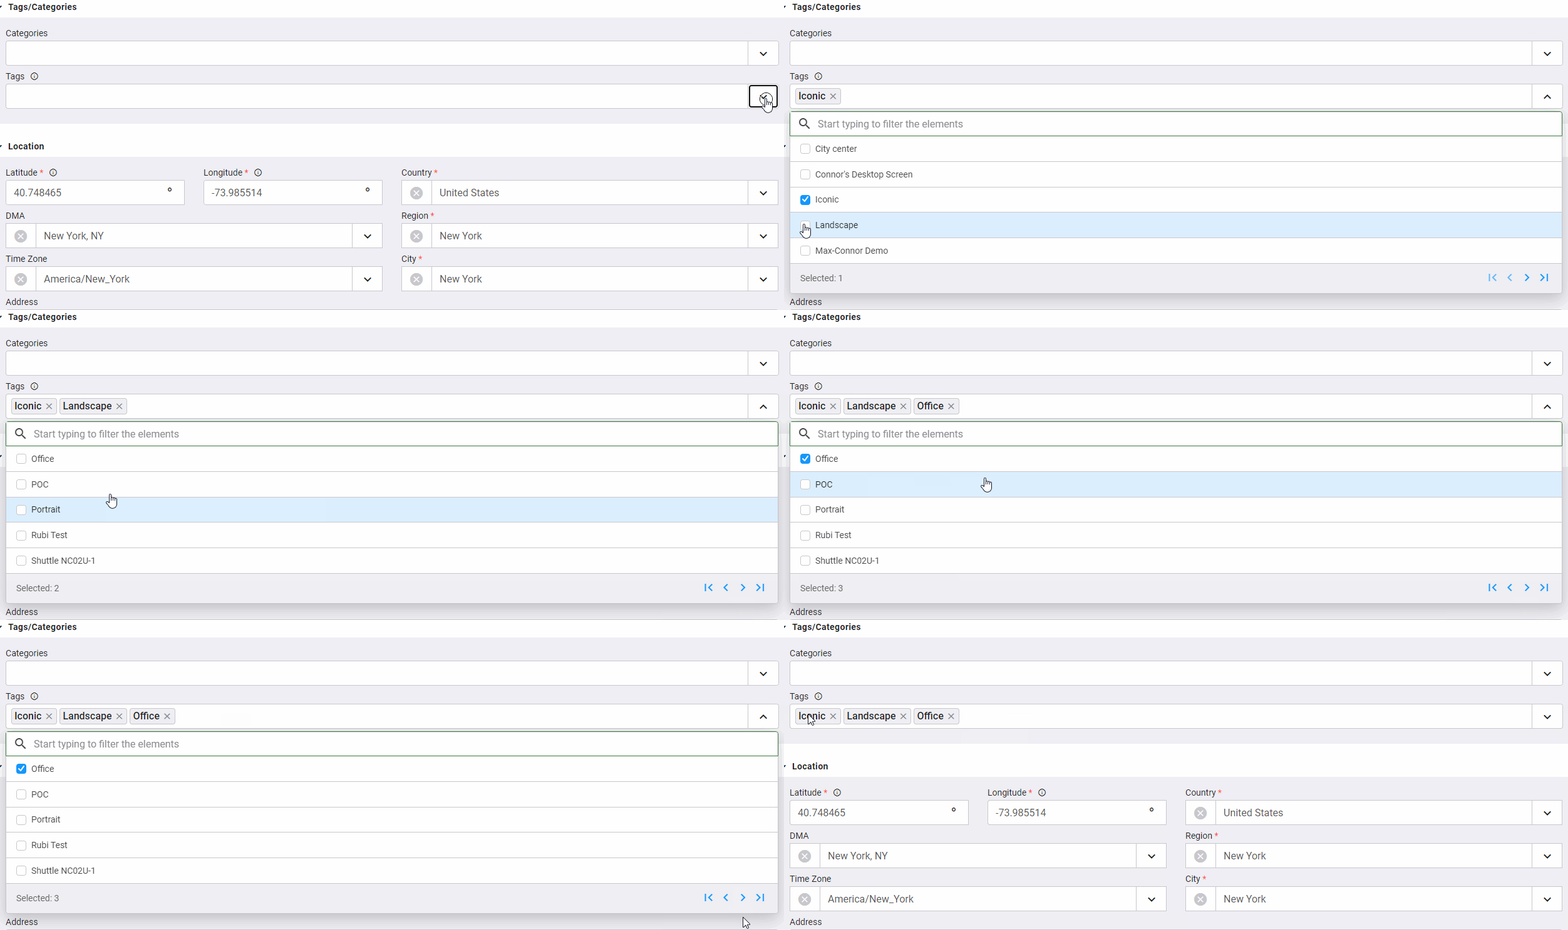
- In the Tags field, add or remove tags as required.
- Click Save & Close.
The same tags will be used to associate deals with this screen. For more details, see Inventory Targeting.


