This rate card allows additional revenues to be included in the total media amount. For example, additional revenues can be labeled as production, installation or late fee. While it is possible to lump these revenues into the overall media sale total, having rate cards for these allows for better visibility into campaign costs.
To add a rate card:
- From within Splash, click the Pricing tab in the top row.
- Click the Additional Revenue Rate Card tile.
- Click the
 button to add a new rate card.
 - Name – Provide a purposeful name that is well differentiated from other additional rate card names.
- Description – A free form description to explain the rate card's usefulness. This field is searchable and must be unique per rate card type.
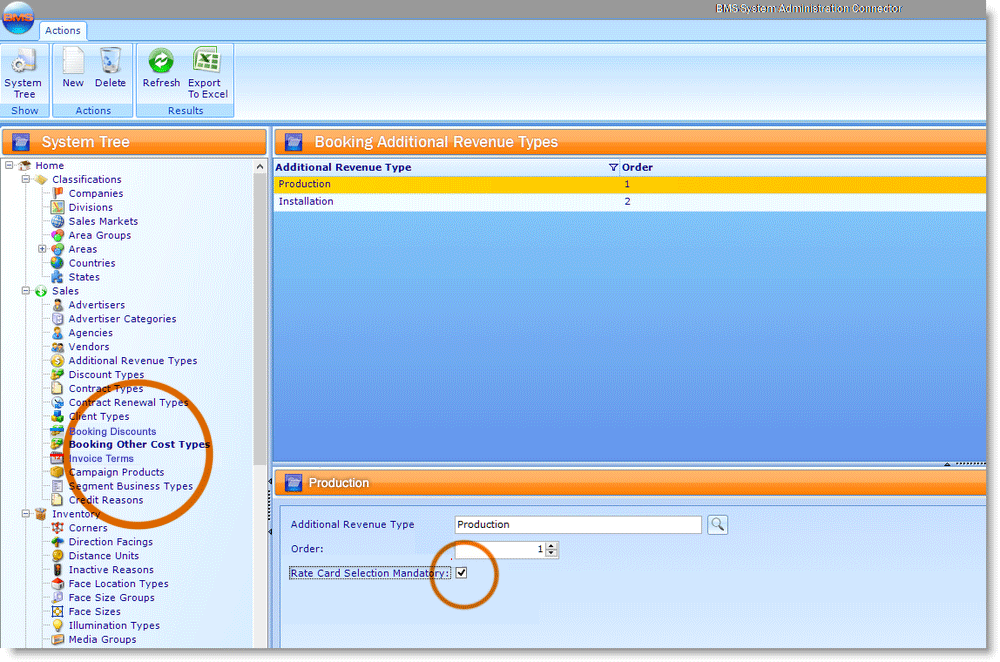
- Additional Revenue Type – Choose an Additional Revenue Rate Type from the drop-down menu. The options available will be different for every Broadsign Ayuda customer.
- Active? – Enable this check box to make the rate card available for use.
- Tags – Tags can be used to organize content by Broadsign Ayuda customers. These are short searchable identifiers that your team can use at their discretion.
- Click Save Changes.
- Click the Values tab on the left.
- Click the
 icon.
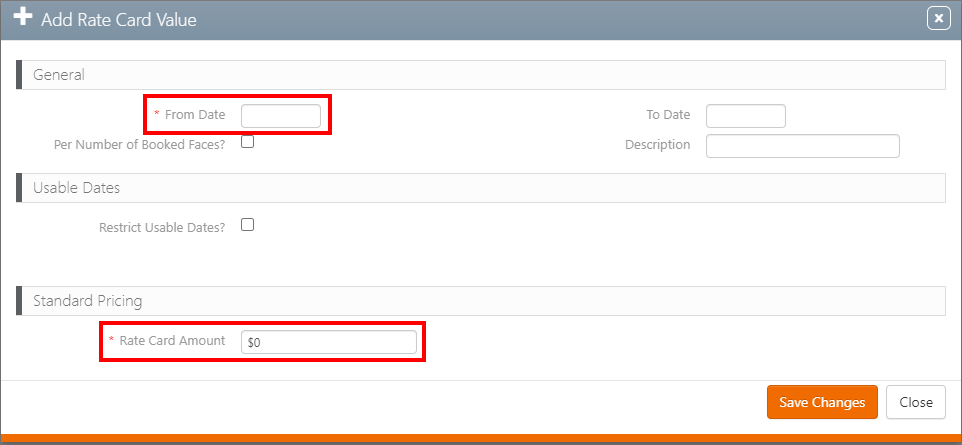
icon. - From Date – When this rate card goes into effect.
- Rate Card Amount – The value charged. A value must be entered otherwise the system will not allow the additional revenue rate card to be linked to a face or face pack.
- Click Save Changes.
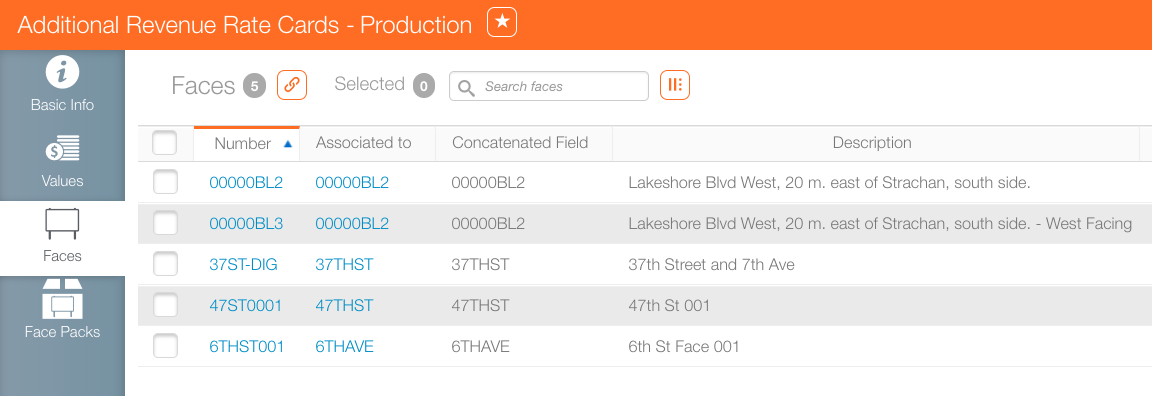
- Select the Faces or the Face Packs tab on the left.
- Click the
 icon.
icon. - Create a search filter to locate the needed faces or face packs. Select them by enabling the check boxes in the rows in the search results and clicking the Link button.
This presents a filter search screen for rate cards.
This presents the Add Rate Card dialogue box.
The following information is mandatory:
You can also fill in the following options:
This closes the Add Rate Card dialogue box and presents the Basic Info screen. It contains the information entered in the Add Rate Card dialogue box. If there was an error, click the  icon to edit it.
![]()
This presents the Add Rate Card Value dialogue box.
The following information is mandatory:
Note: If this rate card will apply to a pack that is updated regularly, consider enabling the Per Number of Booked Faces check box. If enabled, then the values per face and not per pack. This is to handle cases where one does not wish to keep updating the pack rate card as faces are added and remove from the pack.
This closes the dialogue box.
The next step is to choose the assets to which the rate card applies.
![]()
This presents a filter search for locating the faces or face packs to be assigned to the rate card. This can be done individually or in groups.
The faces and face packs will then be listed in the relevant tabs (Faces and Face Packs).
The information will also appear in each Face detailed view, in the Pricing tab.


