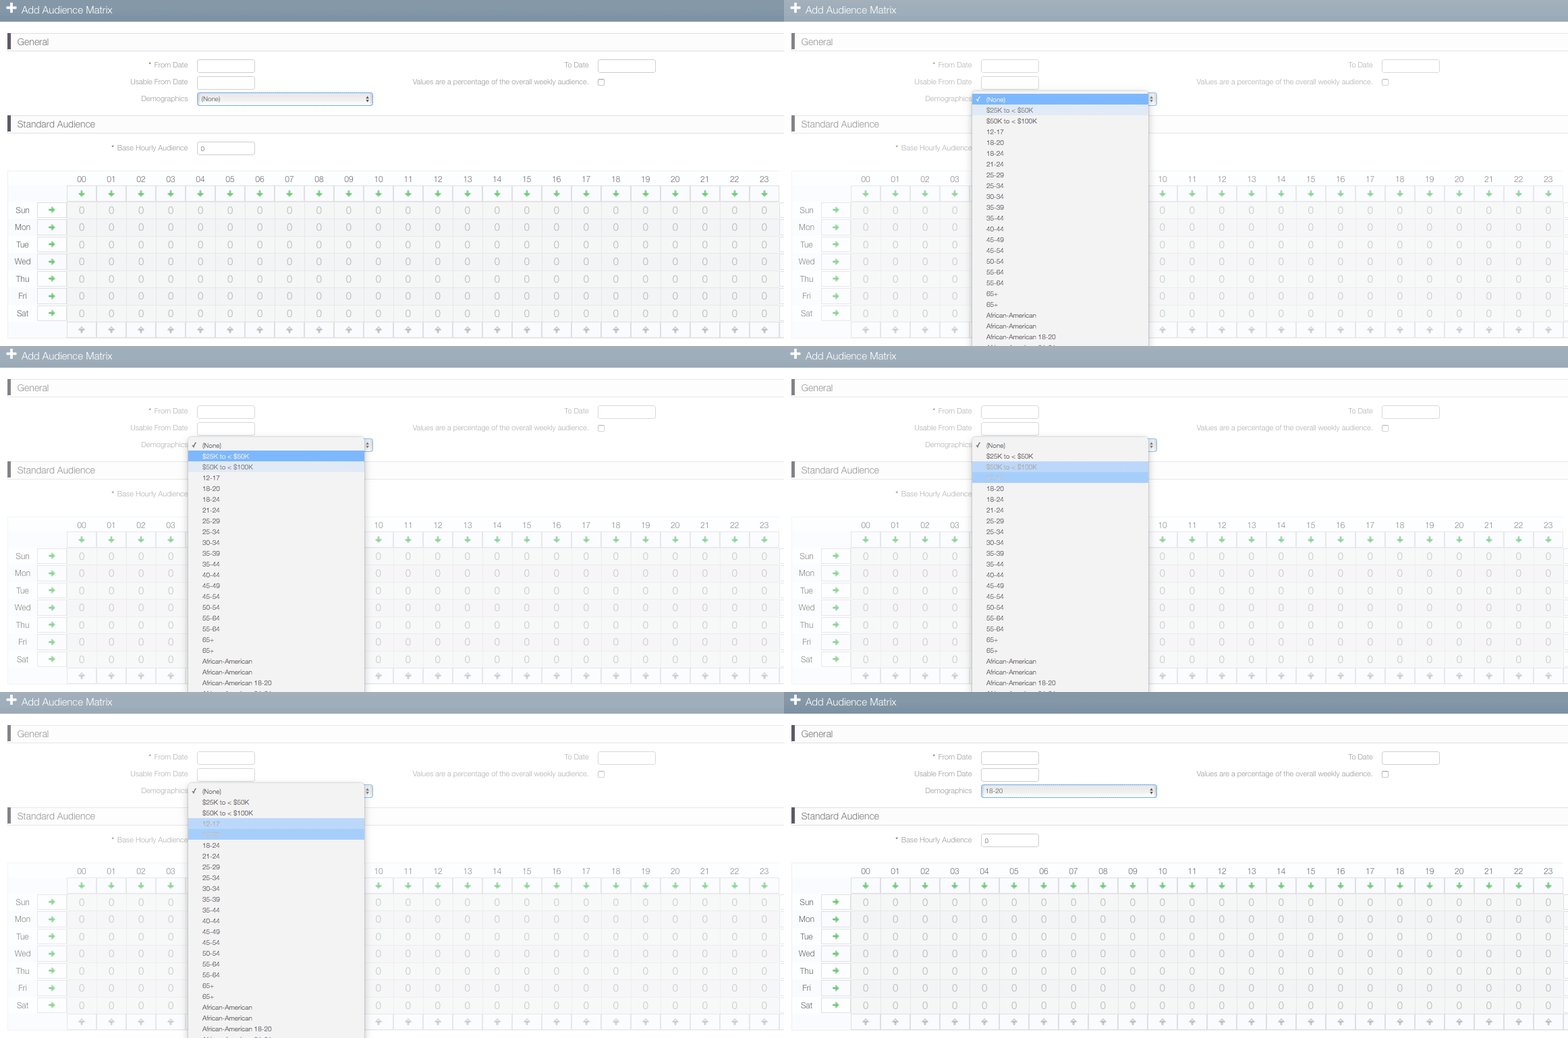
To add an audience card:
- From within Splash, click the Pricing tab in the top row.
- Click the Audience Rate Card tile.
- Click the
 button.
 - Enter the following mandatory information:
- Name – Provide a name that is well differentiated from other audience card names in your company.
- Description – A free-form text field description to explain this audience card's purpose. This field is searchable and must be unique per rate card type.
- If applicable, you can also define the following additional options:
- Active? – Enable this check box to make the audience card available for use.
- Tags – Tags can be used to organize content by some Broadsign Ayuda customers. These are short searchable identifiers that your team can use at their discretion.
- Click Save Changes.
- Click the Values tab on the left.
- Click the
 icon to add a new one.
 - Enter the following Mandatory information:
- From Date – When this rate card goes into effect.
- Rate Card Amount – The flat price charged.
- Duration – Select the duration type.
- Demographics – Choose the demographics that this Audience Card represents. None is the default and applies the rate card to all audiences.
- Base Hourly Audience – This is applied for the entire week if no specific value is set for a certain day and hour using the table editor below.
- Click Save Changes.
- Select the Faces or the Face Packs tab on the left hand column.
- Click the
 button.
 - Create a search filter to locate the needed faces or face packs. Select them by enabling check boxes and clicking the Link button.
This presents a filter search screen for rate cards.
This presents the Add Audience Card dialogue box.
This closes the Add Audience Card dialogue box and presents the Basic Info screen. It contains the information entered in the Add Audience Card dialogue box. If there was an error, click the Pencil icon to edit it.
![]()
This refreshes the screen to show the list of configured values.
This presents the Add Audience Matrix dialogue box.
The table represents each hour of the week over seven days. Entering a value will populate the table with that figure. For example, 500 would full the table with 500s, meaning for every hour of the week, 24 hours a day 500 people are exposed to the asset. The table can be edited to change the base rate for the times of day and days of the week that vary from the base hourly audience.
This closes the dialogue box.
The next step is to choose the faces to which the rate card applies.
![]()
This presents a filter search for locating the faces or face packs to be assigned to the rate card. This can be done individually or in groups.
What's Next?
Audience Cards need CPM cards to be functional.


