Users with asset editing powers can add and edit blueprints.
To search for blueprints:
- Log into Splash.
- Click Assets and then Blueprints.
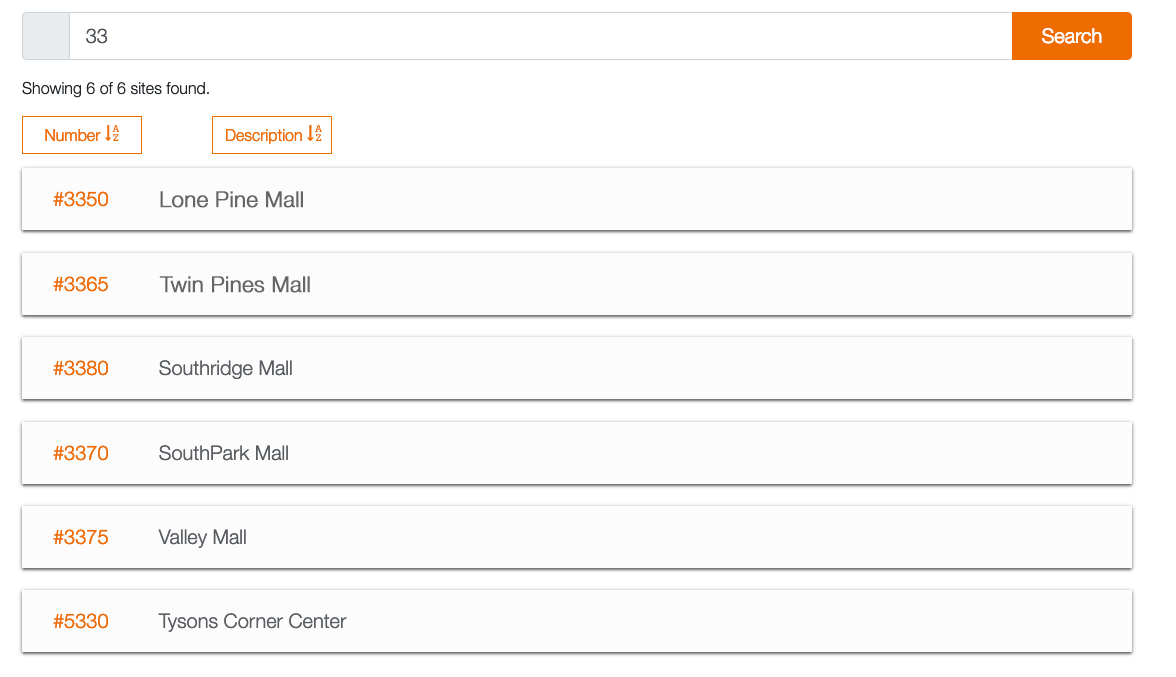
- Enter the search terms needed to locate the site to which a blueprint will be added.
- Click Search or press return.
- Once the site for which the blueprint must be uploaded has been identified, click the site row. This expands the list to show how many blueprints, if any, that have been uploaded to that site and their names. Clicking the names opens the blueprint record with the clicked blueprint.
- Only the 25 first results are shown. To see additional results, scroll down the list then click Load more…
This presents a search window.
Clicking search or pressing return with no term entered will present all the sites configured at your deployment.
Results are shown with the site number and description. There are header buttons for sorting by number and site in ascending or descending order.
To add blueprints:
- Select a record.
- Click Add Blueprint.
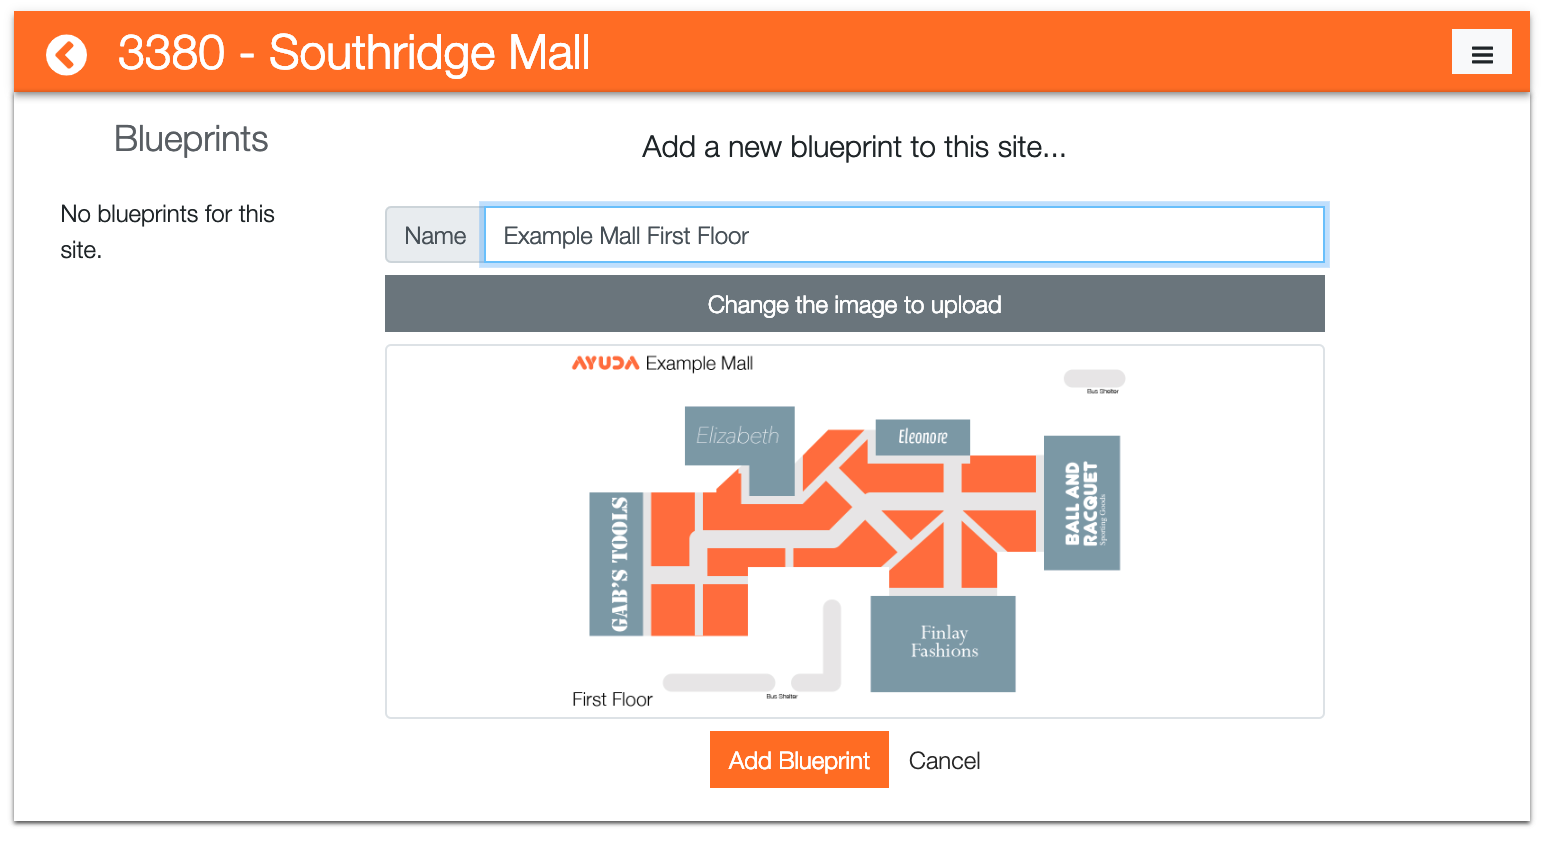
- Enter a Name for the blueprint.
- Click Select an image to upload.
- Navigate to the file location on your computer. Select the image.
- Image files supported include JPEG and PNG
- Try to upload the highest resolution image available
- Click Open. The image is uploaded.
- Click Add Blueprint to confirm the upload. The screen refreshes to show the blueprint editor.
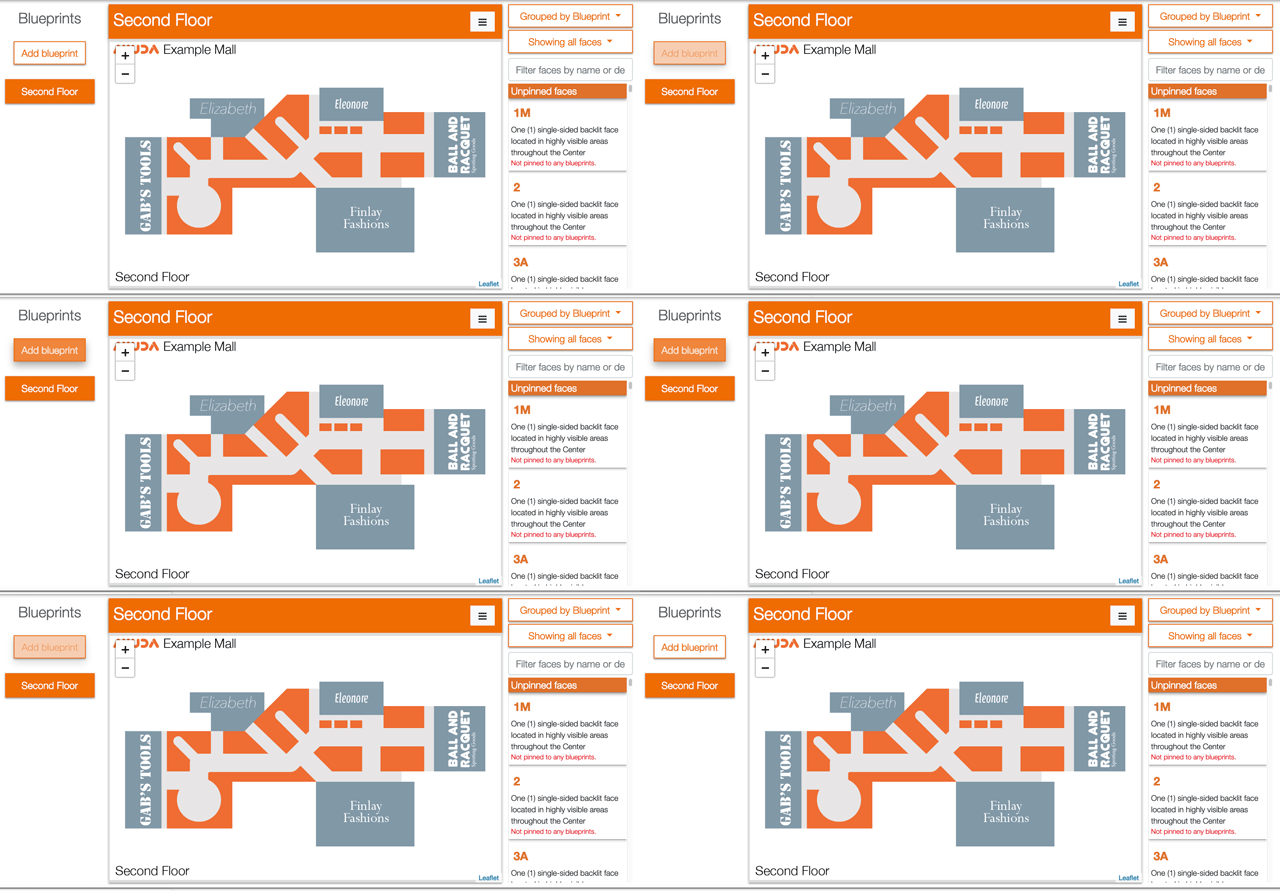
- The screen refreshes to show the blueprint record. To add additional blueprints to the site, click the Add Blueprint button from within the blueprint record.
The screen refreshes to show a form for adding blueprints.

This presents a selection window.
To rename, replace or delete blueprints:
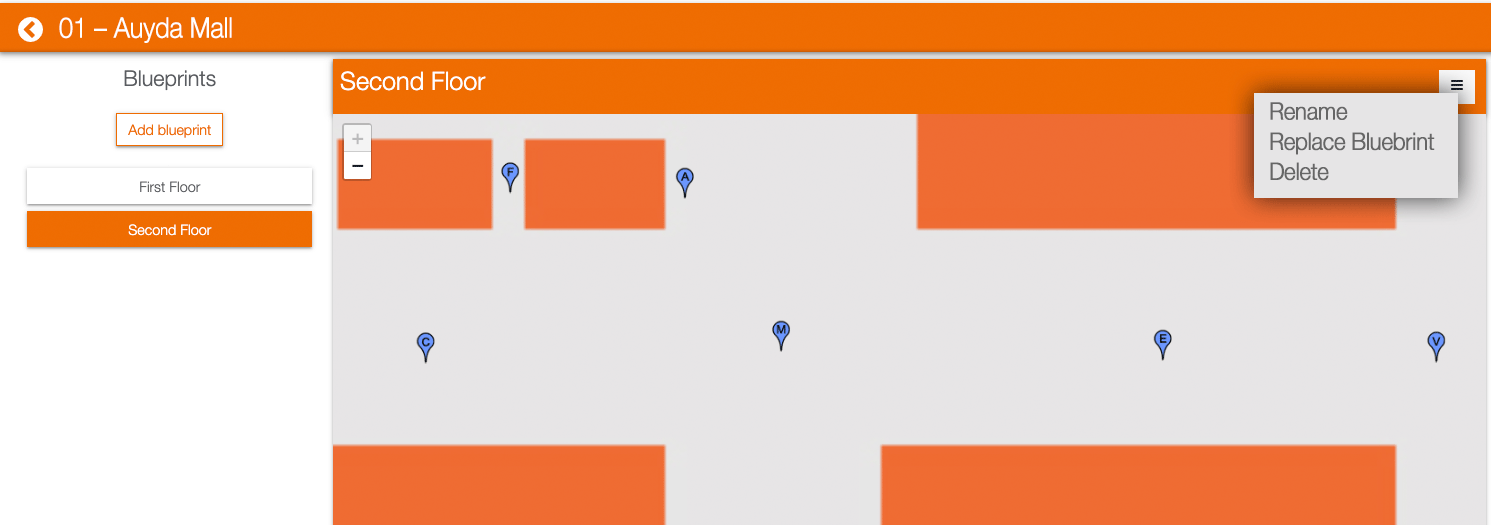
- With a blueprint active, click the three-line button on the upper right corner of the frame.
- Renaming Blueprints – Select Rename from the drop down menu.
- Enter the updated name in the field provided and click Rename.
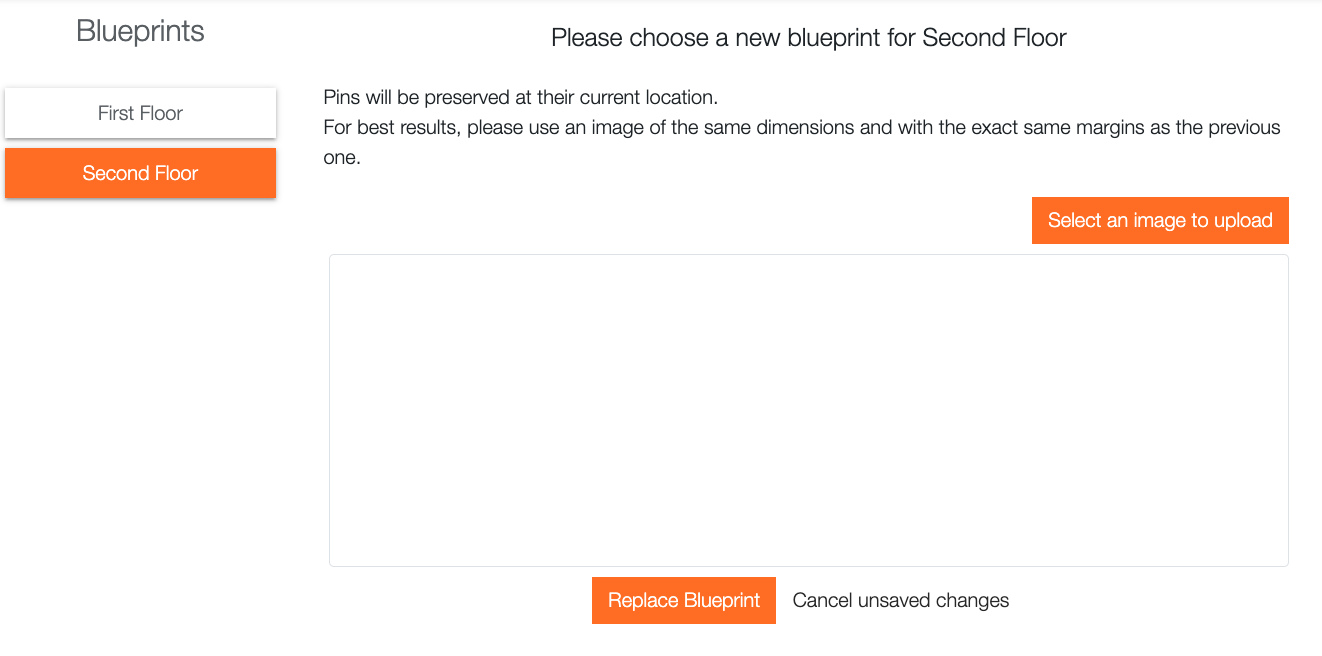
- Replacing Blueprints – Select Replace Blueprint from the drop down menu.
- Click the Select an image to upload button. Use the browser window to navigate to and select a replacement image. Upload it. Click the Replace Blueprint button.
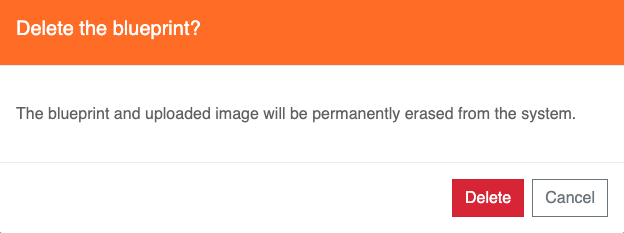
- Deleting Blueprints – With a blueprint active, Select Delete from the drop down menu.
- Click Delete to confirm the deletion request.
This presents options for renaming, replacing and deleting blueprints.
This presents the Rename Blueprint dialogue box.
This presents a window for uploading a replacement blueprint. Pins will be preserved at their current locations. For best results, use an image of the same dimensions and with the exact same margins as the previous one.
This presents the Delete Blueprint dialogue box.

