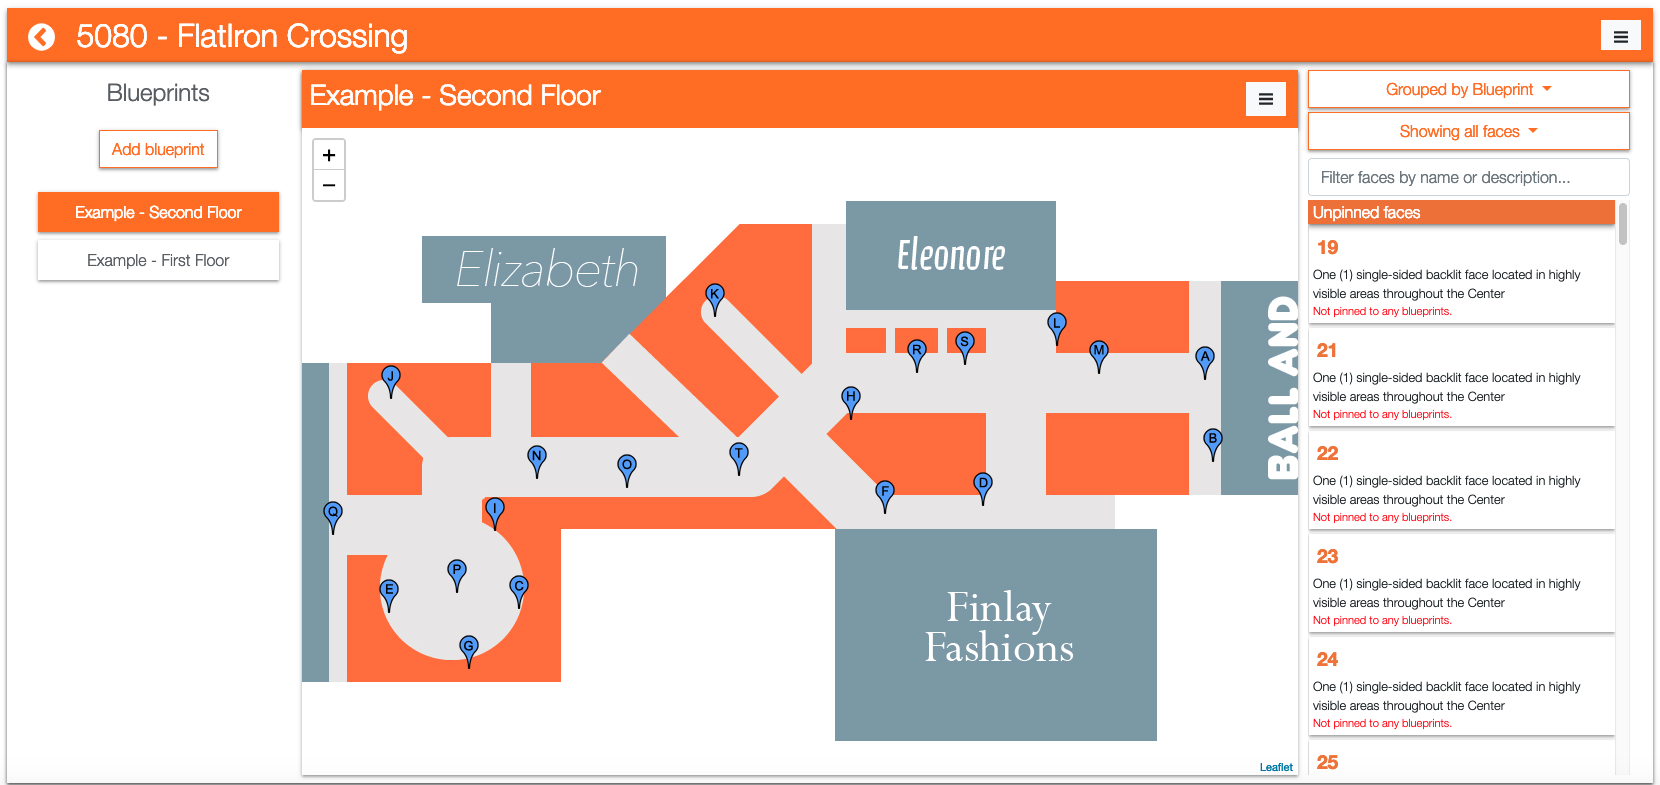
The blueprint editor screen is where inventory is pinned to the blueprints. It has three sections:
- On the left is the list of blueprints – If the site needs more than one blueprint it can be added here. To switch between uploaded blueprints click the labels.
- In the center is the uploaded blueprint – This contains a plus and minus buttons to zoom in and out. (Mouse scroll wheel zooming is also supported.) There is also a button to delete or replace the current blueprint.
- On the right is the inventory list – This section controls how markers representing inventory are shown. In records with newly uploaded blueprints, there will be no visible markers. The inventory list is merely the list of faces configured for the site. There is also a search field.
By default, the inventory in the right-hand column is grouped by the blueprint on which they are pinned.
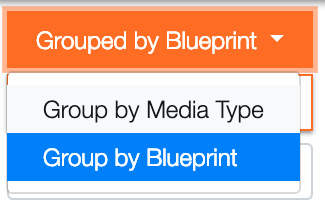
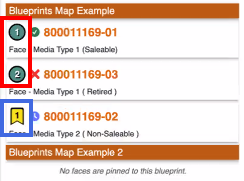
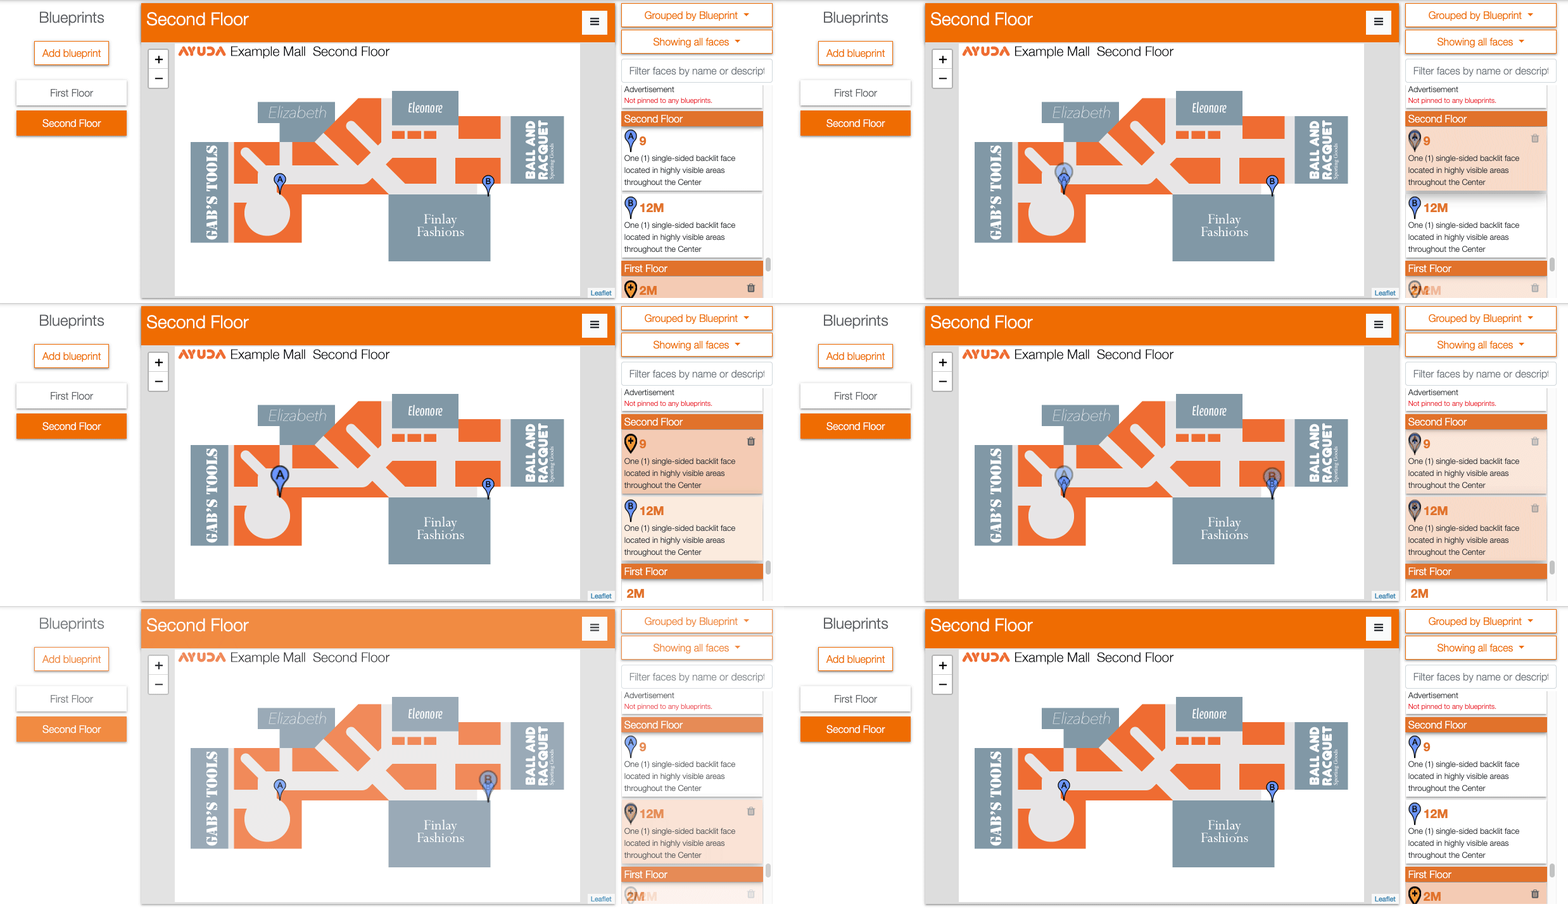
Clicking the Grouped by Blueprint button and select Group by Media Type to show inventory by its media type. The pin icon differs for each media type. A media type could be a kiosk or a poster. For example, in the following image, there are 3 Faces on 2 different media types.
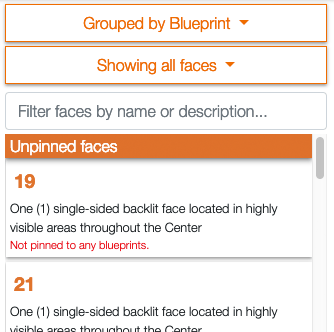
Click Showing pinned faces and select Show unpinned faces to only view inventory not yet placed. Alternatively, selecting Show pinned faces shows only inventory that has been placed.
Note: The marker order does not change when filtering your inventory. This is intended and will not affect the marker order in the avails package.
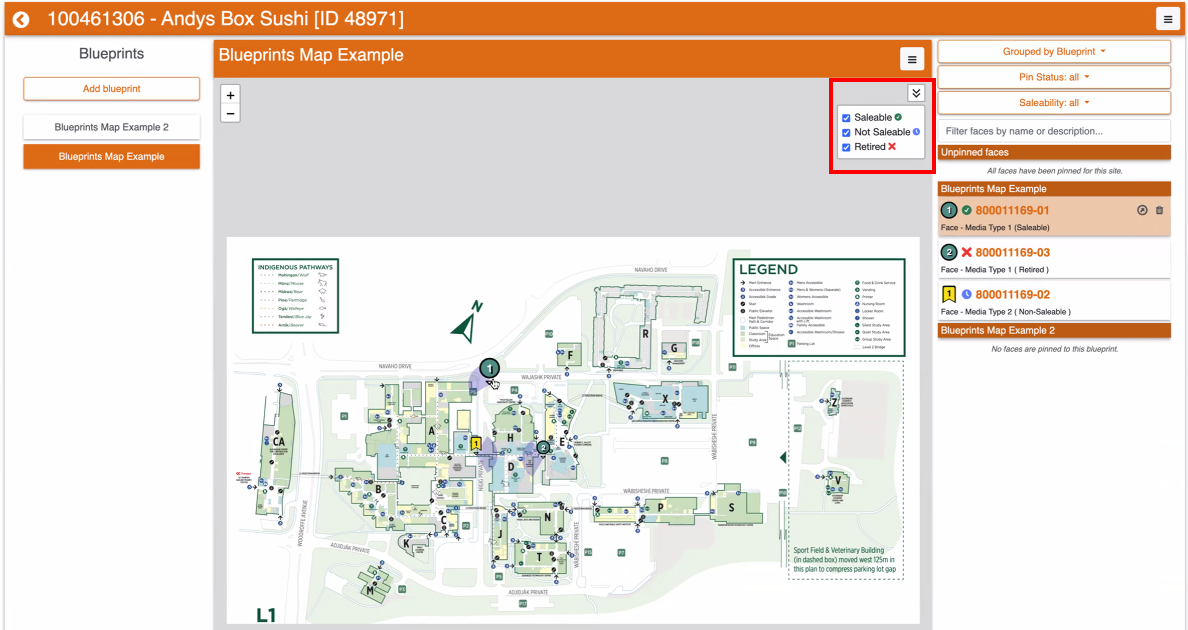
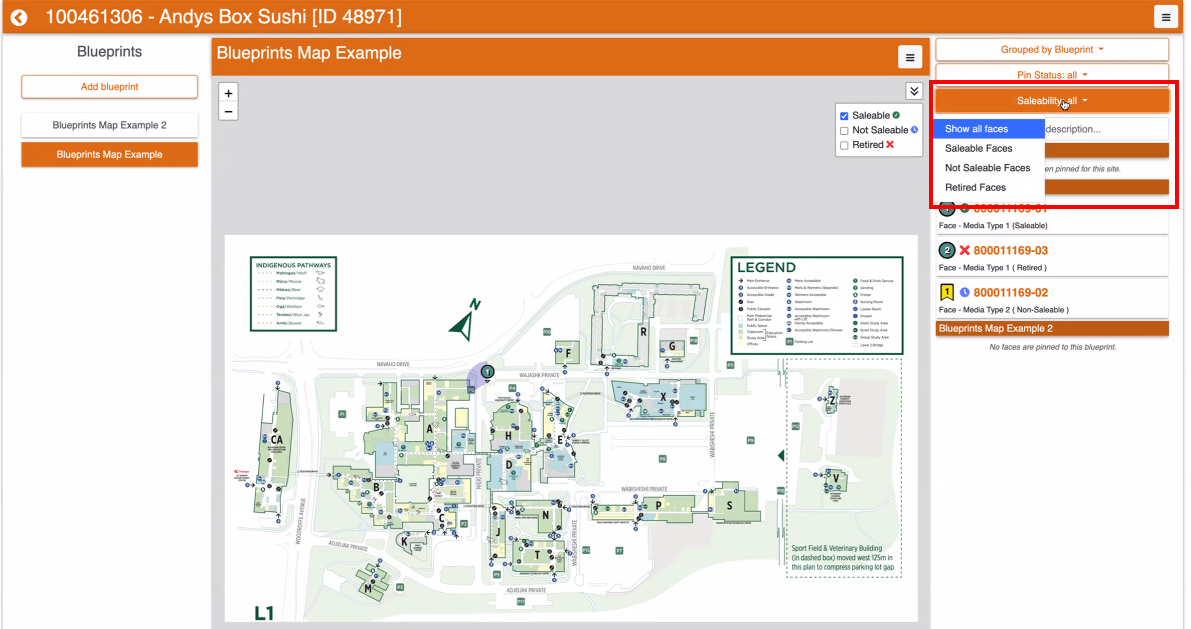
To refine your view of face pins, you can use filters based on their saleability status. This status is defined in the Saleability section of a Face record. For more information, refer to Saleability and Retirement Dates.
You can use these filters on the map, or on the inventory list on the right.
To use the map face pins filter:
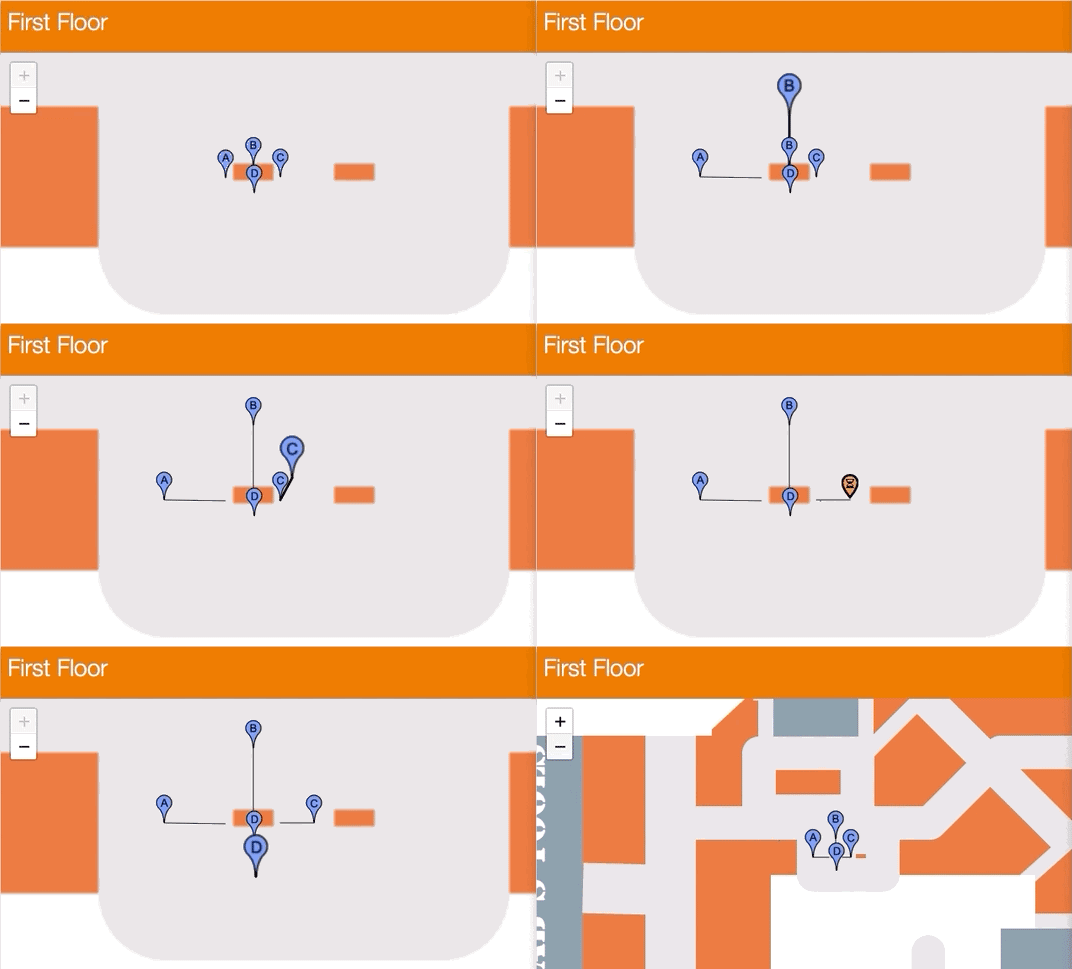
Sometimes blueprint pins must be placed close to each other. This can cause them to bunch. Right-clicking pics allows the pin to be moved while keeping a magnetic line that always connects to its starting location.
Right click again to release the pin. The line can always be edited further by right clicking it again. Or, left click the pin to reposition it entirely and draw another line.
The line and the pins scale with zooming for easy readability.
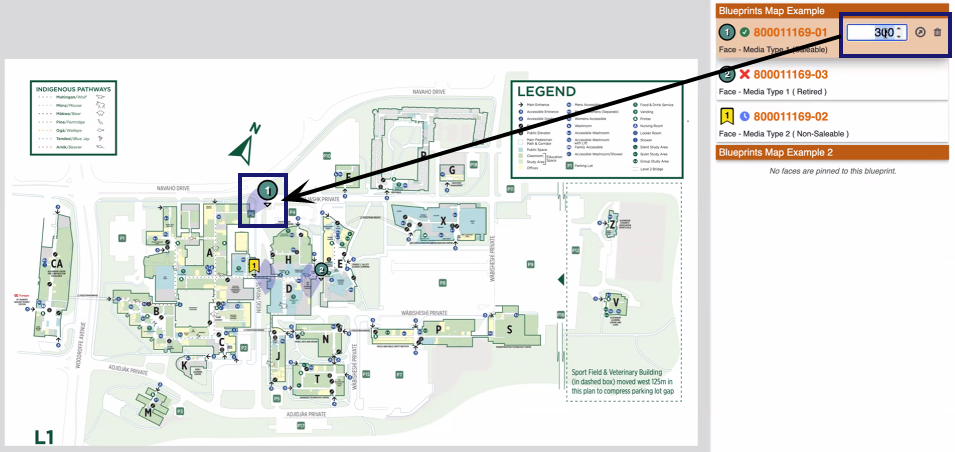
To provide more precise information about the viewing angle of a Face pin, you can add a direction facing marker. This marker allows you to specify the angle from which the face can be seen, enhancing the accuracy and detail of your pin representation.
To add a direction marker:
This feature allows for greater flexibility and precision in representing the orientation of faces within your design or visualization.
With the blueprint record for the site open, click the three-line menu in the upper right of the site frame.
Click the Export Blueprints as Images menu item. A new browser tab opens showing the uploaded blueprints, with their pins and a list of all pinned inventory. Browser functionality can be used to save the tab as a PDF or to print its contents.
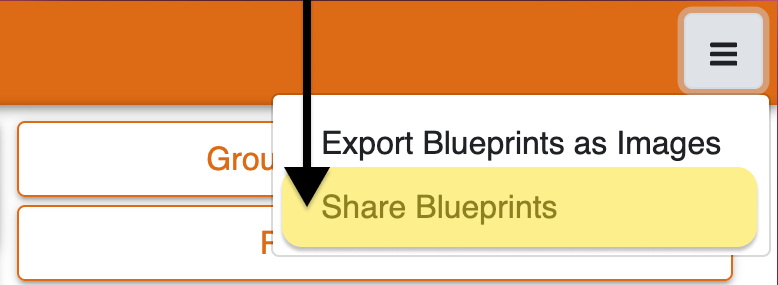
You can share blueprints with anyone using a generated web link.
Tip: This features allows you to share a broader range of information, such as details on not saleable or retired pins, than the sharing option in the Campaign record. For more information, see Sharing Dynamic Blueprints with Customers.

 icon.
icon.