- From within Splash, click the Pricing tab in the top row.
- Click the Media Rate Card tile.
- Click the
 button.
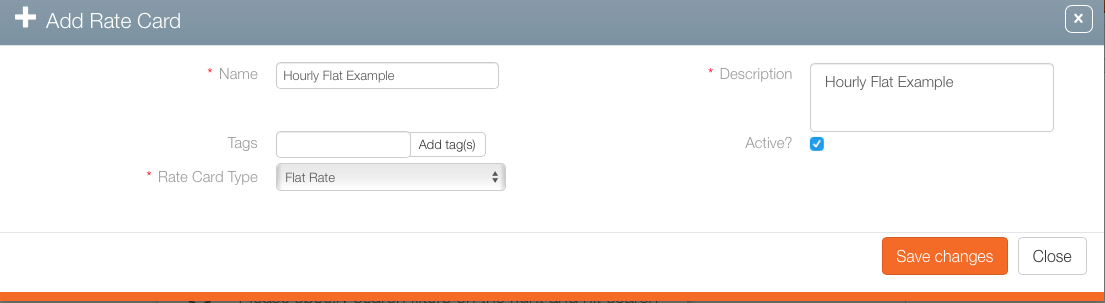
 - Enter the following mandatory information:
- Name – Provide a purposeful name that is well differentiated from other rate card names in your instance.
- Description – A free form description to explain the rate card's usefulness. This field is searchable and must be unique per rate card type.
- Rate Card Type – Choose Flat Rate from the drop down menu.
- If applicable, define the following additional options:
- Active? – Enable this check box to make the rate card available for use.
- Tags – Tags can be used to organize content by some Broadsign Ayuda customers. These are short searchable identifiers that your team can use at their discretion.
- Click Save Changes.
- Click the Values tab on the left.
- Click the icon.
- Click the Duration Type drop down menu. Select Hour.
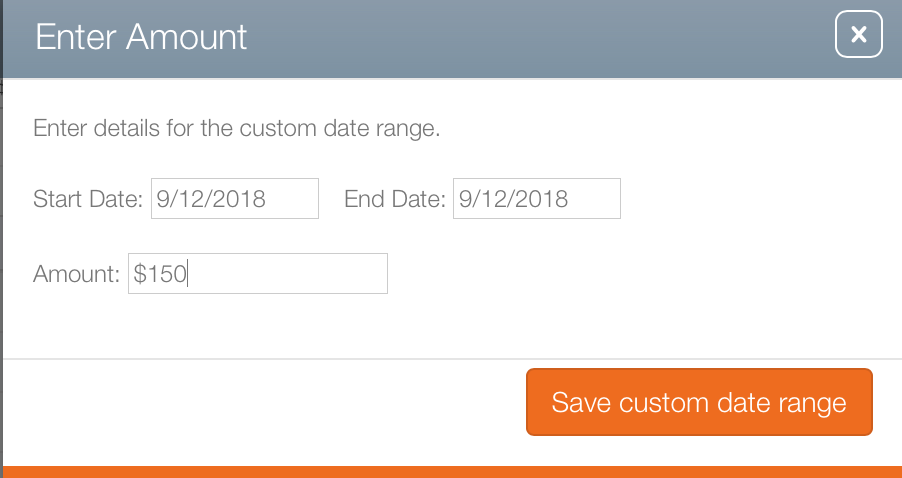
- To specify special rates for a custom date range between the from date and to date, click the icon next to Period Pricing.
- Enter a Start Date and End Date.
- Enter the Amount.
- Click Save custom date rage.

This presents a filter search screen for rate cards.
This presents the Add Rate Card dialogue box.
This closes the Add Rate Card dialogue box and presents the Basic Info screen. It contains the information entered in the Add Rate Card dialogue box. If there was an error click the Pencil icon to edit it.
![]()
This presents the Add Rate Card Value dialogue box.

This refreshes the screen to present an editable pricing grid.
This Rate Card Amount is the default hourly rate card amount for each hour between the from and to date. To specify special hourly rates, overwrite the rate of the needed hour. In the below example, the Saturday 2pm to 3pm rate has been raised from $100 to $200.

The Enter Amount dialogue box is shown.
This closes the dialogue box and adds a row with the custom price for the date range. To delete it, click the X at the end of the row.

