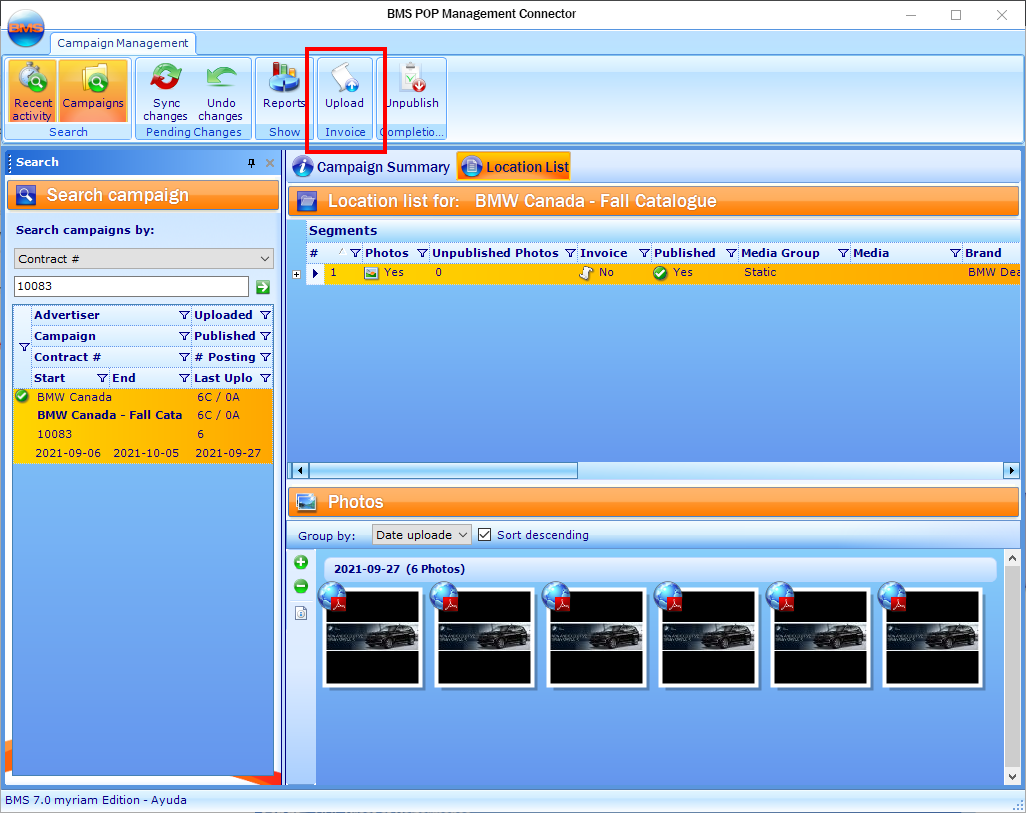
BMS POP Management Connector
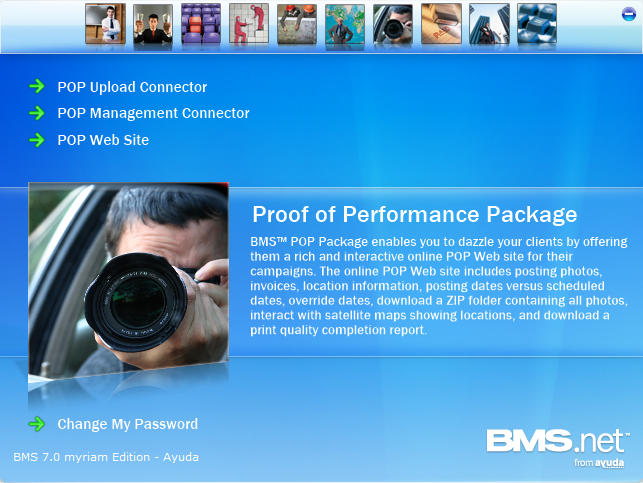
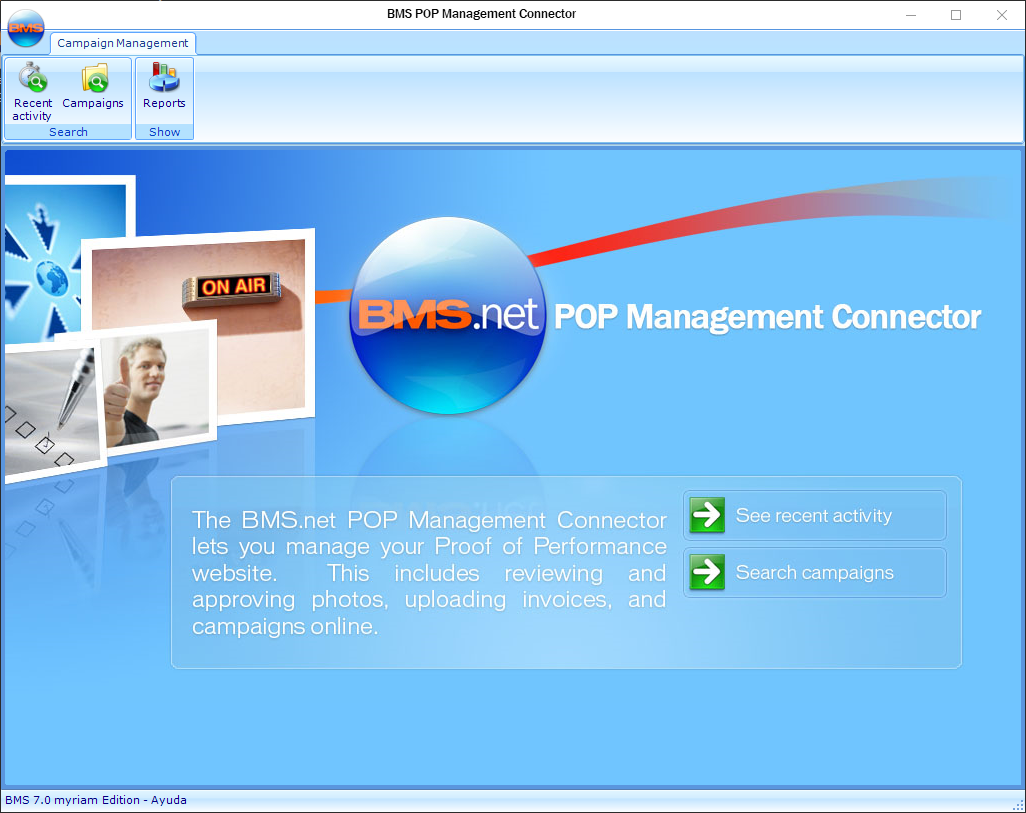
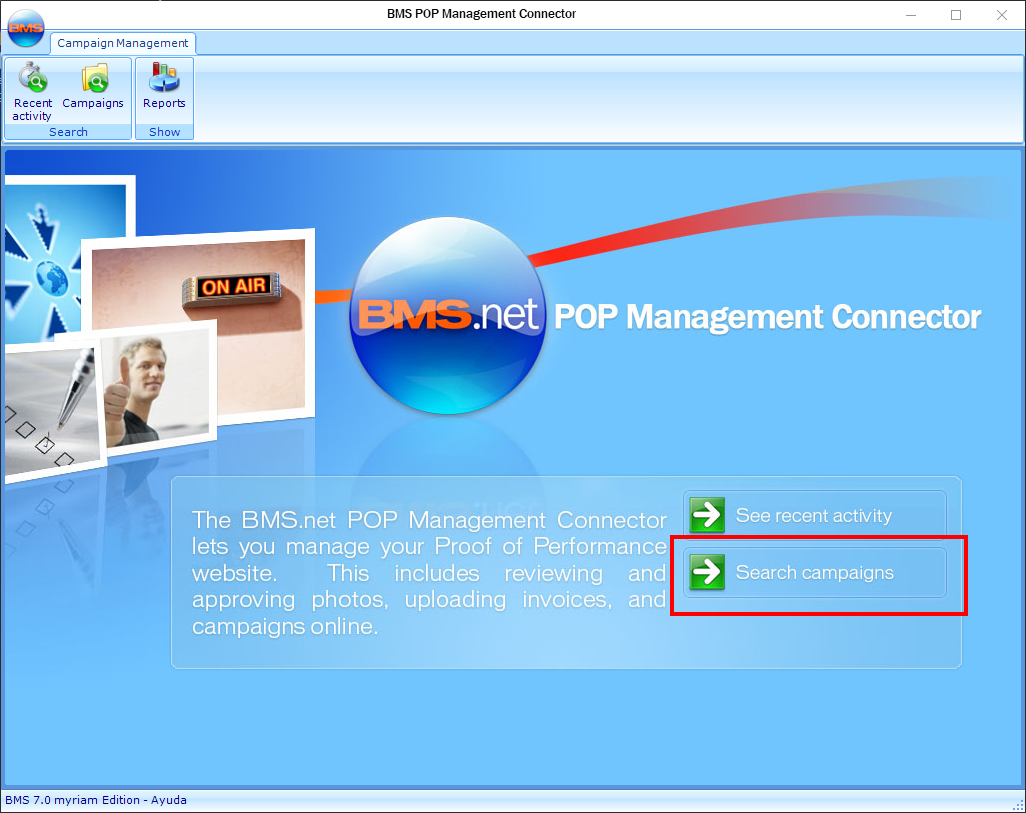
The BMS POP Management Connector lets you manage your Proof of Performance website. This includes reviewing and approving photos, uploading invoices, and publishing campaigns online.
Tip: POP managers have access, through the Recent Activities section of the connector, to all recently uploaded pictures in the POP Upload connector.
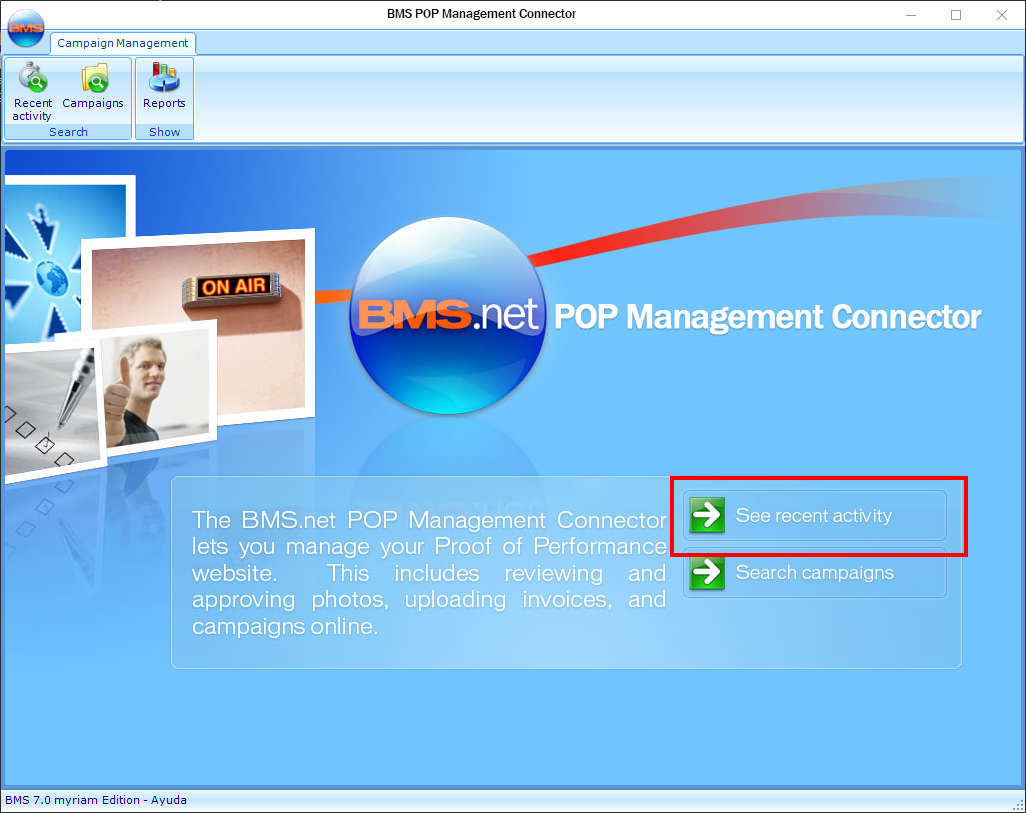
- In the POP Management Connector, click Search campaigns.
- Contract ID Number
- Campaign Name
- Advertiser Name
- Media Group
- Location Description
- Late Postings
- Direct POP Requested
- Unpublished Photos
- Campaign Company
- Inventory Operator
- POP Status
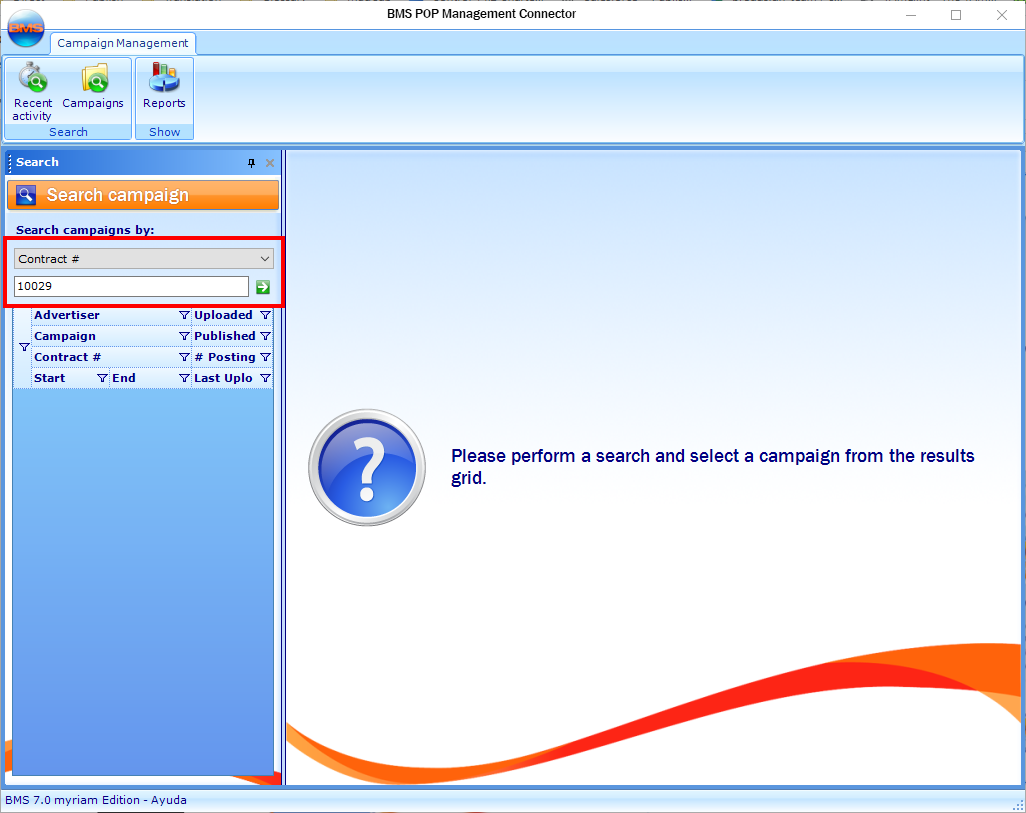
- The easiest way is to search for the Contract ID number, so select Contract # and enter the campaign number, then click the green arrow.
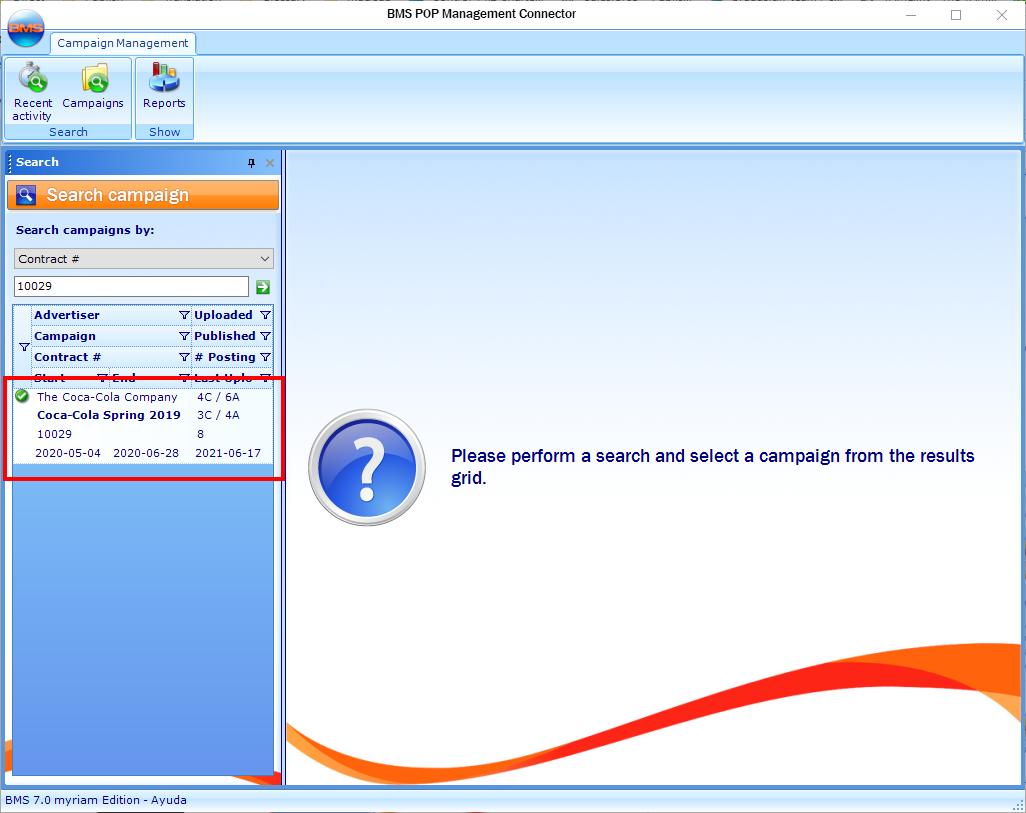
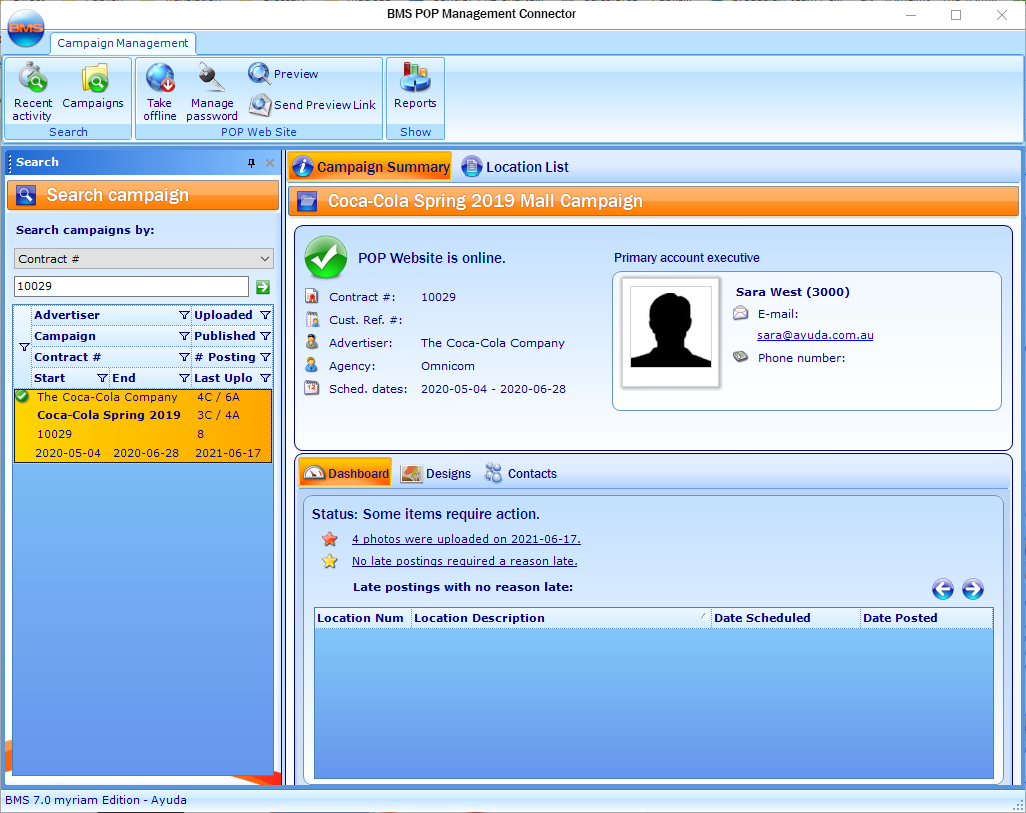
- Click the contract in the “Results” Pane to display the contract details.
This presents the Campaigns level of the POP Management Connector. You can search for campaigns the following way:
The campaign is displayed in the Results pane.
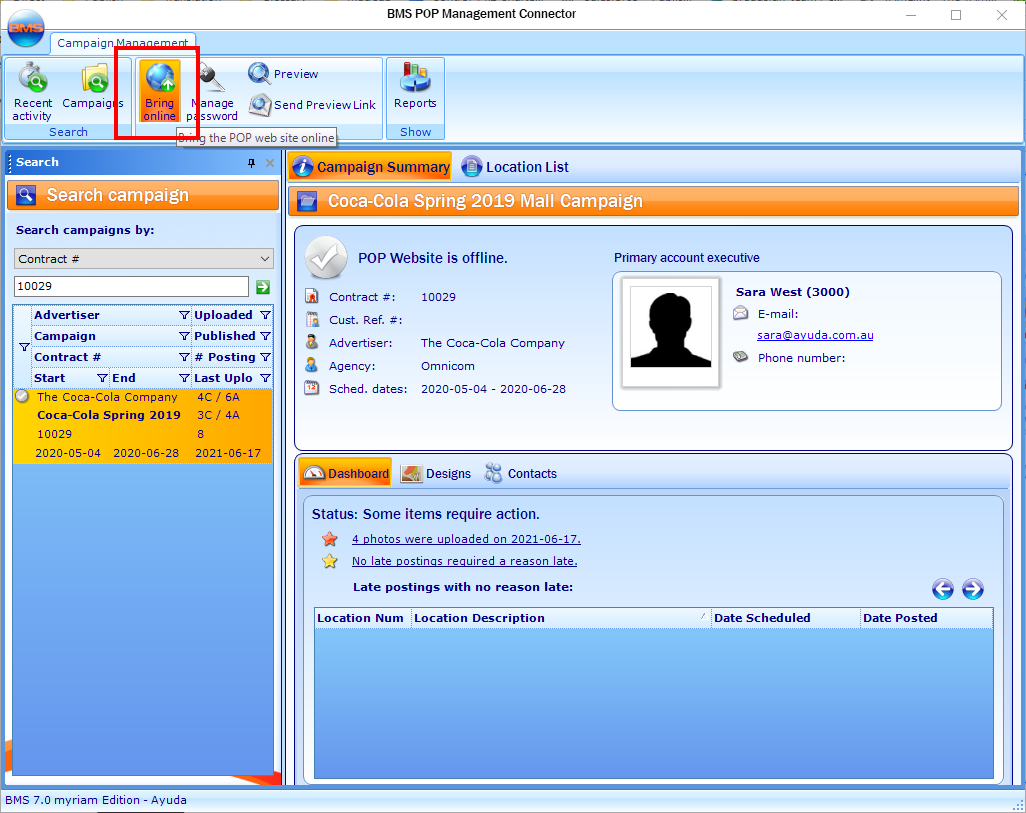
- In the POP Management Connector, search for the contract to bring online, as described in Find a Contract.
- Click Bring online in the tool bar.
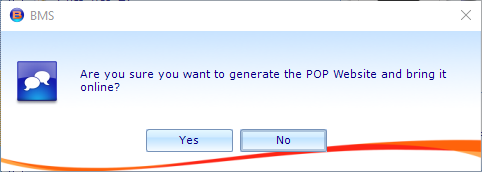
- Click Yes on the confirmation pop up.
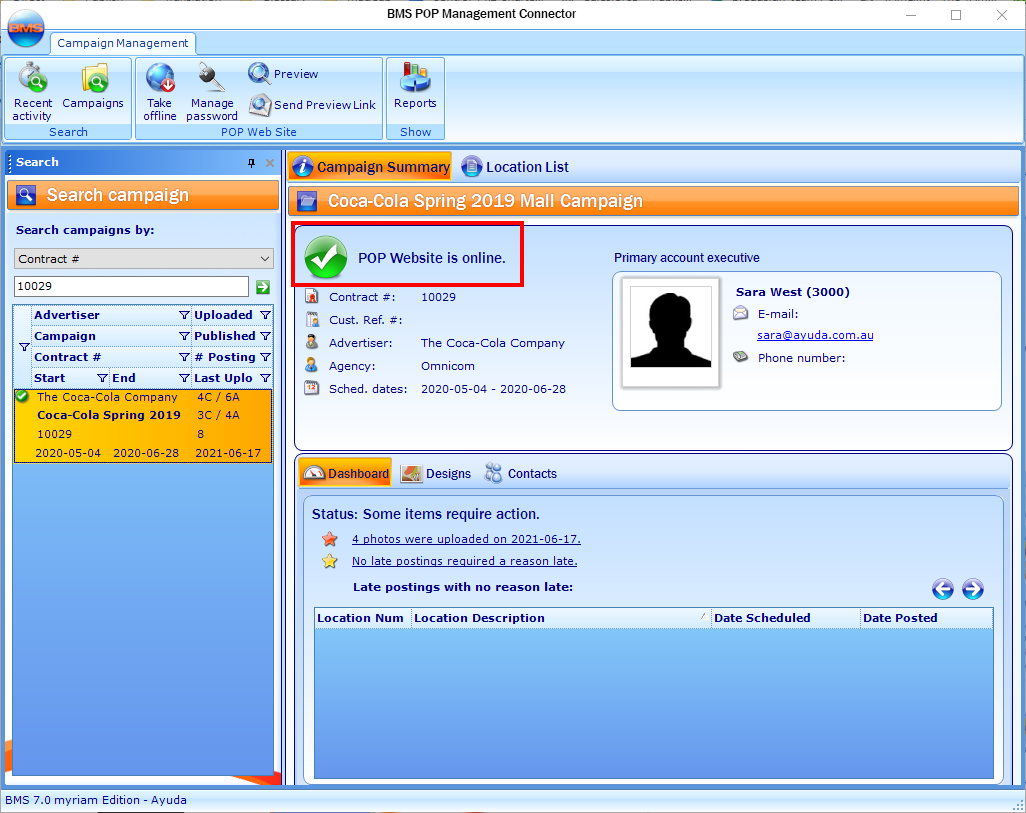
The POP Website for the Contract is now available.
Note: Photos and line items also need to be published.
- In the POP Management Connector,search for the contract, as described in Find a Contract.
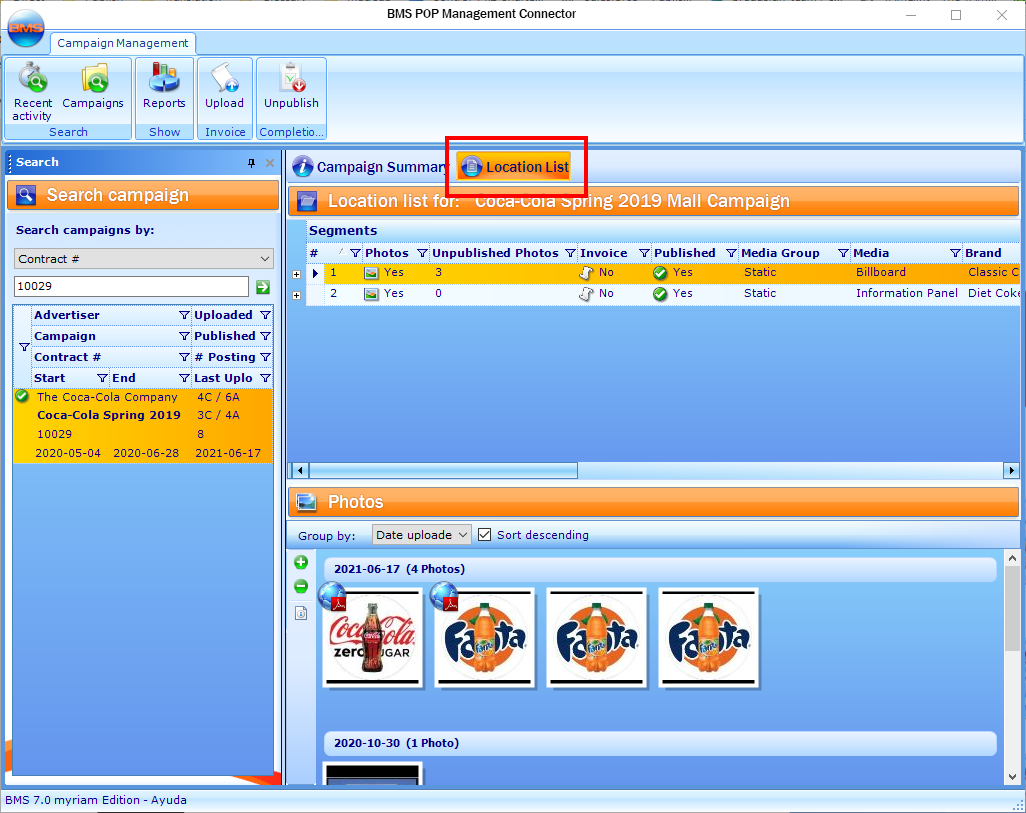
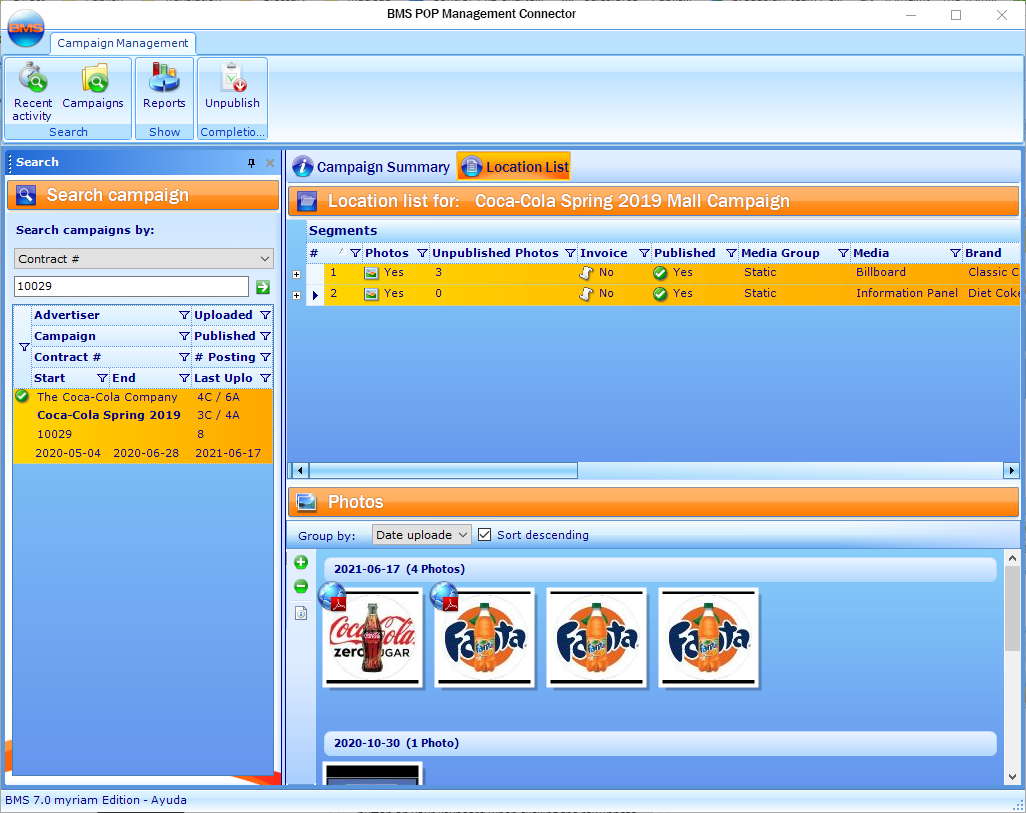
- Click Location List in the header.
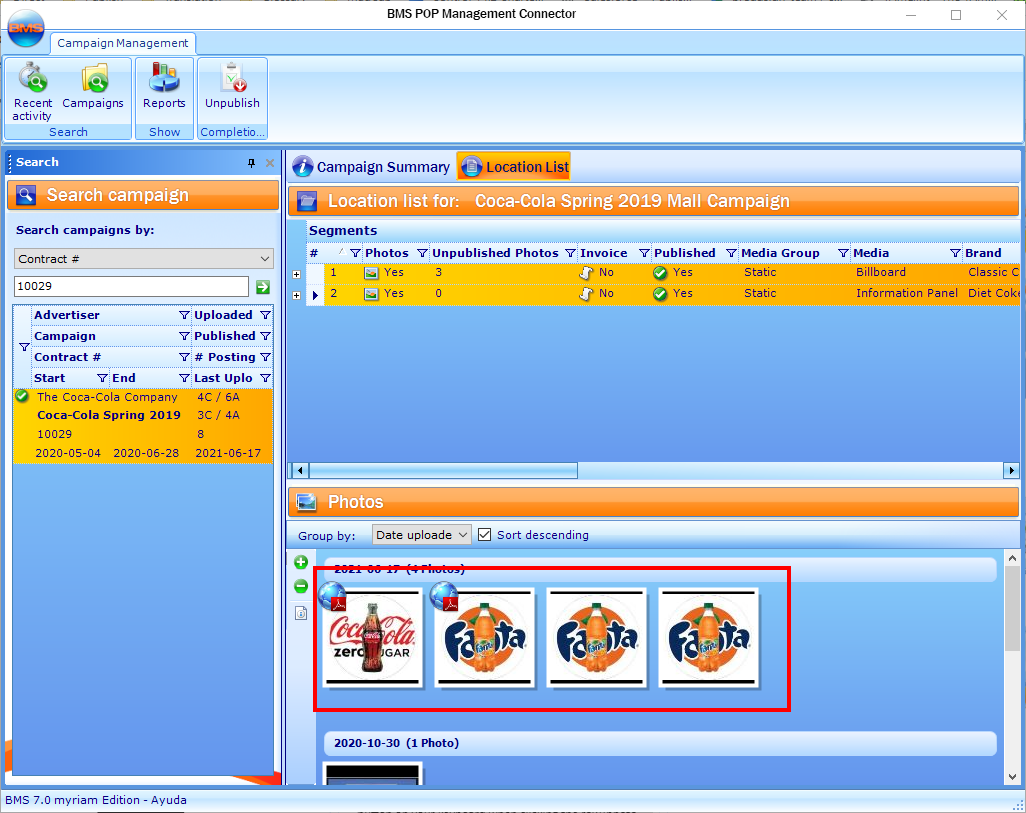
- Select one or more rows to view photos.
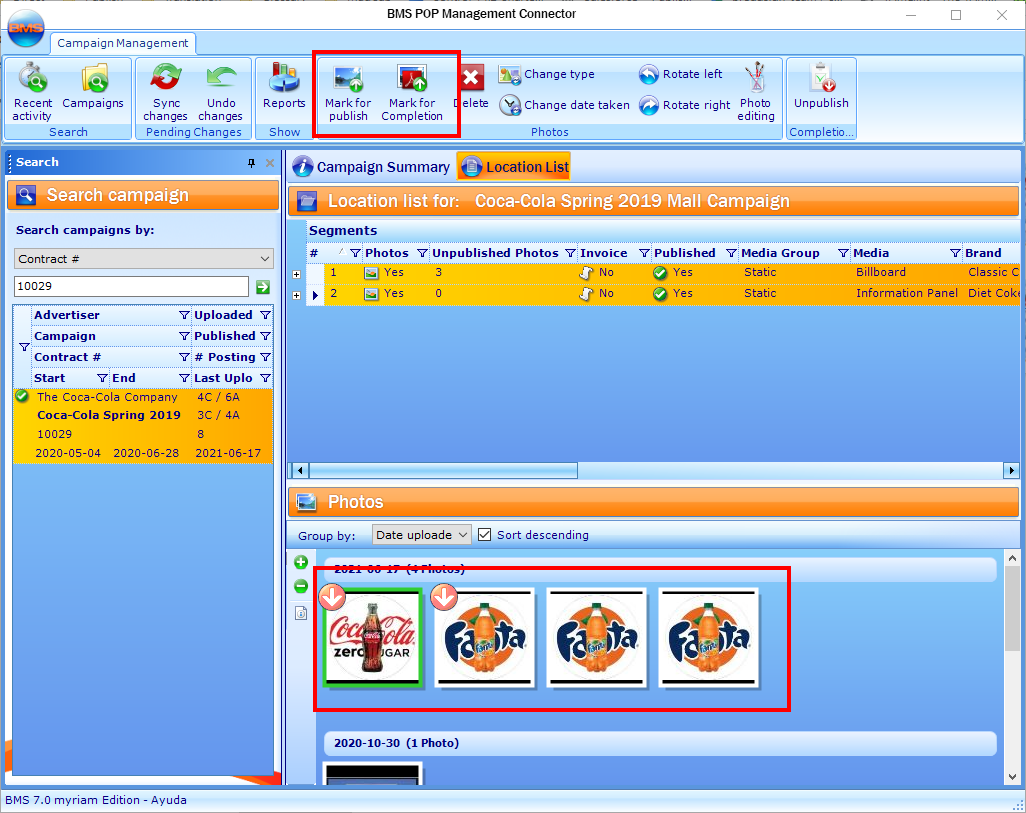
- Select the photo(s) to include in the Completion Report.
- There are two options for adding photos. Select one.
- Mark for Publish – Includes the Jpeg file but is not in the PDF.
- Mark for Completion – Includes the Jpeg file and is included in the PDF.
-
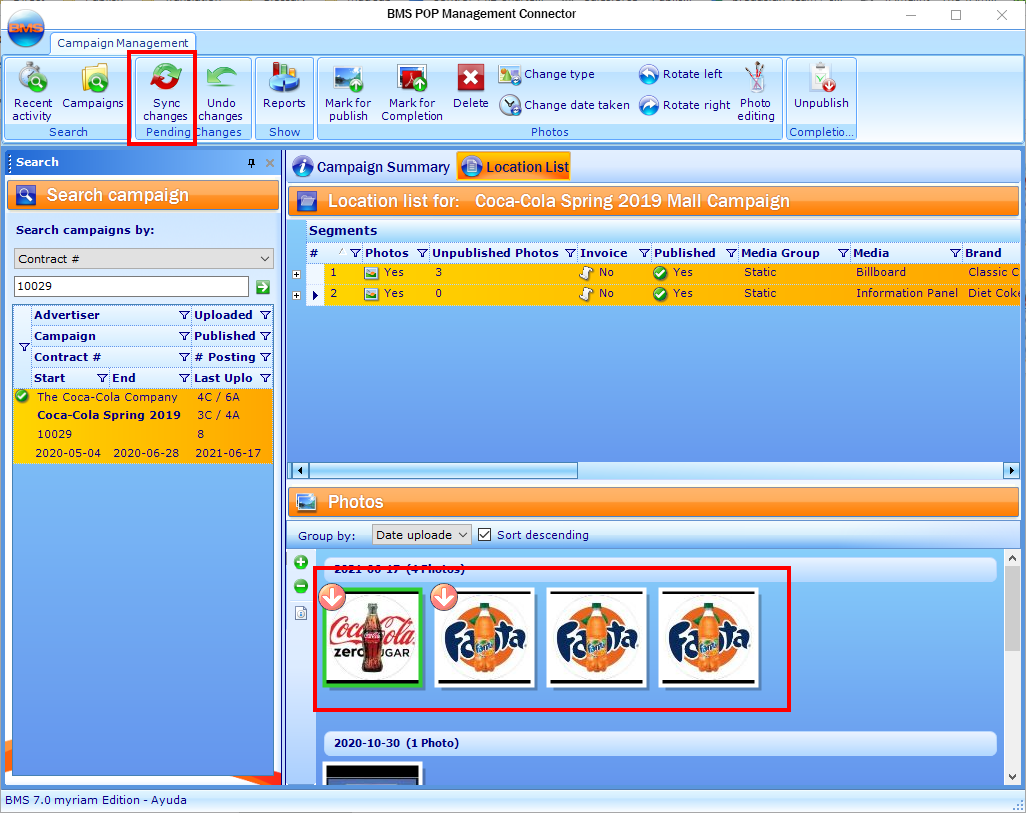
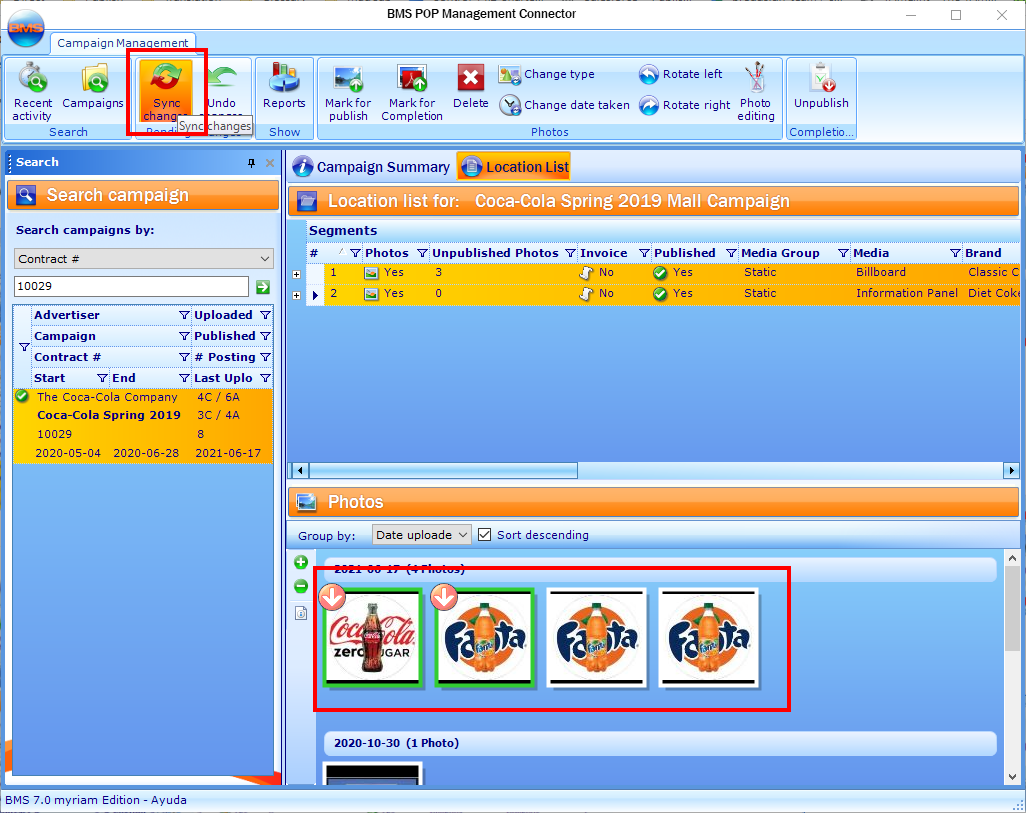
Click Sync Changes.
- Click Yes on the confirmation pop up.
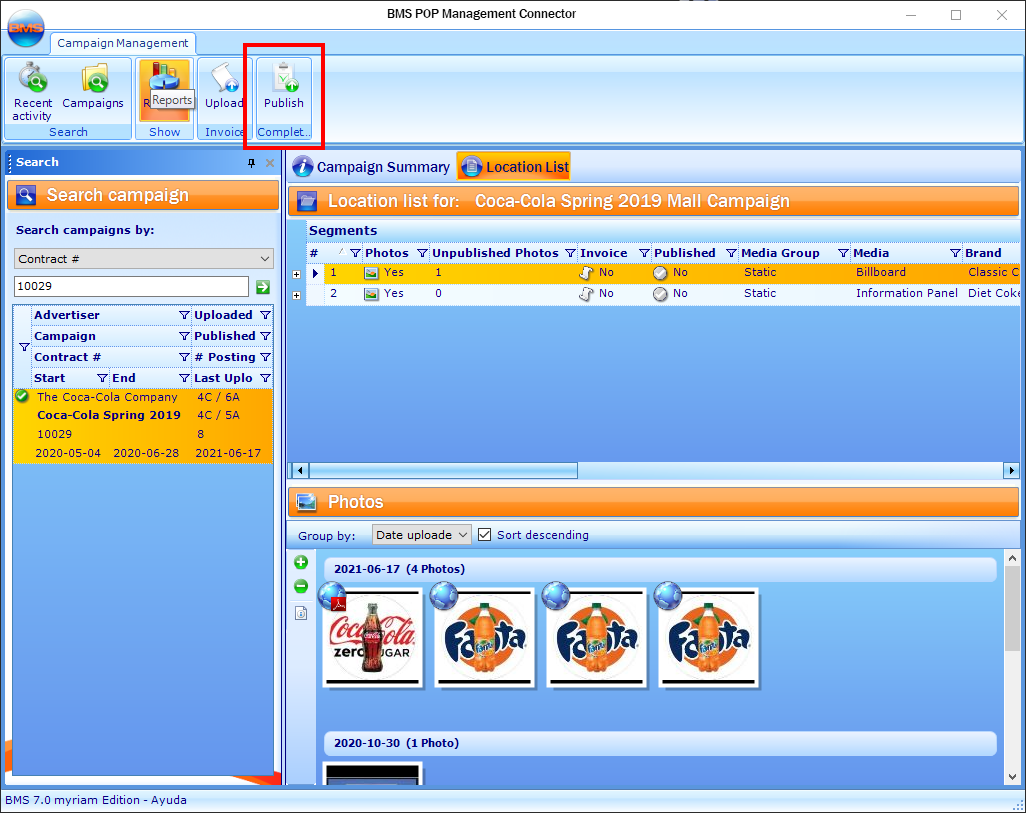
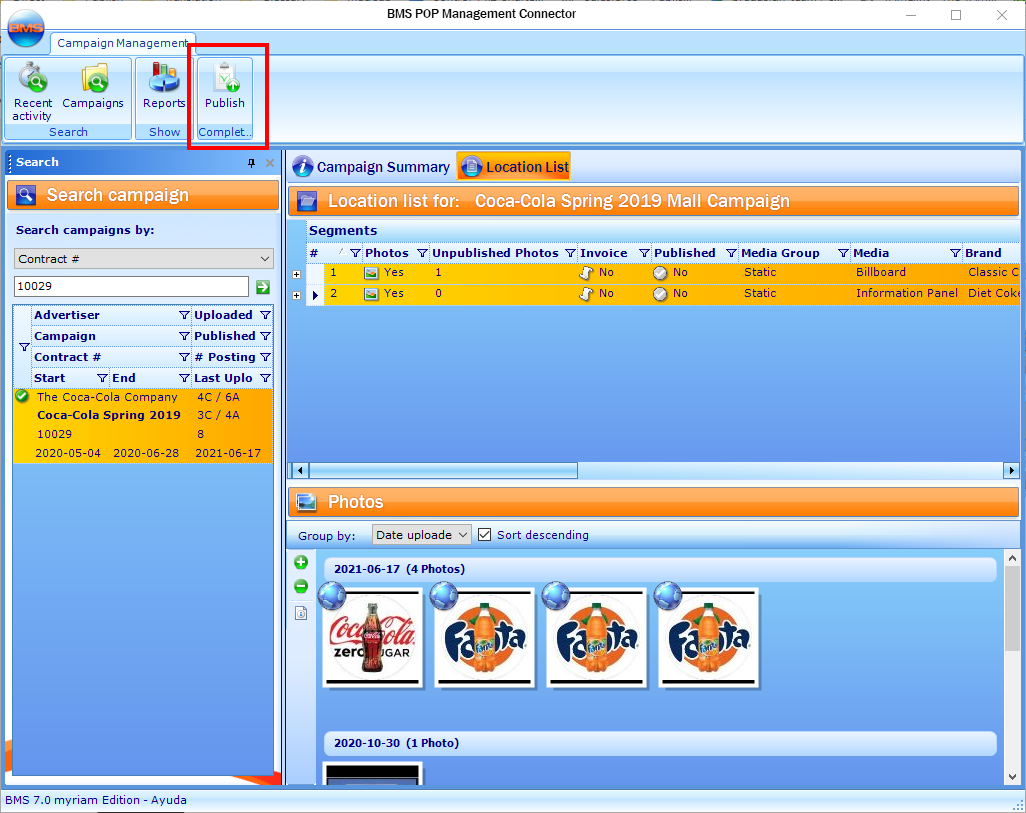
- Click Publish.
Tip: To select multiple rows or photos, hold down the “Ctrl” key on your keyboard when clicking the row or photo.
- In the POP Management Connector, search for the contract, as described in Find a Contract.
- Click Location List in the header.
- Select one or more rows to view photos.
-
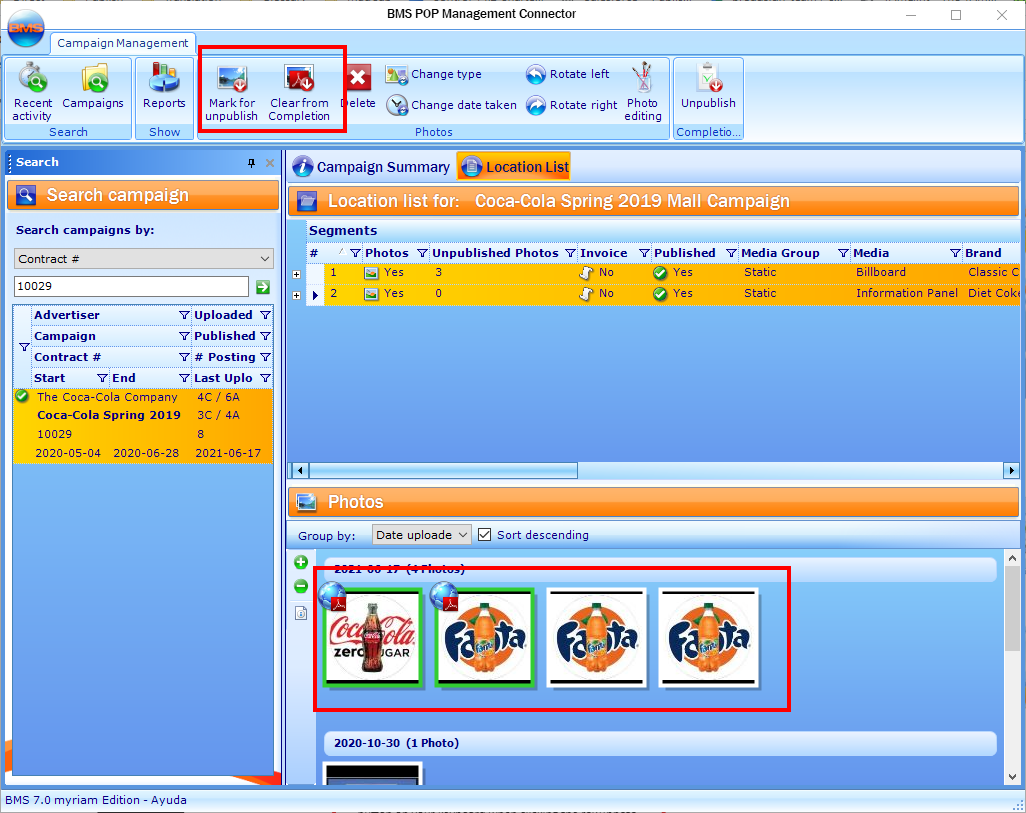
There are two options. Select one.
- Mark for unpublish – Removes the Jpeg file and from the PDF.
- Clear from Completion – Removes from the PDF.
- Click Sync Changes.
Tip: To select multiple rows or photos, hold down the “Ctrl” key on your keyboard when clicking the row or photo.
- In the POP Management Connector, search for the contract, as described in Find a Contract.
- Click Location List in the header.
- Select a row to which upload an invoice.
- Click Upload.
- Once uploaded, the invoice appears on the POP Website. See Download Period Invoices for more details.

