BMS POP Upload Connector
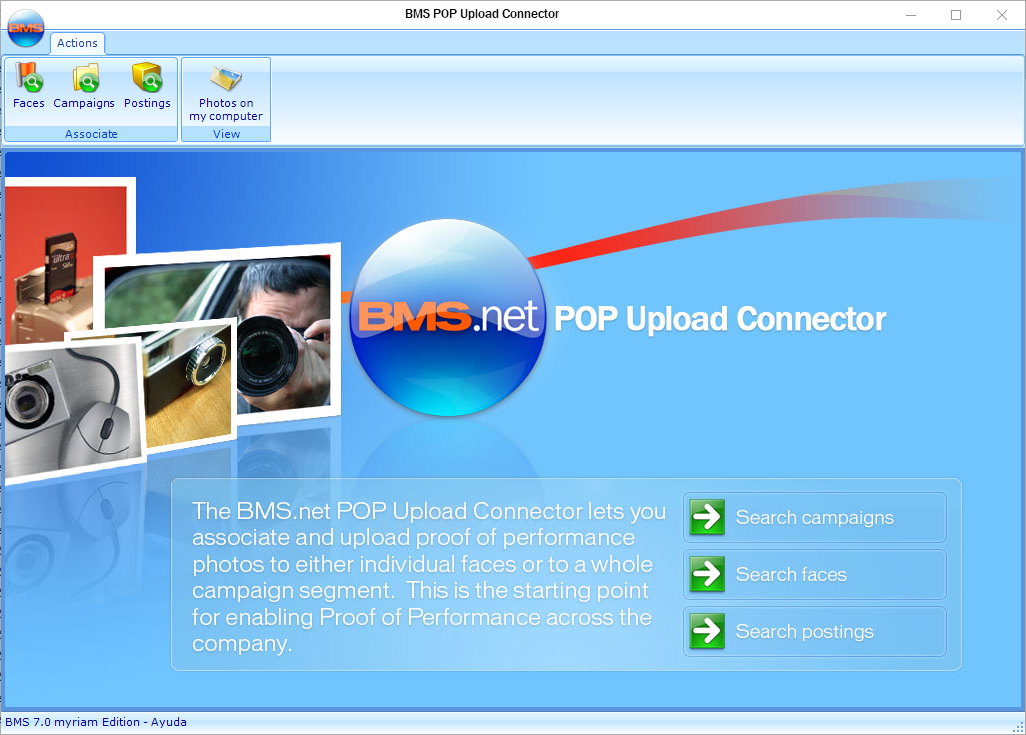
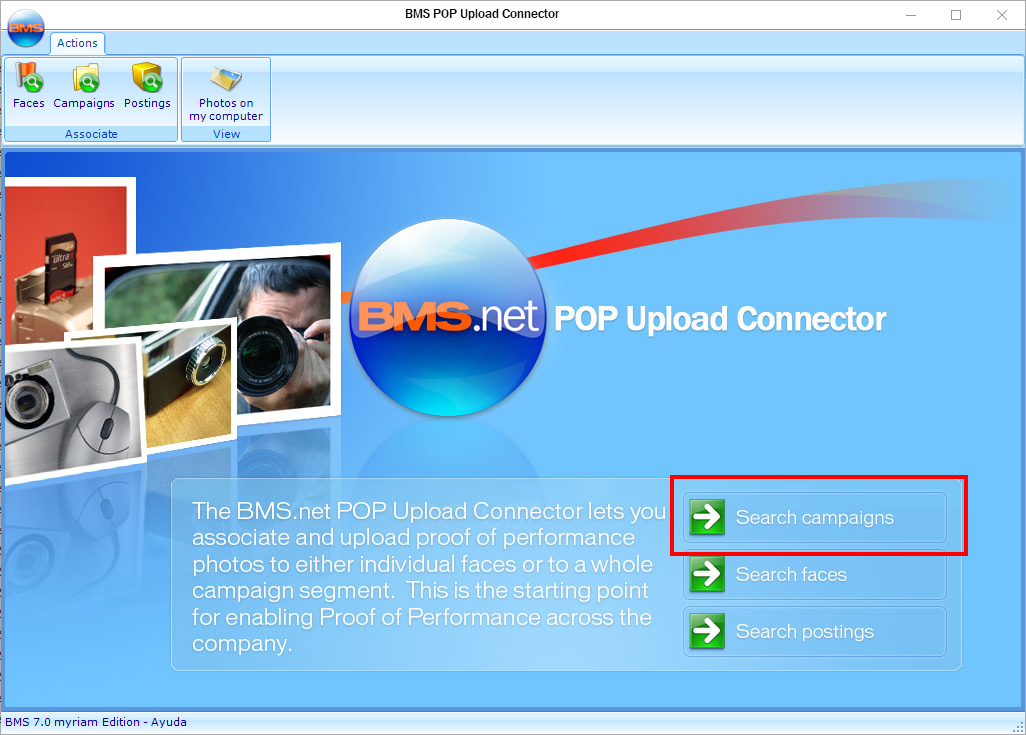
The BMS POP Upload Connector lets you associate and upload proof of performance photos for individual faces or for a campaign segment. This is the starting point for enabling Proof of Performance.- In the POP Upload Connector, click Search campaigns.
- Campaign Name
- Contract ID Number
- Face Description
- Face Number
- Scheduled Dates
- Advertiser Name
- Media Group
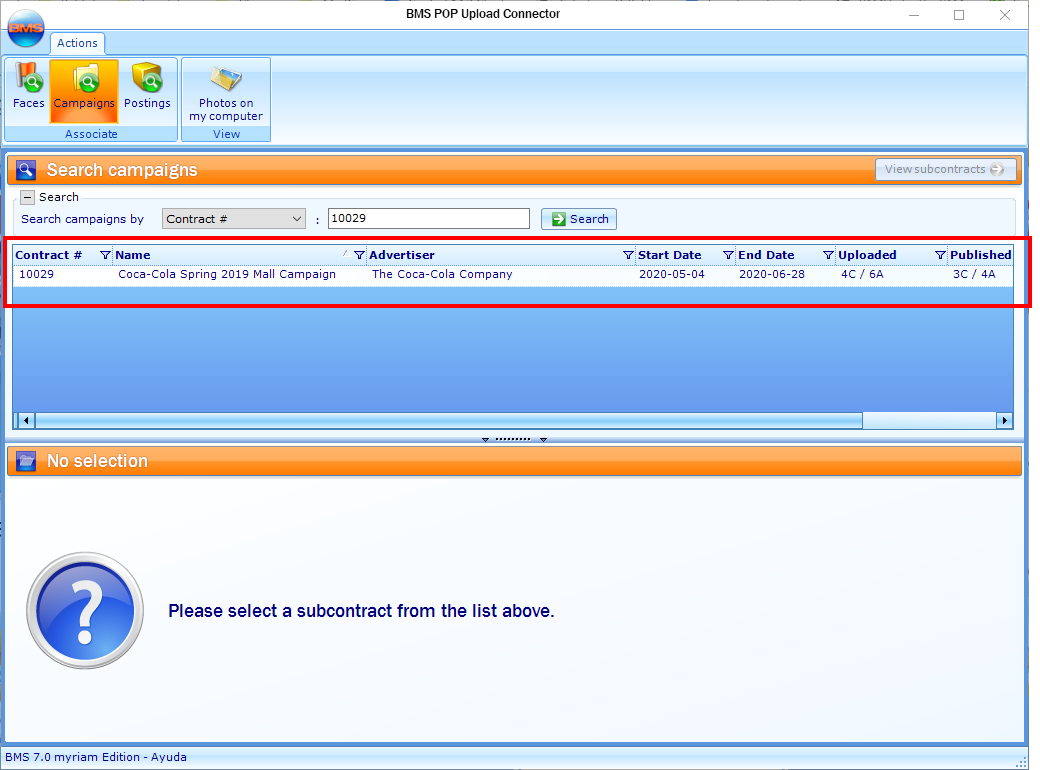
- The easiest way is to search for the Contract ID number, so select Contract # and enter the campaign number, then click Search.
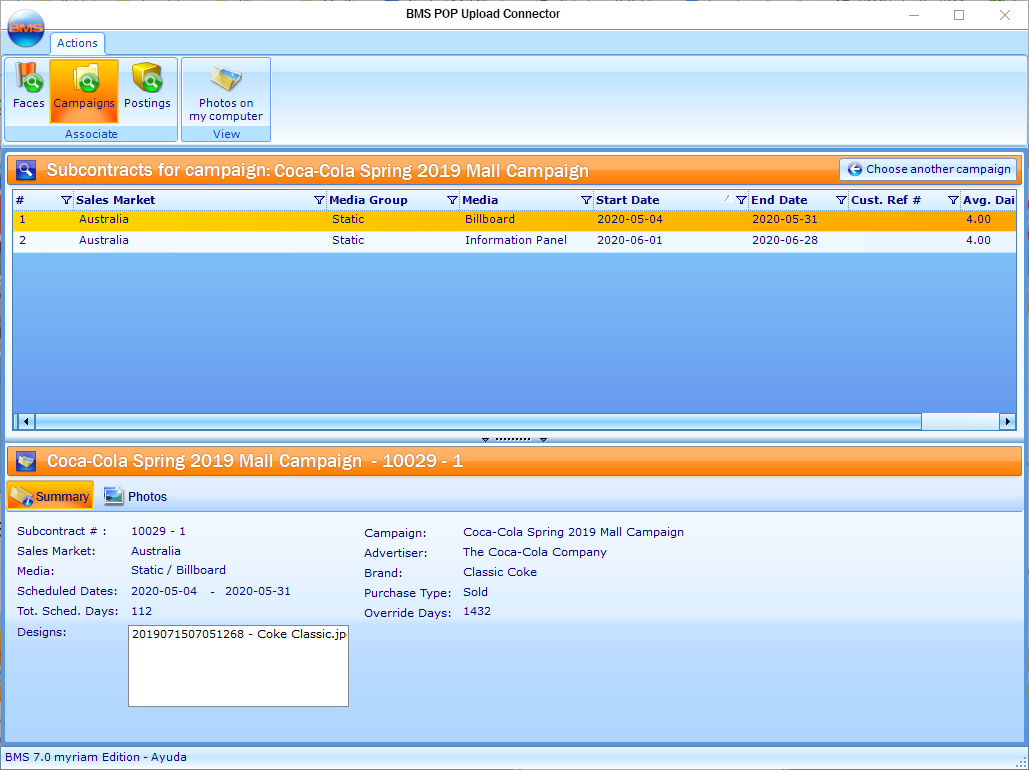
- Double-click the contract that you want to view in the Results pane.
This presents the Campaigns level of the POP Upload Connector. You can search for campaigns the following way:
The campaign is displayed in the Results pane.
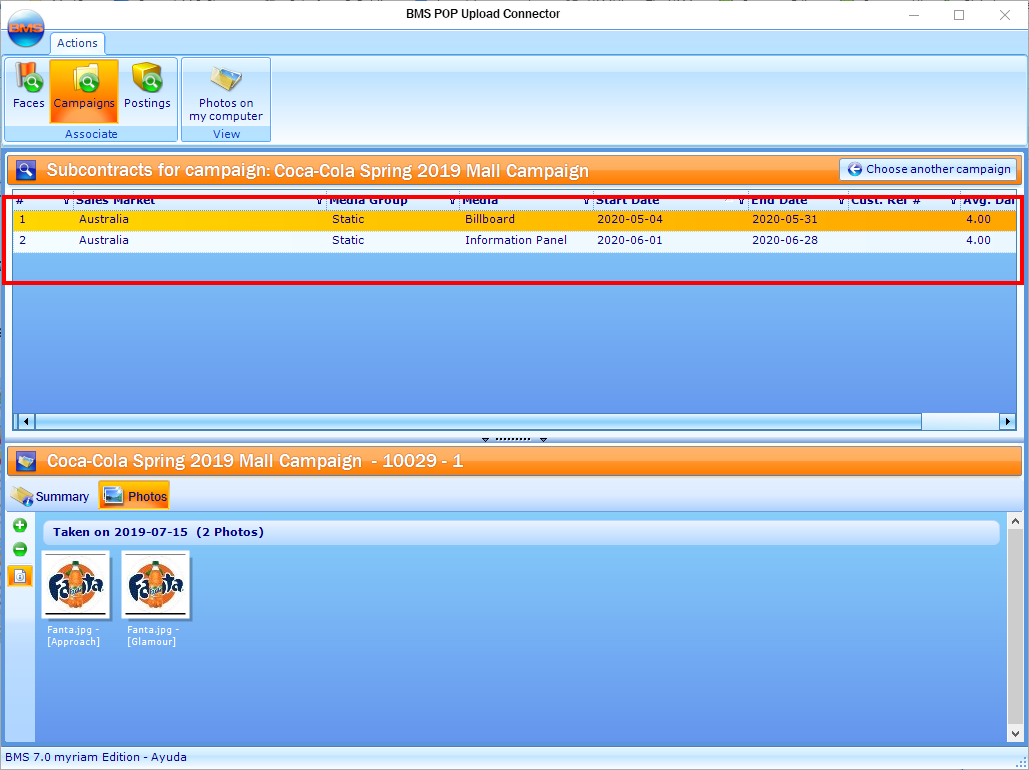
This displays the subcontracts associated with the contract.
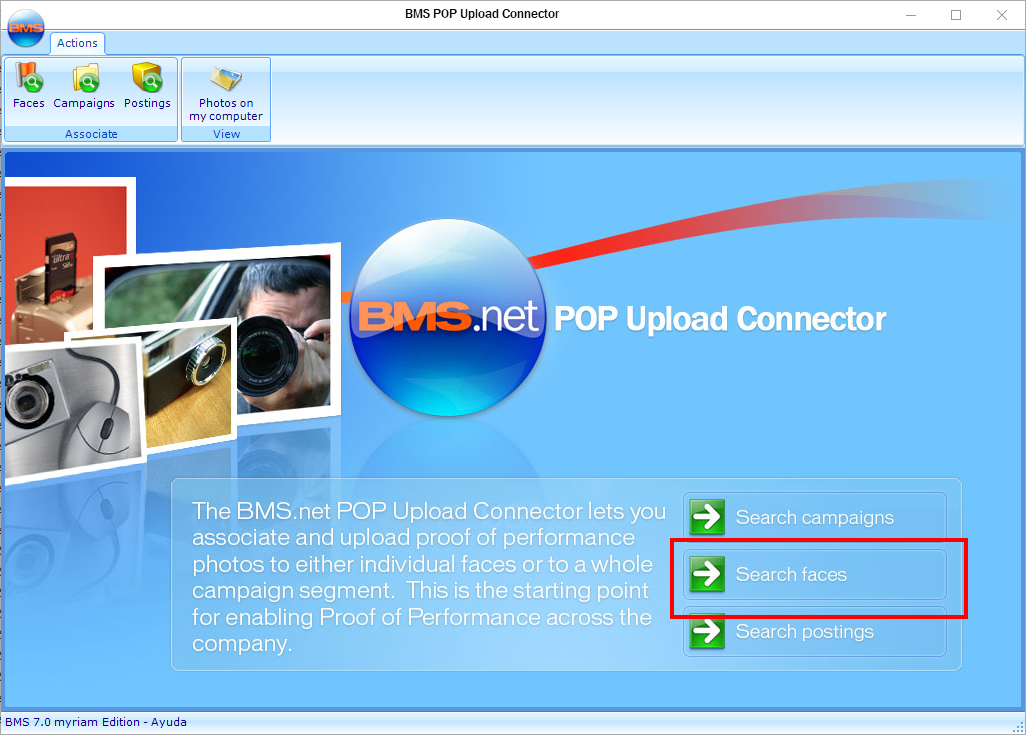
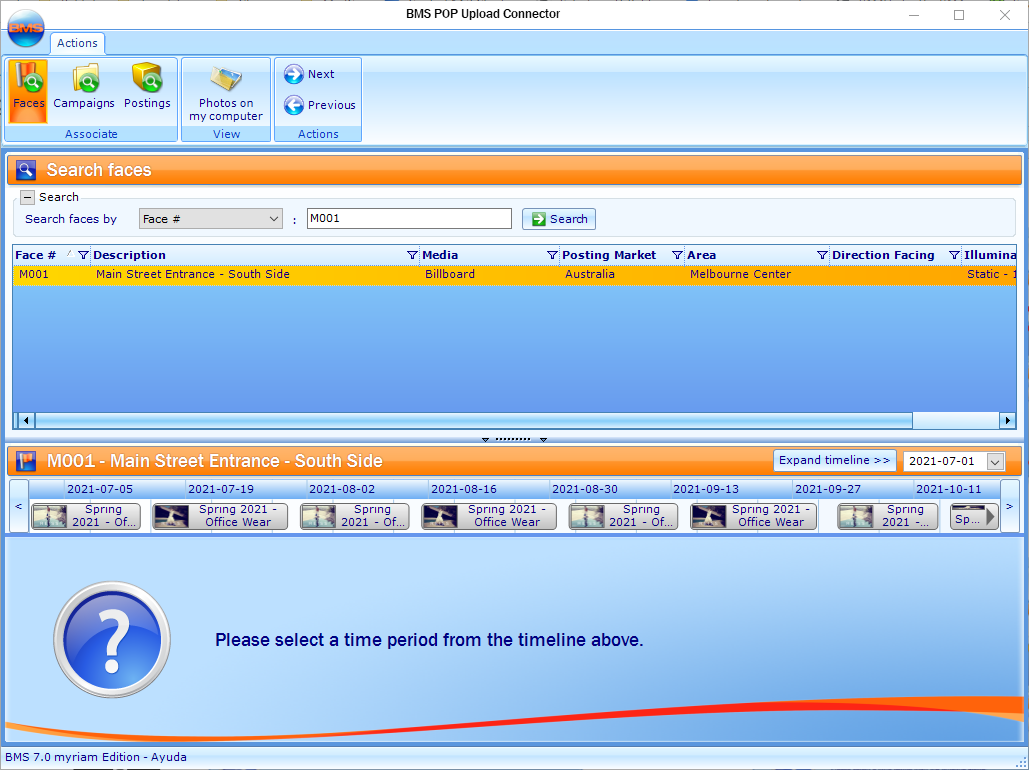
- In the POP Upload Connector, click Search faces.
- Face ID Number
- Face Description
- Campaign Name
- Contract ID Number
- Scheduled Dates
- Advertiser Name
- Media Group
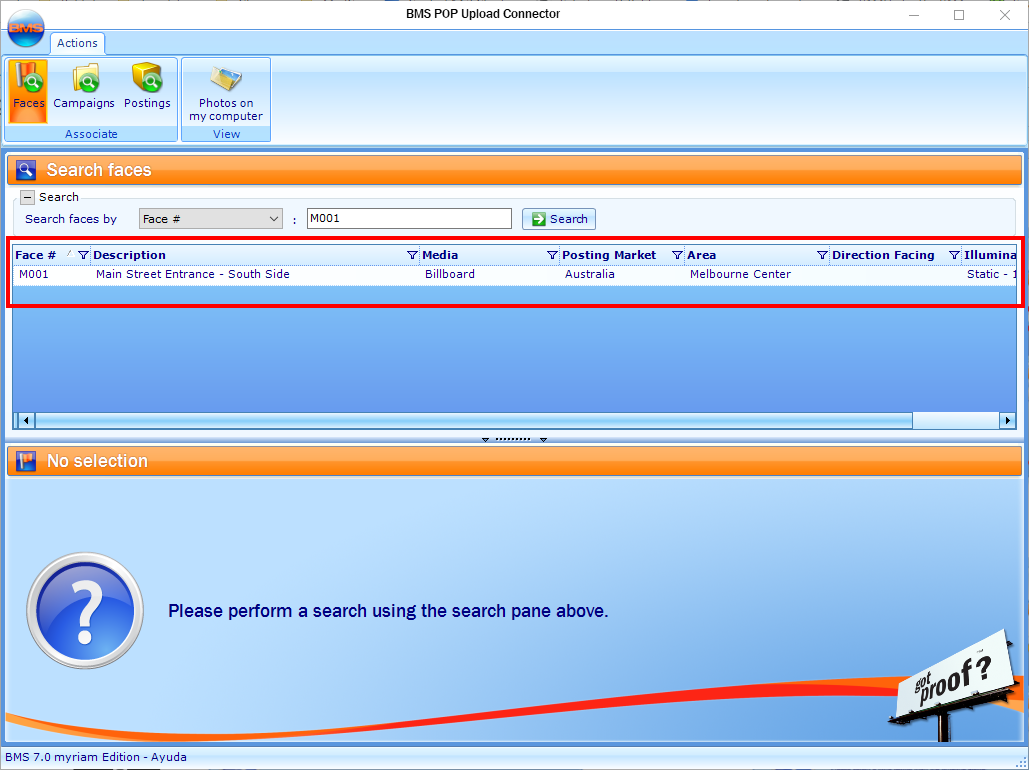
- The easiest way is to search for the Face ID number, so select Face # and enter the required information, then click Search.
- Double-click the Face that you want to view in the Results pane.
This presents the Faces level of the POP Upload Connector. You can search for faces the following way:
The Face is displayed in the Results pane.
This displays the Face timeline.
- In the POP Upload Connector, search for the Campaign to which add a photo, as described in Find Campaigns.
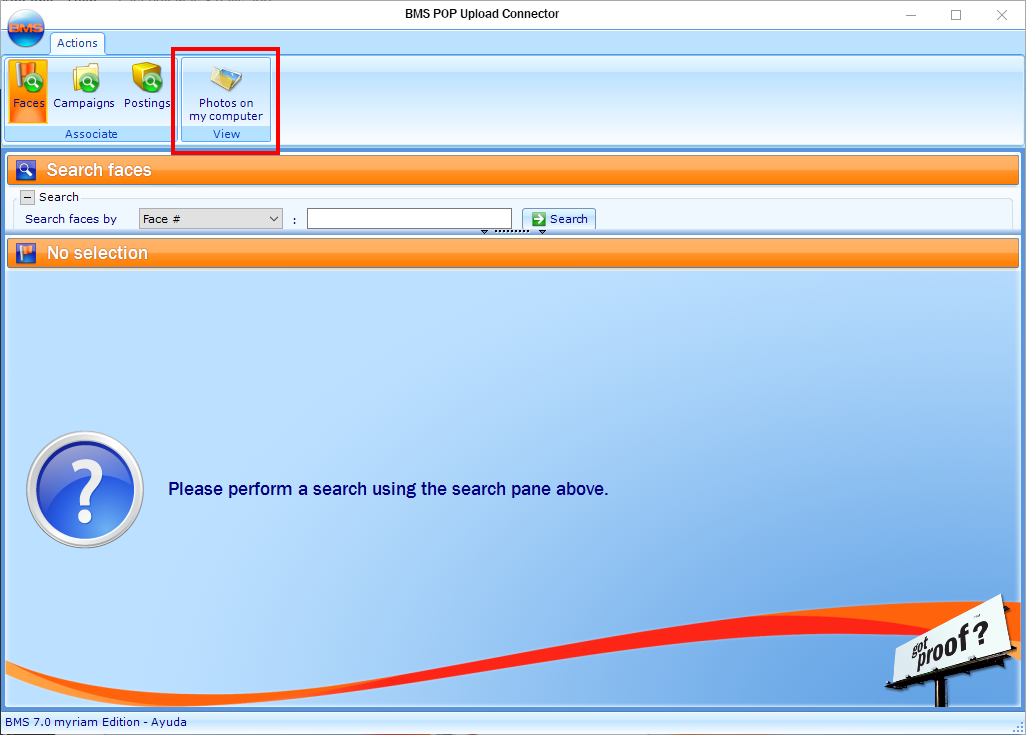
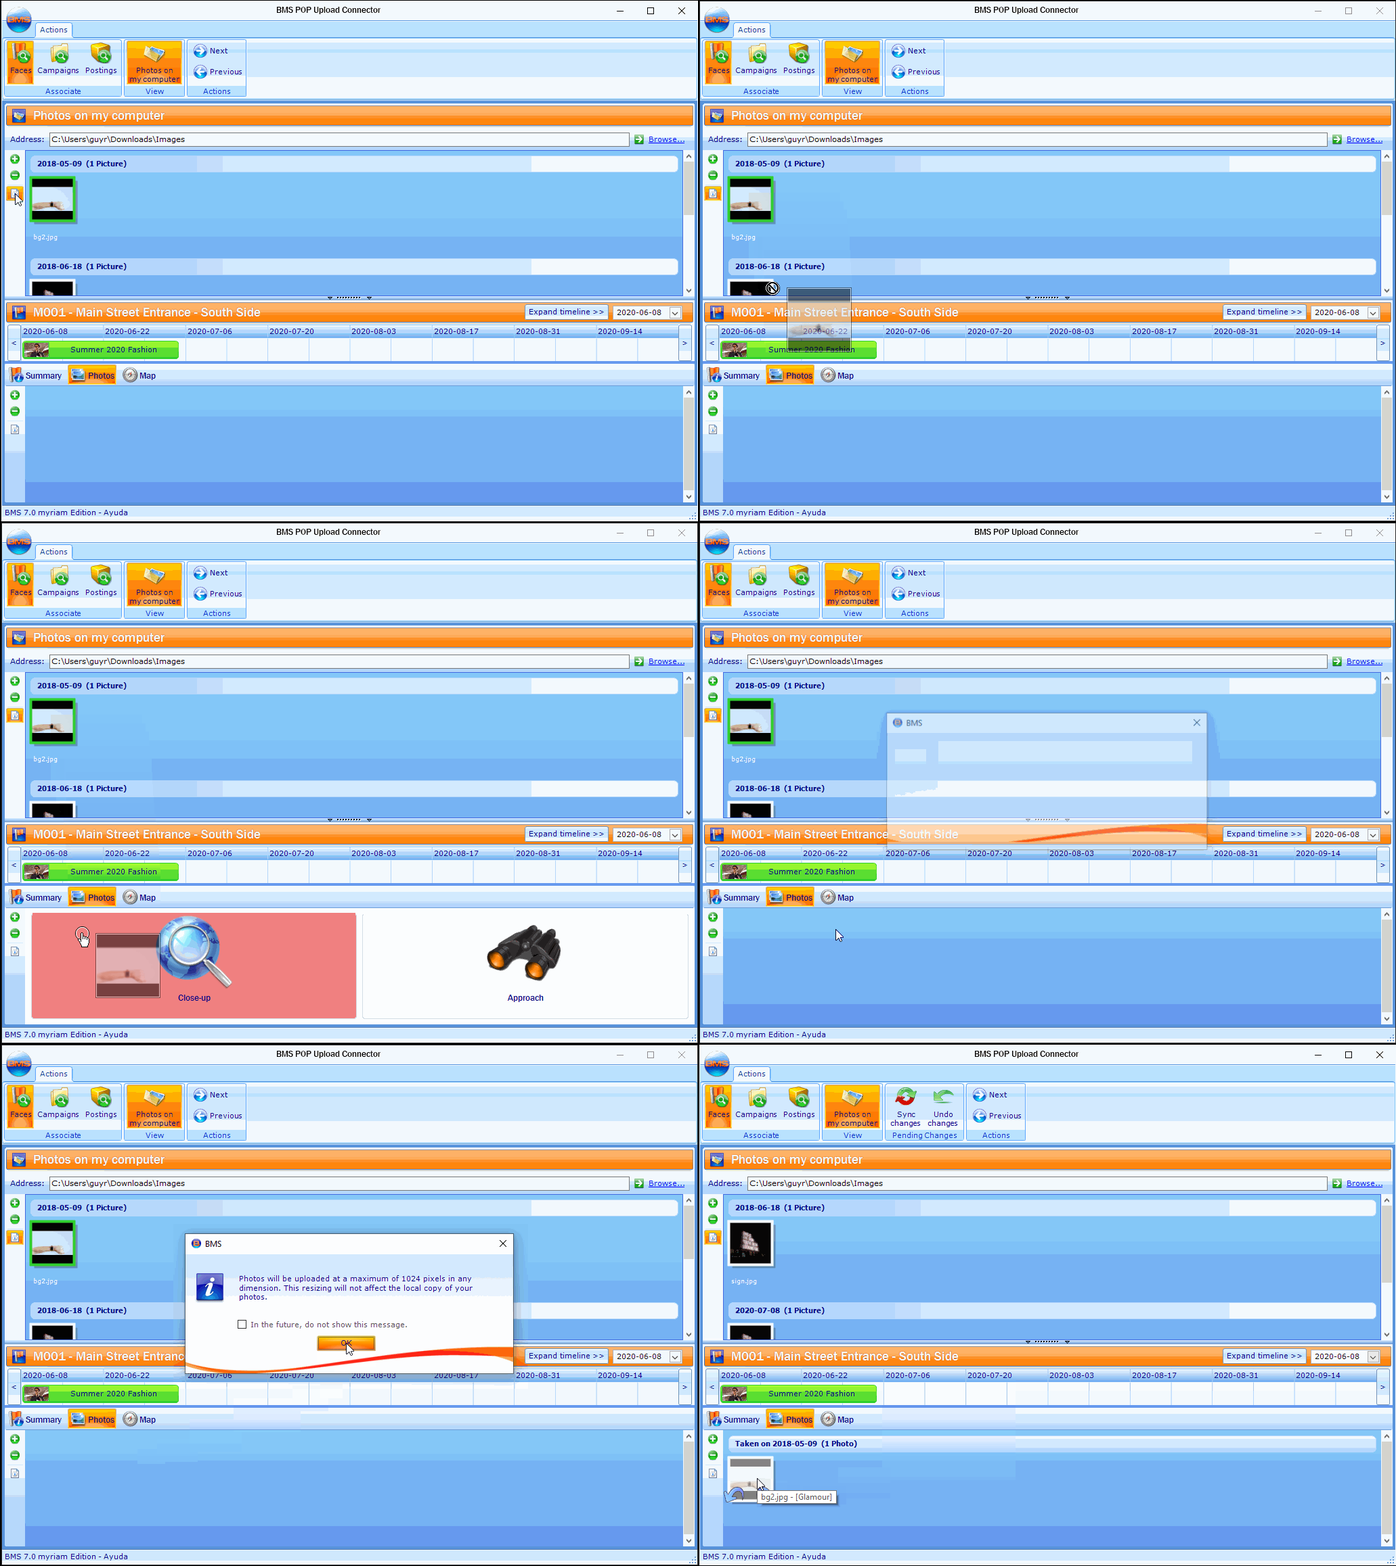
- Click Photos on my computer.
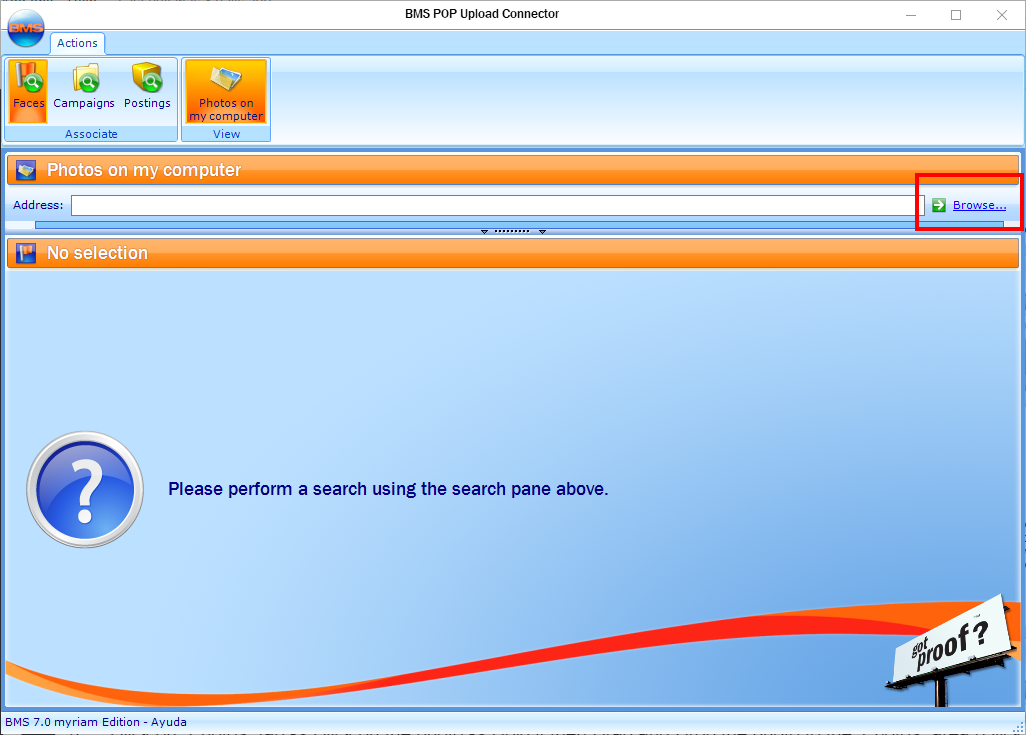
- Click Browse to locate photos on your computer.
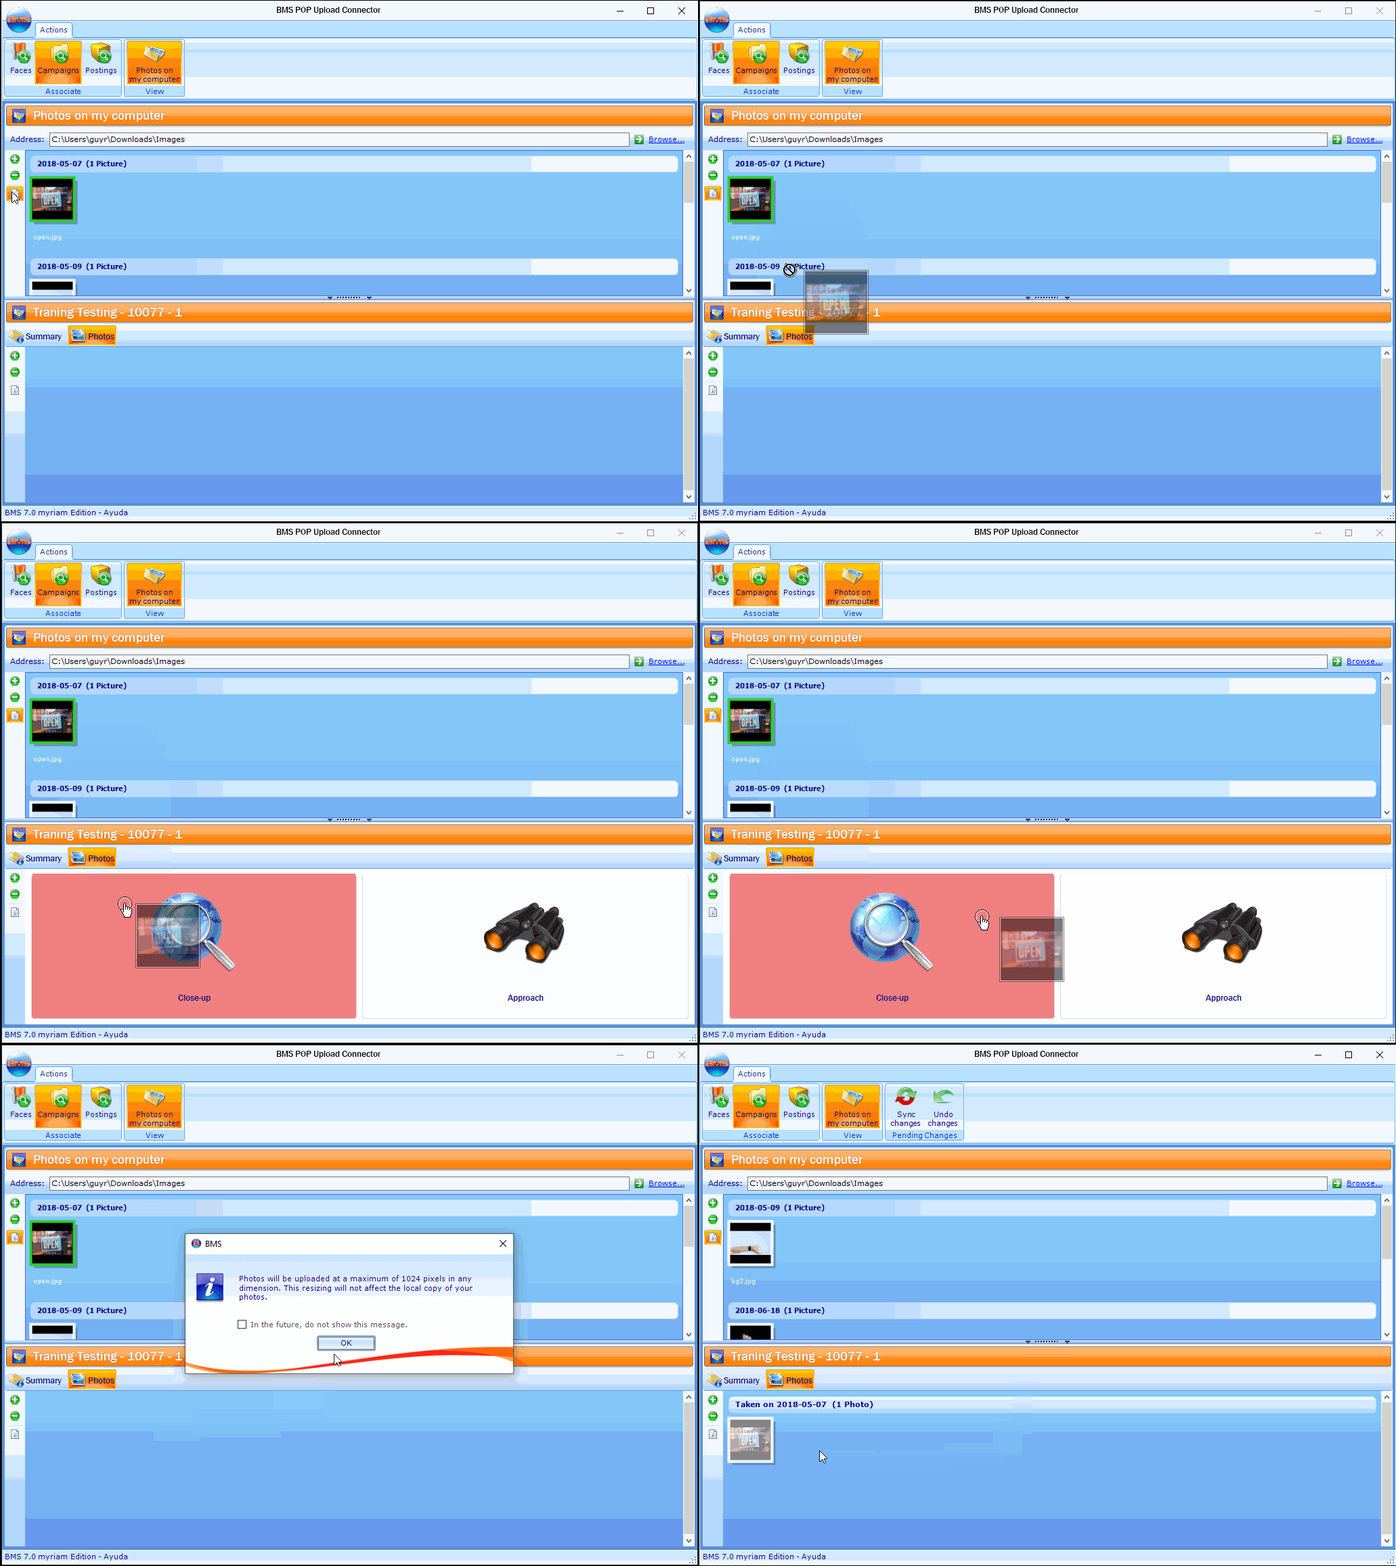
- Click the Photos tab.
- Click the photo to add, then hold it and drag and drop it to the ‘Photos” area. Click OK if an informational window pops up.
- Drag a close-up photo to the Close-Up Photos area. This is the actual billboard picture.
- Drag an approach photo to the Approach. This is the environment coming up to the billboard location.
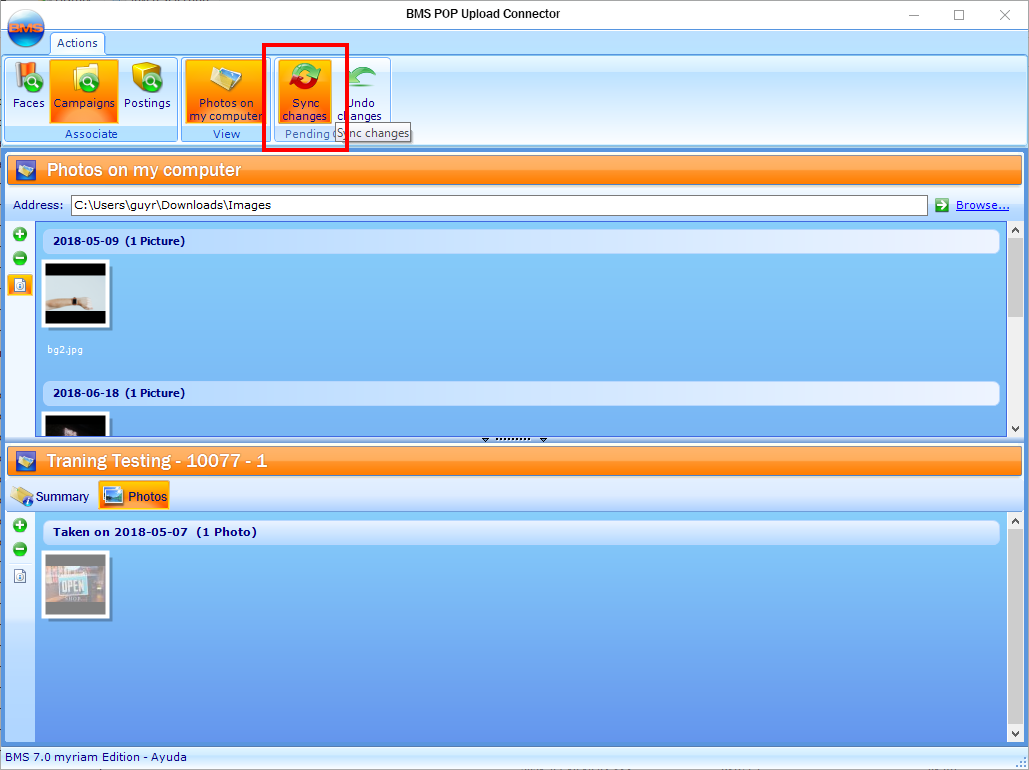
- Click Sync changes.
Tip: When browsing for photos, select the folder containing the photos. BMS will upload all photos in that folder.
Tip: To select multiple photos, hold down the “Ctrl” key on your keyboard when clicking the photo.
- In the POP Upload Connector, search for the Face to which add a photo, as described in Find Faces.
- Click Photos on my computer.
- Click Browse to locate photos on your computer.
- Select a time period from the Timeline (it will turn green).
- Click the Photos tab.
- Click the photo to add, then hold it and drag and drop it to the ‘Photos” area. Click OK if an informational window pops up.
- Drag a close-up photo to the Close-Up Photos area. This is the actual billboard picture.
- Drag an approach photo to the Approach. This is the environment coming up to the billboard location.
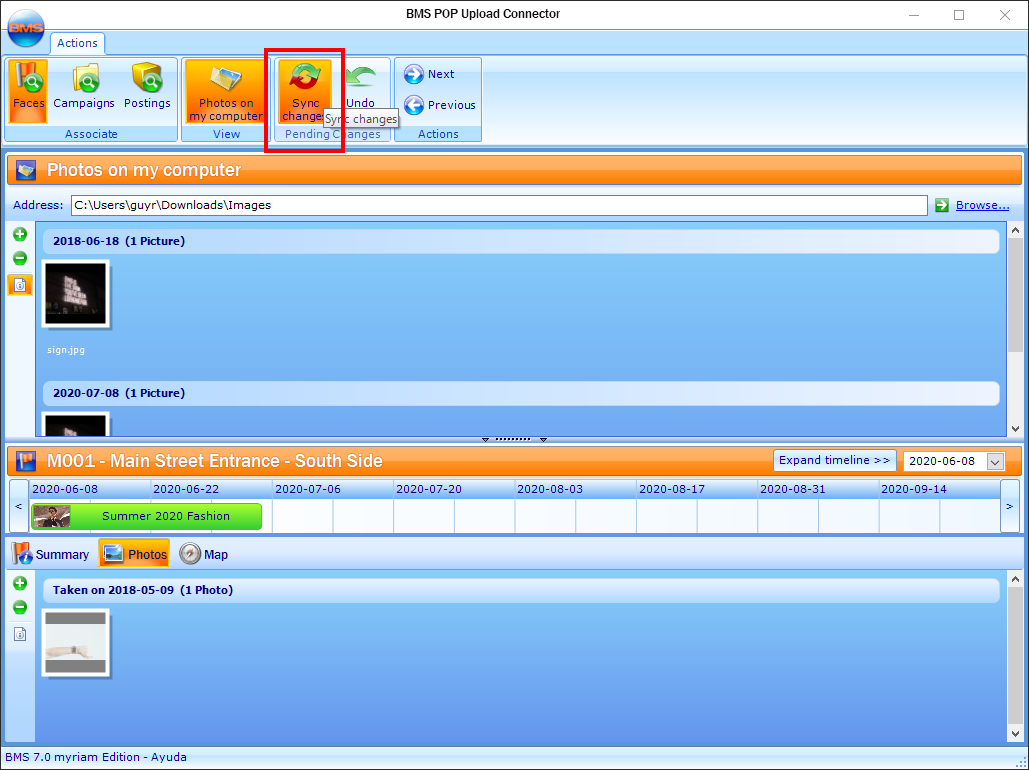
- Click Sync Changes.
Tip: When browsing for photos, select the folder containing the photos. BMS will upload all photos in that folder.
If a published photo needs to be replaced with an uploaded photo, refer to Unpublish Photos before moving to the next step.
Tip: To select multiple photos, hold down the “Ctrl” key on your keyboard when clicking the photo.
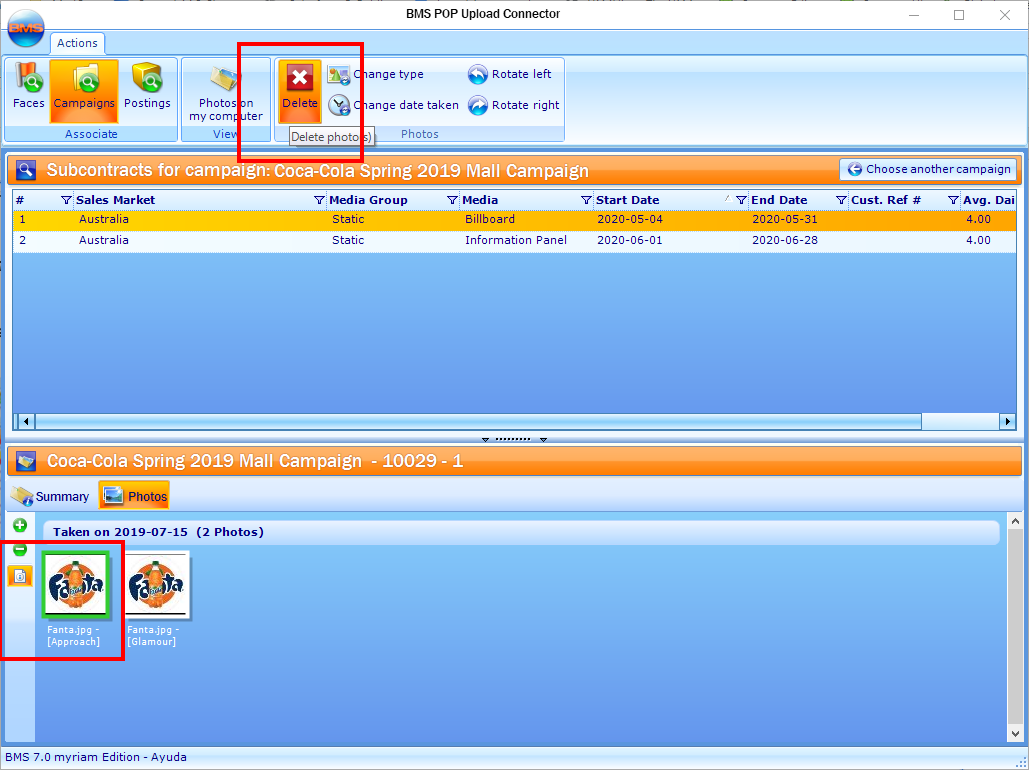
- In the POP Upload Connector, search for the contract to which delete a photo, as described in Find Campaigns.
- Double-click the subcontract from which to delete a photo.
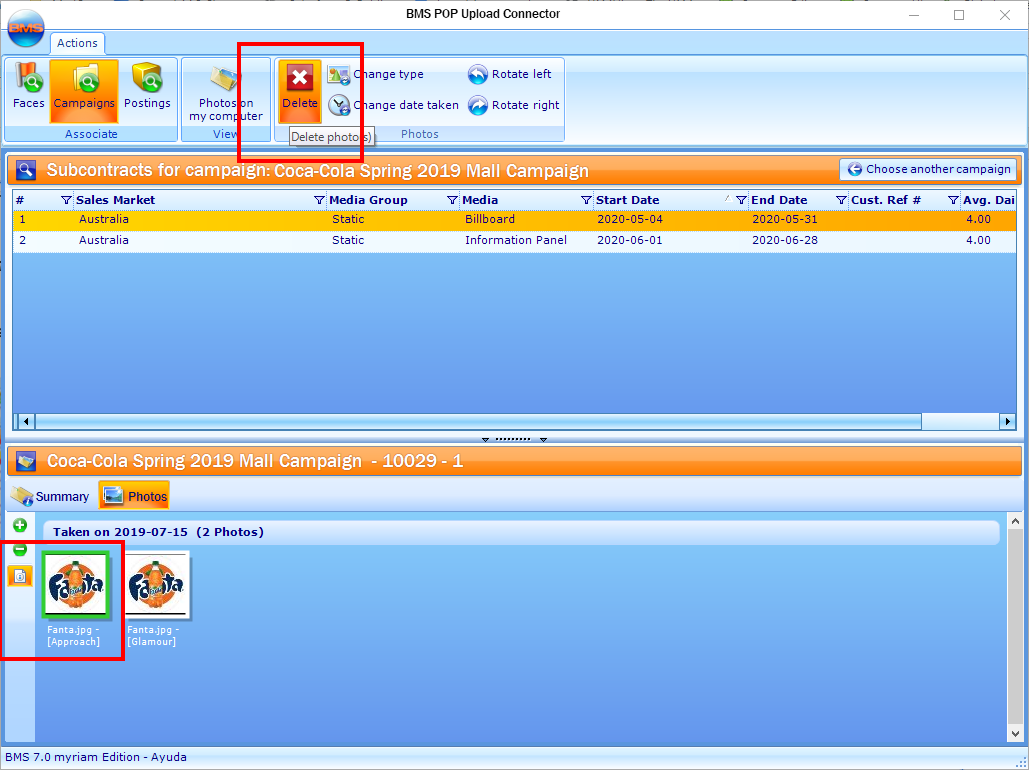
- Click the photo to delete, and then click the Delete icon. Click Yes to confirm.
- Click Sync Changes.
Tip: To select multiple photos, hold down the “Ctrl” key on your keyboard when clicking the photo.
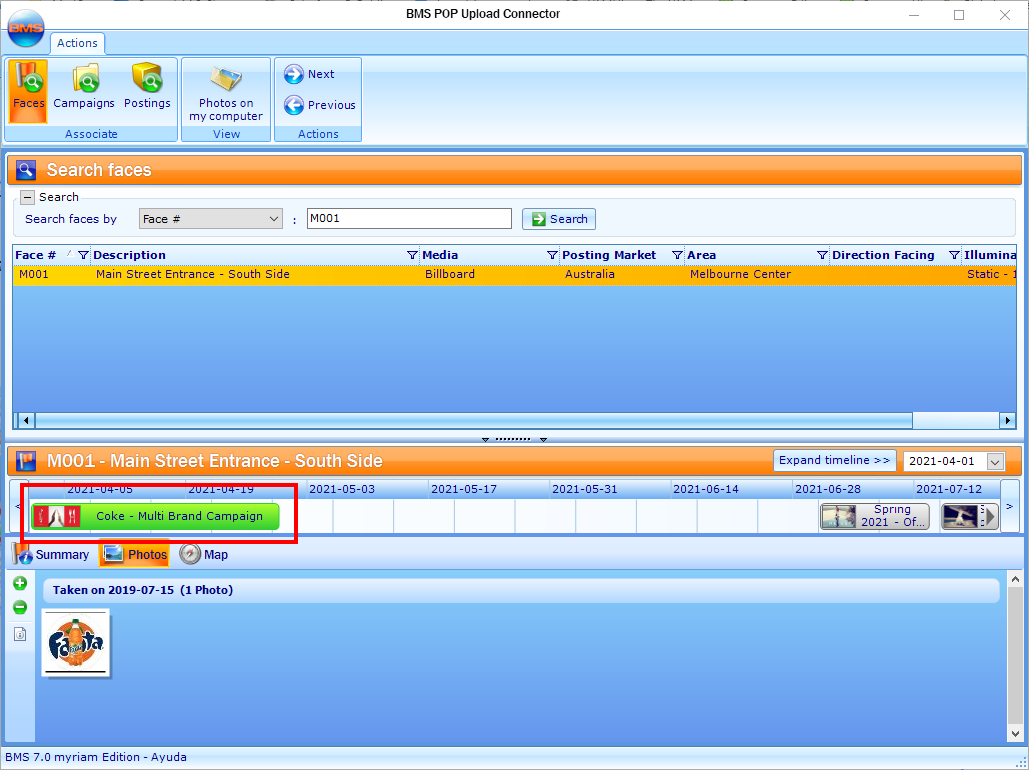
- In the POP Upload Connector, search for the Face to which delete a photo, as described in Find Faces.
- Select a time period from the Timeline (it will turn green).
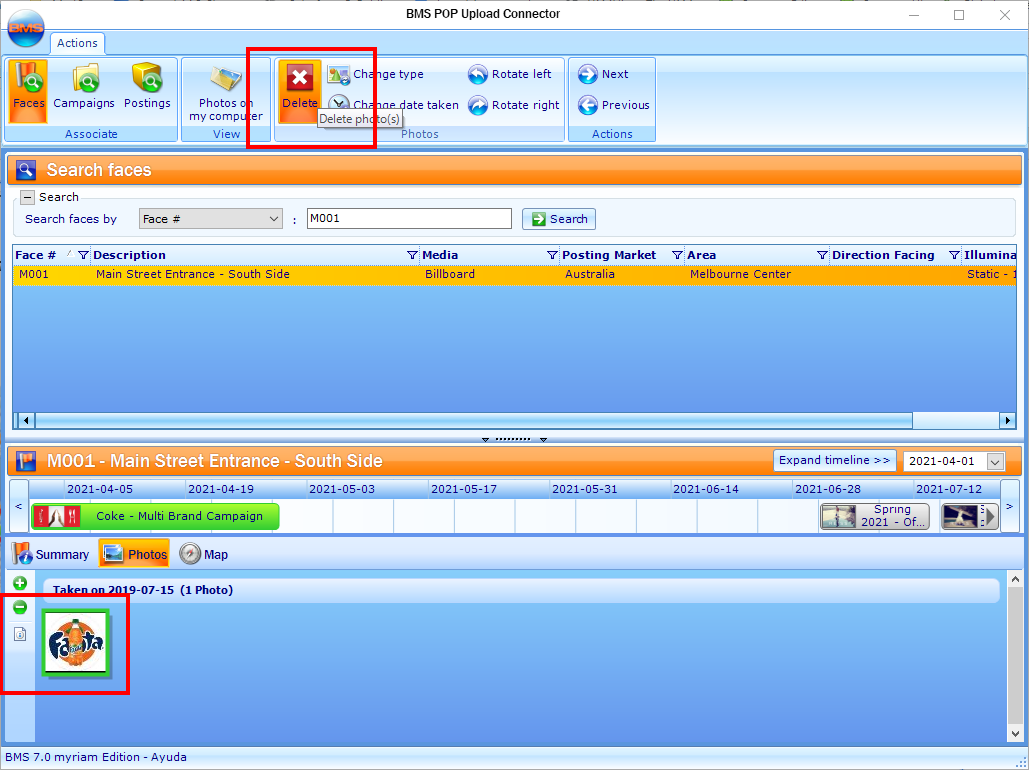
- Double-click the subcontract from which to delete a photo.
- Click the photo to delete, and then click the Delete icon. Click Yes to confirm.
Tip: To select multiple photos, hold down the “Ctrl” key on your keyboard when clicking the photo.

