- From within Splash, click the Scheduling tab, then the Campaign tile.
- Locate the needed campaign and open the campaign record.
- Within the campaign record click the Billing tab in the navigation bar on the left.
- Click the Billing Schedule
 button.
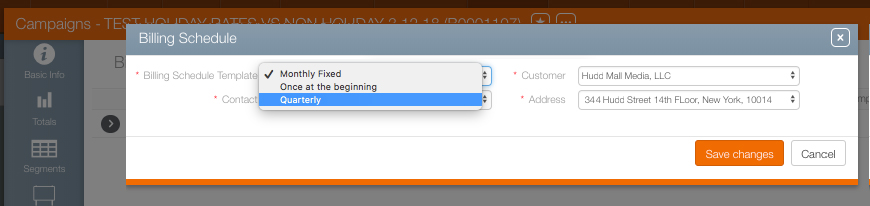
 - Enter the following Mandatory information:
- Billing Schedule Template – Choose a billing schedule from the drop down menu. The options available will be different for each Broadsign Ayuda customer.
- Contact – Choose the person at the agency or advertiser to whom the invoice must be sent.
- Customer – Identify the agency or advertiser from the configured list of customers in your Broadsign Ayuda instance. If configured, the primary agency for this customer should be selected automatically.
- Address – Choose the address where the invoice must be sent.
- Click Save changes.
This presents the Basic Info screen.
![]()
This presents the Billing Schedule dialogue box.
What's Next?
Broadsign Ayuda hands off the invoicing to the Finance product, and normally only Finance users have access to this tool. Finance users can also use the BMS Invoicing package, another Broadsign Ayuda product.