This page describes how to use the Scheduling Groups filters to select inventory.
Scheduling Groups are located in the campaigns' record.
To access Scheduling Groups:
- From within Splash, select Scheduling and then the Campaign tile.
- Select a filter and click Search to locate the needed campaign.
- Open the needed campaign record from the search results.
- Scroll down the tabs on the left and select Scheduling Groups.
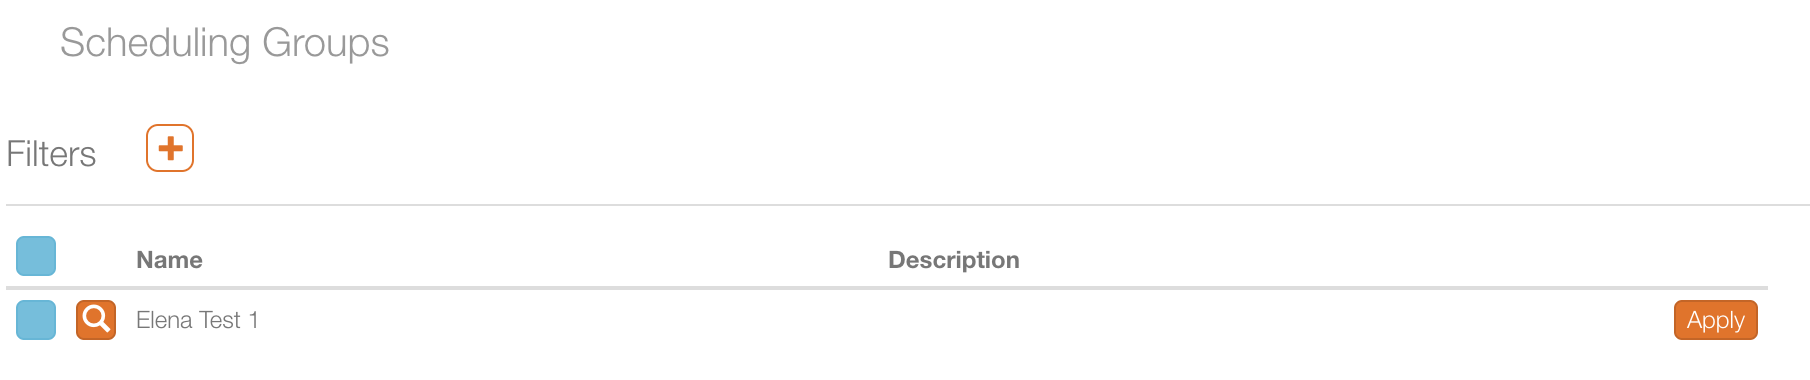
- A list of configured Filters.
- The Hours Allocation section, which displays the full campaign duration while automatically filtering statistics to show only present and future scheduled hours. You can modify the date range to suit your needs. If you leave the Start Date and End Date fields blank, the page displays statistics for the entire campaign. You can also toggle the view to display only Unscheduled hours.
- The list of Unscheduled and Booked hours.
This presents a filter search window.
This presents the campaign record Basic Info screen.
![]()
The screen refreshes to present the Scheduling Groups overview.
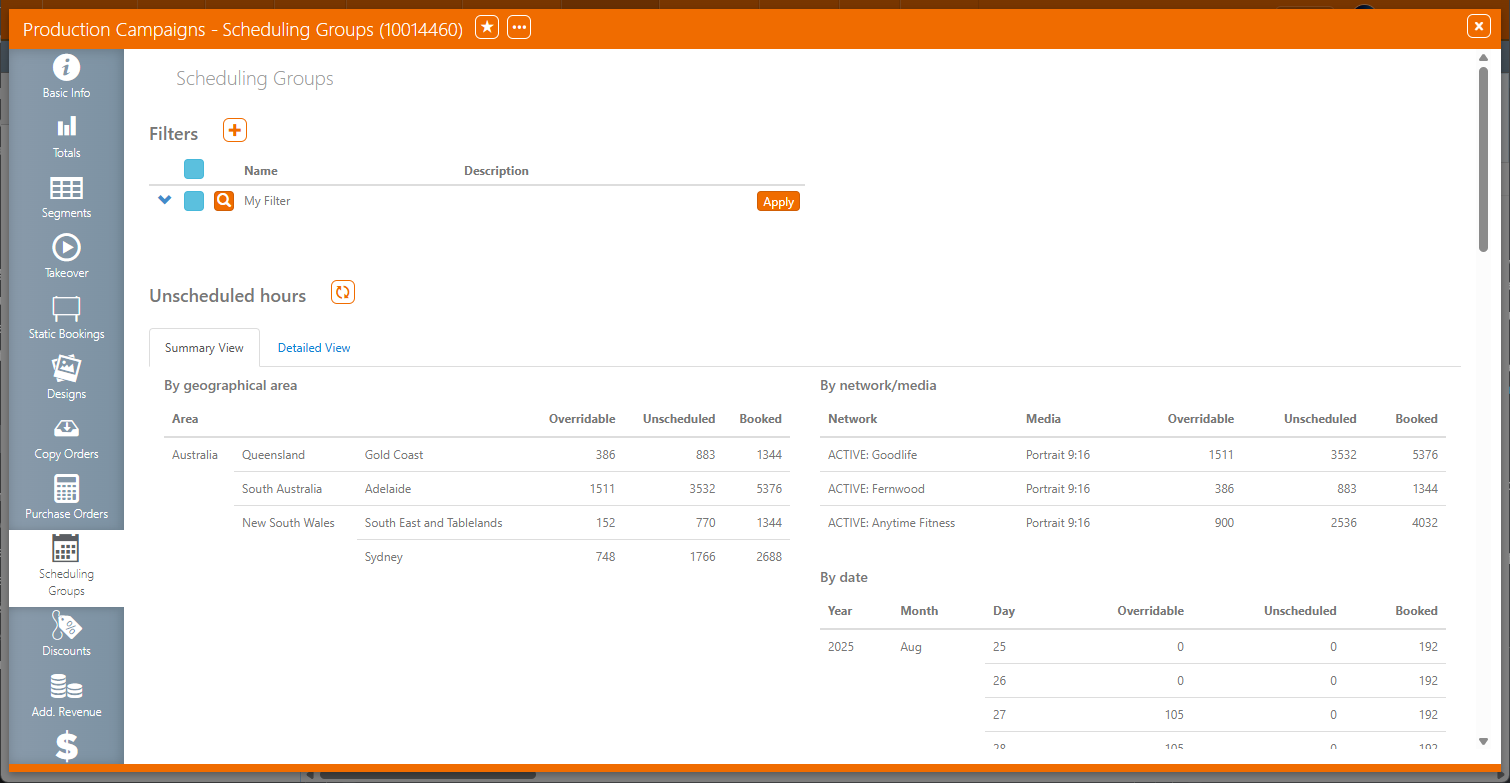
This window shows the following:


The Unscheduled and Booked columns show the hours remaining open and programmed with the Filters.
You can see unscheduled hours in Summary View or Detailed View tabs.
The Detailed View tab provides an opportunity to drill down to the face level.
Group filters allow you to program bundles and designs by time slot on all or specific days of the week, and to assign this content to the selection of booked faces.
- Access Scheduling Groups.
- Click the
 button at the top of the Scheduling Groups screen.
 - Enter a purposeful Name for the filter.
- In the Scheduler tab, select a Bundle or Design on the left.
- Select one or more slots in the scheduling grid to define when the Bundle or Design will play.
- Use the other Filter Tabs as needed.
This presents the New Filter editor. It contains all of the filters needed to create and apply content schedule.
A description is optional but can be useful if the filter is going to be complex or many people will be working on the campaign.

For more information, see Weekly Scheduler in Scheduling Groups.
These tabs provide deeper filtering on spot length, network, media, areas, sites, faces and attributes.
There are nine filter tabs inside each group Filter:
The filter tabs operate using 'and' logic. For instance, a filter that uses both Segments and Spot Length applies the 'and' condition.
- Within each tab, the logic typically uses 'or'.
- You do not need to select any Segments. If you make no selections, the filter applies to all campaign bookings, subject to any other filters you have selected.
An asterisk (*) appears in a tab name to indicate that you have applied a filter. This helps you quickly identify which filters are active without opening each tab.

Use the weekly Scheduler tab to create a schedule within the filter. It works exactly the same way as the digital scheduler elsewhere in Broadsign Ayuda. Campaign bundles and designs load automatically. Select the needed content and paint it onto the grid.
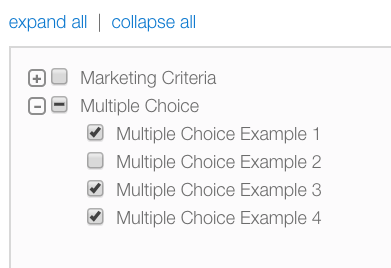
The Segments filter is used to select which Segments, Digital Booking Lines or individual Faces will be playing the scheduled content.
The campaign's Segments and Digital Booking Lines are listed automatically. To include Segment(s) in the filter group, enable the check box next to the needed row(s). Click Save and Apply.
- The Hide expired segments feature simplifies the list by hiding segments that are in the past.
- The headers are sortable. Click them to sort the columns in ascending or descending order.
- The Search segments field can be used to locate specific segments.
- Enabling check boxes on rows updates the Selected value in the top row.
The Spot Length filter shows the campaign's booking line spot length. To add another spot length, enter an integer in the Manual Entry field and click Add.
This creates a filter that includes entered spot lengths. To add additional spot lengths to be excluded, enter another value and press enter. To remove a spot length filter, click the square Minus button next to the spot length entry that must be deleted. When done, click Save and Apply.
The Network filter lists the networks that have been configured for your company. Enable the check boxes to select which networks should be used for scheduling the bundle. Click Save and Apply.
The Media filter lists the media types that have been configured. Enable check boxes to select which media should be used for scheduling the bundle. Click Save and Apply.
Note: Static inventory may also be listed here but selecting these has no impact.
The Areas filter lists the geographic areas that have been configured. Enable check boxes to select which areas should be used for scheduling the bundle. Click Save and Apply.
The Sites and Faces filters work the same way: two search fields are available for selecting sites or faces to be included.
Use the Search Sites text field to locate sites by search terms. Clicking the first column to the left of the name adds the section to the list of sites or faces to be included. To remove a site or face filter from this filter list, select the square Minus button.
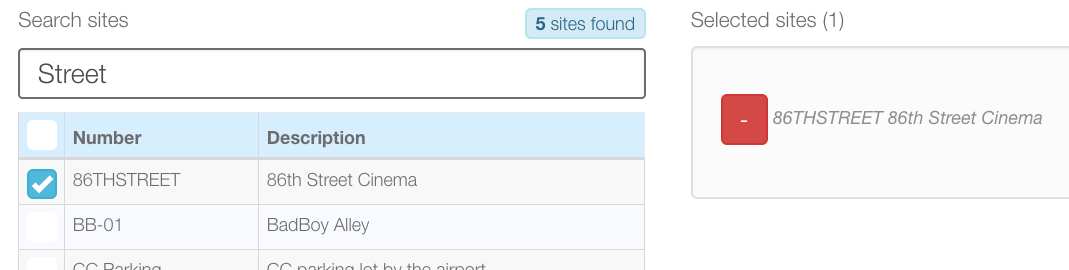
The Bulk Add entry field can be used to enter a site or face numbers separated by commas.
Attributes are customer-specific labels that Broadsign Ayuda clients can configure for their system. If the attribute has been configured to act as a restriction for inventory in the group scheduler, it will be available as a check box. See Attributes and Restrictions for the Scheduling Groups.
Group filters can be edited, stopped, or deleted at any time.
- To edit an existing group filter, click the magnifying glass button from the group scheduler main screen.
- To delete a group filter, enable the check box in its row and click the
 button. This presents a confirmation request. Click Yes to delete.
 - To stop a group filter, enable the check box in its row and click the
 button. This presents a window where you can specify the date at which to stop the filter. Click Stop to stop the filter. The filter will be stopped at the end of the selected day.
This button appears next to each Filter in the Filters list once scheduling groups have been created and saved.
This functionality is useful when:
- a schedule has been created and saved for the future but not applied at the time of creation
- a schedule has been edited and needs to be re-applied
- some faces, Digital Booking Lines, or segments have been added to the campaign and need to be included in the existing filter.
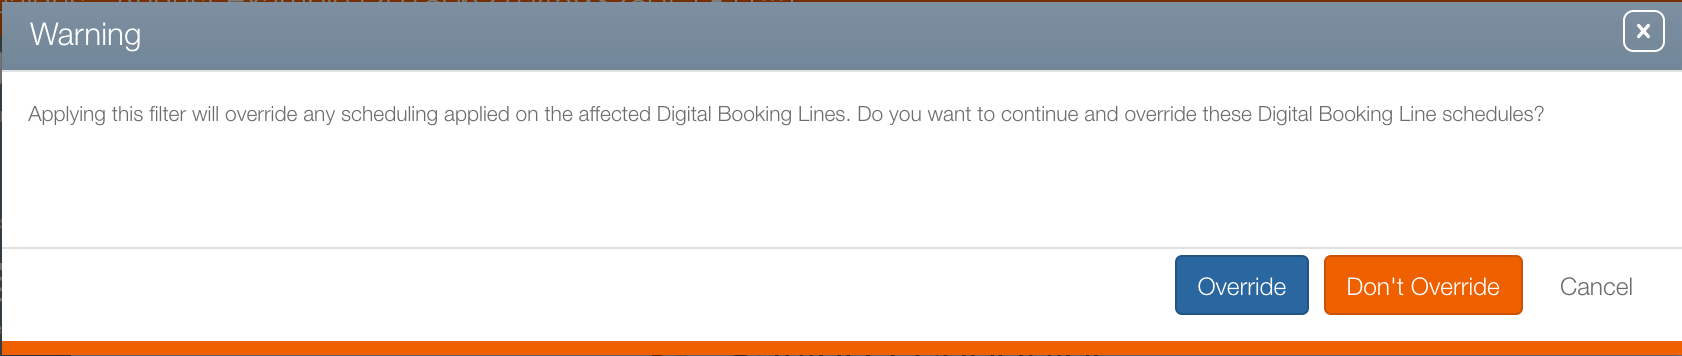
Click Override or Don't Override as needed. This function allows to change the schedules created at Digital Booking Line level in Segments. Override will not apply to the content scheduled manually at the individual face level.
The following bundle validations are performed as the last step of scheduling, and will trigger a warning message:
- No bundles are scheduled
- Bundle is empty
- At least one design in the bundle does not have its approval status set to "Approved"
- At least one design that has the "Do not Play" flag set
- Bundle or design has any restrictions
- Design has valid dates that conflict with the booking dates
- At least one design has a duration with a difference of one second and "Play to End" is not set
- Warn if the aspect ratio of the booking faces does not match any of the media files in the bundle
- Warn if the schedule will apply to no booking lines
You can change the schedules created at Digital Booking Line level in Segments.
To overwrite the schedule in segments:
- From within Splash, select Scheduling and then the Campaign tile.
- Select a filter and click Search to locate the needed campaign.
- Open the needed campaign record from the search results.
- Click the Segments icon on the left bar inside the same campaign record.
- Click the
 brackets to drill down to the face level. Click the icons in the Overwrite Schedule column for the needed faces to review their schedules.
This presents a filter search window.
This presents the campaign record Basic Info screen.
![]()
The screen refreshes to show the scheduled segments.
The Overwrite Schedule icons may have one of three colors:
| Status | Description |
|---|---|

|
If the Overwrite Schedule icon is black, the booking line has no schedule. |

|
If the Overwrite Schedule icon is blue, the schedule has been applied at the lowest individual face booking level. It can always be edited manually in this UI, whether it was originally created here, or in the Scheduling Groups. Scheduling Filters will never remove manually applied content. It can only add to it, that is, schedule around the already slotted content. |

|
If the Overwrite Schedule icon is grey, it is disabled. For example, when a digital pack schedule automatically applies to all faces of the pack, the scheduling of individual bookings will be disabled. |
