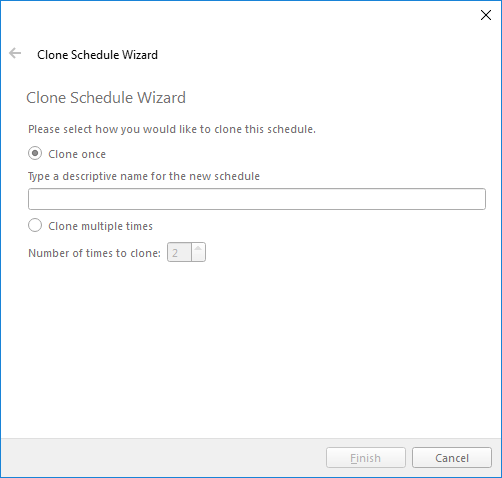
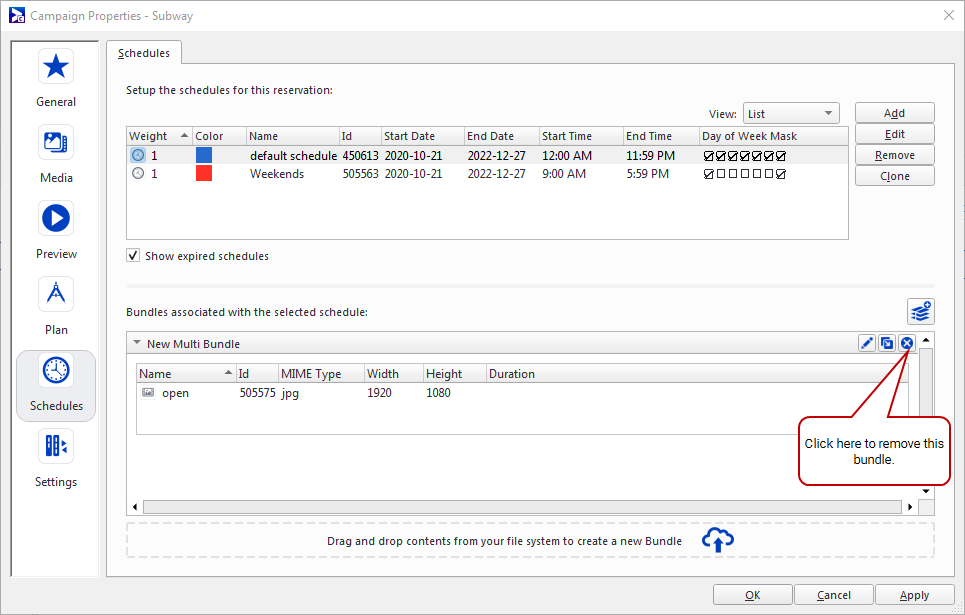
Schedules are the resources that tell Campaigns which content to display and during which block of time to display it. A Campaign can have multiple Schedules that it will play through one by one every time their turn comes in the playlist.
The Schedules tab of the Campaign Properties contains the Calendar View, which allows you to see all active Schedules in a Campaign.
You can view the calendar in either List, Day, Week, or Month format with the View drop-down menu.
This workspace is designed to be an all-in-one editor and viewer to quickly review and set properties on Schedules, Bundles and Ad Copies. When combined with Criteria Sets, this can reduce the time required to manage creative Ad Copy Criteria Assignment when there is a large amount of Ad Copy Criteria needed.
For more details, see Bundles and Ad Copies View.
New Campaigns will automatically have a default Schedule assigned to them that covers the time range specified in the Reservation Wizard. If multiple Schedules are required within a campaign, they can be added via the Campaign Properties window. The Schedules themselves contain Ad Copies, which they iterate through and tell Broadsign Control Player to display when their turn comes. For more information on how Schedules are used to build the playlist, see Playlist Generation.
The following video outlines how to work with the Schedules tab of the Campaign Properties:
Advanced Ad Copy Criteria
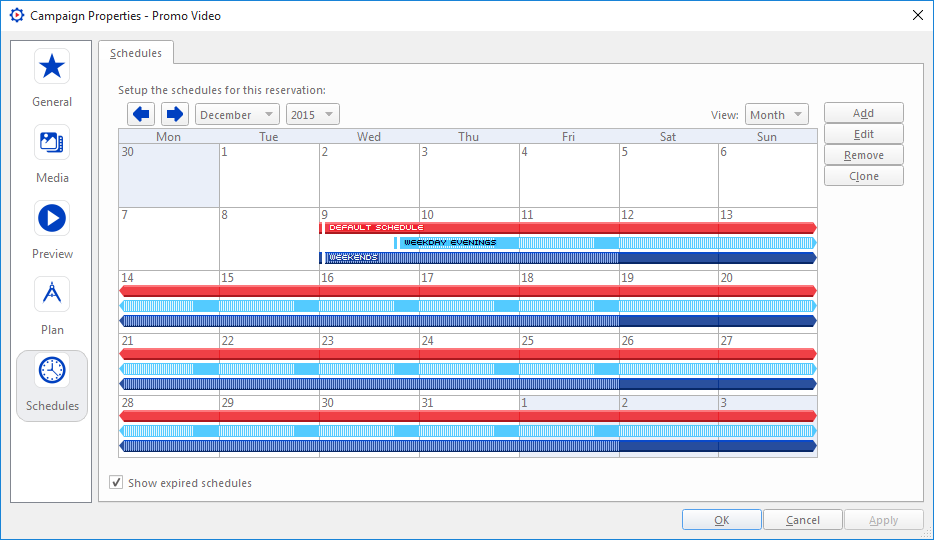
The Calendar View allows you to see all active Schedules within a Campaign in either List, Day, Week or Month format, which can be selected from the View drop-down menu.
Each Schedule will be automatically assigned a color code.
From the Calendar View, it is possible to rearrange the Schedules start and end dates by dragging and dropping the start or end of the bar. It is also possible to drag and drop the whole Schedule to move the start and end date at the same time.
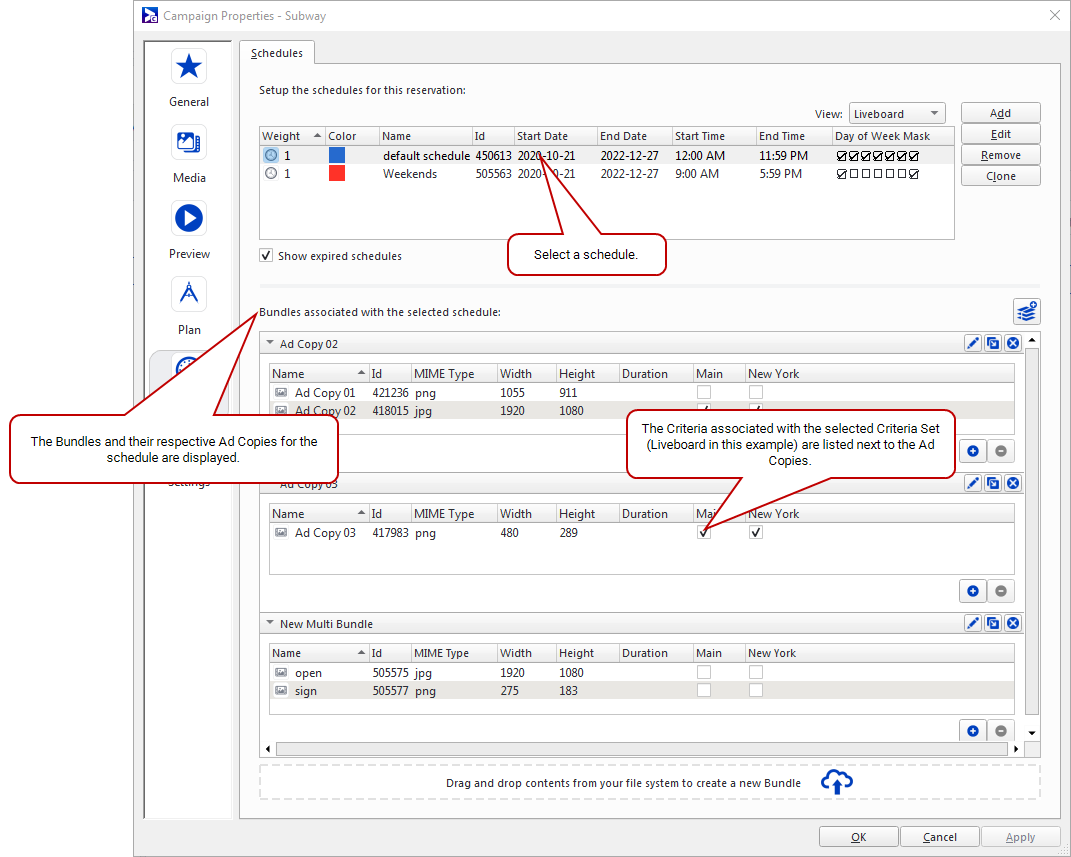
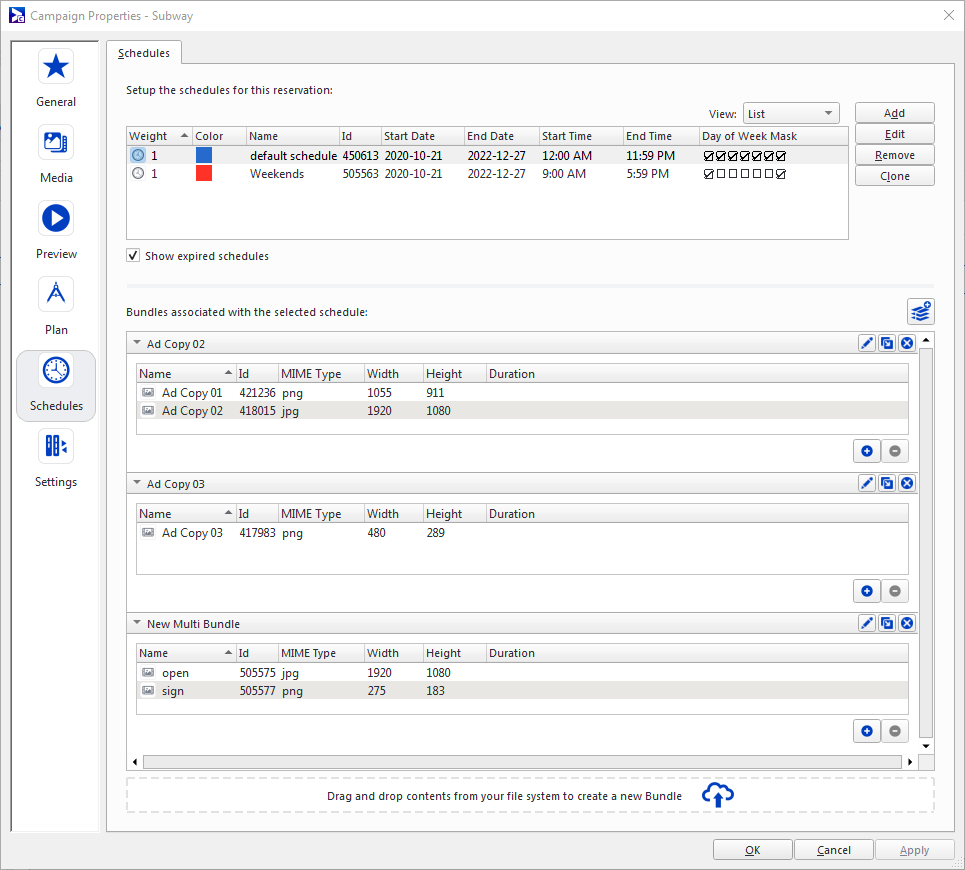
The List view includes Advanced Schedule elements, but not the Criteria association check boxes. Selecting a Schedule displays the Bundles and their respective Ad Copies associated with the Schedule. For more information, see Bundles and Ad Copies View.
If days are excluded from the Schedule using the weekday mask, this will be shown on the Schedule bar as a crosshatched color.
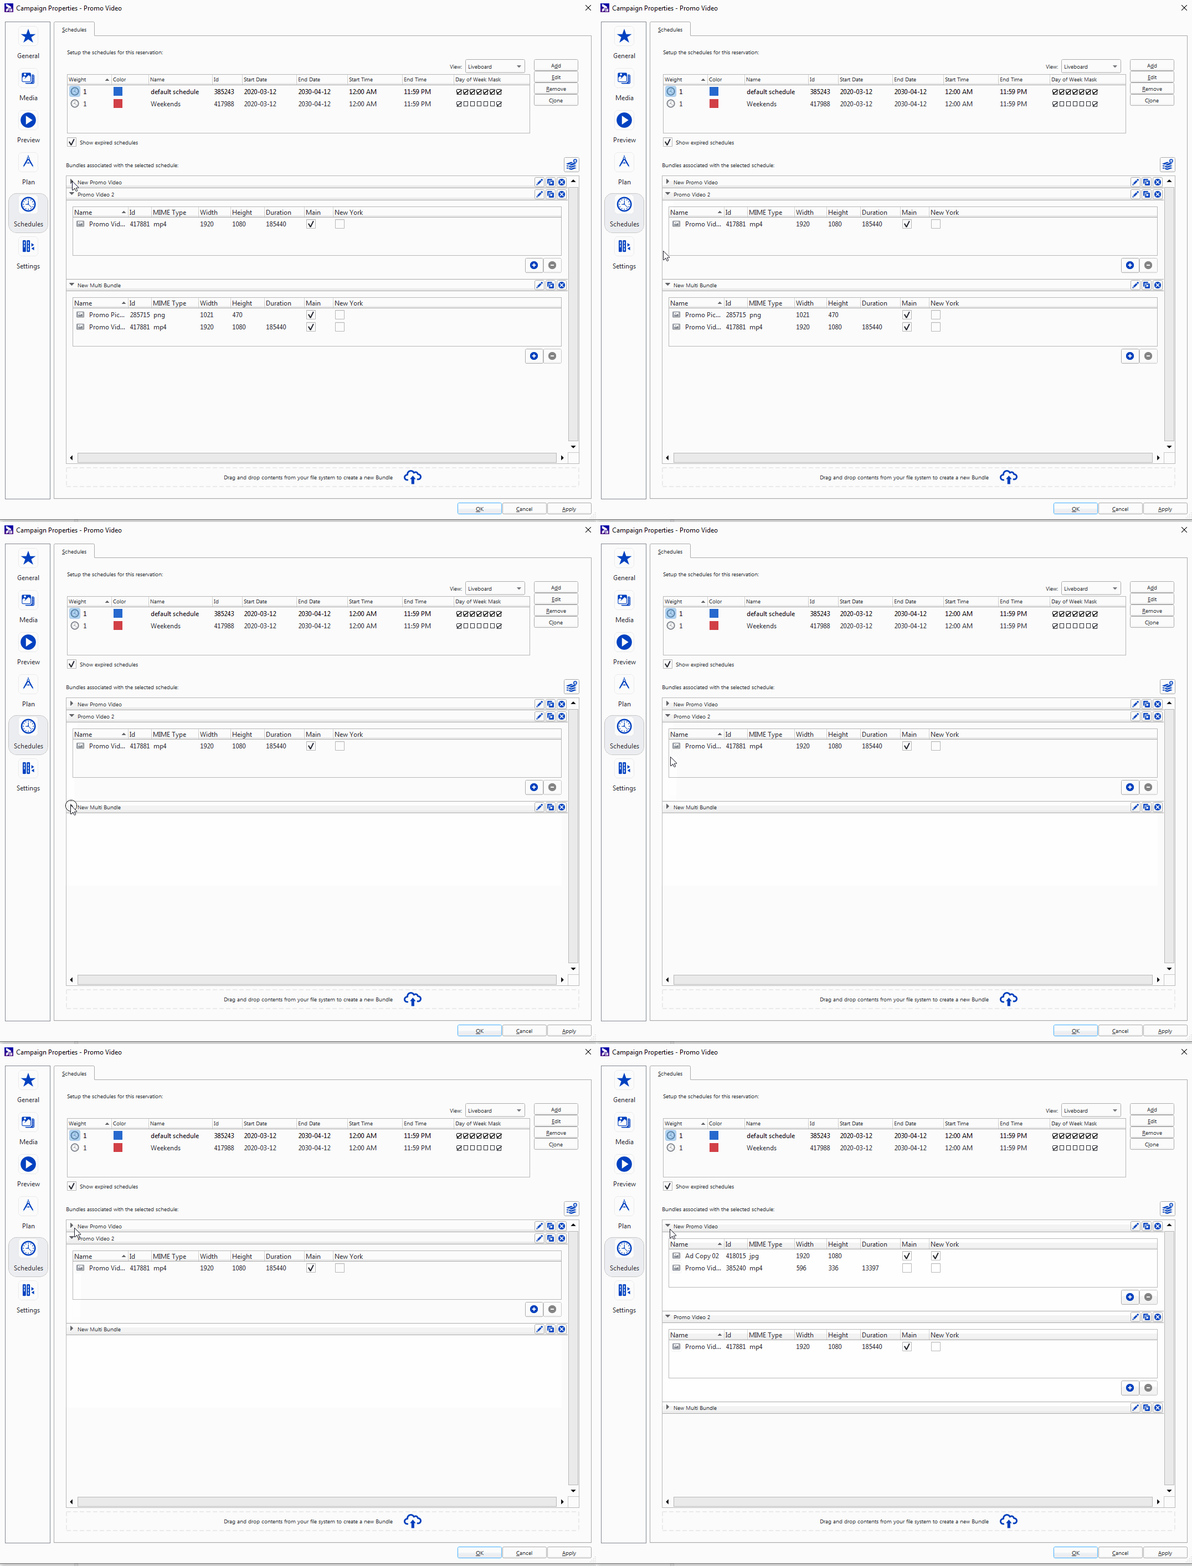
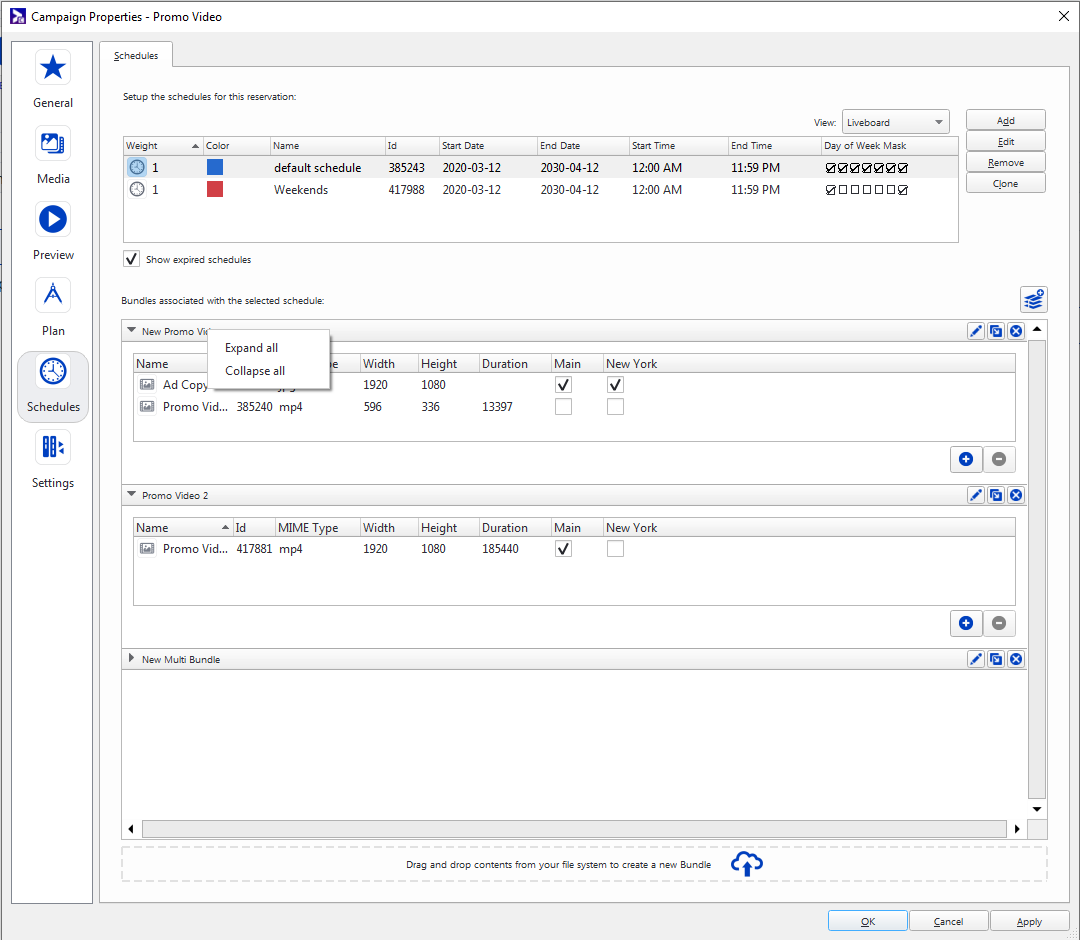
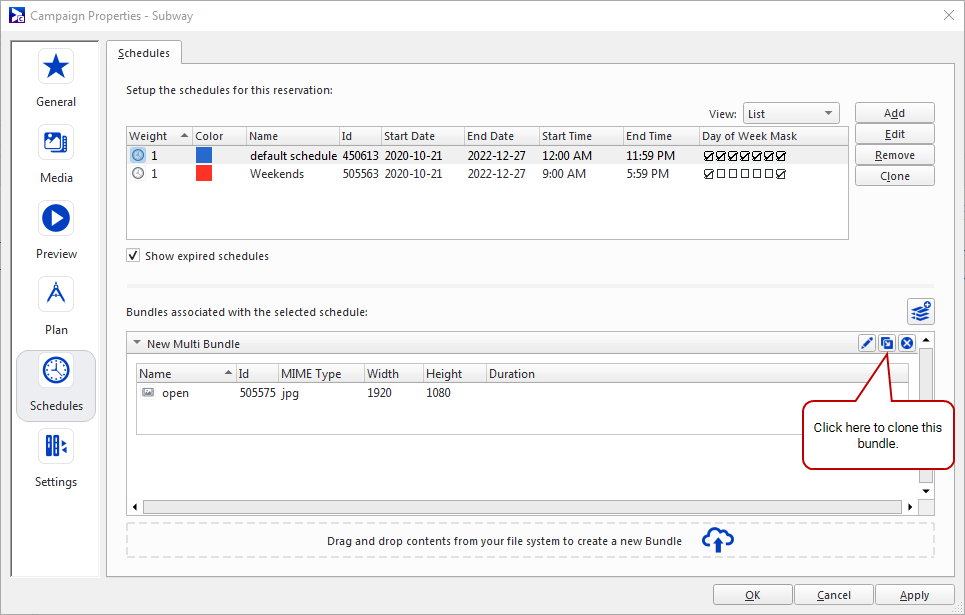
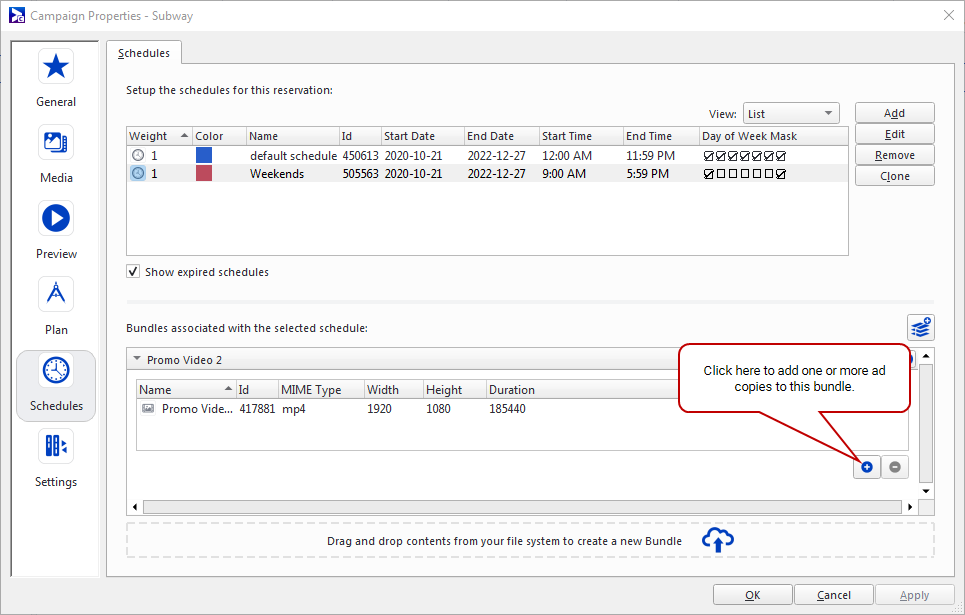
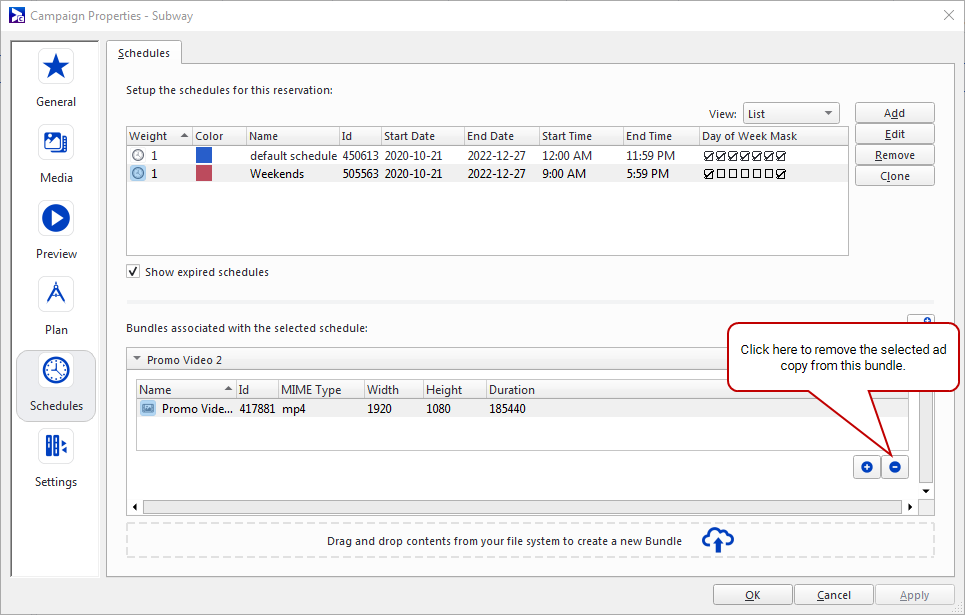
The Bundles and Ad Copies View lets you quickly review and set properties on Schedules, Bundles, and Ad Copies. It is located in the lower half of the Schedules tab and shows the Ad Copies for all Bundles in the selected Schedule.
Note: If the domain has been configured with advanced Criteria Sets (see Domain Properties), the criteria for each ad copy are also displayed.
In this view, the following actions are automatically saved as soon as you execute them, regardless of if you apply or cancel your changes in the Campaign editor:
- Adding an Ad Copy
- Dragging and dropping files into a Bundle
Whenever you change the order, width, or which column is used to sort the Ad Copies in a Bundle, that information is automatically transferred to the other Bundles. This will be kept in this state even if you change Schedules, close and re-open the Campaign editor, and log out and log in again. For each Criteria Set, the column order, width, and sort are preserved separately.
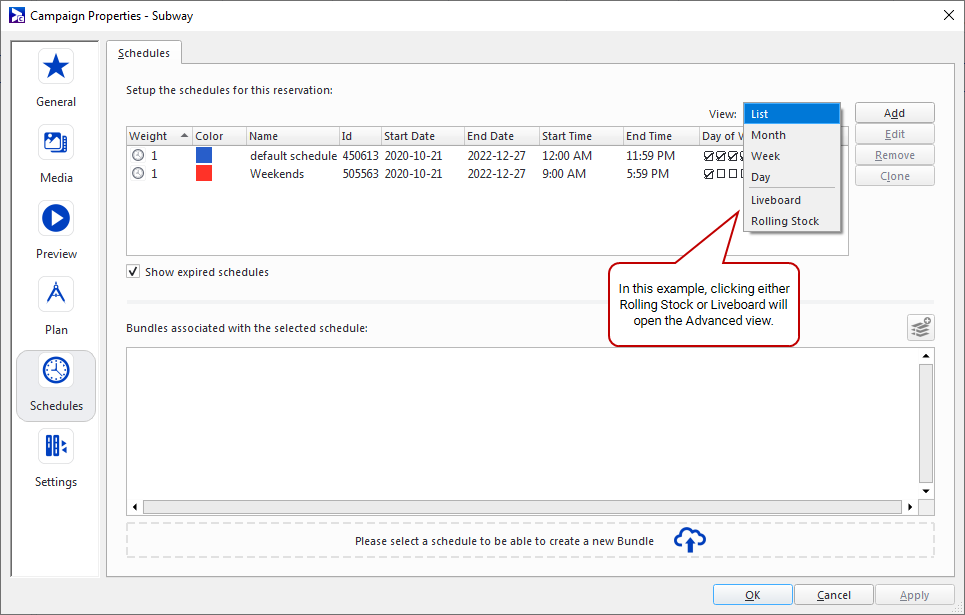
The Schedules tab allows you to switch between different views in the View drop-down menu:
- List View
- Month View
- Week View
- Day View
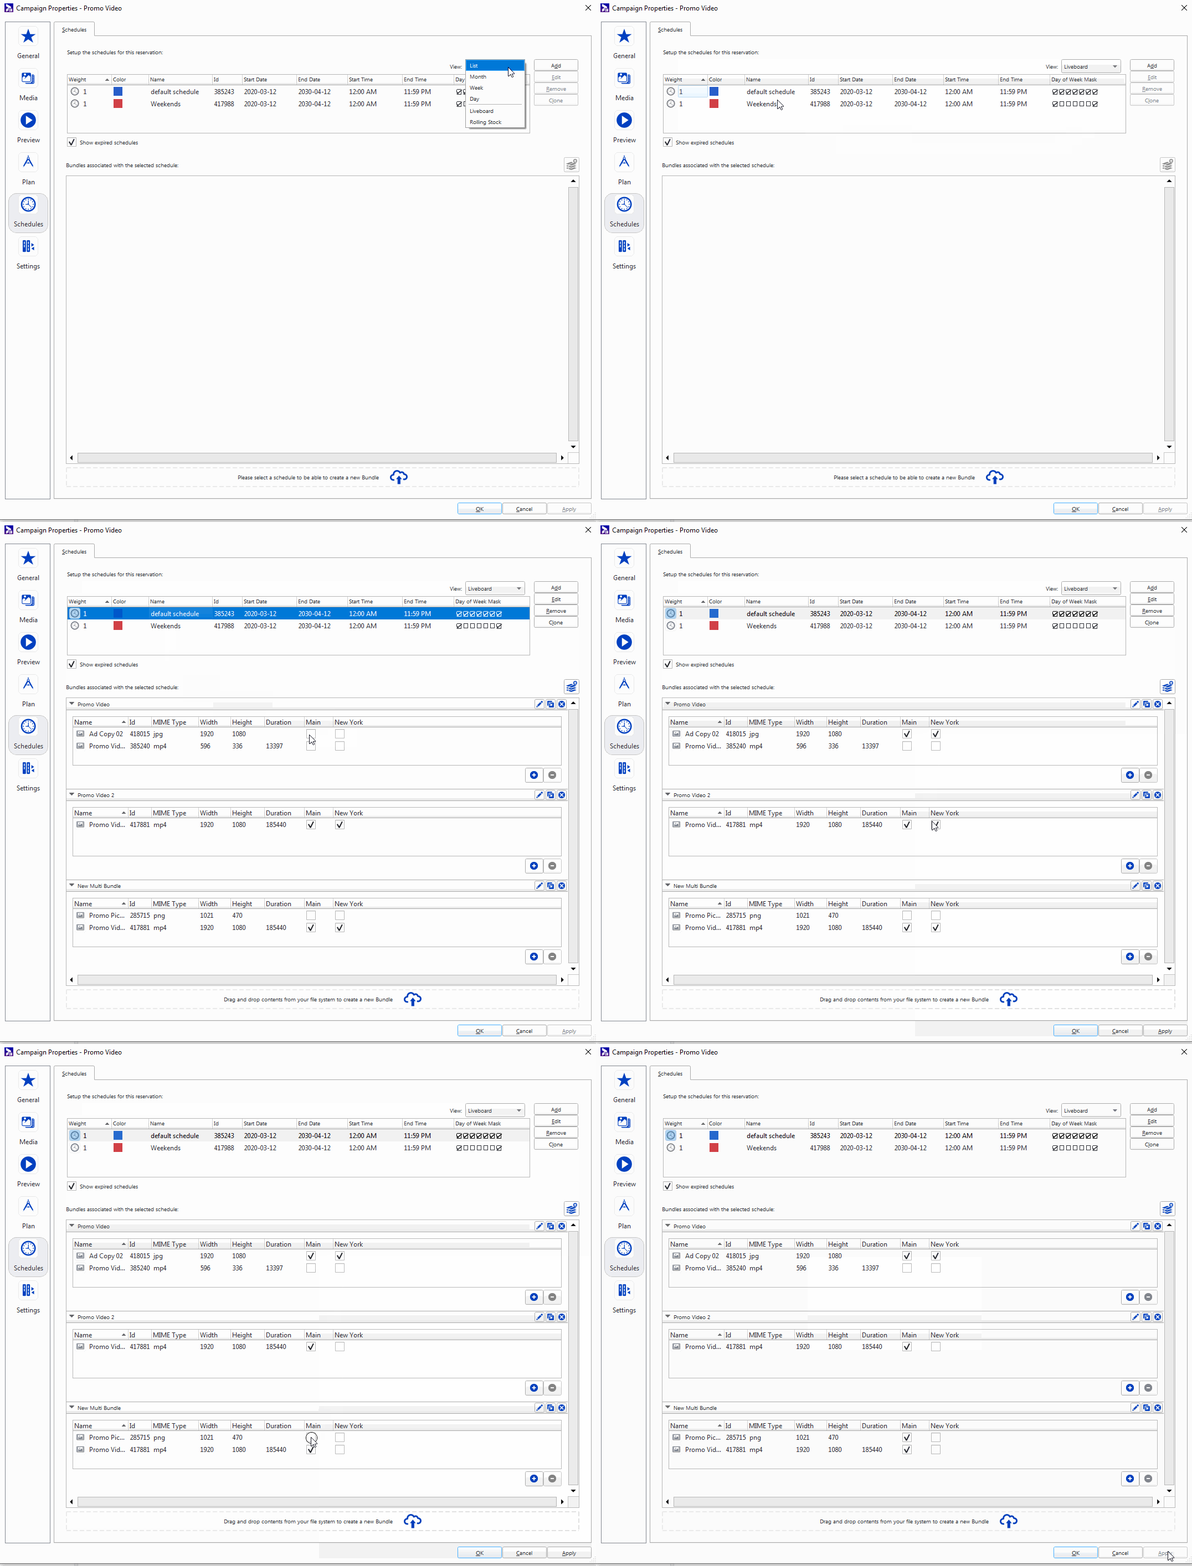
- Criteria Set Views
The Criteria Set views are made up of all the Criteria Sets that are defined on your domain.
You can switch to a Criteria Set to get extra functionality.
To switch to a Criteria Set view:
- Open the Campaign editor.
- Click the Schedules section on the left.
- In the top-right corner, click the View drop-down menu.
- Select one of the Criteria Sets.
In this example, the “Rolling Stock” and “Liveboard” Criteria Sets are active in the domain.
Selecting a Schedule displays the Bundles and their respective Ad Copies associated with this Schedule.
The Criteria associated with the selected Criteria Set are listed next to the Ad Copies.
This section describes how to manage Schedules in the Schedules tab.
To add a Schedule:
- In the Campaign Properties window, click the Schedules section.
- Click the Add button.
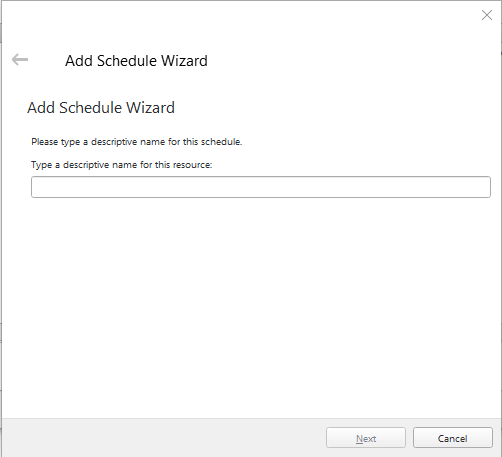
- Welcome – Name the Schedule.
- Date and Time Range – Set the start and end dates as well as the time of day when a Schedule is in effect. See Date and Time Range.
- Day of Week Mask – Define on which days a Schedule is active. See Day of Week.
- Ad Copy Selection – Select the Ad Copies that will make up the Schedule. See Ad Copy Selection.
The Calendar view displays all active Schedules in the Campaign.
The Add Schedule Wizard is displayed.
By default, the wizard contains the following pages:
You can either edit Schedules one by one or batch edit multiple Schedules.
You can edit a single Schedule in one of the following manners:
- Click any of the Schedules fields and modify the value.
- Select a Schedule and click the Edit button to open the Schedule editor.
- Double-click a Schedule to open the Schedule editor.
The Schedule editor offers different tabs.
| Tab | Description |
| General |
Change the name of the Schedule and define whether it is active. |
| Range |
Set the start and end dates as well as the time of day when a Schedule is in effect. See Date and Time Range. |
| Bundles |
Select the Ad Copies that will make up the Schedule. See Ad Copy Selection. |
| Days |
Define on which days a Schedule is active. See Day of Week. |
| Weight |
Set a precedence among overlapping Schedules. See Schedule Weight. |
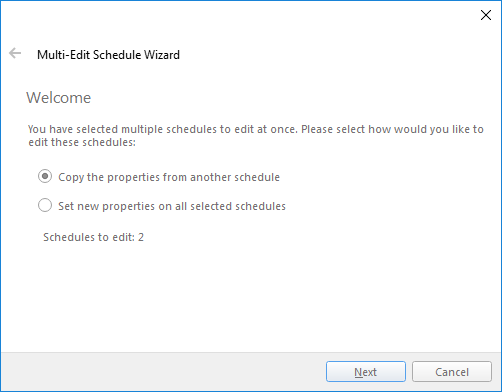
It is possible to select multiple Schedules and click the Edit button to open the Multi-Edit Schedule Wizard.
The wizard offers two options:
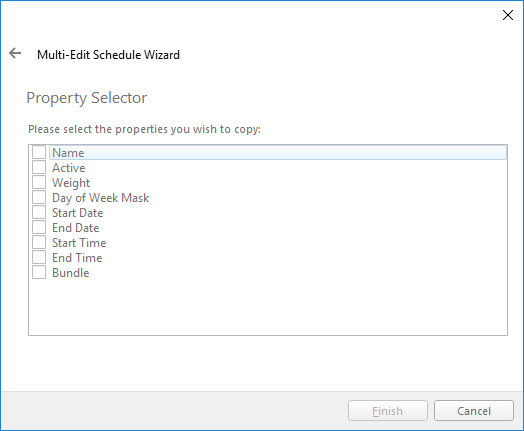
- Copy the properties from another schedule – This allows you to copy some or all the properties of a selected Schedule to all other selected Schedules. You are prompted to select which Schedule to use as a template and which properties to copy.
Set new properties on all selected schedules – This allows you to define new values for some or all the properties of the selected Schedules. You are prompted to select which properties to edit and, based on the selection, a series of wizard pages will be presented, one for each selected property.
The following properties can be edited:
- Date and Time Range – Sets the start and end dates as well as the time of day when a Schedule is in effect. See Date and Time Range.
- Day of Week Mask – Defines on which days a Schedule is active. See Day of Week.
- Assigned Bundles – Selects the Ad Copies that will make up the Schedule. See Ad Copy Selection.
- Weight – Sets a precedence among overlapping Schedules. See Schedule Weight.
When adding a Schedule or editing an existing one, the following parameters are available.
Defines on which days a Schedule is active. A Schedule can be set to be active only on certain days of the week, so that a Campaign can display different content depending on the day of the week.
Selects the Ad Copies that will make up the Schedule. You can also select Bundles. If the Schedule contains more than one Bundle, it will display each one evenly.
When adding content to a campaign with restrictions (see Content Scheduling Restriction), a message informs you that some of the selected display units have restrictions on the type of content that can be played. This information is collected from the loop policies of all active and targeted screens. The message also lists the content types that are acceptable to all loop policies and can be added to a campaign using this wizard.
- The content list displays the MIME type.
- The content list can be filtered by MIME type.
When multiple Ad Copies are selected, the Include Ad Copies as option allows you to choose how these Ad Copies are added:
- Add the Ad Copies as multiple individual Bundles. This is the default behavior.
- Add all the Ad Copies in a single Bundle. The wizard creates one Bundle named “New Multi Bundle” with all selected Ad Copy included.
The option that you select will be retained and selected the next time you open the wizard.
A Schedule's weight is a numeric value that makes it possible to set a precedence among overlapping Schedules. When multiple Schedules are in effect at a given time block, the Schedule with the lowest weight value has the highest precedence and is displayed first, followed by the Schedule with the second lowest weight value, and so on. This makes it possible to specify an order to display Scheduled content.
Schedule Date and Time Range
Defines the start and end dates as well as the time of day when a Schedule is in effect. By default, when creating a Schedule, the dates are set to cover the full Campaign Duration, and the time is set to run for the whole day. They can be modified for the same Campaign to show different content depending on the time of day or year.
A Schedule's Time Range must begin at or after 12:00:00 AM and end at or before 11:59:59 PM.
You cannot set a Time Range that wraps around midnight. For example, a Schedule cannot begin at 10:00:00 PM and end at 03:00:00 AM. To achieve this, you need two separate Schedules: one from 10:00:00 PM to 11:59:59 PM, and another from 12:00:00 AM to 03:00:00 AM.
Note: If you set the same start and end time for a Schedule, Broadsign Control Administrator automatically activates the This resource runs all the time. This means the schedule will not stop or pause; instead, it will run continuously throughout the day.
This section describes how to manage Bundles in the Schedules tab.
To add a Bundle, use one of the following methods:
- Drag and drop one or more media files into the drag and drop zone
- Add Bundle button
This option will simultaneously create a Bundle, create new Ad Copies, and add them in the Bundle.
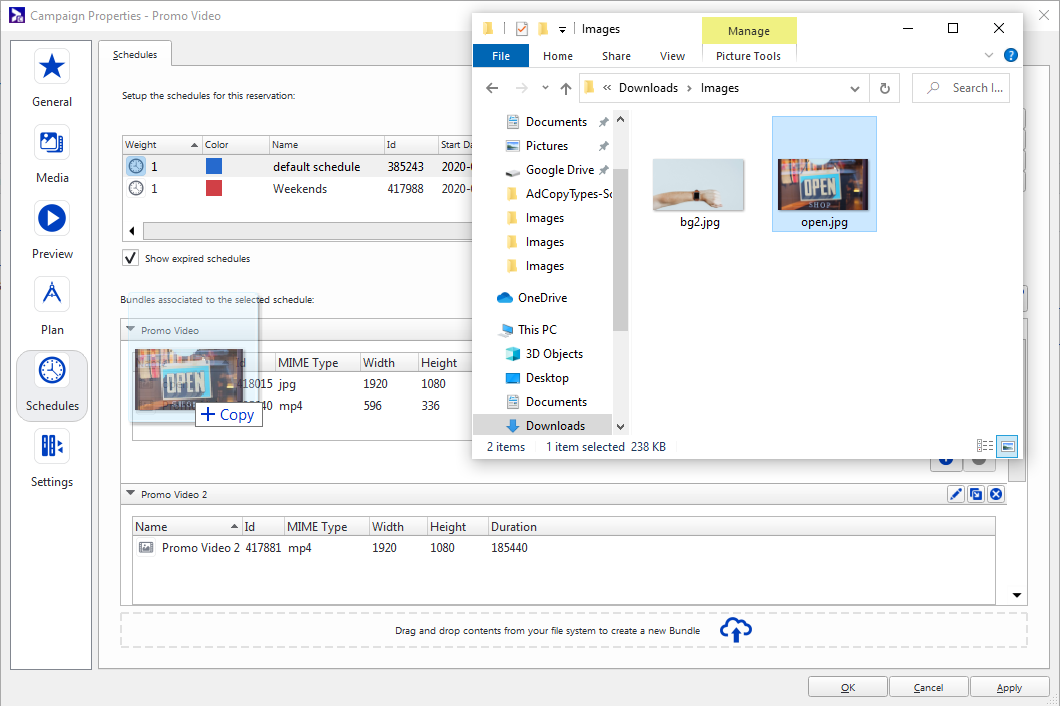
To drag and drop a media file into the drag and drop zone:
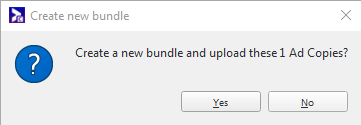
- Drag and drop one or more ad copies from your local file system (for example desktop) into the drag and drop zone at the bottom of the window.
- Confirm the upload.
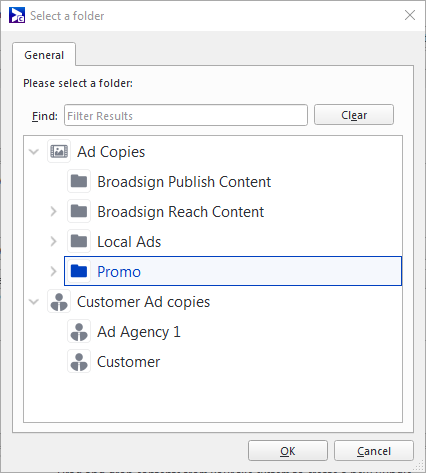
- Select the folder where you want the Ad Copies created, and then click OK.
- In the Ad Copy section of Broadsign Control Administrator, under the folder that you have selected.
- In a new Bundle called New Multi Bundle.
The Transfer Manager opens, showing you the status of the uploads.
Once the uploads are completed, they appear in two places:
To use the Add Bundle button:
- Click the
 button in the top-right corner, just above the Bundles section of the view.
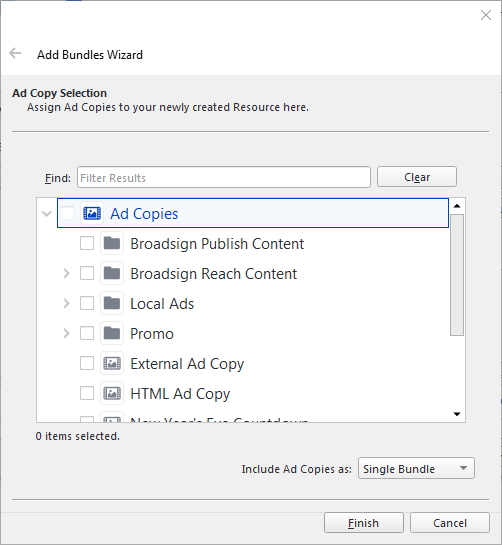
 - Select at least one Ad Copy, and either Single Bundle or Multiple Bundles, then click Finish.
- Add the Ad Copies as multiple individual Bundles. This is the default behavior.
- Add all the Ad Copies in a single Bundle. The wizard creates one Bundle named “New Multi Bundle” with all selected Ad Copy included.
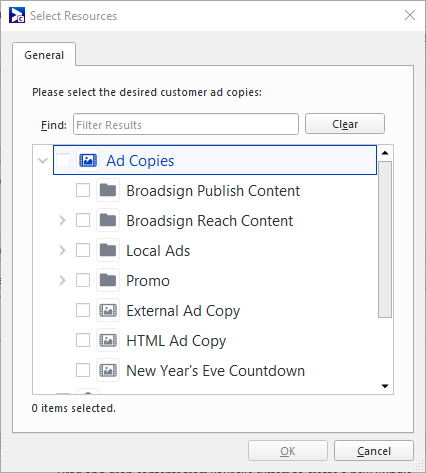
The Add Bundles Wizard opens, where you can select one or more ad copies.
When multiple Ad Copies are selected, the Include Ad Copies as option allows you to choose how these Ad Copies are added:
The option that you select will be retained and selected the next time you open the wizard.
The Bundles are added to the Schedule.
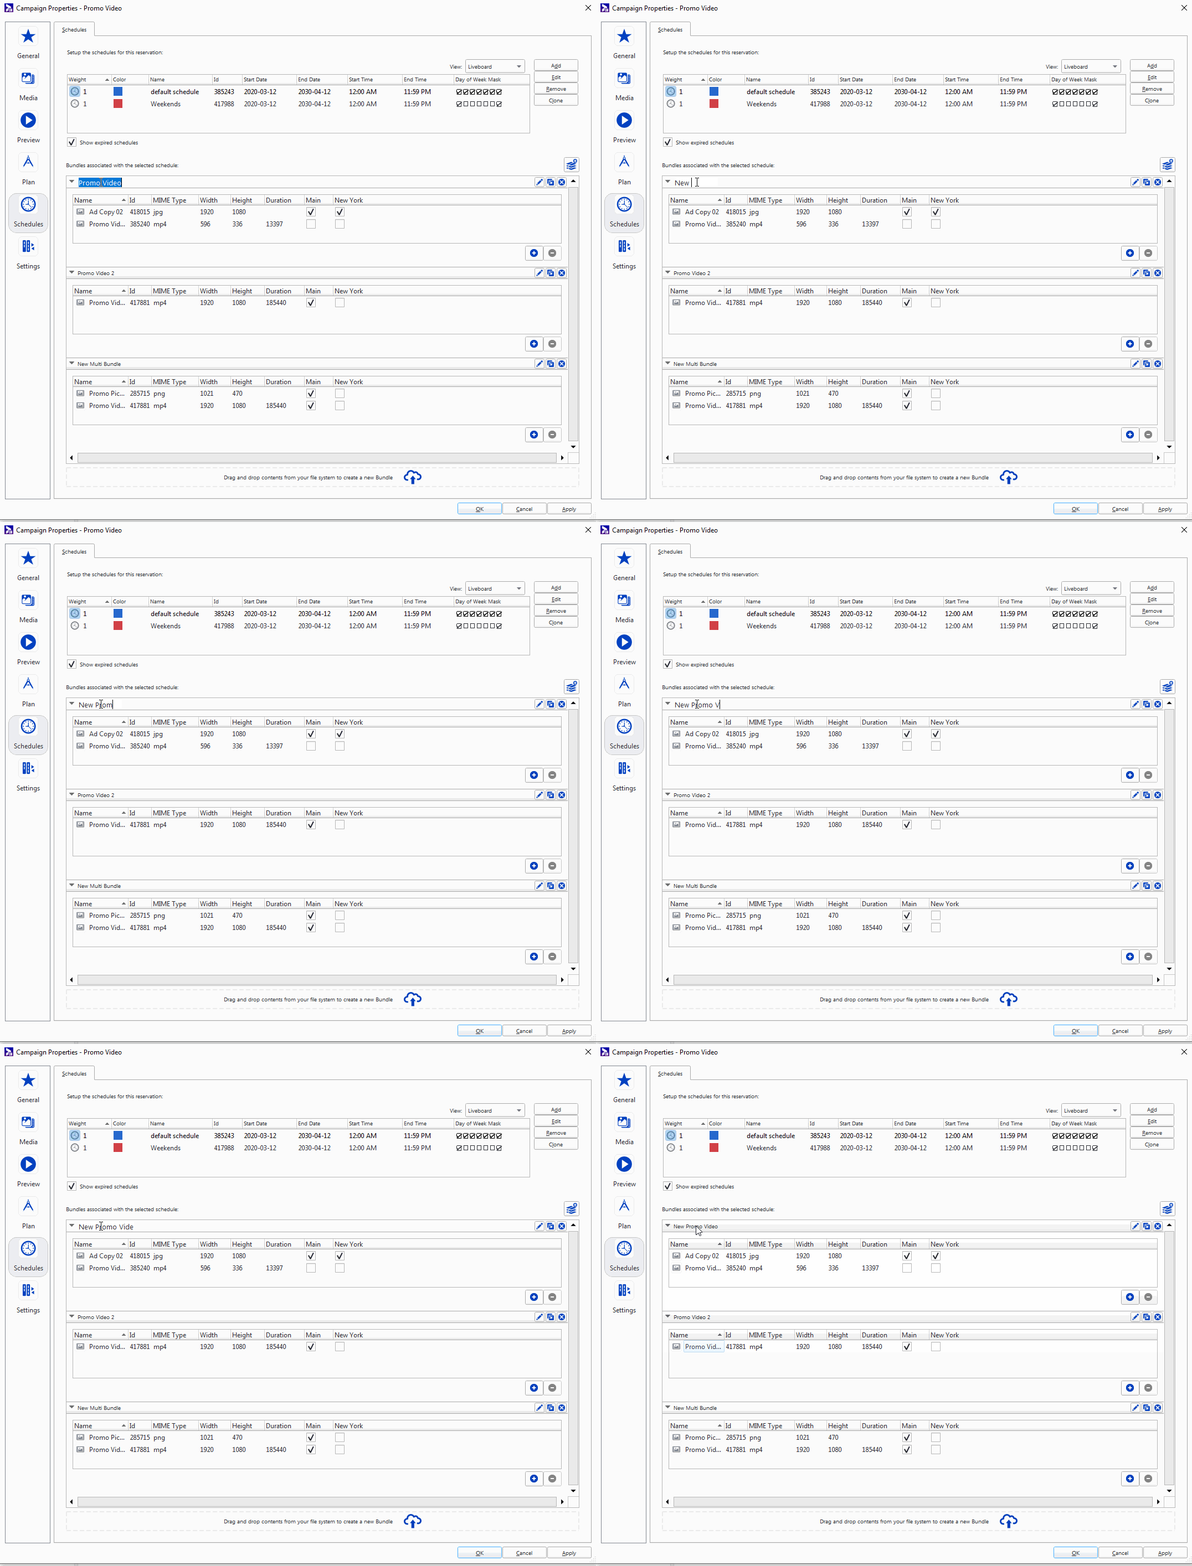
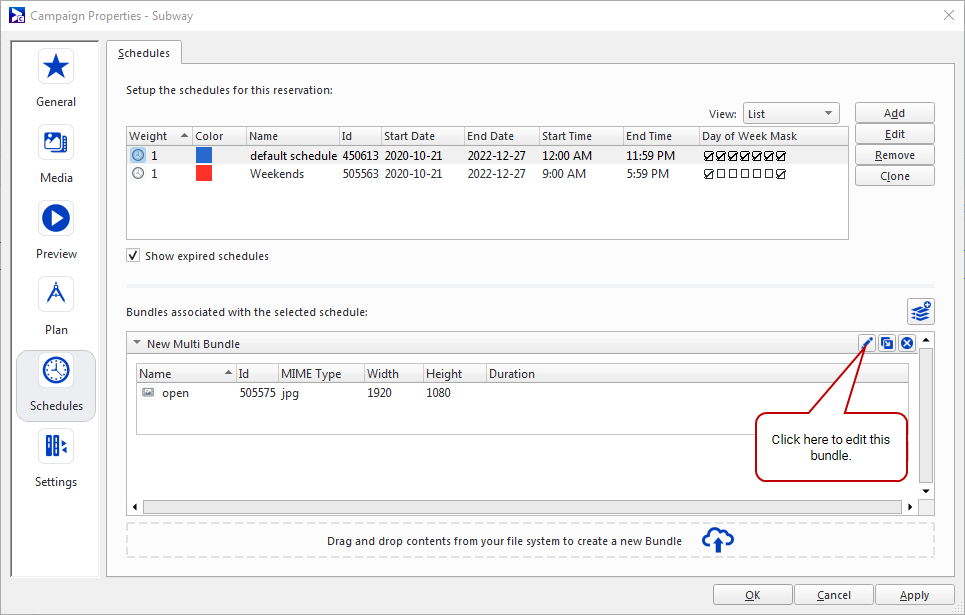
To edit a Bundle, click the ![]() button at the right of the Bundle bar.
button at the right of the Bundle bar.
This opens the Bundle Properties window. For more details, see Edit Bundle Properties.
This section describes how to manage Ad Copies in the Schedules tab.
To associate Ad Copies to or dissociate them from any active Criteria of the Criteria Set:
- In the top-right corner, click the View drop-down menu.
- Select one of the Criteria Sets.
- Select a Schedule.
- Associate any Ad Copy to or dissociate them from any active Criteria of the Criteria Set by clicking the check boxes next to the Ad Copy.
In this example, the “Rolling Stock” and “Liveboard” Criteria Sets are active in the domain.
To add an Ad Copy to a Bundle, use one of the following methods:
- Drag and drop one or more ad copies into a Bundle
- Add Ad Copy button
To drag and drop an Ad Copy into a Bundle:
- Drag and drop one or more ad copies from your local file system (for example desktop) into a Bundle.
- Confirm the upload.
- Select the folder where you want the Ad Copies created, and then click OK.
- In the Ad Copy section of Broadsign Control Administrator, under the folder that you selected.
- In the Bundle where you dropped them.
The Transfer Manager opens, showing you the status of the uploads.
Once the uploads are completed, they appear in two places:
To use the Add Ad Copy button:
Double-click an Ad Copy to edit it. This opens the Ad Copy Properties window. For more details, see Edit Ad Copy Properties.

