 minute read
This page details Step 5 – Assign and Schedule Creative Bundles of the new campaign creation process.
You can assign creatives bundles to a campaign and create one or more schedules for these bundles.
Note: The Guaranteed Campaigns module is available to users with the Admin, Direct Sales Admin, Direct Sales Manager, Direct Sales Coordinator, or Direct Sales role.
Note: This feature is available only if you are accessing the Creatives tool from the Guaranteed Campaigns module.
Schedules are the resources that tell campaigns which creative bundle to display and during which block of time to display it. A campaign can have multiple schedules that it will play through one by one every time their turn comes in the playlist.
To assign and schedule creatives:
Guaranteed Campaigns
Assigning and scheduling a creative to be played in a campaign involves the following steps:
Once a bundle is created and listed in the Creative Bundles page, you can assign it to your campaign and create one or more schedules for it.
- You can assign bundles even if the campaign has no line item.
- You can assign up to 100 bundles to a campaign.
Note: Users with the Admin, Direct Sales Admin, or Creative Manager role can create and edit schedules.
To start the creative assignment process:
Guaranteed Campaigns
- Access the Guaranteed Campaigns Module.
- Create a Guaranteed Campaign or Edit a Guaranteed Campaign.
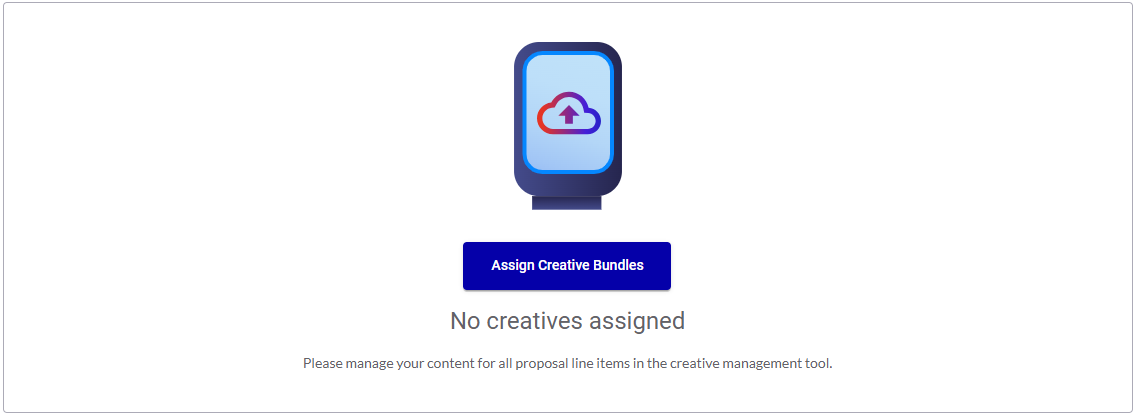
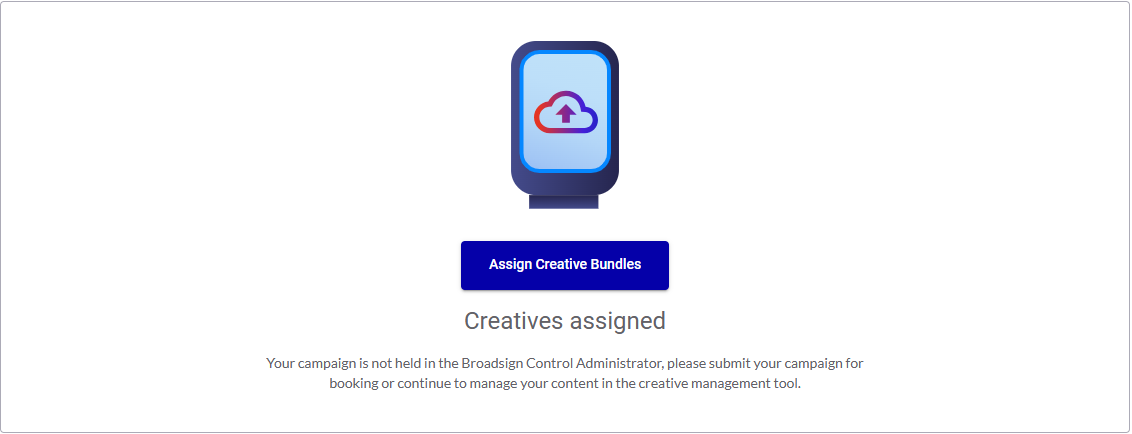
- Click the Assign Creative Bundles button.
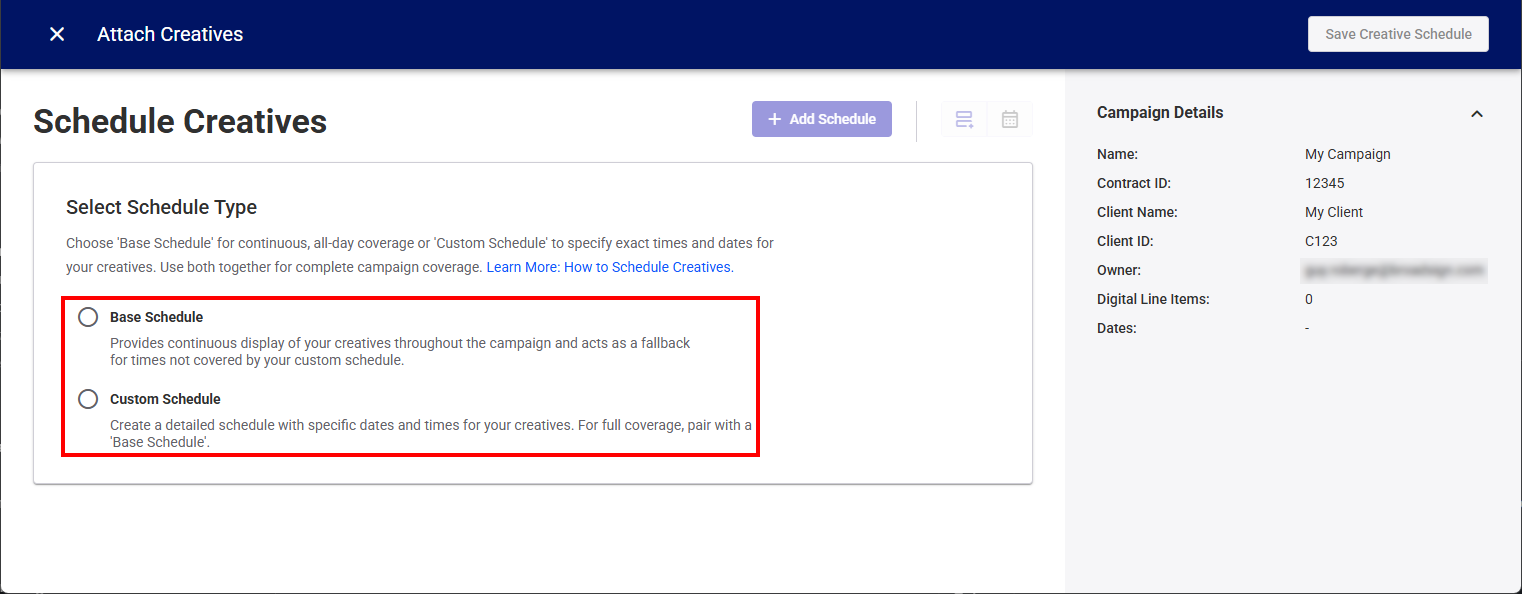
- In the Select Schedule Type section, select the schedule type to use for your campaign.
- Base Schedule – The base schedule allows you to play the selected creatives when you do not have a custom schedule configured. The base schedule offers continuous, all-day coverage, and is used to fill all the gaps in your other schedules. All line items in a campaign have the same base schedule. Go to Step 3 – Select Bundles.
- Custom Schedule – Set up a custom schedule to fit the needs of your campaign. Go to Step 2 – Create a Custom Schedule.
The Campaign Builder is displayed.
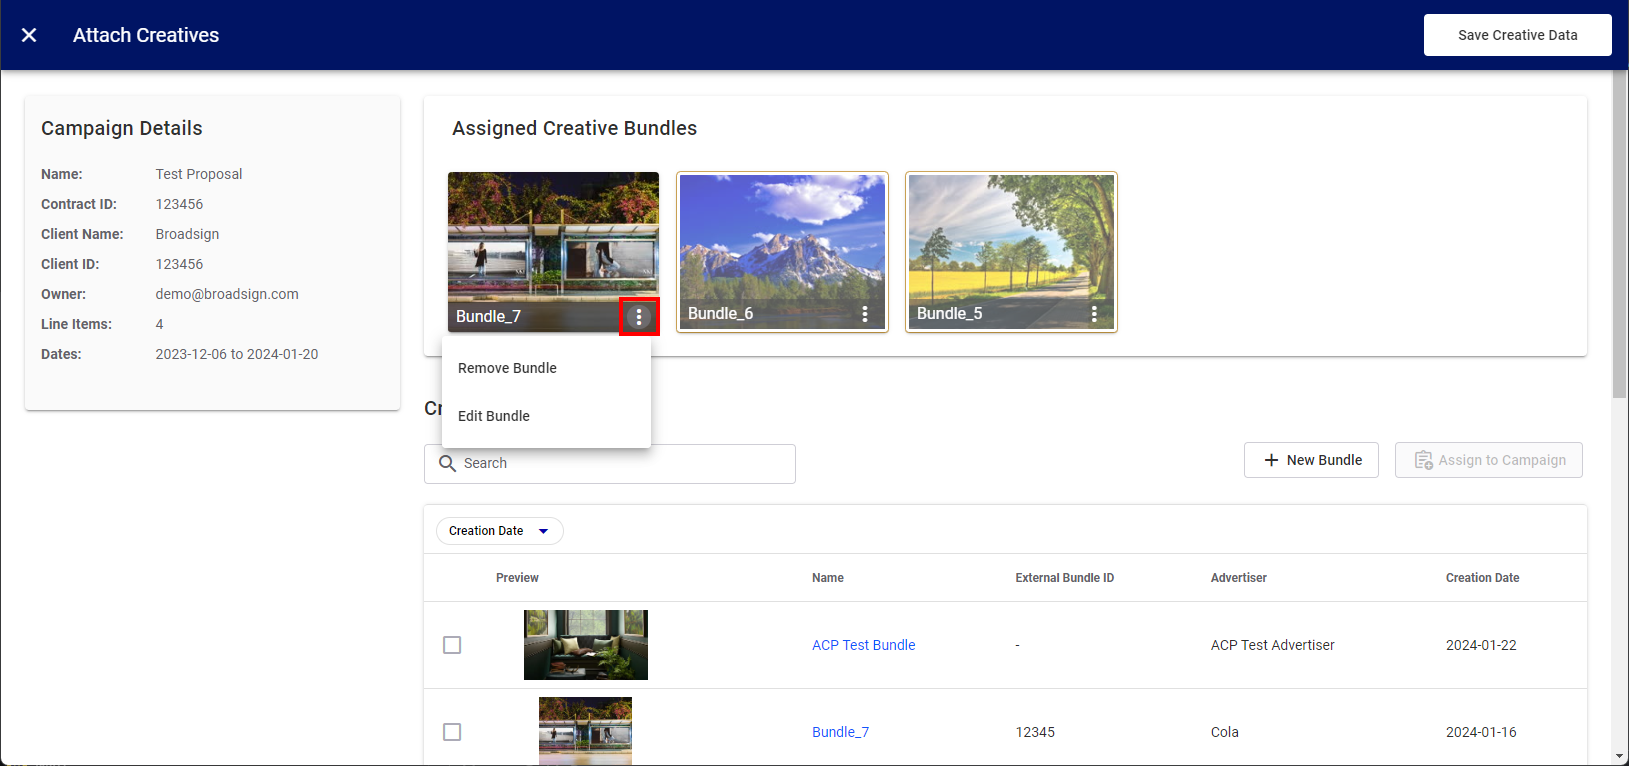
The Attach Creatives page is displayed.
Tip: Skip this step if you chose to use the Base Schedule in Step 1 – Start the Creative Assignment Process.
Use the Schedule section to create one or more custom schedules for your campaign or line items.
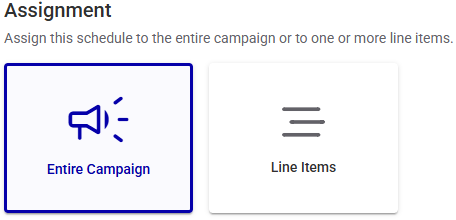
Use the Assignment section to select how to assign the schedule.
- Entire Campaign – The schedule is assigned to all line items in your campaign.
- Line Items – The schedule is assigned to specific line items in your campaign.
Note: Line items that are added to a campaign after a schedule is created are not assigned that schedule.
A schedule defines the specific days and times your schedule will run. You have the flexibility to:
- Select whether the schedule applies to all line items in your campaign or only to specific ones.
- Select a start and end date for your creatives to be displayed.
- Choose specific days of the week and times for your creatives to play.
- Create up to 100 individual schedule lines to accommodate complex scheduling needs.

To create a custom schedule:
Guaranteed Campaigns
- In the Select Schedule Type section, select the Custom Schedule option.
- In the Assignment section, select whether this schedule will apply to the entire campaign or to selected line items.
- If you have selected to apply the schedule to Line Items, check the line items to use in the Select line items section.
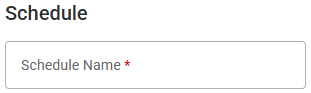
- Enter a descriptive name for your schedule in the Schedule Name field.
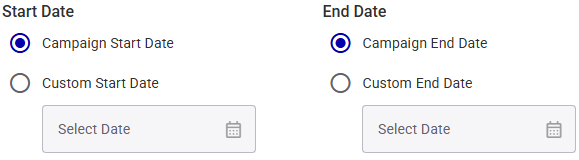
- Set a date range for your schedule.
- Use Campaign start and end dates – This option automatically sets the schedule to match the full duration of your campaign when you apply it to the entire campaign. It dynamically updates the schedule, ensuring it always reflects the campaign's current dates, even if you change them later. This is the default campaign setting.
- Use Line Item start and end dates – This option automatically sets the schedule to match the full duration of the selected line items when you apply it to specific line items of the campaign. It dynamically updates the schedule, ensuring it always reflects the selected line items' current dates, even if you change them later. This is the default line item setting.
- Choose a custom date range – Select this option if you want to specify your own start and end dates for the schedule.
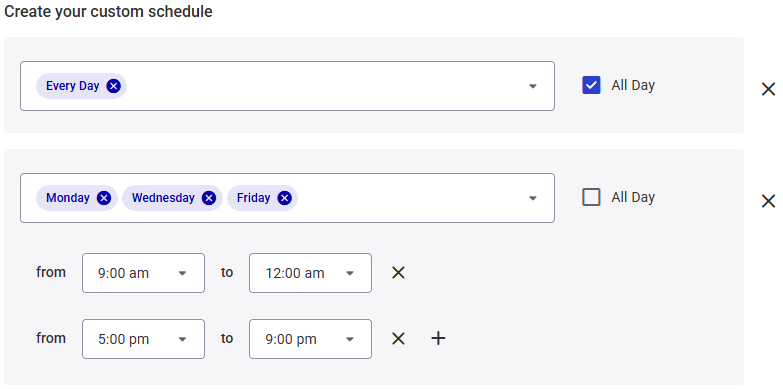
- Add a schedule line in the Create your custom schedule section.
- All Day – Check this box if you want the schedule to run continuously throughout the selected days.
- Custom Schedule Line – Uncheck the All Day box to select specific days and set specific start and end times for your schedule.
- Select Days – Use the drop-down menu to choose the days of the week when the schedule should be active. This allows you to display different content on different days.
- Set Times – Uncheck the All Day box and then:
- Enter the start and end times for your schedule in the from and to fields.
- Click the "+" button to add multiple start and end time ranges within the same day.
- one from 10:00 PM to 12:00 AM
- another from 12:00 AM to 3:00 AM
- Add Schedule Lines (Optional) – Click the Add Schedule Line button to create additional schedule lines within the same schedule, up to a maximum of 100.

The Assignment and Schedule sections are displayed, where you can customize your schedule.
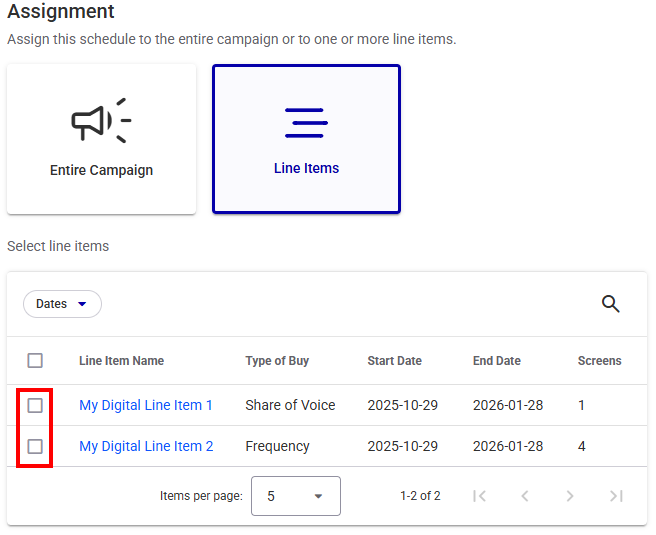
You can click a line item name, which will display the details of the line item, including the screens targeted.

This is typically the name of the day part that you want to schedule (for example, "Morning Ads"). The name can be up to 250 characters long.

This is useful if you have a long campaign but want to change your creatives periodically (for example, weekly updates within a year-long campaign).

Tip: You can combine Campaign or Line Item dates and Custom dates (for example, use a Custom Start Date but keep the Campaign's end date).
Tip: You can create up to 100 individual schedule lines to accommodate complex scheduling needs.

To create a custom schedule line:
Time ranges must be between 12:00 AM and 11:59 PM.
Time ranges cannot cross midnight. If you need a schedule to run from 10:00 PM to 3:00 AM, create two separate schedules:
This allows for even more granular control over your scheduling.
Choose all the bundles for which you want to create a schedule. This step applies whether you are using the base schedule or a custom schedule.
To select bundles:
Guaranteed Campaigns
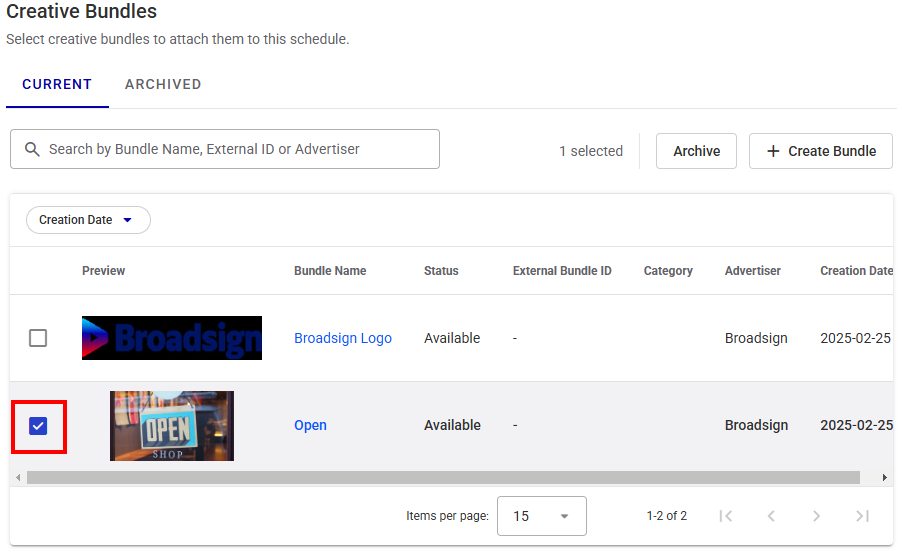
- In the Creative Bundles section of the Attach Creatives page, check all bundles that you want to assign to the campaign.
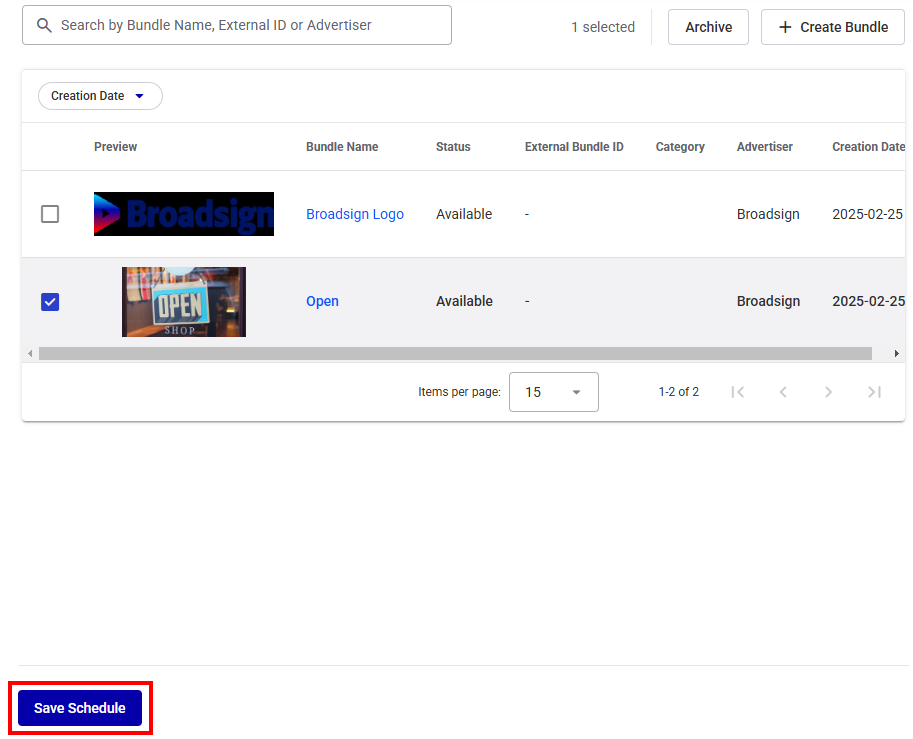
- Click the Save Schedule button at the bottom of the page.
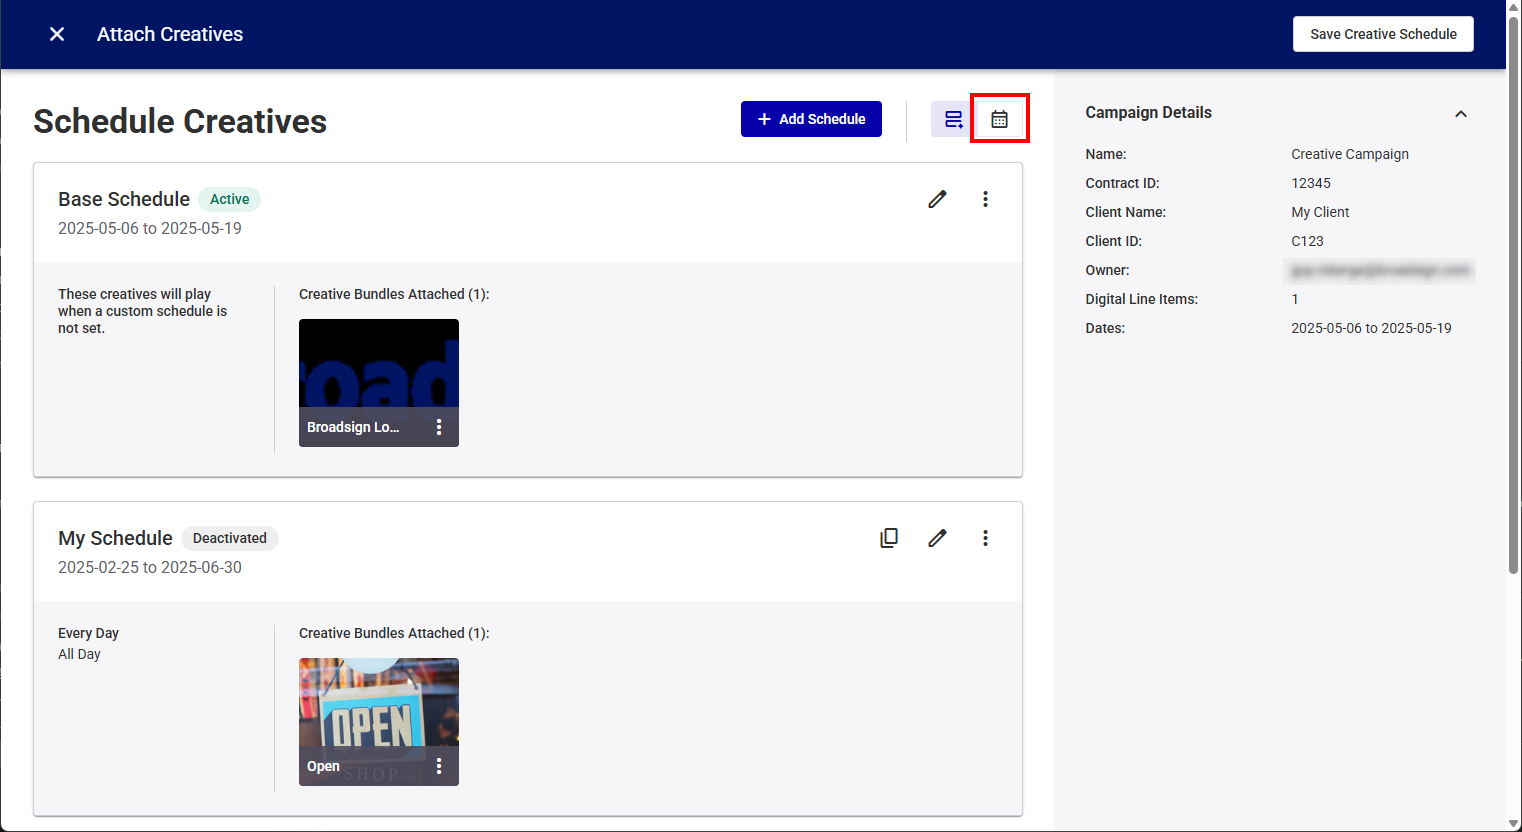
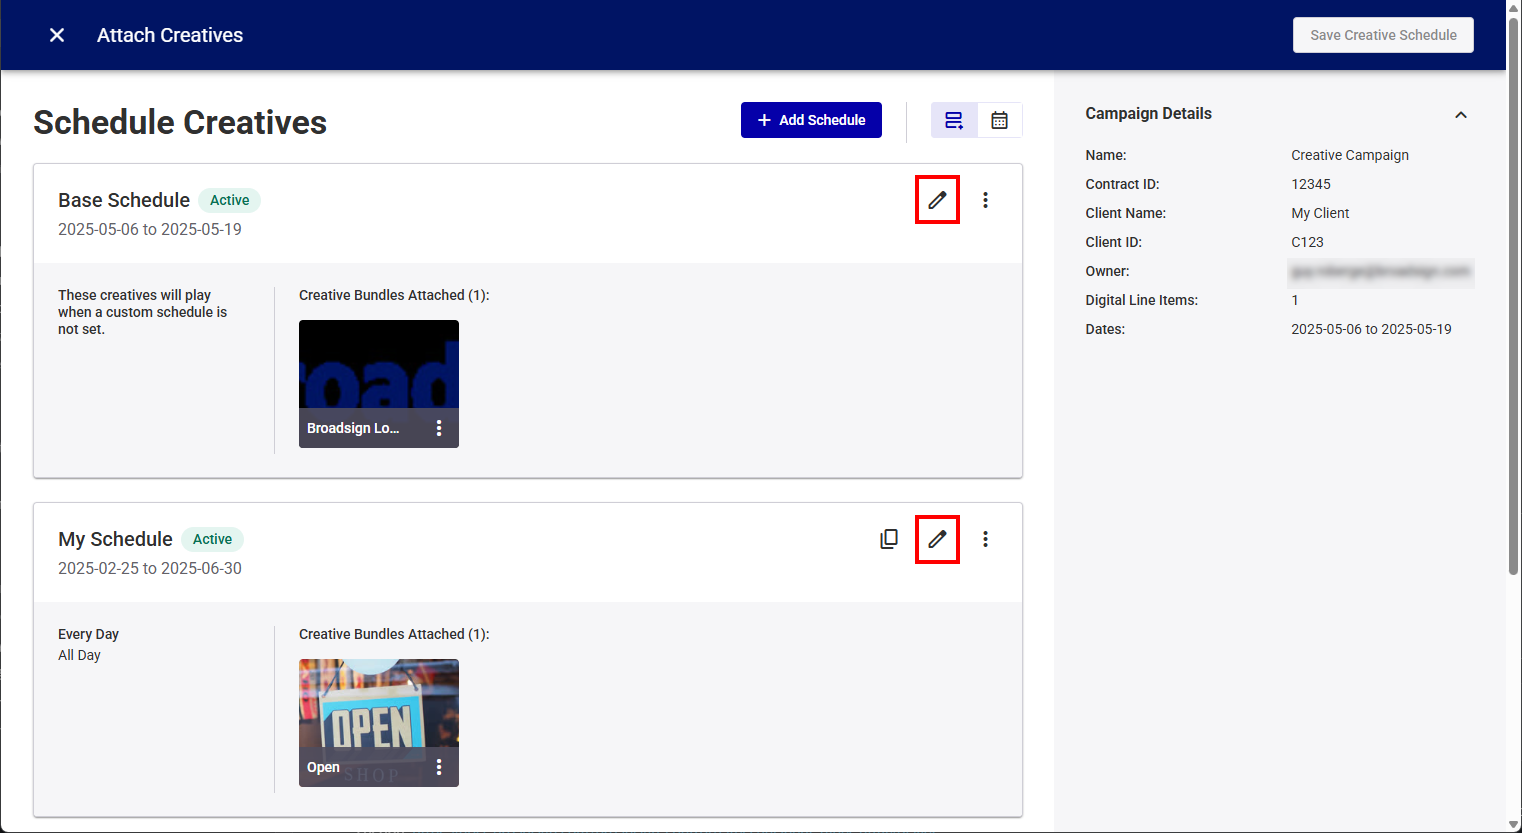
The Schedule Creatives page is displayed with all of the schedules created for the campaign.
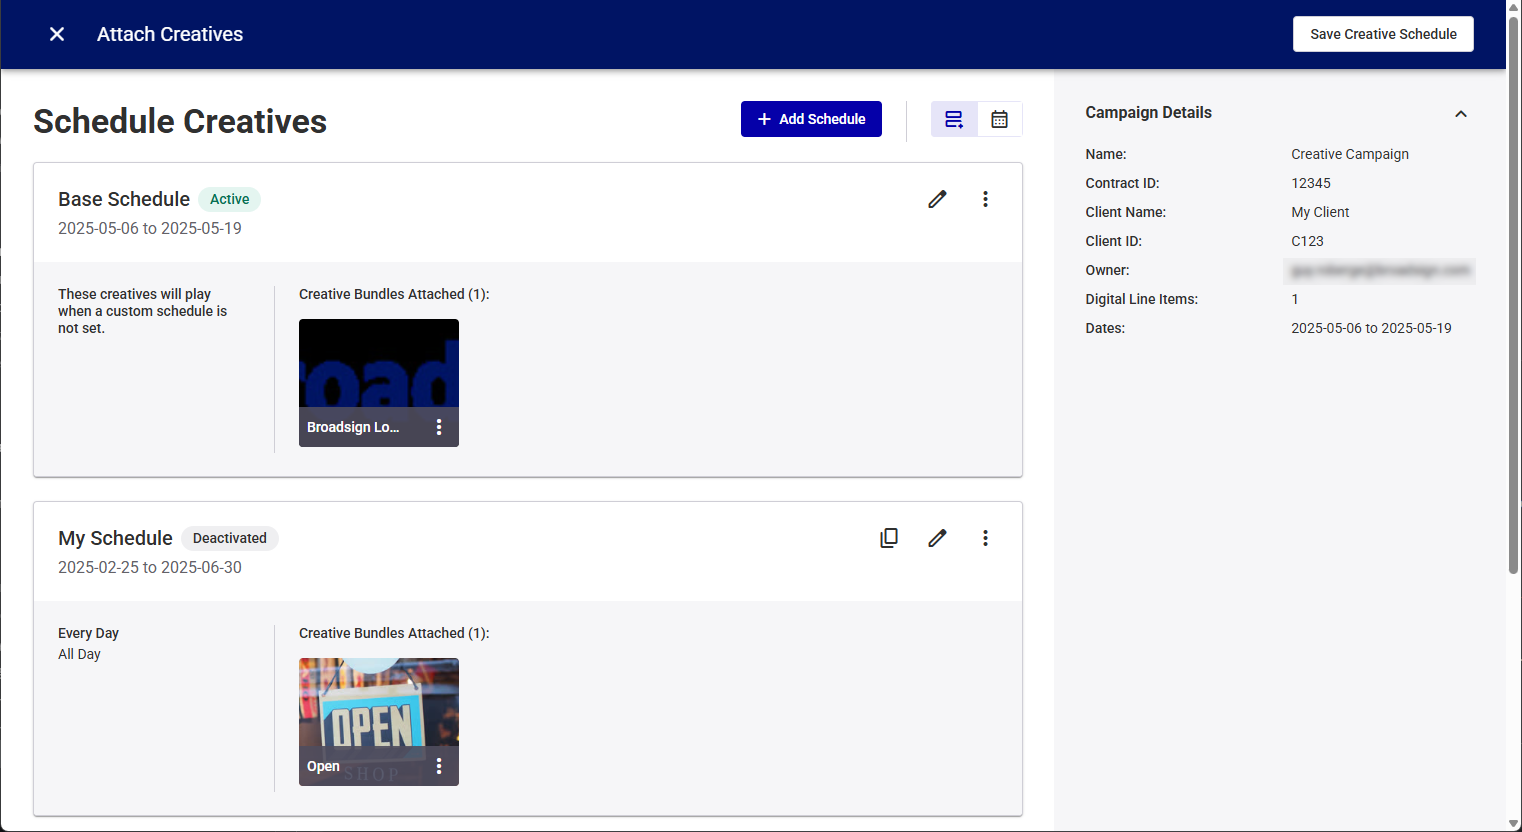
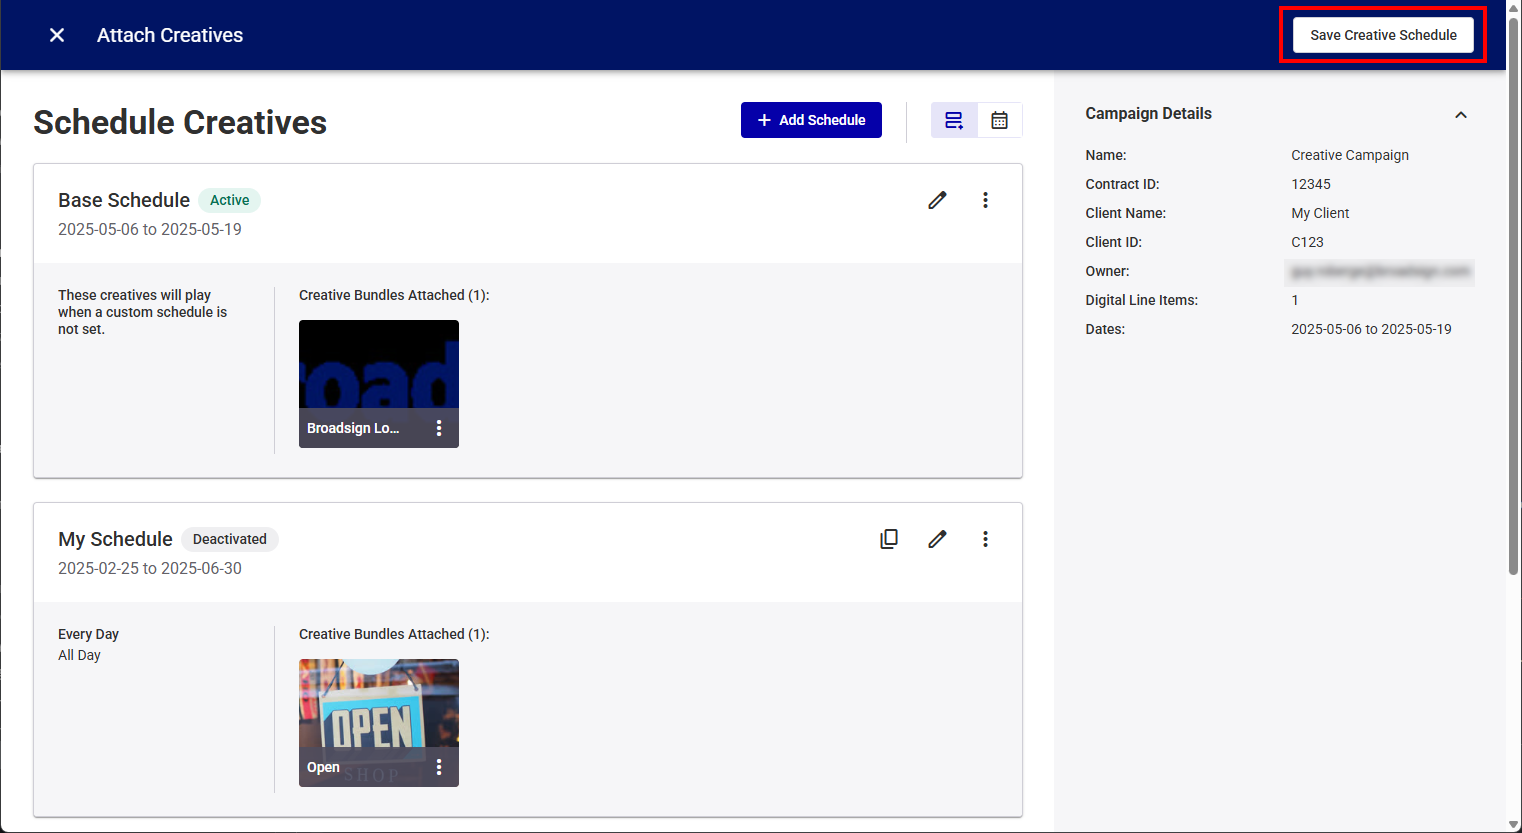
This page indicates whether a schedule is Active or Deactivated.
The Schedule Creatives page has all the active schedules and assigned creatives information for the campaign in either List view or Calendar view.
This page allows you to perform several operations.
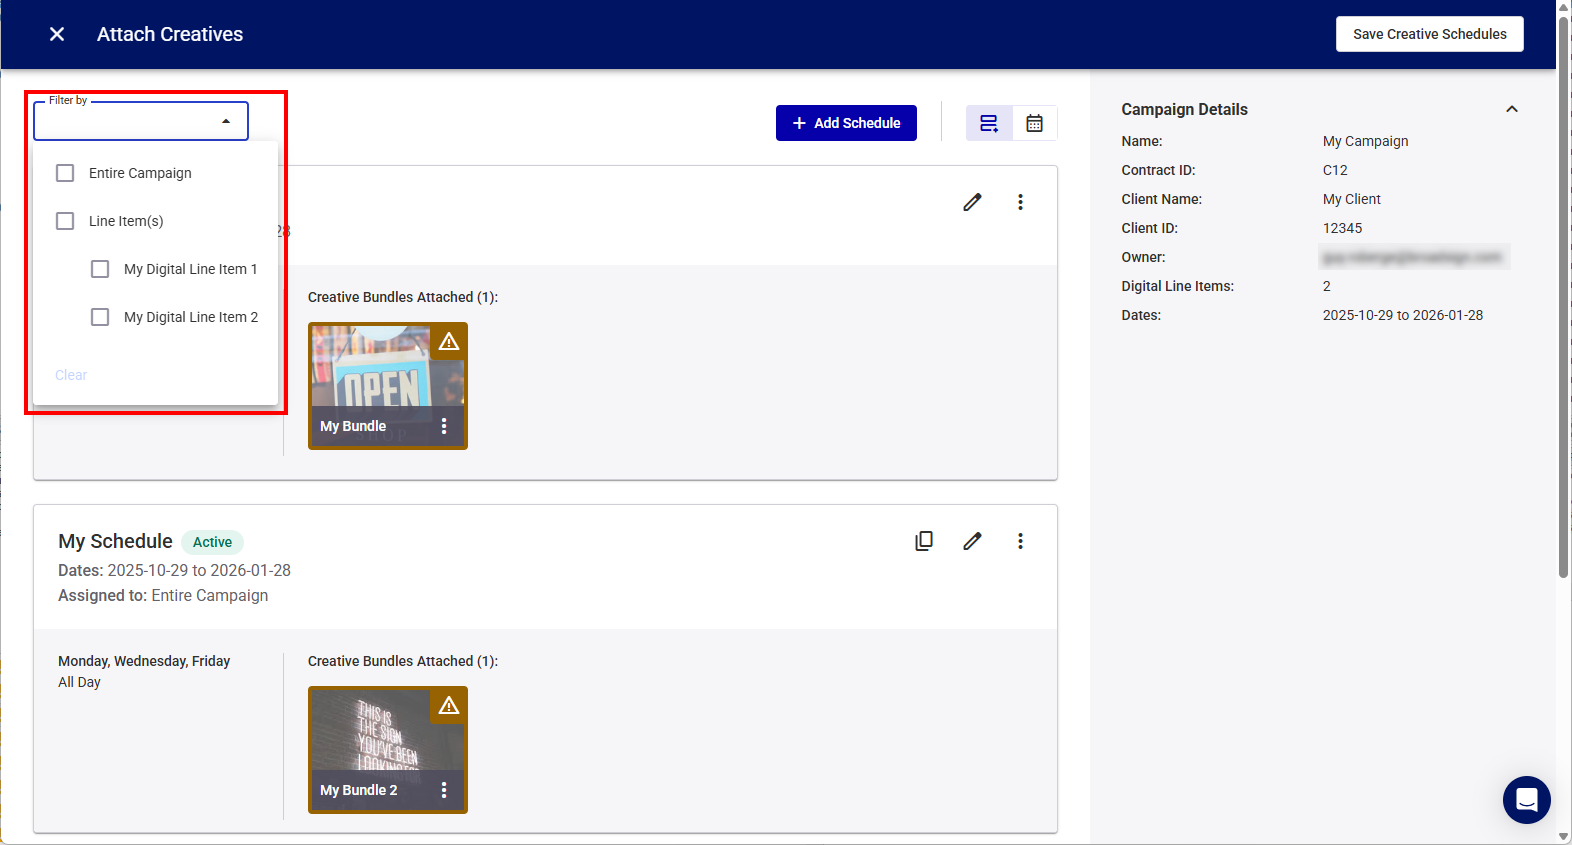
The View drop-down menu lists all the Campaign Level (such as the Base Schedule) and Line Item Specific schedules that are currently available for the campaign. Select which schedules to display by clicking their check box.
Calendar View
Guaranteed Campaigns
You can switch to Calendar view from the List view by clicking the ![]() icon.
icon.
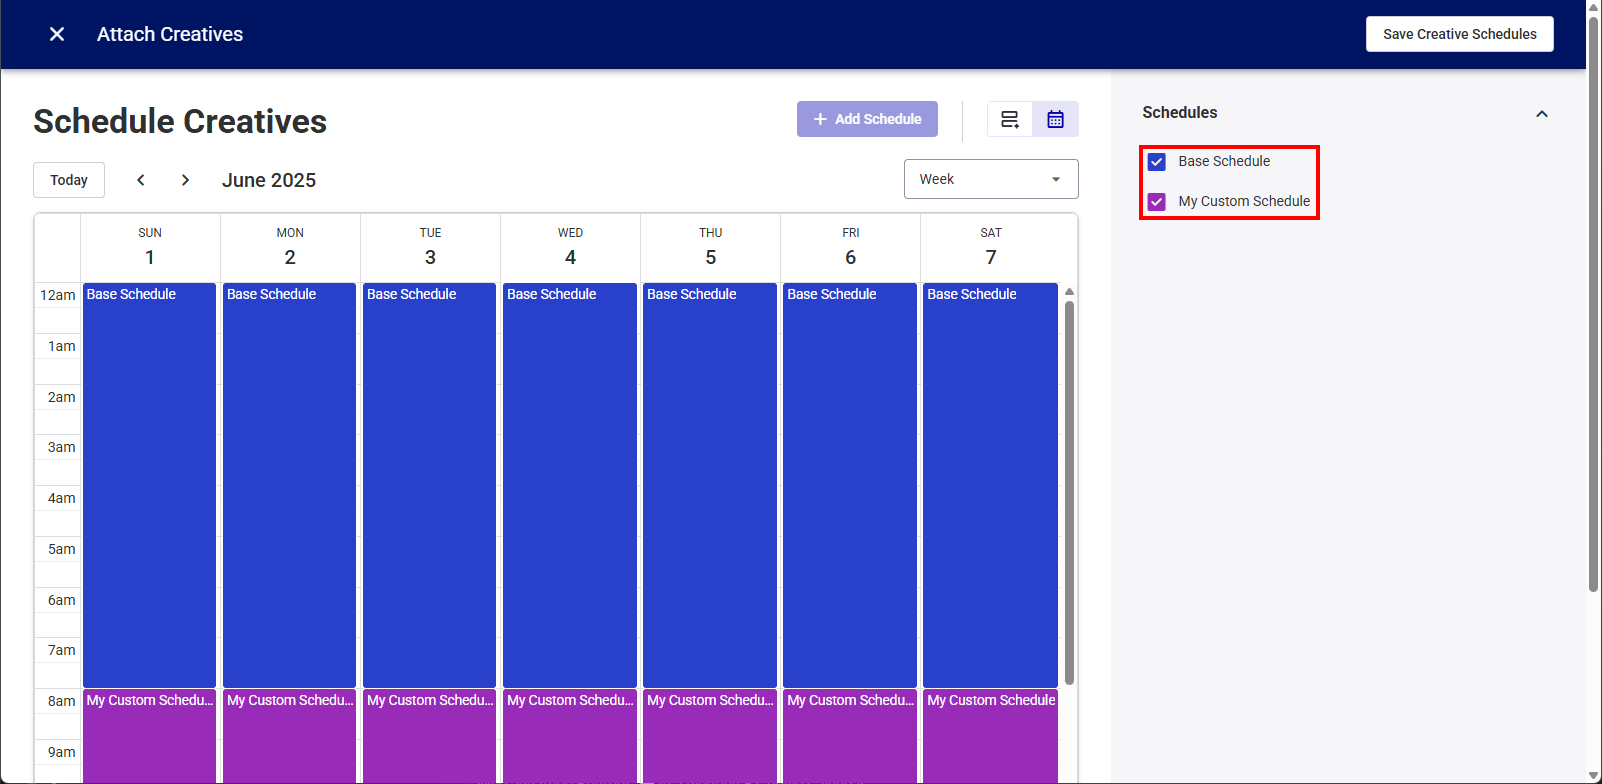
The Calendar View displays all active schedules within a campaign in a daily, weekly, or monthly format, which can be selected from the drop-down menu.

The system automatically assigns a color code to each schedule. In the right section, you can select the checkbox next to specific schedules to display them. By default, the system selects and displays all schedules.
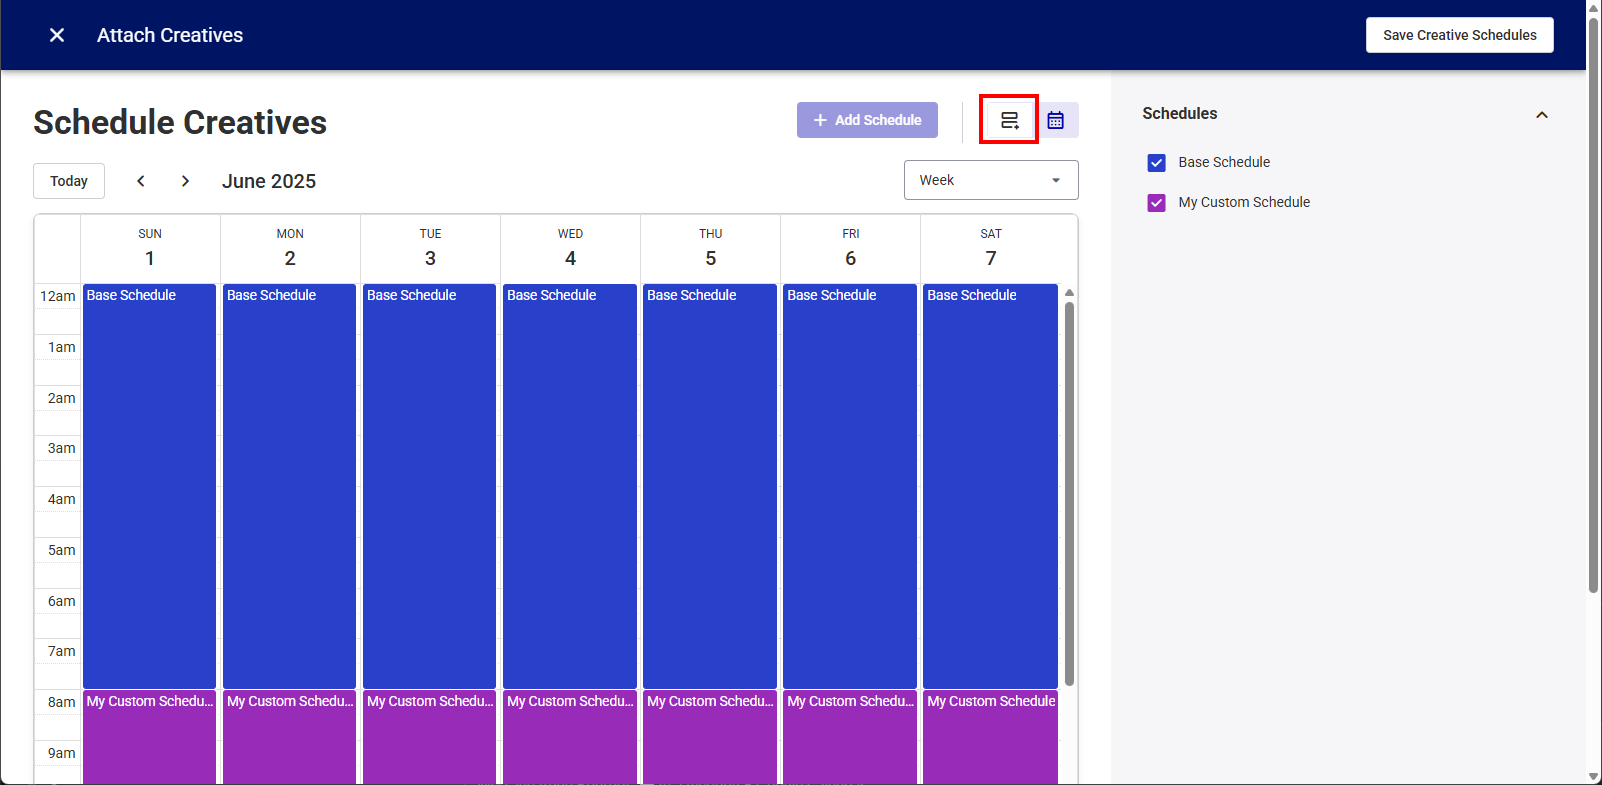
The List view is the default view, but you can switch to it from the Calendar view by clicking the ![]() icon.
icon.
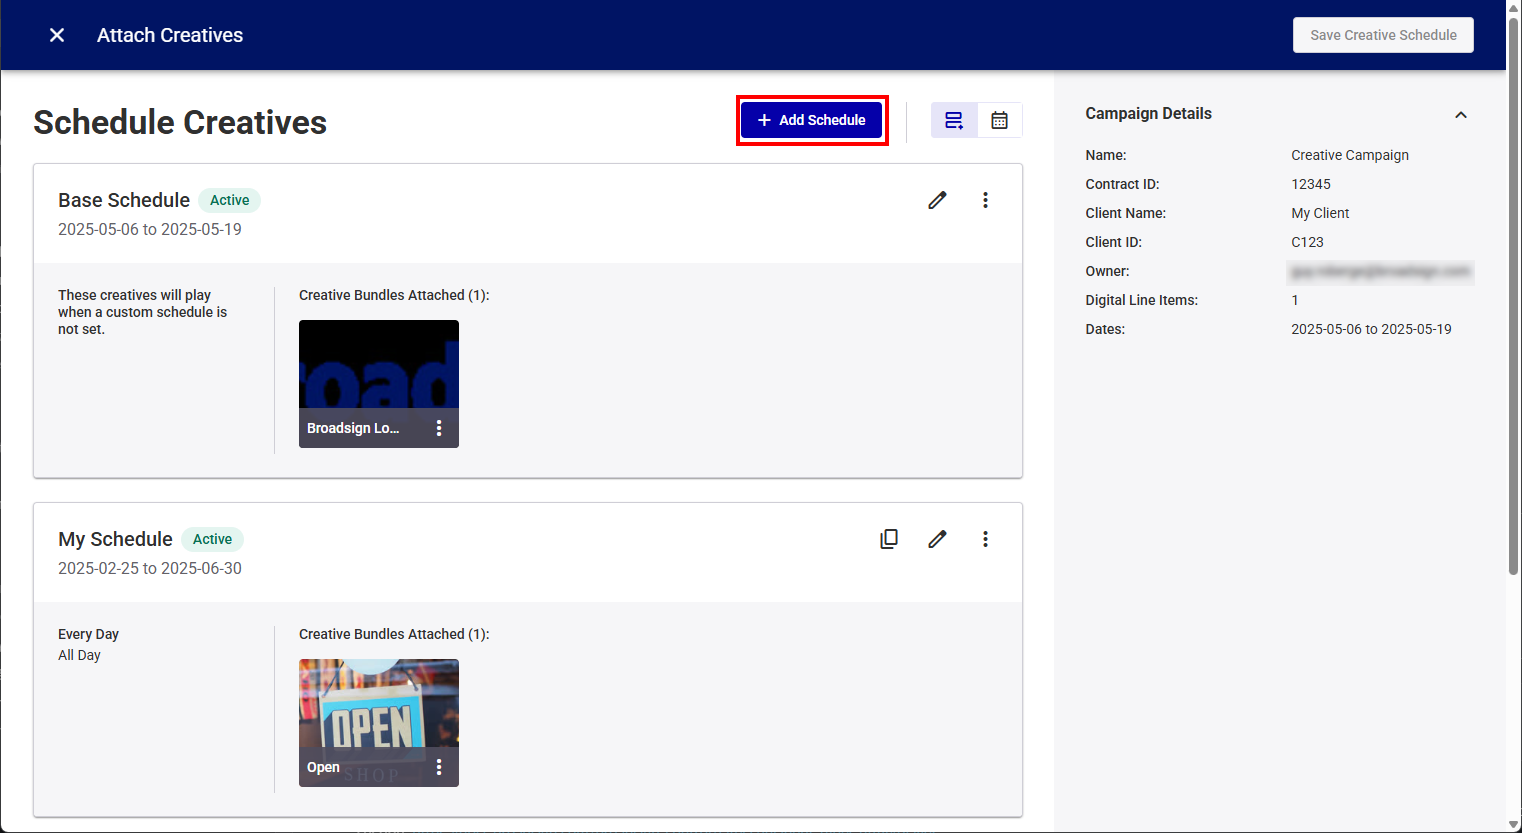
Add a schedule by clicking the Add Schedule button and start the process at Step 2 – Create a Custom Schedule.
Edit a Schedule
Guaranteed Campaigns
Edit a schedule by clicking the ![]() button.
button.
- Base Schedule – See Step 3 – Select Bundles.
- Custom Schedule – See Step 2 – Create a Custom Schedule.
Duplicate a Custom Schedule
Guaranteed Campaigns
Duplicate a custom schedule by clicking the ![]() button. The system creates a new custom schedule from this one without the bundles assigned.
button. The system creates a new custom schedule from this one without the bundles assigned.
Note: You cannot duplicate the base schedule.

Delete a Schedule
Guaranteed Campaigns
Delete a schedule by clicking the ![]() button, and then selecting Delete Schedule.
button, and then selecting Delete Schedule.
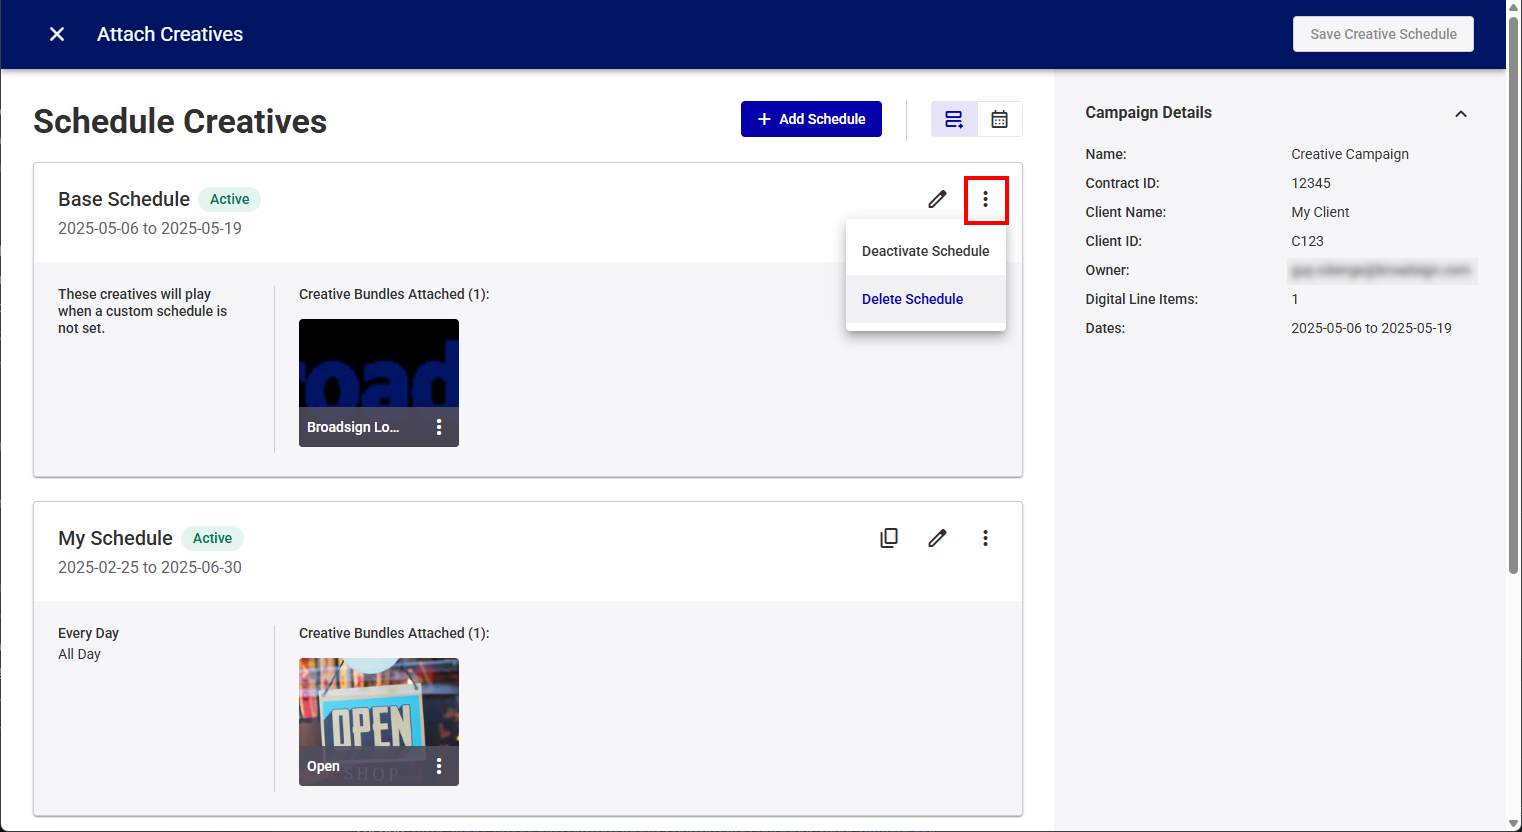
Deactivate a Schedule
Guaranteed Campaigns
Deactivate a schedule by clicking the ![]() button, and then selecting Deactivate Schedule.
button, and then selecting Deactivate Schedule.

This option is available when the schedule has been saved at least once.
Note: If the schedule is the campaign's last schedule, an impact may occur on the delivery and rebalancing of your campaign because no active schedules will contain creatives.
Reactivate a Schedule
Guaranteed Campaigns
Reactivate a deactivated schedule by clicking the ![]() button, and then selecting Reactivate Schedule.
button, and then selecting Reactivate Schedule.

When everything is in order, click the Save Creative Schedule button so that the bundles are attached to the corresponding campaign in our Content and Network Management solution.
You are back to the Campaign Builder, which indicates that the creatives have been assigned to the campaign.
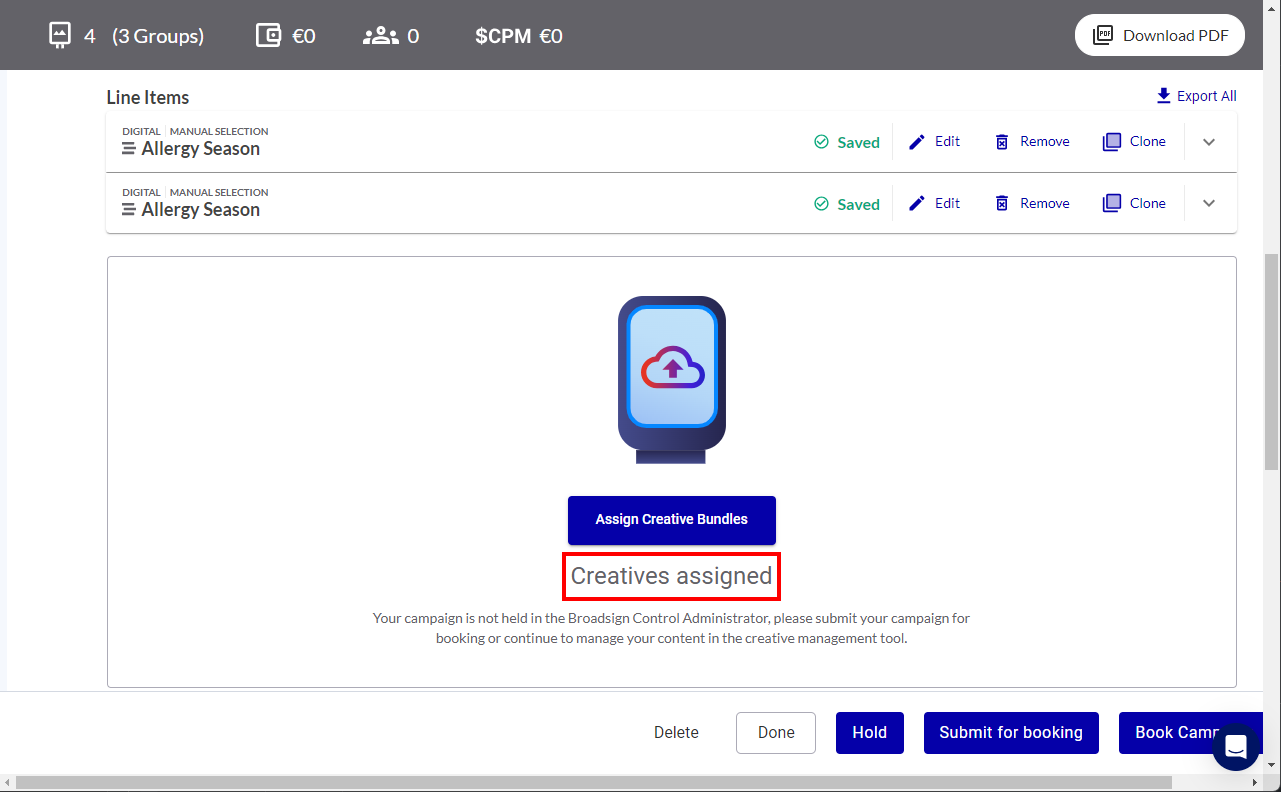
- The creative bundles are assigned to all line items in your campaign.
- A creative bundle can only be assigned once to any given campaign. However, it can be assigned to multiple campaigns.
- Bundles cannot be weighted to appear more than other bundles assigned.
Note: This feature is available only if you are accessing the Creatives tool from the Guaranteed Campaigns module.
You can remove a bundle from a campaign.
To remove creatives bundles from a campaign:
- Access the Guaranteed Campaigns Module.
- Edit a Guaranteed Campaign.
- Click the Assign Creative Bundles button.
- Locate the schedule in which you want to remove a bundle.
- In the schedule card, click the more menu on the bundle that you want to remove from the campaign and select Remove Bundle.
- Bundle is assigned to a delivering campaign:
- Bundle is the last assigned to a delivering campaign:
- Wait for the campaign to finish delivering. Once the campaign is no longer active, you can safely delete the bundle.
- Assign a replacement bundle to the campaign before removing the desired bundle. This ensures uninterrupted delivery of the campaign.
The Campaign Builder is displayed.
The List view of the Schedule Creatives page is displayed.
The bundle is removed from the schedule.
When removing bundles from an active campaign, two warnings can be displayed:
You can unassign a bundle from a delivering campaign without any restrictions. This action simply removes the bundle from the campaign's delivery schedule.
If the bundle you are attempting to remove is the last one assigned to a delivering campaign, you are blocked from deleting it. This restriction ensures that the campaign continues to have a bundle available for delivery.
To proceed with removing the bundle, you have two options:
