Attributes are additional customer specific labels. For example, attributes can be used to create networks of inventory, portrait or landscape may be configured as attributes or any other custom data element needed.
Attributes are typically configured at implementation and do not change frequently. However, adding new attributes can be accomplished easily by administrators.
With respect to the Scheduling Groups feature, attributes can be used to create restrictions for use as filters.
To add an Inventory attribute:
- Log in to Broadsign Ayuda.
- Select Admin.
- Select Attributes and then the Inventory tile.
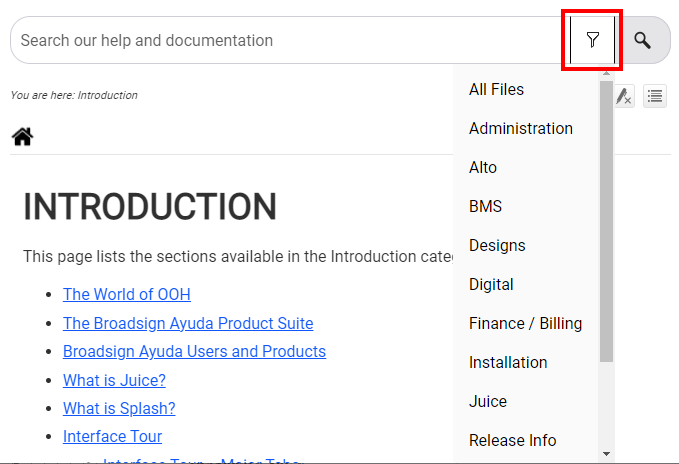
- Click the
 icon to create a new attribute.
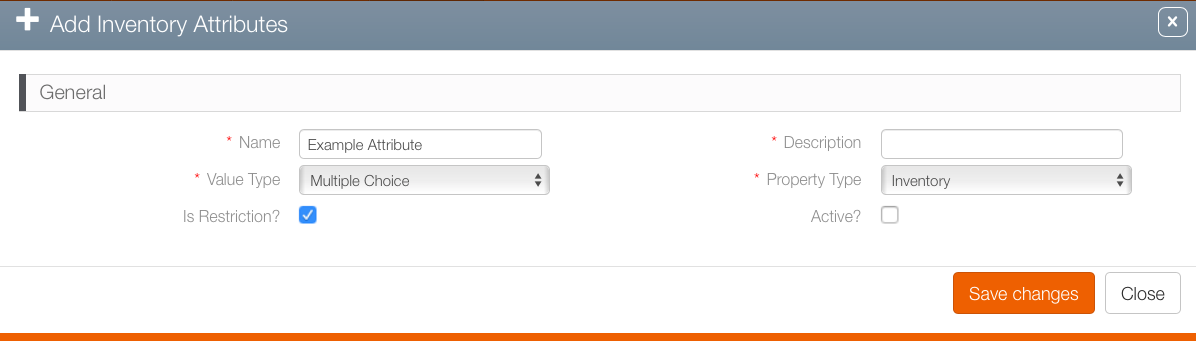
 - Enter a Name and Description so that the attribute's purpose is clear.
- Value Type – There are three options in this drop down list: Number, Text and Multiple. To be able to use Inventory Attributes as filters, define them as Restrictions. To do this, select Multiple Choice. See Multiple Choice for more information.
- Property Type – Select where this attribute will be applied. The options presented will be different at every Broadsign Ayuda customer but examples may include:
- Advertiser
- Agency
- Bundle
- Campaign
- Face Pack
- Finance
- Interest
- Lease
- Lessor
- Personnel
- Posting Company
- Vendor
- Active – This check box must be enabled for the attribute to take effect.
- Click Save Changes.
This presents a filter search window.
This presents the Add Inventory Attributes dialogue box.
The following steps describe how to add a multiple choice attribute.
To add a multiple choice attribute:
- Select the Multiple Choice option in the Add Inventory Attributes dialogue box (see above).
- Click Save Changes.
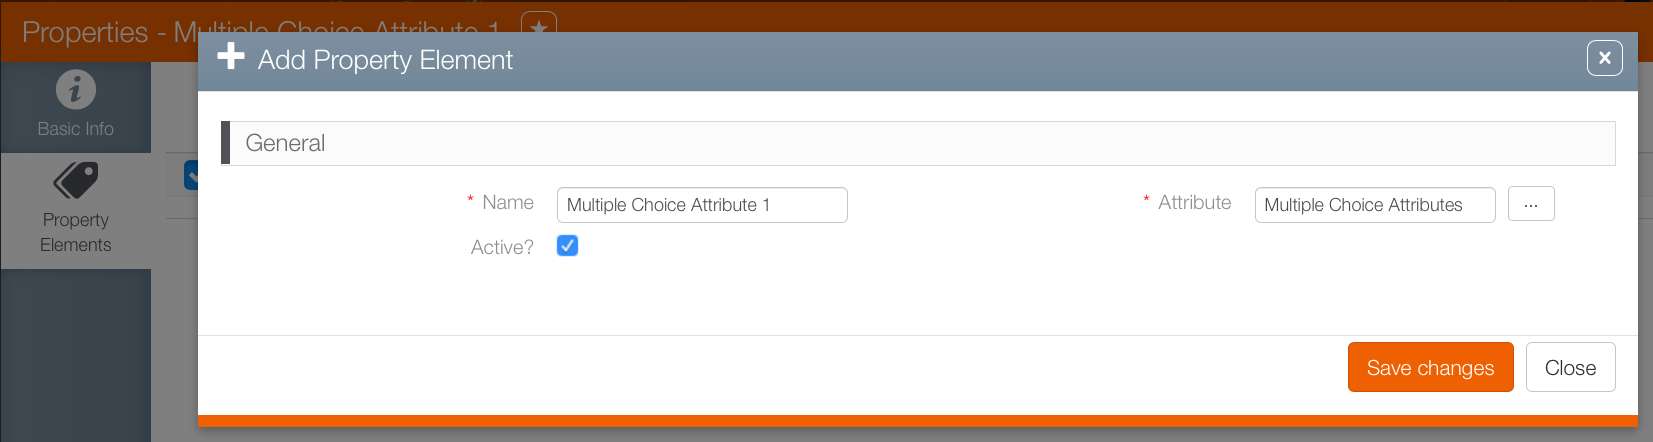
- Select the Property Elements tab and then click the icon to create the options to be included in this multiple choice attribute.
- Enter a Name and choose the attribute to which it applies. By default, the current attribute is selected. If a different attribute is needed, click the Ellipses (...) button to select a different attribute.
- Ensure that the Active check box is selected otherwise the multiple choice option will be created but not available.
- Click Save Changes.
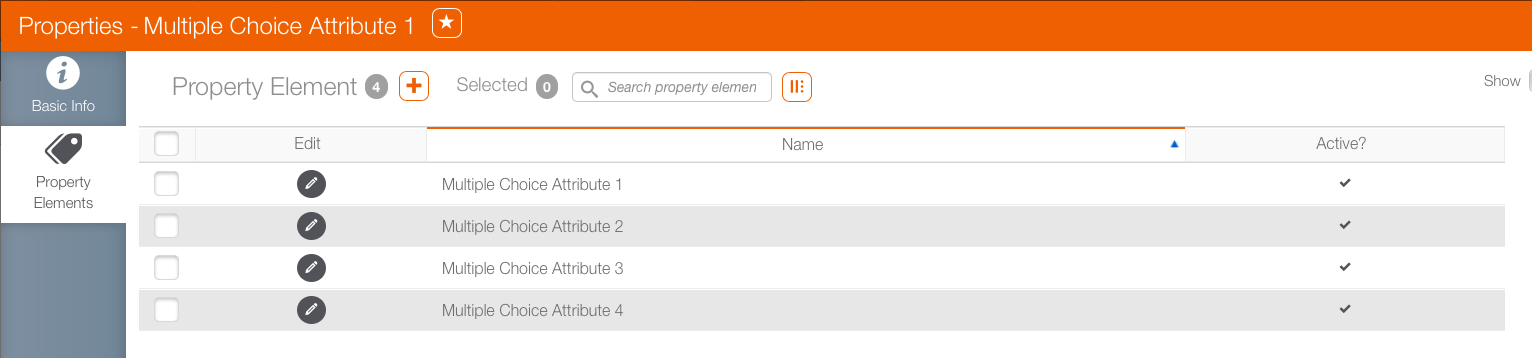
- Repeat the process until all of the needed multiple choice options are created for this attribute.
- Within Splash choose Assets, and then click the Faces tile.
- Create a filter to locate the digital face to which the attribute must be applied and click Search.
- Locate the face in the search results then double-click the face.
- Scroll down the tabs on the left and select Attributes.
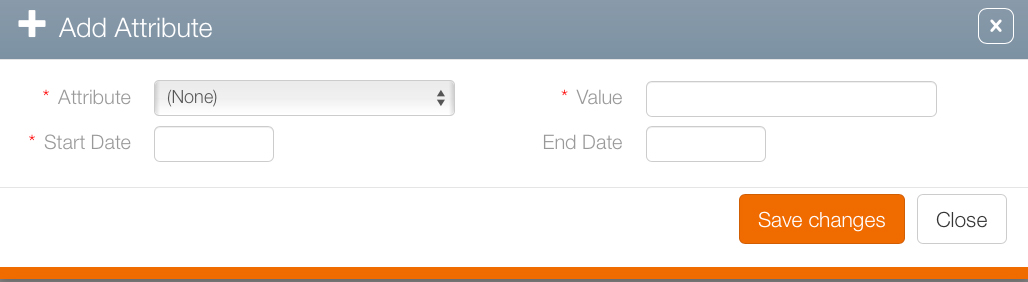
- If there is an existing attribute, double-click it to edit it, select it and then click the trash icon to delete it, or click the icon to associate an attribute to this element in the system, in this example, a face.
- Select the necessary attribute from the Attribute drop down menu and provide a value for it in the Value field.
- Enter a Start Date for the attribute to take effect.
- Click Save Changes.
The screen refreshes. The Properties record has a new tab for creating the attribute's multiple choice options.

This present the Add Property Element dialogue box.
Now that the options for the multiple choice item are created the next step is to indicate where these attributes apply. Without selecting where the attribute is to be used, it will exist but not become active.
Tip: We suggest to perform a Refresh System Data operation so that the Attributes are available.
This presents a filter search window.
This opens the face record's Basic Info screen.
![]()
This refreshes the screen to show which attributes have been selected.
This opens the Add Attribute dialogue box
For multiple choice attributes, the value will become a drop down menu showing the attributes created above. For example:

