Frames
Frames are sections of the player's screen to which you can schedule content for display. You can target content to frames using campaigns.
Each frame has its own loop, which is governed by a loop policy. This loop is a block of airtime that can be booked by multiple campaigns and displayed one after the other, creating a sequence of repeated ads.
The "Display Units" training video, in which we cover "frames", is part of the "Network Setup" playlist:
- 1 of 5: Loop Policy
- 2 of 5: Criteria
- 3 of 5: Display Types
- 4 of 5: Register a Player
- 5 of 5: Display Units (below)
Note: If you are new to Broadsign Control, we suggest you start with the Network Setup playlist.
Display Units – Describes how to create, configure and clone display units. You can find frames, in particular, starting at 7:30.
Display Units
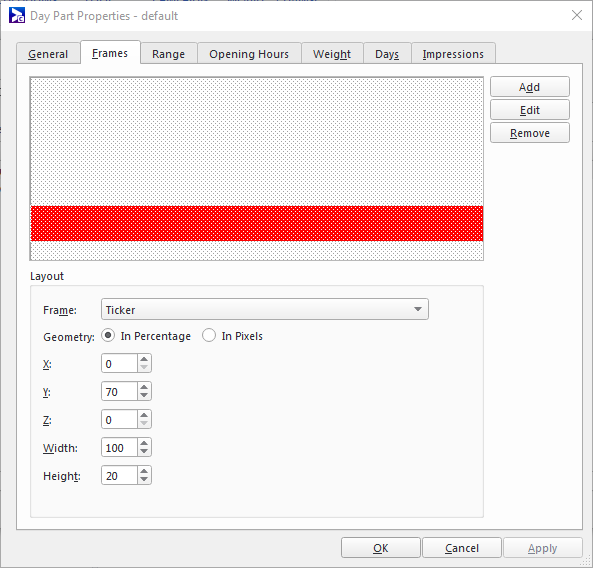
Frames are created within day parts, in the Frames tab of the Day Part Properties dialog. A single day part can contain multiple frames arranged across the visible display area, each displaying its own content. These frames are displayed on the player when the day part is in effect.
Assigned Loop Policy
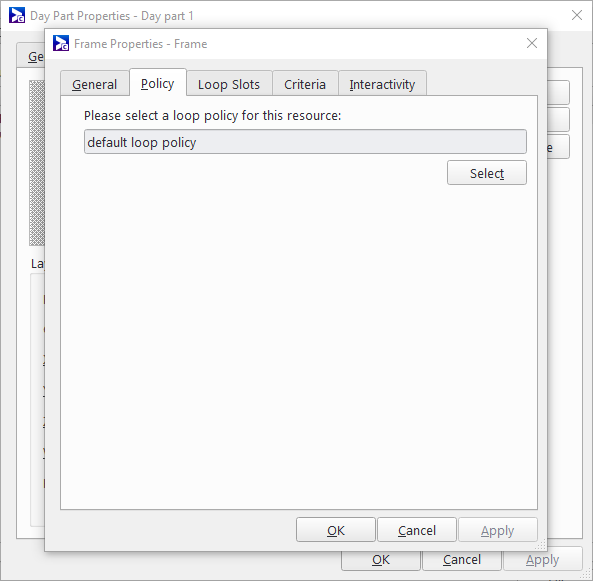
When creating a frame, a loop policy must be assigned to it to define its playlist loop. The assigned loop policy for a frame is listed in the Policy tab of the Frame Properties dialog. The assigned loop policy can be changed after the frame is created.
Assigned Criteria
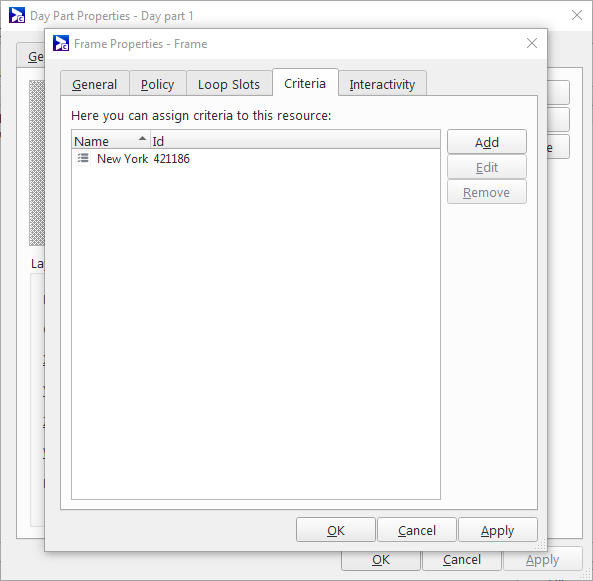
The criteria resources assigned to a frame can be viewed in the Criteria tab of the Frame Properties dialog.
Criteria are the mechanisms in Broadsign Control Administrator for classifying frames to facilitate and improve targeting when booking a campaign. Other criteria can be assigned or removed through this tab as well.
If you add or remove criteria from a frame, you may be prompted to add or remove the frame from any campaigns affected by the criteria change. This prompt can be enabled and disabled in Broadsign Control Administrator options under Campaigns and Events. See Campaign Options.
Criteria can also be used to set custom geometries on a frame that will allow an ad copy to "break out" of the default size of the frame to take over all or part of the screen. If your network has a use case where campaigns needs to change their frame layout on the fly, having multiple criteria with custom frame geometries assigned to each frame will allow this. When a custom geometry is called, the campaign will take over the designated area of the screen for the duration of its playback and then return to the original size (unless another custom geometry is called). Frames on different Z layers will not be affected by the changing geometry, however frames on the same Z-layer that the new custom geometry conflict with will be stopped for the duration of the campaign.
Overlapping Frames
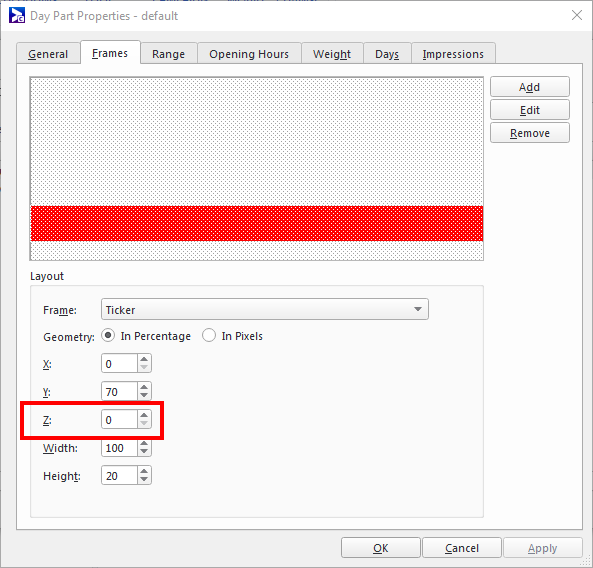
To create a frame that layers on top of another, specify a higher Z value for the respective frame in the Day Parts Properties window. The higher Z-valued frame will then cover the frame beneath it.
Interactivity
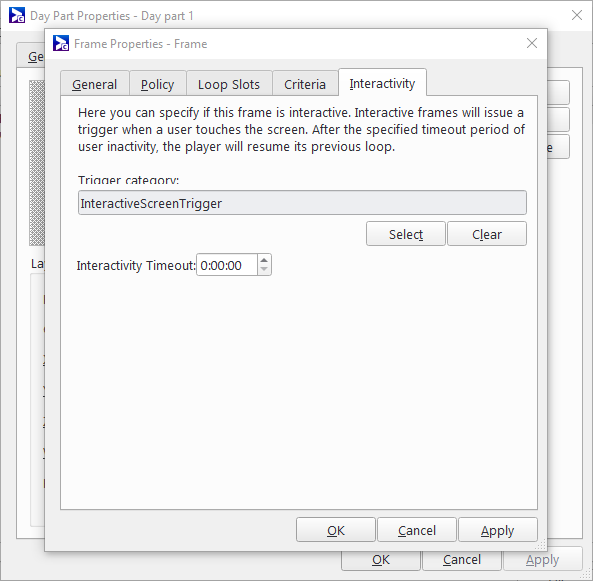
On touch enabled displays, you can automatically send a trigger upon a touch event to enable interactive content. You can also specify a timeout value, at which time the regular loop will resume if no further touch input is provided. The interactivity timeout is reset to 0 every time the users presses a key, or touches an object.
Note: The interactive triggered campaign is limited by its duration regardless of the timeout period. If you do not want the campaign to end too soon, you must either ensure that the duration of the campaign is long enough, or edit the bundle properties to enable both the Unlimited duration and Override slot duration parameters. For more information, see The General Section.
Typically, this feature is used to display an attract loop , that is a loop of content that beckons members of the audience to interact with it. Upon interaction, a fully interactive app (HTML) takes over the display. When the user has stopped using the interactive app, the timeout will be reached and the player will resume the attract loop, that is like a screensaver.
After you have configured frames on your network, you can then move on to other basic steps:

