This tutorial describes how to set up an interactive screen so that whenever a user touches the screen, it plays the interactive content. Such interactive content could be, for instance, a wayfinding app, a reservation portal or a catalog.
First, we need to clarify the difference between regular content, interactivity triggering, and triggered content:
- Regular content – Refers to campaigns targeting your display unit’s frame. They will play when and where specified. These campaigns are not required for interactivity.
- Interactivity triggering – If the screen is touched when it is playing, this will trigger supplementary content such as a catalog or web page.
- Triggered content – Refers to the frame that receives the interactivity trigger. The content/campaign is the response.
Prerequisites
Interactivity is an advanced feature. Before configuring it, ensure that you are familiar with the following:
Workflow
In general, the workflow to execute interactivity is:
- Create a Follower loop policy
- Create a trigger category
- Assign the loop policy to a frame
- Book a campaign that will play the interactive content
Notes
As you set up interactivity, keep in mind the following:
- The interactive campaign plays as the response to the trigger on the frame.
- When activated, the triggered campaign interrupts the loop on the frame, and plays.
- When the interactive campaign finishes playing, the player returns to the interrupted loop and replays the disrupted slot.
Interactivity requires a Follower loop policy.
To create a loop policy:
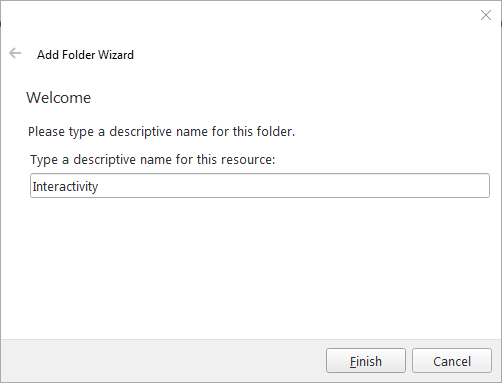
- To keep things organized, for this tutorial we recommend that you create a loop policy folder called "Interactivity".
- In the Interactivity folder, add a loop policy called "InteractiveScreen".
- Set the Policy Settings to whatever you want. They are unimportant for this tutorial.
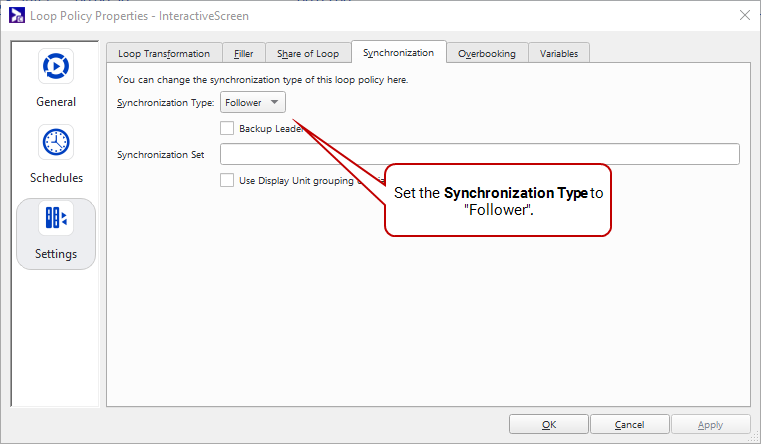
- Open the Loop Policy Properties. Go to Settings > Synchronization.
- Set the Synchronization Type to Follower.
When a user touches an interactive screen, it sends a trigger that will open the assigned interactive campaign. We must define this trigger.
To create a trigger category:
- To keep things organized, for this tutorial we recommend that you create a trigger folder called "Interactivity".
- In the Interactivity folder, add a trigger called "InteractiveScreenTrigger".
- Set the Category Type to Trigger.
- Click Finish.
You must set up your screen so that, if it is touched, it will trigger the interactivity process and play a designated campaign.
To set an interactivity trigger:
- Create a display unit.
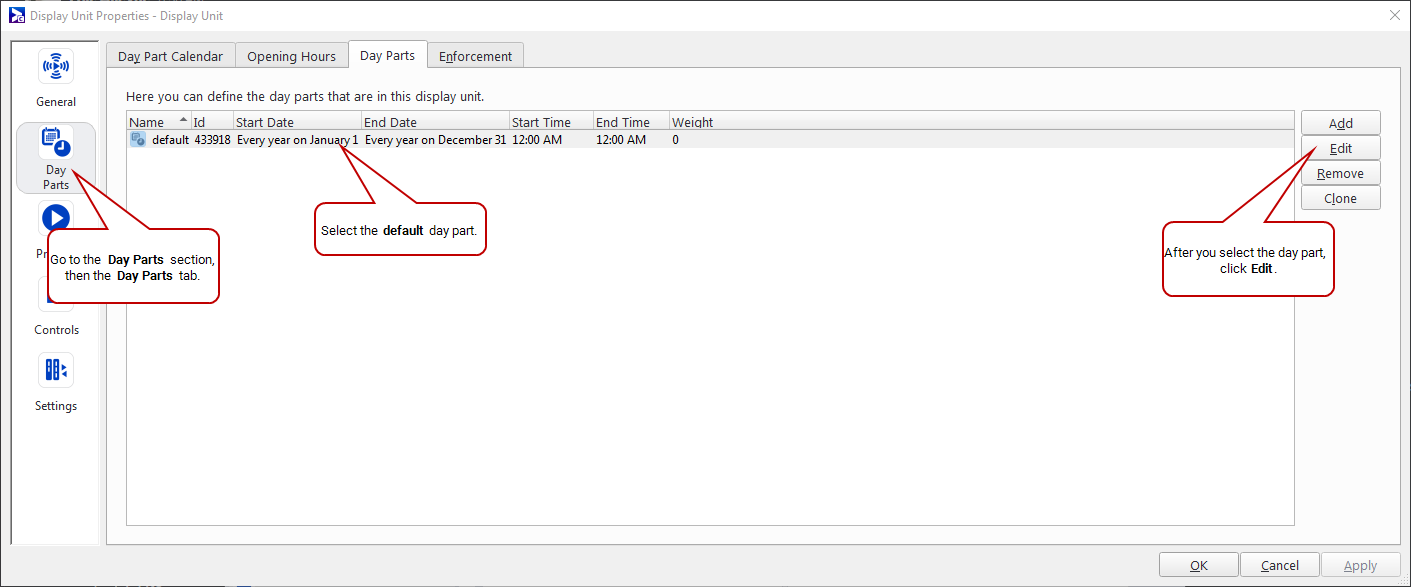
- Open the Display Unit Properties. Go to Day Parts > Day Parts.
- Select the default day part, and then click Edit.
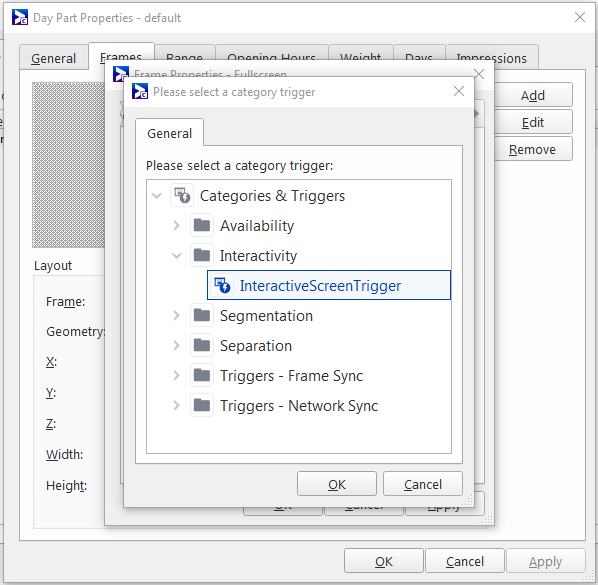
- The Day Part Properties dialogue box opens. Go to the Frames tab.
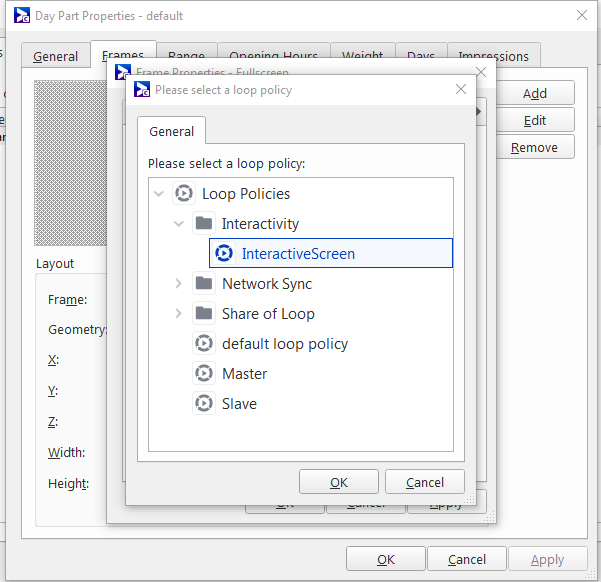
- Select the default "Fullscreen" frame, and click Edit.
- In the Policy tab, select the "InteractiveScreen" policy that we created in Step 1: Create a Loop Policy.
- Click Apply.
- In the Interactivity tab, select the "InteractiveScreenTrigger" trigger that we created in Step 2: Create a Trigger Category. The frame will issue this trigger when a user touches the screen.
- Set the Interactivity Timeout to "10" seconds.
- Click OK.
Tip: You could add a second sidebar frame, for instance, in which to add the interactivity. This is beyond this basic tutorial.
It means that 10 seconds after a person has touched or interacted with the screen, the regular content will resume.
You must now book a campaign with the content that will be displayed when your screen is touched.
To book a campaign:
- Book a campaign. Pay special attention to the following pages in the Add Campaign Wizard:
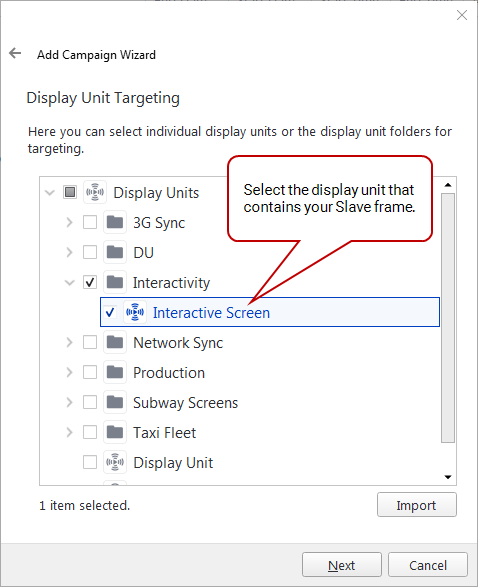
- Display Unit Targeting – Select the display unit that contains the frame created in Step 3: Set an Interactivity Trigger on a Frame.
- Ad Copy Selection – Select the ad copy that you want to play whenever the screen is touched.
- Duration – Set the Duration to more time than what a user would spend on the campaign. For instance, if you set the campaign to play for 10 seconds, it will stop and reset even if a user is currently interacting. So, typically you set the Duration to a value like 30 minutes to make sure that the user is not interrupted while interacting and does not lose their session.
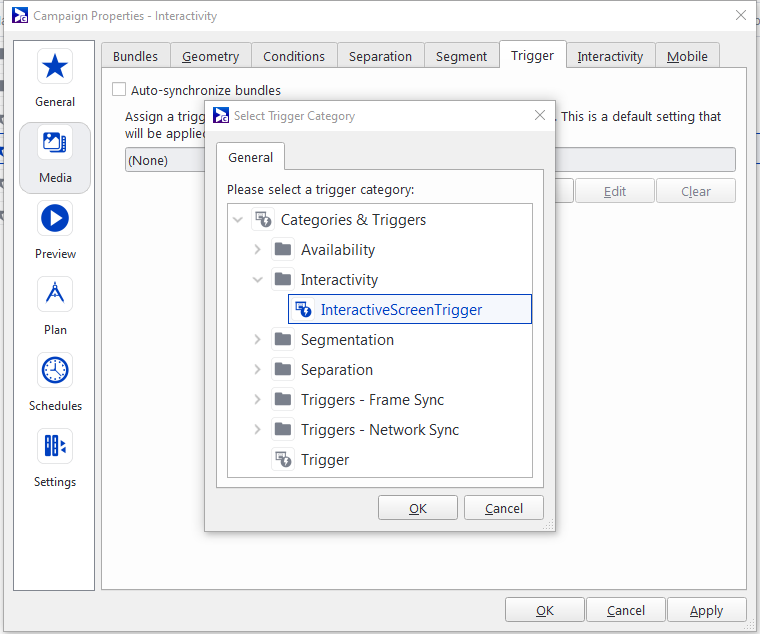
- Open the Campaign Properties. Go to Media > Trigger.
- Select the trigger that we have created in Step 2: Create a Trigger Category.
Finished! You have configured frame interactivity.

