This page describes how to browse through your domain's screens or faces inventory, all with an eye towards generating more proposals and selling more screen time.
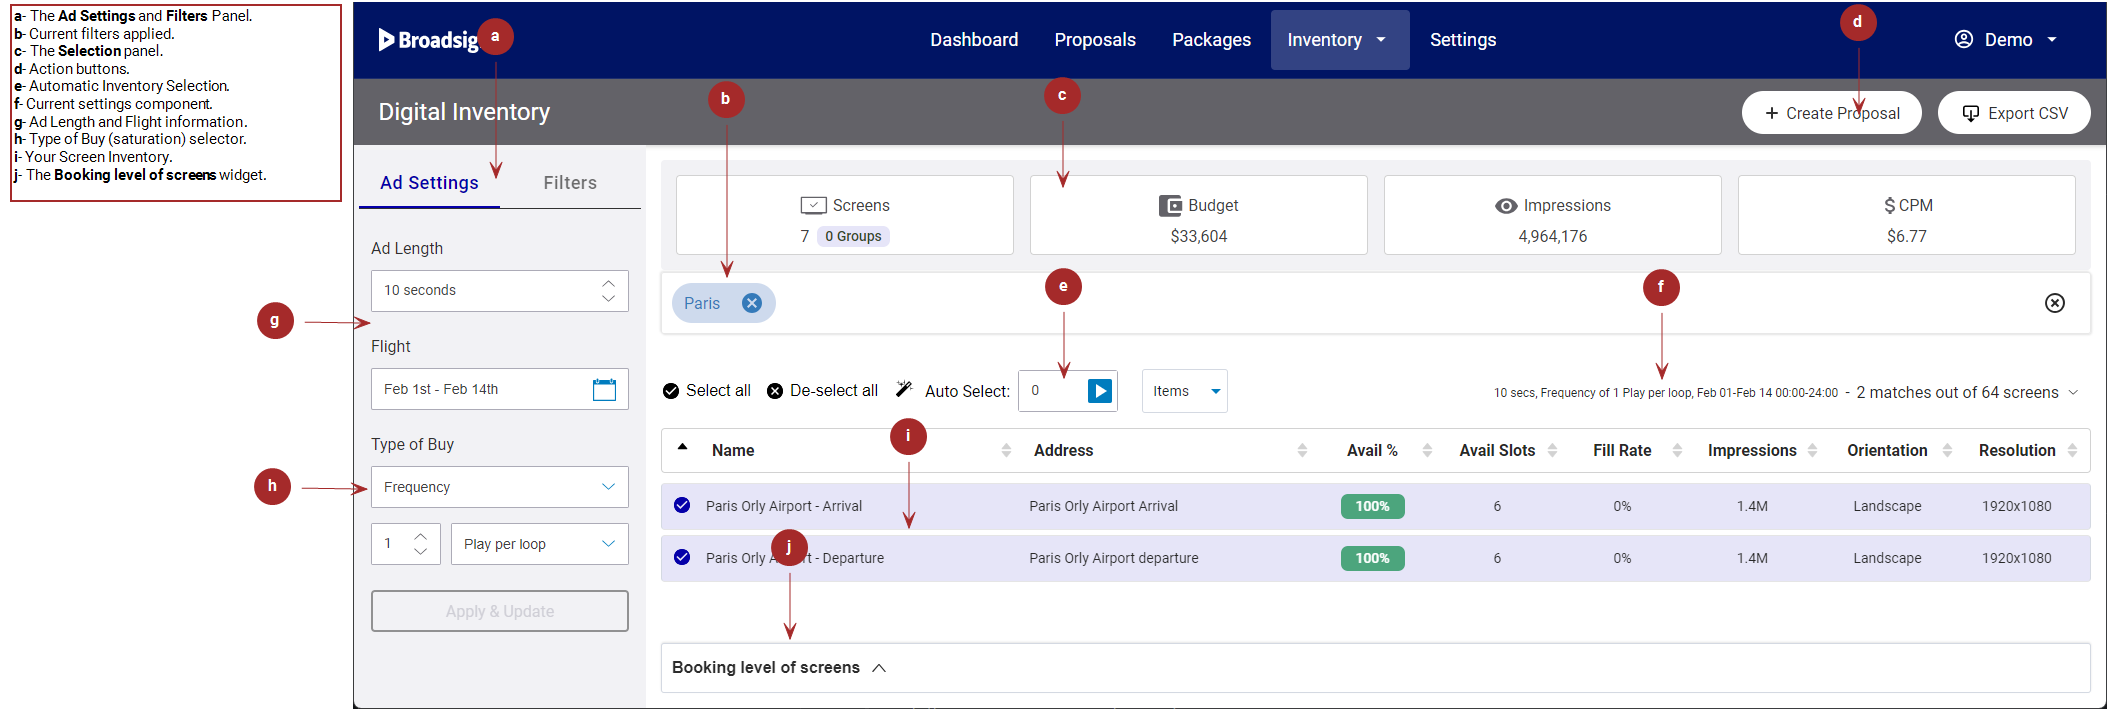
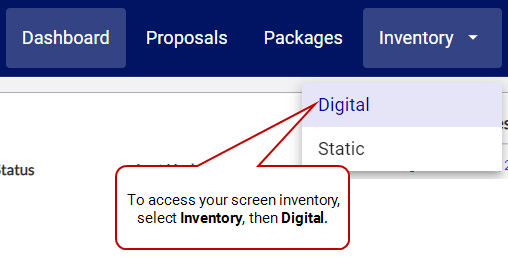
In Broadsign Direct, you browse through your digital inventory on the Digital Inventory Page.
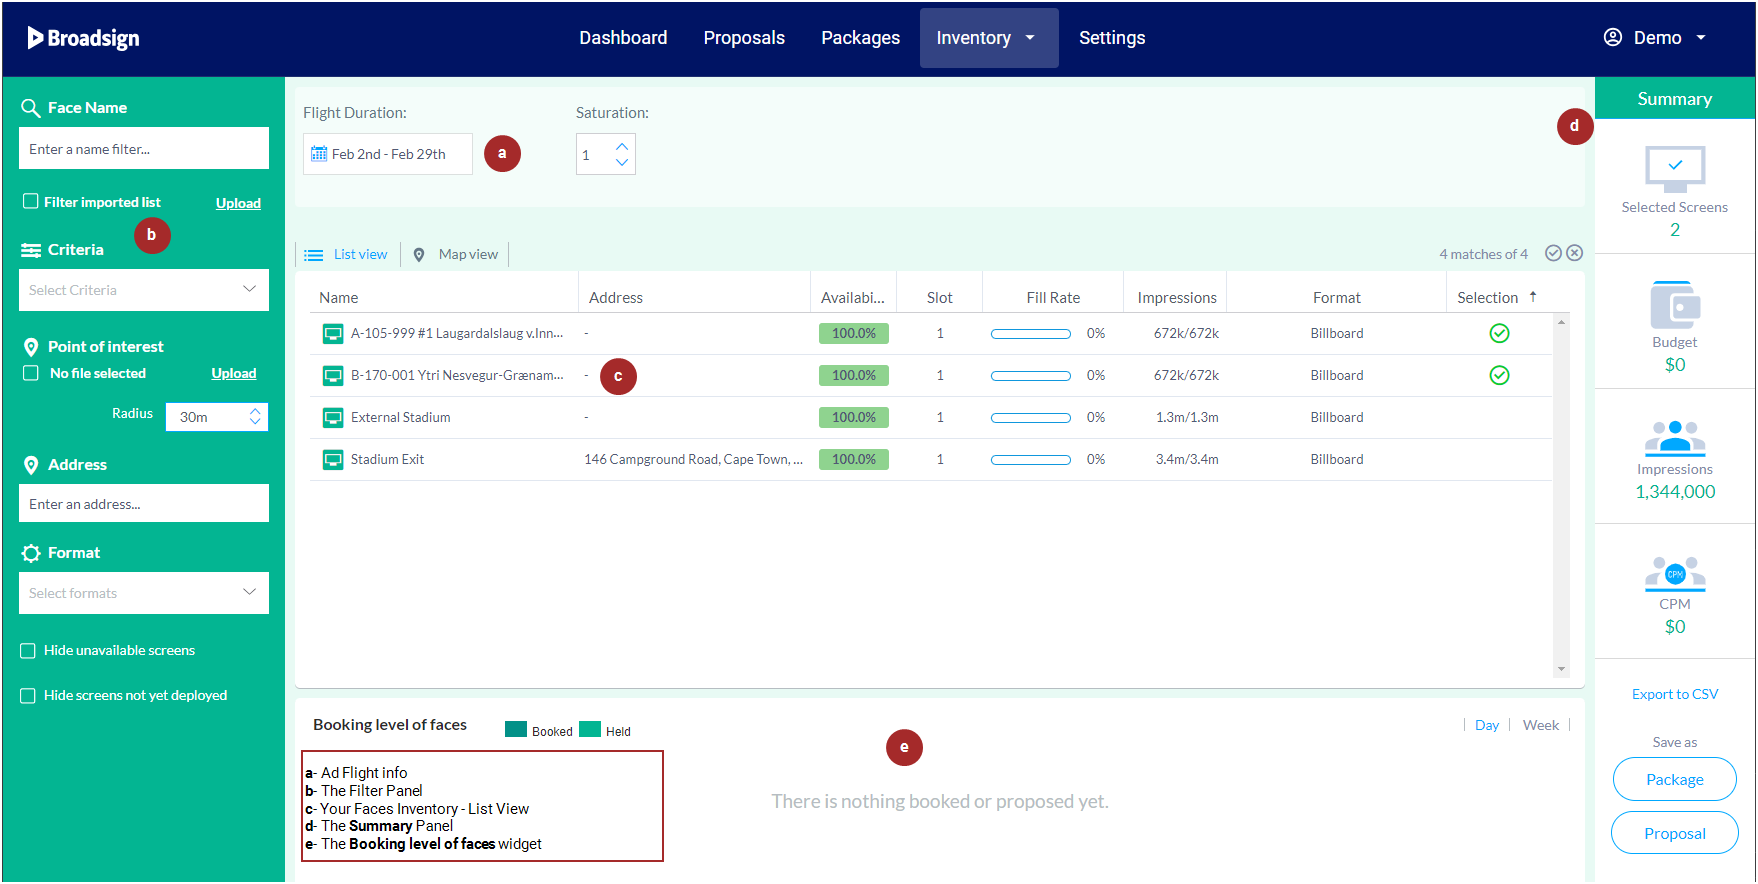
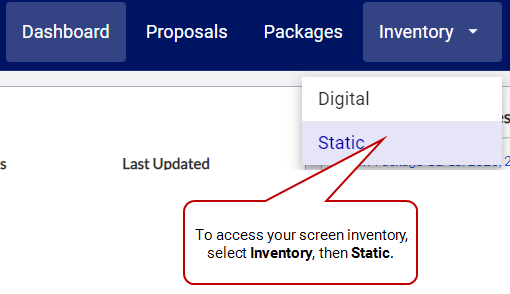
You can also browse through your domain's static faces inventory, which offers the same viewing features, on the Static Inventory Page.
As an overview, it will help to answer a few FAQs.
What is a Screen?
In Broadsign Direct, a screen can refer to a single screen, a single frame on a screen, or a group of screens, for example, a video wall.
What is a Face?
In Broadsign Direct, a face refers to traditional, non-digital, advertising surfaces (posters, billboards, bus wraps, etc.).
What is a Package?
Managers can bundle individual screens into packages for strategic reasons. Sales users are unable to create them. For an overview of packages, see About Packages.
What are the Filters?
The filters are like tags. They will have imported details like screen addresses, criteria, audience information and the like. Select a "tag" to narrow down your screen inventory. Your admin will have imported criteria from Broadsign Control Administrator. For more information, consult your domain Admin.
Broadsign Direct offers different filtering options to filter your inventory:
- Upload a list of screens or screen groups to filter the digital inventory. See Upload a Screen List.
- Use contextual screen filtering to filter your screens based on geographic and demographic data. See Use Contextual Screen Filtering.
- Use criteria to filter the list of available screens. See Search Screens by Criteria.
You can use one or more of these options at the same time.
This section describes how to browse your inventory, especially if you are working with large numbers of screens.
To illustrate, let's look at an example:
Example: You have several hundred screens on your domain. Imagine that you receive an RFP for screens in malls in downtown [city]. The ad flight will run from 01 April - 30 April, from 9 am-10 pm on weekdays. 30-second slots. Saturation at 2 plays per loop. Your potential client wants heavy exposure of the ad, so wants it to appear twice during each loop. Let's use the filter panel to quickly focus on the screens you want.
To browse inventory in list view:
- Log in to Broadsign Direct (we will assume you have logged in as a Sales user) (see User Privileges by Role).
-
Go to the Digital Inventory Page.
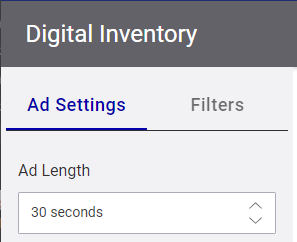
- In the Ad Settings panel, set the Ad Length to "30 seconds".
-
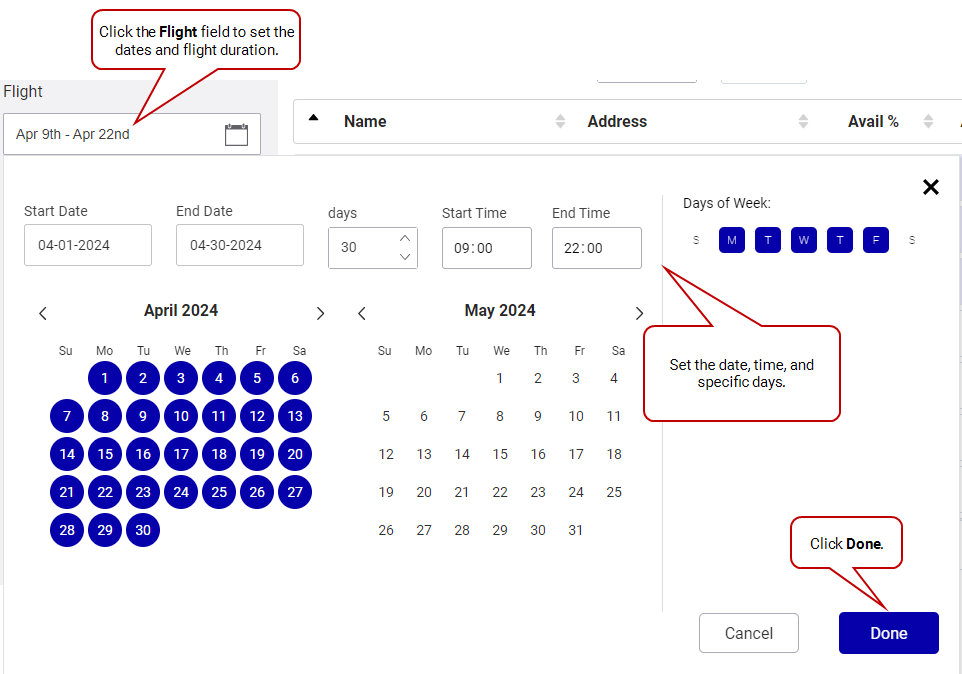
Set the Flight selector:
- Date range: "April 01-April 30"
- Start Time: "09:00"
- End Time: "22:00"
- Days of the week: "M, T, W, T, F"
Note: Once you set the ad flight details, Broadsign Direct will automatically narrow your inventory to those screens that fit.
- Click Done.
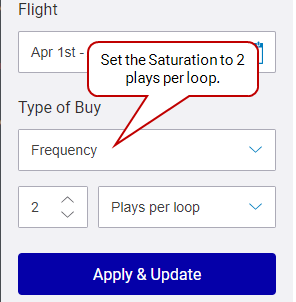
- Set the Saturation at "2 Plays per loop".
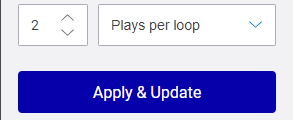
- Click Apply & Update.
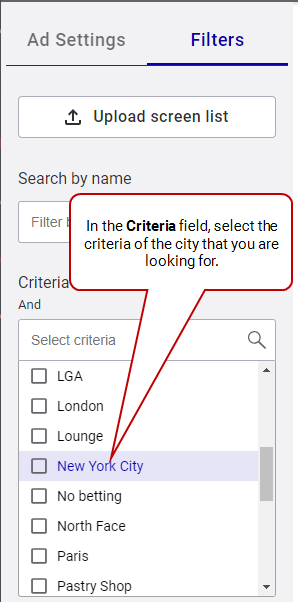
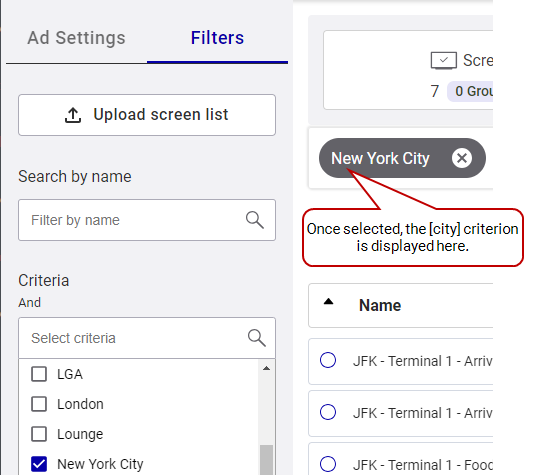
- In the Filters panel, click the Criteria field. You will see a list of criteria that may include the [city] that you are looking for. Select it.
-
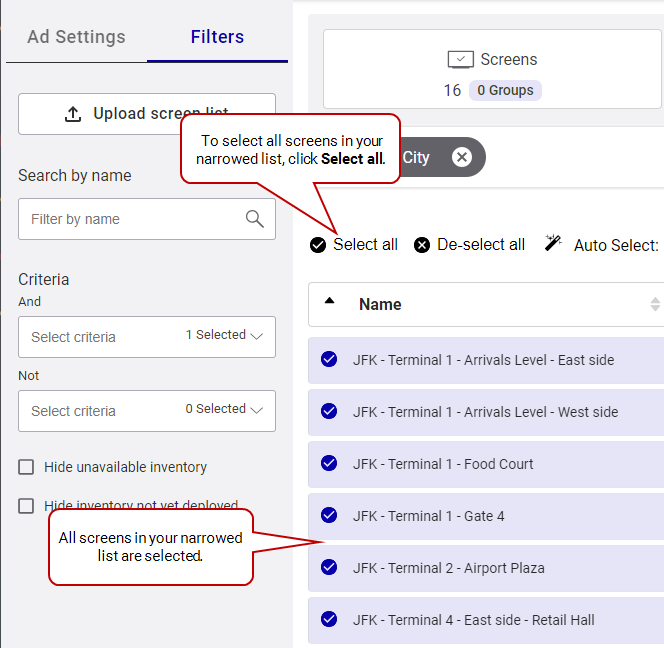
For now, we want to include all screens in the narrowed list. From the top-left corner of the screen list, click Select all. All screens in the narrowed list will have a green check mark in the Selection column.
Note: As you select screens, the Selection panel displays a summary of your choices.
-
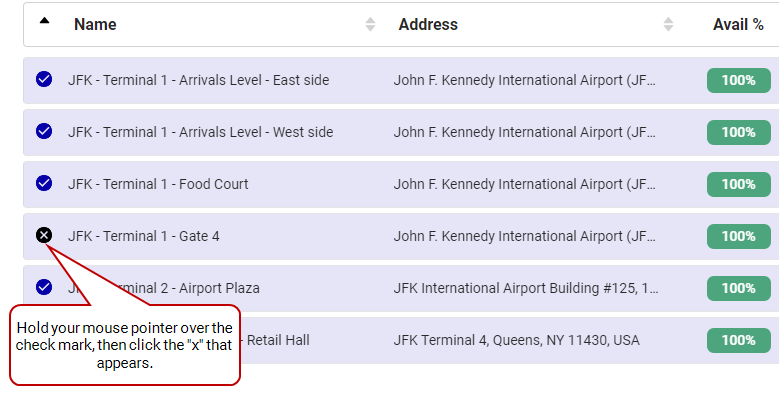
Finally, we realize that some screens are beyond the scope of this proposal. In the Selection column, deselect those screens.
- To create a proposal, click Create Proposal. The Proposal Builder opens.
- For an overview of the Proposal Builder interface, see Proposal Builder.
- For more information about proposals, see About Proposals.
Broadsign Direct narrows the list to include only screens that match the ad flight details.
The [city] filter appears above the screen list. Broadsign Direct narrows the list further to include only screens that match both the ad flight details AND the [city].
You can use a list of faces to filter the static inventory.
To create a filter:
- Log in to Broadsign Direct (we will assume you have logged in as a Sales user) (see User Privileges by Role).
- Go to the Static Inventory Page.
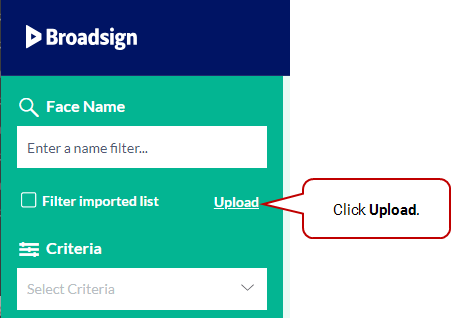
- In the filter panel, click the Upload link under the Screen Name part.
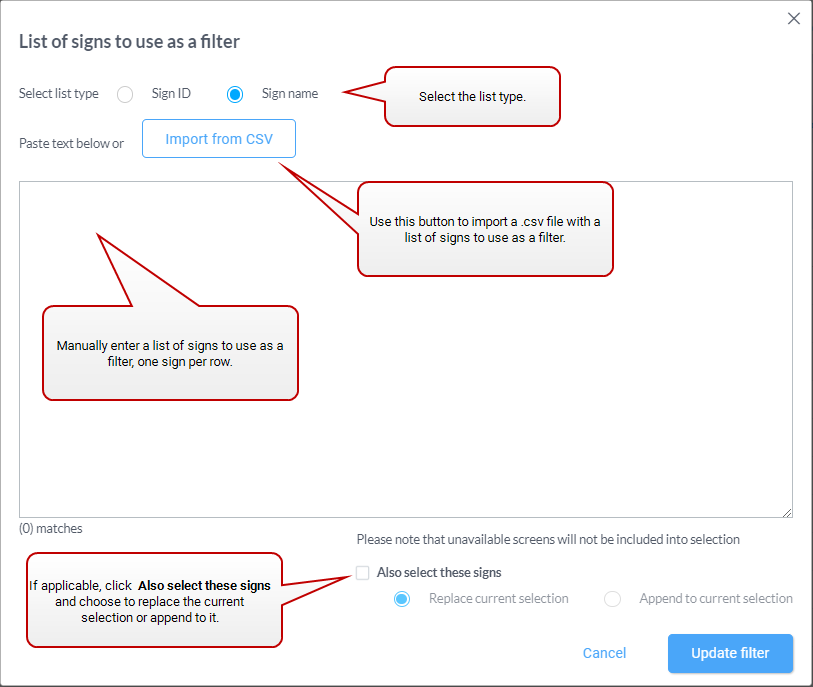
- In the window that is displayed, define the list of screens to use as a filter.
- Select the list type: You can create a list by Sign ID or Sign name.
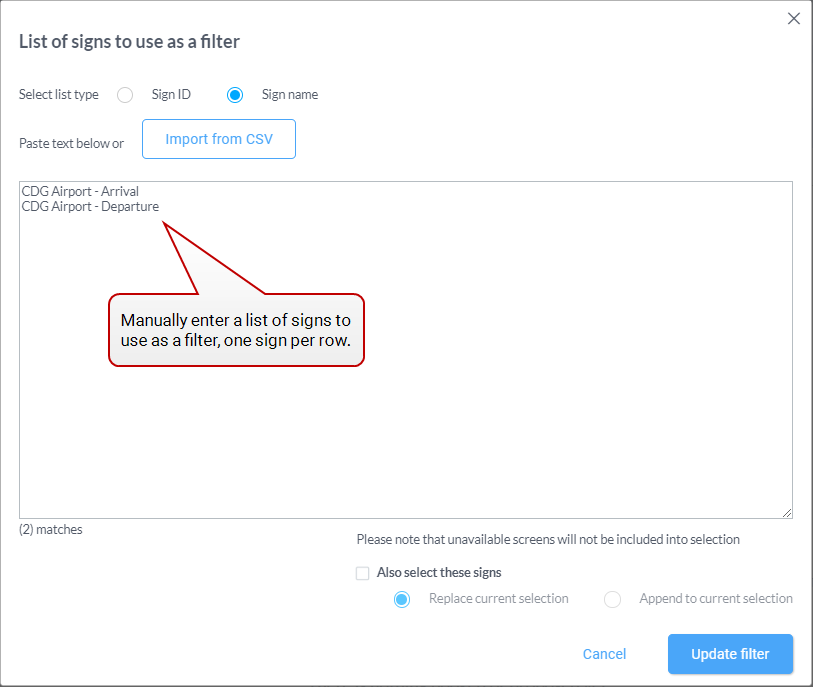
- Enter a list of filters in the input field. Use only one Sign ID or Sign name per row, for example:
- Import a list from a .csv file. This file must either be:
- A list of Sign IDs (you must select the list type Sign ID):
- A list of Sign names (you must select the list type Sign name):
- If you click Also select these signs, you can choose to:
- Replace the current selection list (if any) by what you have entered or imported
- Append what you have entered or imported to the current selection list (if any)
-
Click Update filter.
This brings you back to the Digital Inventory page. The Filter imported list option is checked and the filter is applied to your inventory list.
This window allows you to do the following:
Note: Unavailable screens will not be included into the selection.
Note: You also can import a .csv file that was exported using the Export to CSV option of the Summary Panel on the right of the Digital Inventory and Static Inventory pages.

